

ACP department heading TECH
InTheGarageMedia.com
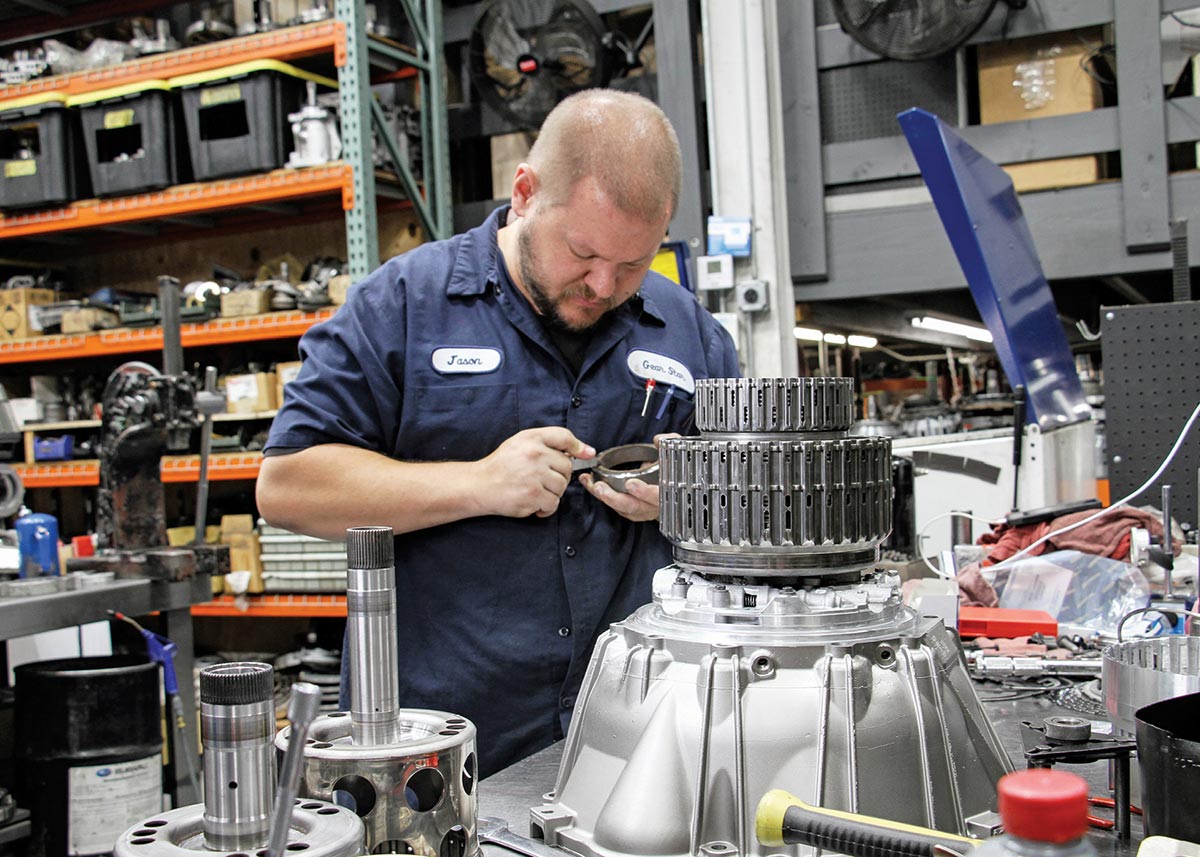
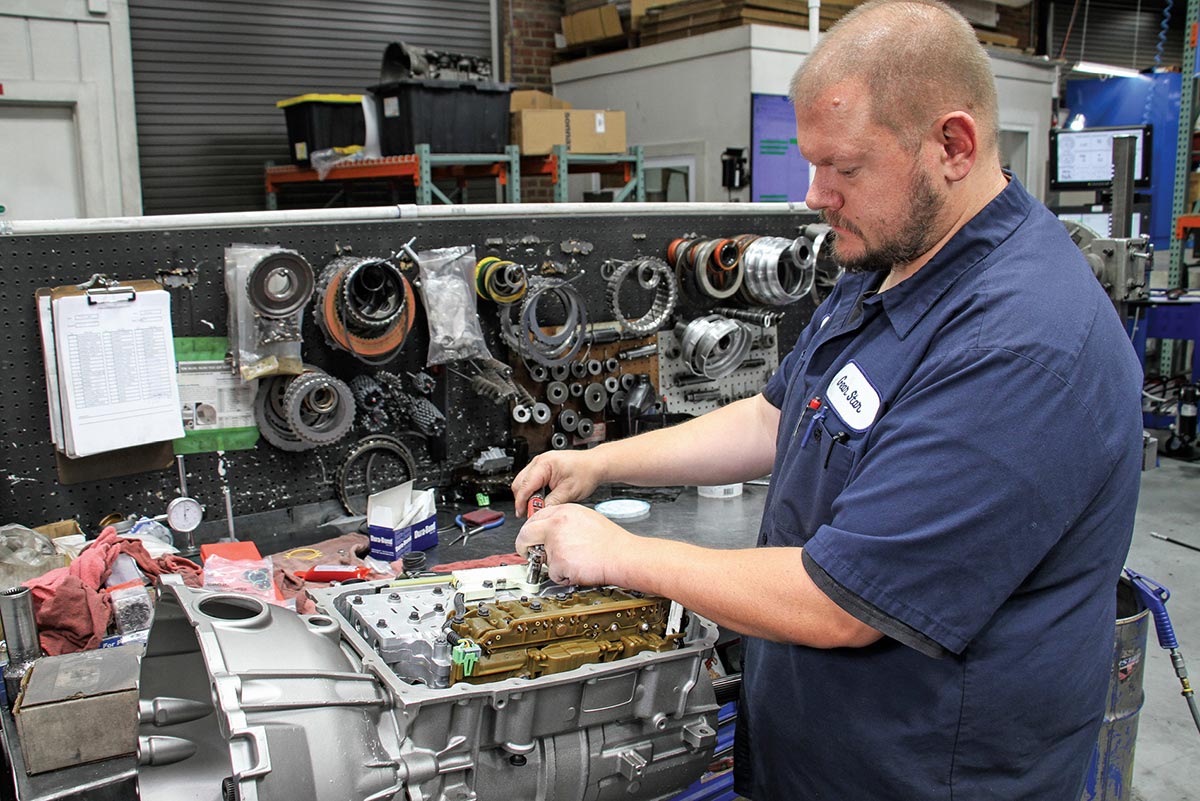
Technician inspecting a transmission case.
1. With a few targeted upgrades, the 6L80E offers the strength needed to stand up to higher-horsepower engine combinations.
Built For Strength
A Look Inside Gearstar’s Level 4 High-Performance 6L80E Six-Speed Transmission
BY BARRY KLUCZYK IMAGES BY THE AUTHOR
I

t has been two decades since General Motors introduced the 6L80E six-speed automatic transmission. Developed for trucks and higher-performance cars, including the Corvette, it was a clean-sheet design—unlike almost all previous GM electronically controlled four-speed automatics, which were based on earlier versions of hydraulically controlled gearboxes.

Compared to a 4L80E, the 6L80E (and later 6L90E) is approximately the same length, but a bit wider and about 20 pounds heavier. The gearbox is shifted via performance algorithms in the internal, adaptive, 32-bit Transmission Control Module. They’re designed to minimize upshifts during closed-throttle driving to prevent unnecessary shifting. Three-way solenoids and variable-bleed solenoids are employed to optimize shift quality.

After debuting in the 2006 model year, the 6L80E proved itself reasonably strong, but as with just about every other modern gearbox, it inevitably developed its share of common issues that generally resulted in poor shift performance, burned-up friction elements, and more. Overheated and burnt fluid is typically the culprit in most instances, along with some programming issues with the internal controller and torque converter shudder.

Additionally, the boundaries of the 6L80E’s capabilities reveal themselves pretty quickly when significantly more power is shoved through it. Mostly, the clutch packs struggle to keep up under hard acceleration and can start slipping, while the input shafts are vulnerable to breaking. There can be valvebody and solenoid issues, too.

“The 6L80E is a strong performer in stock trim but when you’re pairing it with a higher-output engine, you really need to support it with a few targeted upgrades,” Ryan Steele, the marketing manager at Gearstar, says. “When you beef up the known weak spots, you’ll have a transmission with the capability to match the full potential of your powertrain.”

In a nutshell, that means replacing and upgrading all the friction materials and strengthening the hubs. At Gearstar, that means they’re welded and sent for cryogenic treatment and hardening. Additionally, the intermediate shafts are replaced with hardened billet components and there are critical pump upgrades designed to alleviate one of the 6L80E’s most common sources of wear and weakened performance.

Gearstar’s 6L80E offerings include Level 3 (650 hp/600 lb-ft) and Level 4 (750 hp/700 lb-ft) for 2WD and 4WD drivetrains. A new Yank torque converter is included with each build, too.

“Along with standing up to more power than the stock assembly, the common issues are addressed in ways intended to substantially improve durability and longevity,” Steele says.

To learn more about what goes into the build of a higher-capacity six-speed that will support power-adder and high-output naturally aspirated combinations, we visited Gearstar’s facility in Ohio to follow the construction of a Level 4 6L80E. We’ve highlighted the details in the accompanying photos. Of course, this isn’t a step-by-step assembly guide, but a look at the key elements of the upgrades.

Two decades after its debut, the 6L80E continues to find its way into more and more performance builds—and aftermarket upgrades, such as those incorporated by Gearstar, are helping ensure the six-speed gearbox stands up to all the power enthusiasts can push through it.

Hand holding a pressure regulator valve.
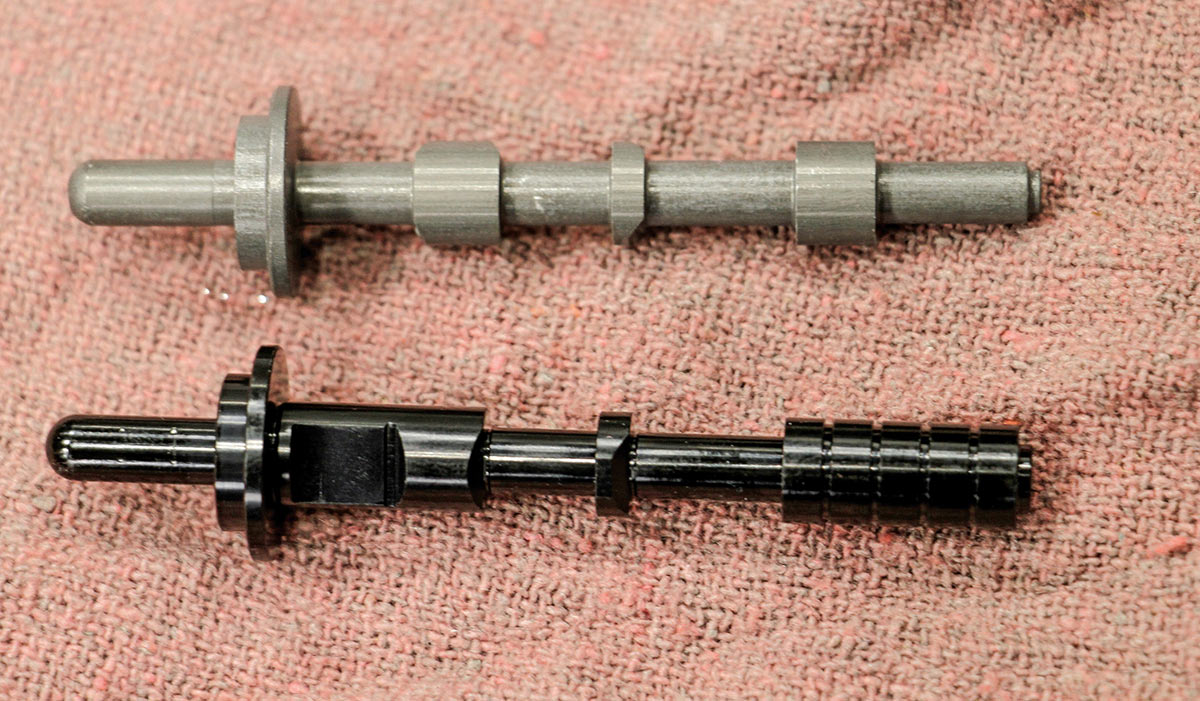
2. At Gearstar, the 6L80E build starts with an upgrade of a common wear issue: the pressure regulator (PR) valve in the pump. When the stock valve wears down, it causes erratic fluid pressure that typically reveals itself as torque converter shudder.
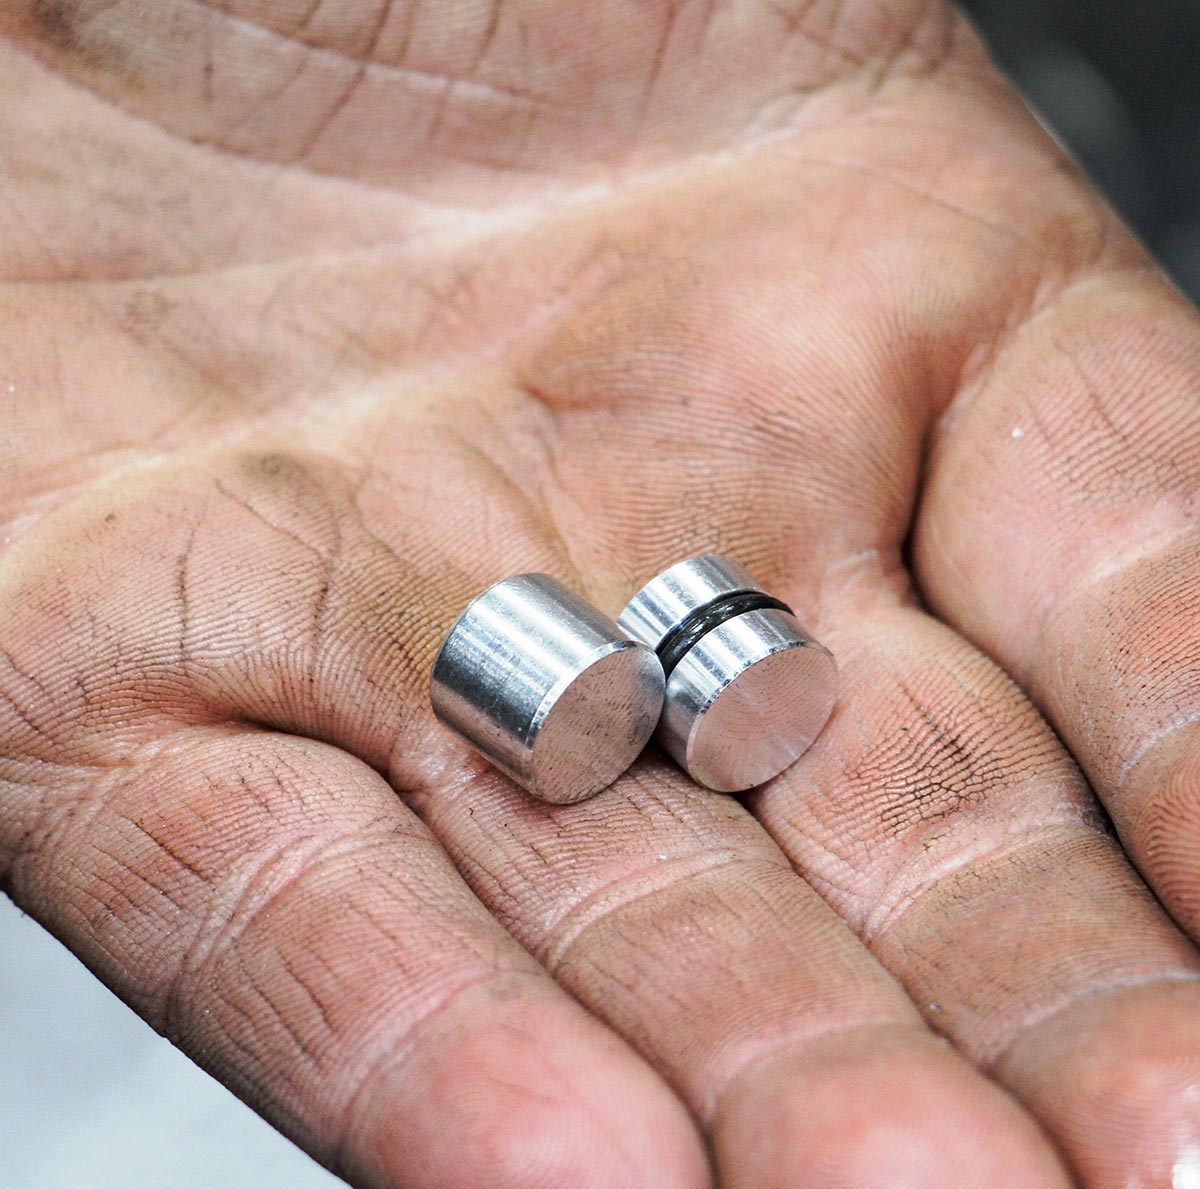
Comparison of stock and replacement valves.
3. The stock PR valve is shown here (top) with the redesigned replacement version. It’s an anodized aluminum part with a larger lower stem, which helps minimize wear by reducing side loading within the valve’s bore.
Drilling a bypass into an oil passage.
4. Because the replacement PR valve’s larger stem blocks a crucial oil passage, a bypass is drilled into the passage at a 45-degree angle. That prevents the valve from getting plugged.
Inserting a small check ball into passage.
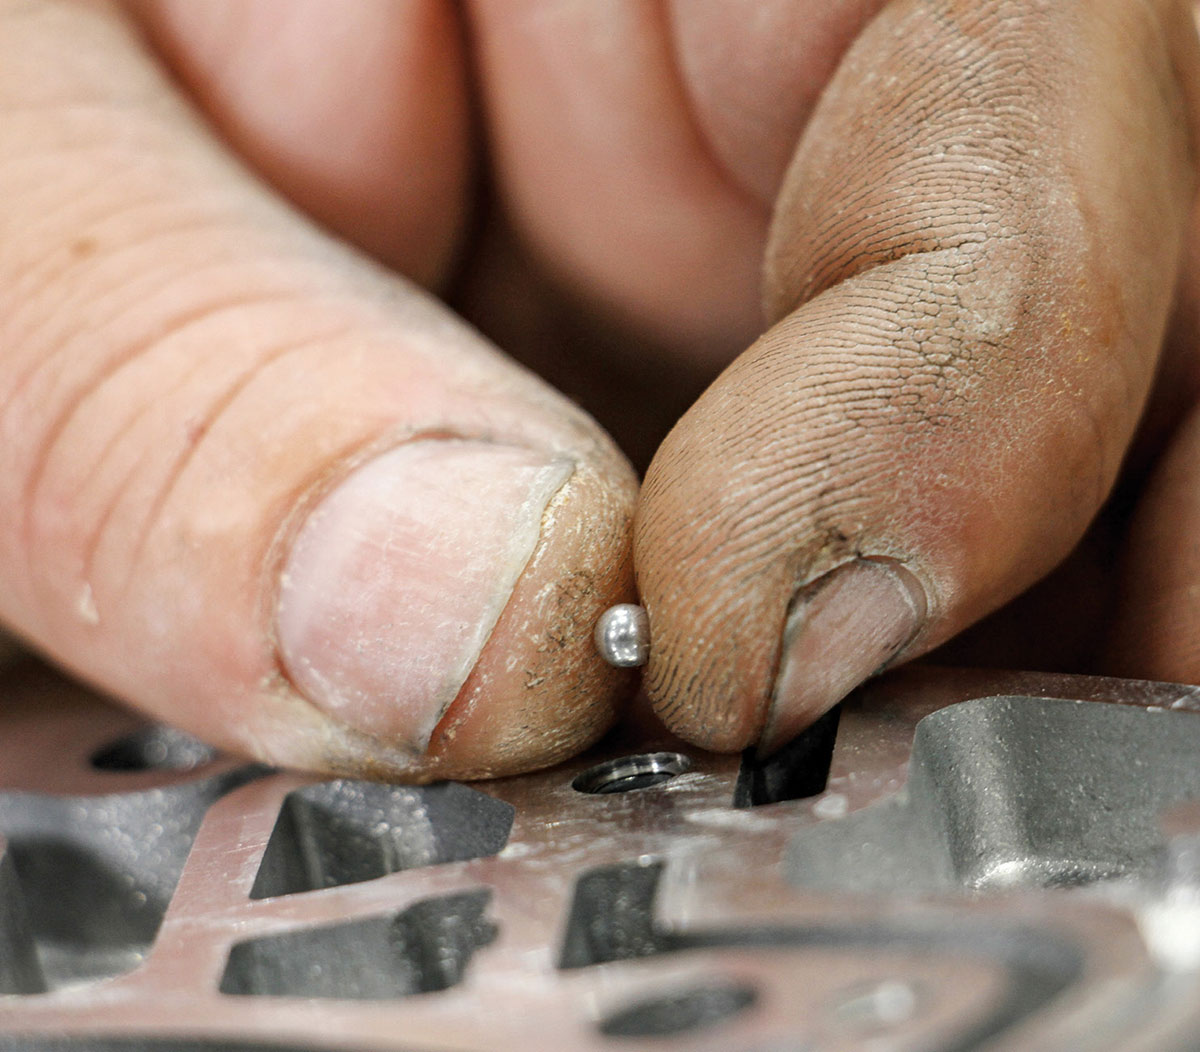
5. Next, a small check ball is inserted on the fluid passage to cap off the cut plug of the PR valve.
Pressure boost valve and sleeve assembly.
6. Another common instance of wear in the 6L80E are the pressure boost valve and sleeve, which reduces main line pressure under load. The results are softer shifts, burnt frictions, and more. Gearstar replaces the valve and sleeve with stronger versions.
Heavy-duty pump slide spring in pump.
7. A heavy-duty pump slide spring is the next upgrade for the gearbox. At higher engine speeds, increased pressure and centrifugal force on the pump vanes work to center the pump slide, which reduces pump volume and limits maximum pressure. This stronger spring is designed to hold the slide at the optimal position for consistent pump volume during high-load and high-rpm operation.
Technician installing the pump stator.
8. Moving forward with the assembly, the pump stator is installed next. Ensuring proper alignment of the pump is crucial to preventing premature bushing wear or failure.
Billet aluminum piston inside the drum.
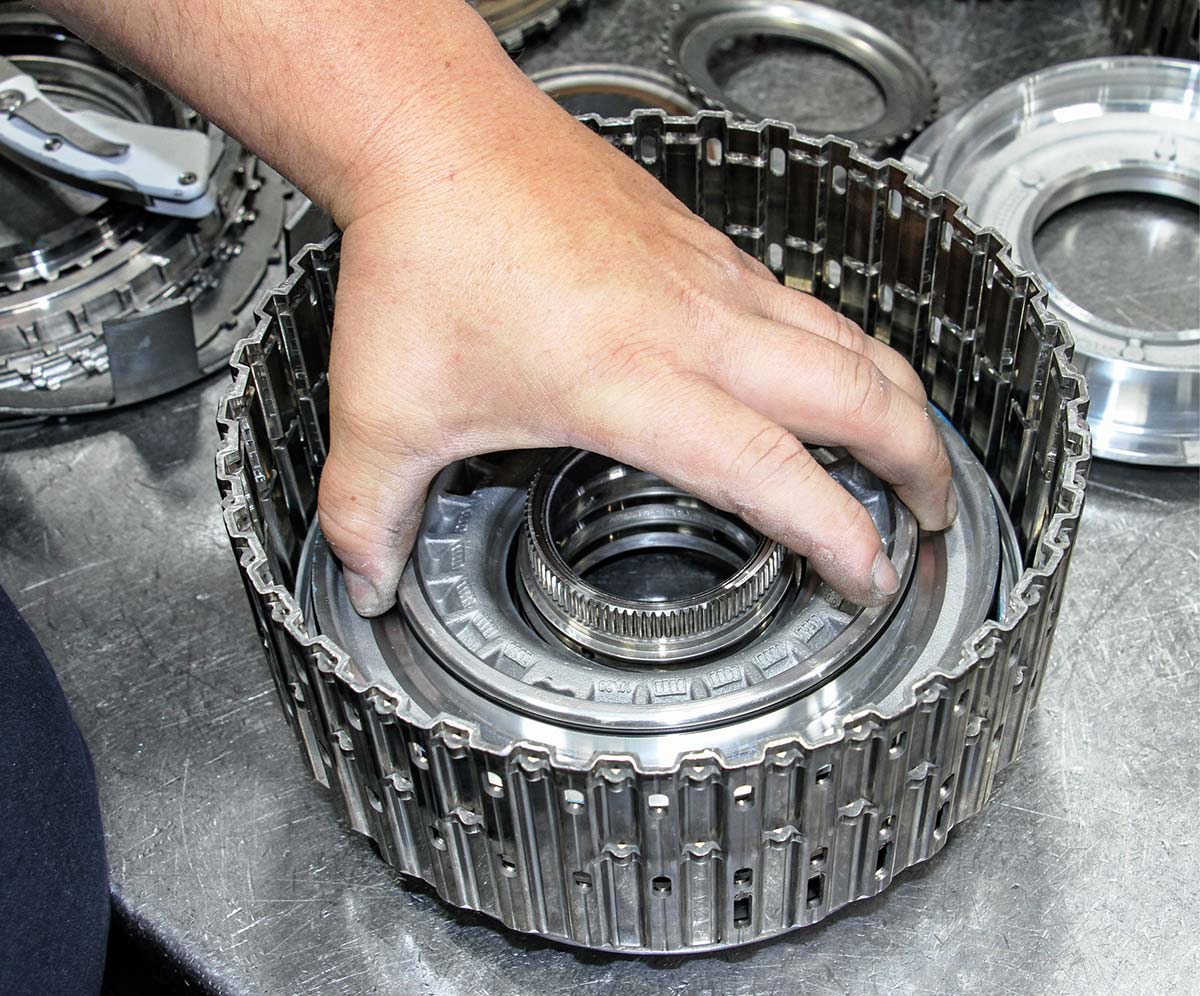
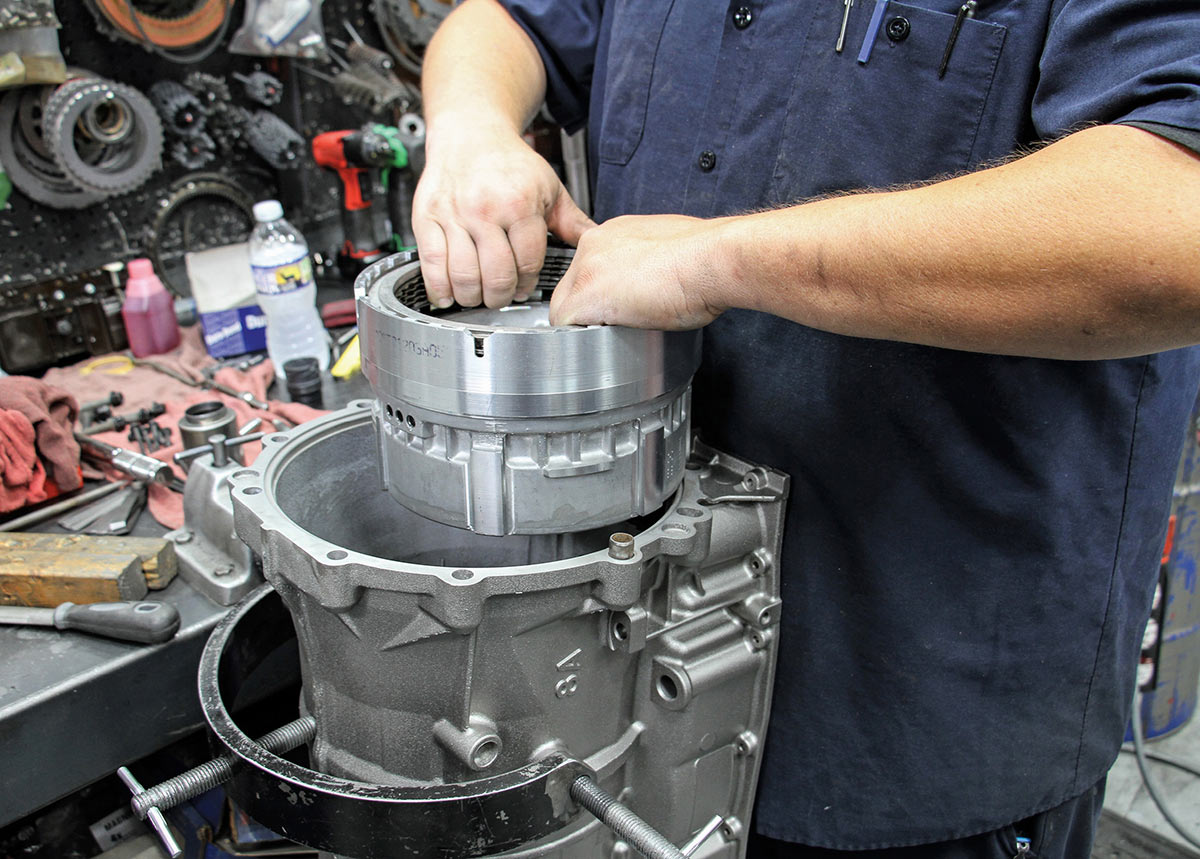
9. After the pump stator, a replacement piston is installed in the 3-5-R and 1-2-3-4 drum. It’s an aftermarket billet aluminum component from Sonnax, and it’s much stronger than the stock cast part, which is prone to cracking.
Test-fitting drum into the pump back.
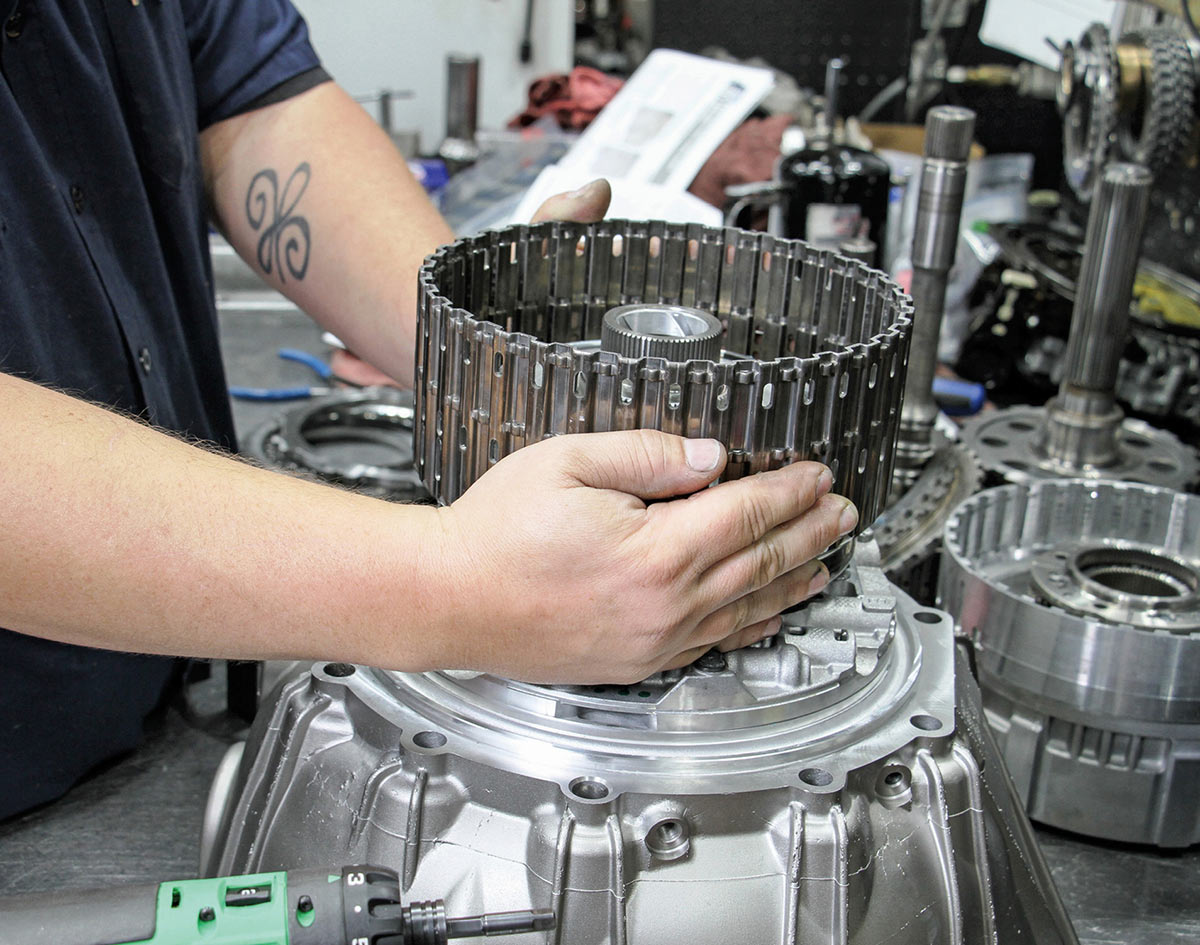
10. Here, the 3-5-R and 1-2-3-4 drum is test-fitted into the back of the pump for an air-leak inspection. Air leaks can lead to clutch failure, making this another important procedure in ensuring the transmission’s integrity.
New billet pressure plate in drum.
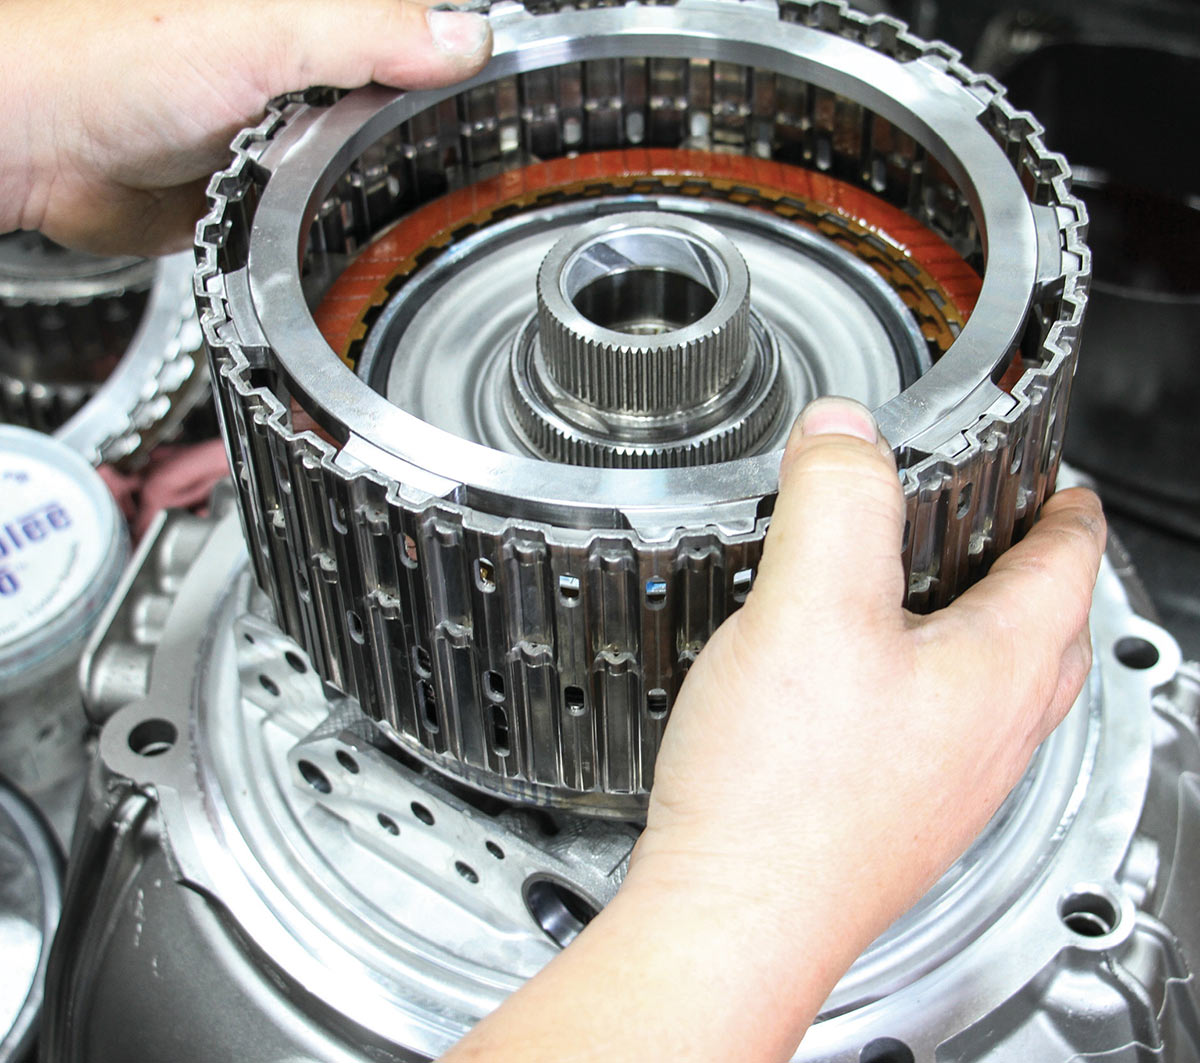
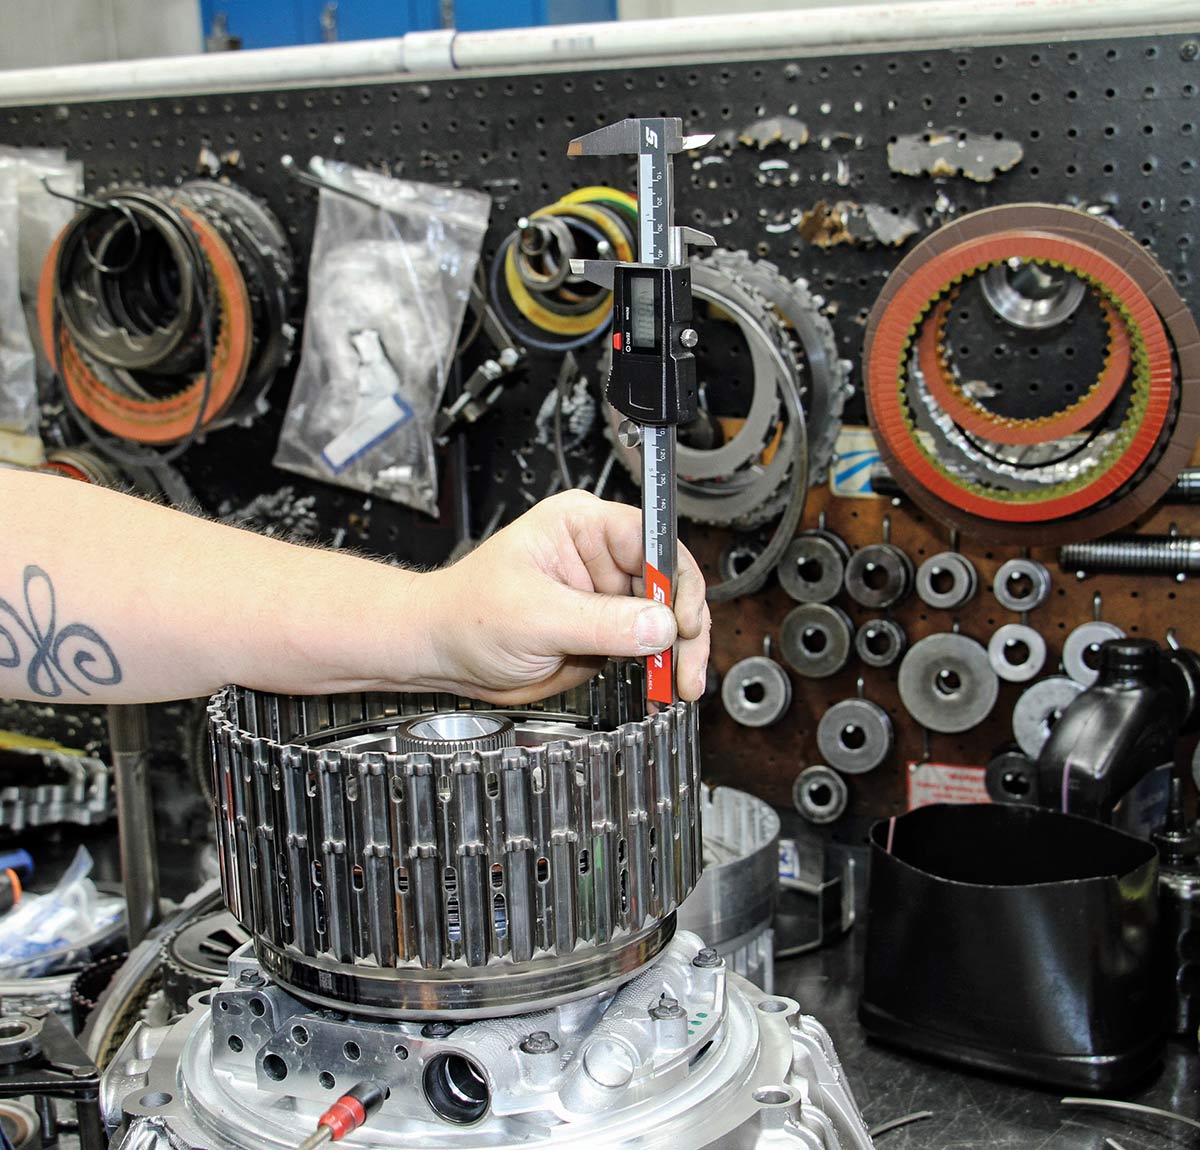
11. With the successful completion of the air-leak check, a new billet pressure plate (or backing plate) is slipped into the 1-2-3-4 drum for an additional inspection. This time, compressed air is used to measure the clutch pack’s travel.
Measuring clutch pack travel with calipers.
12. The clearance specs vary for the different clutches, but for the 1-2-3-4 pack, the travel range is 0.060-0.078 inch. If the clearance is too tight, the clutches can rub and overheat, causing several problems. If the clearance is too loose, delayed shifts or incomplete application of the clutch plates can occur.
Upgraded Raybestos GPZ clutch friction plates.
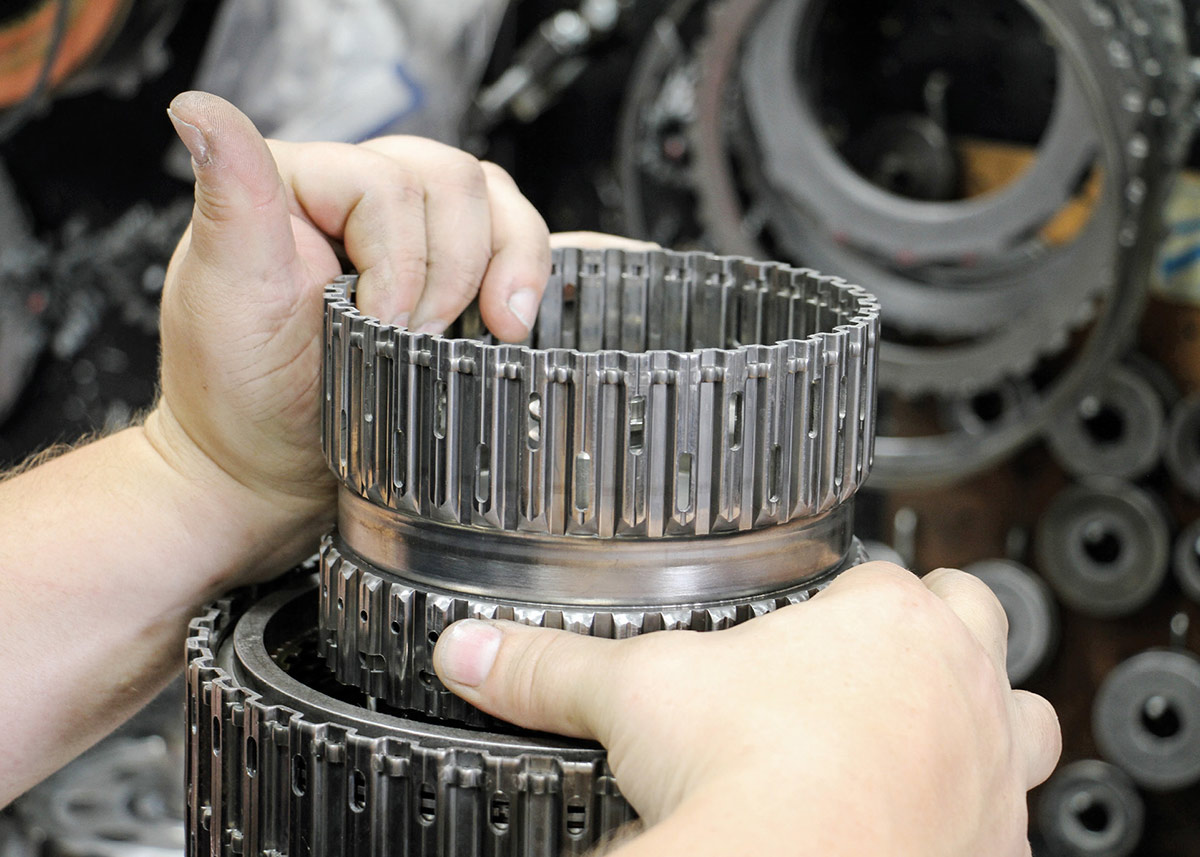
13. Gearstar uses upgraded Raybestos GPZ clutches, which use higher-capacity frictions and steels than the stock clutches. They’re designed to withstand higher temperatures and the greater stress of higher-performance applications.
Close-up comparing stock and upgraded steels.
14. A close-up look at the upgraded Raybestos steel clutch component (left) with a stock part shows it’s actually a little bit thinner, but it’s made of a stronger material. Note, too, the notches built into the Raybestos steel. They’re designed to help prevent sticking inside the drum.
Installing the overdrive planetary assembly.
15. The buildup of the transmission continues with the installation of the overdrive planetary assembly. In the case of this assembly it is a stock component, but Gearstar notes they offer billet reinforced versions for even higher-level builds such as the Pro Series.
Overdrive drum slipped into the assembly.
16. Next in the build, the overdrive (4-5-6) drum is slipped into the assembly. Again, this is a stock-spec component in our Level 4 build.
Installing the hardened 2-6 clutch hub.
17. Here is the 2-6 clutch hub being installed. It has been hardened and strengthened by Gearstar to address the comparatively common issue of breaking under high load.
Cutting oil flow groove in clutch hub.
18. A groove is cut into the clutch for the intermediate shaft. It’s an in-house modification from Gearstar designed to enhance the gearbox’s durability by improving oil flow to the shaft.
Installing output shaft and ring gear.
19. With the 2-6/low-reverse drum in place, the output shaft and ring gear are installed next. This step completes the subassembly of the transmission’s guts.
Subassembly built before case installation.
20. To ensure all the components fit as needed and all the clearances are within spec, Gearstar builds up the subassembly before installing the components in the transmission case.
Installing low-reverse drum into case.
21. After the subassembly checks out, it is dismantled and all the components reassembled within the case. Here, the 2-6/low-reverse drum is installed.
Checking bellhousing mating surface for flatness.
22. With all the 6L80E’s guts installed in the case, the bellhousing comes next. Warpage of the bellhousing’s surface—where it mates with the pump housing—is fairly common, so the surface must be checked for flatness before the housing is installed.
Checking input shaft endplay with gauge.
23. Another critical clearance check is made: input shaft endplay. The ideal spec is 0.008 inch, with GM’s range at 0.010-0.035 inch. GM also says the endplay is not adjustable, but shims are available in the aftermarket to help get the spec just right.
Technician working on the valvebody assembly.
24. The build now turns to the valvebody, which is performed-tuned by Gearstar and assembled with a brand-new ACDelco transmission control module.
Stock versus billet valvebody end plugs.
25. Even the end plugs for the valvebody are upgraded in this Level 4 buildup. On the left is a stock plug and the all-new billet plug (with an O-ring) is on the right. The upgrade part helps prevent pressure-reducing circuit leaks that can lead to erratic shifting and even burnt frictions.
Reinstalling the upgraded valvebody assembly.
26. With the upgraded end plugs in place, the valvebody is installed—along with the related electronics.
New wide-inlet transmission fluid filter.
27. Next, a brand-new, wide-inlet filter is installed.
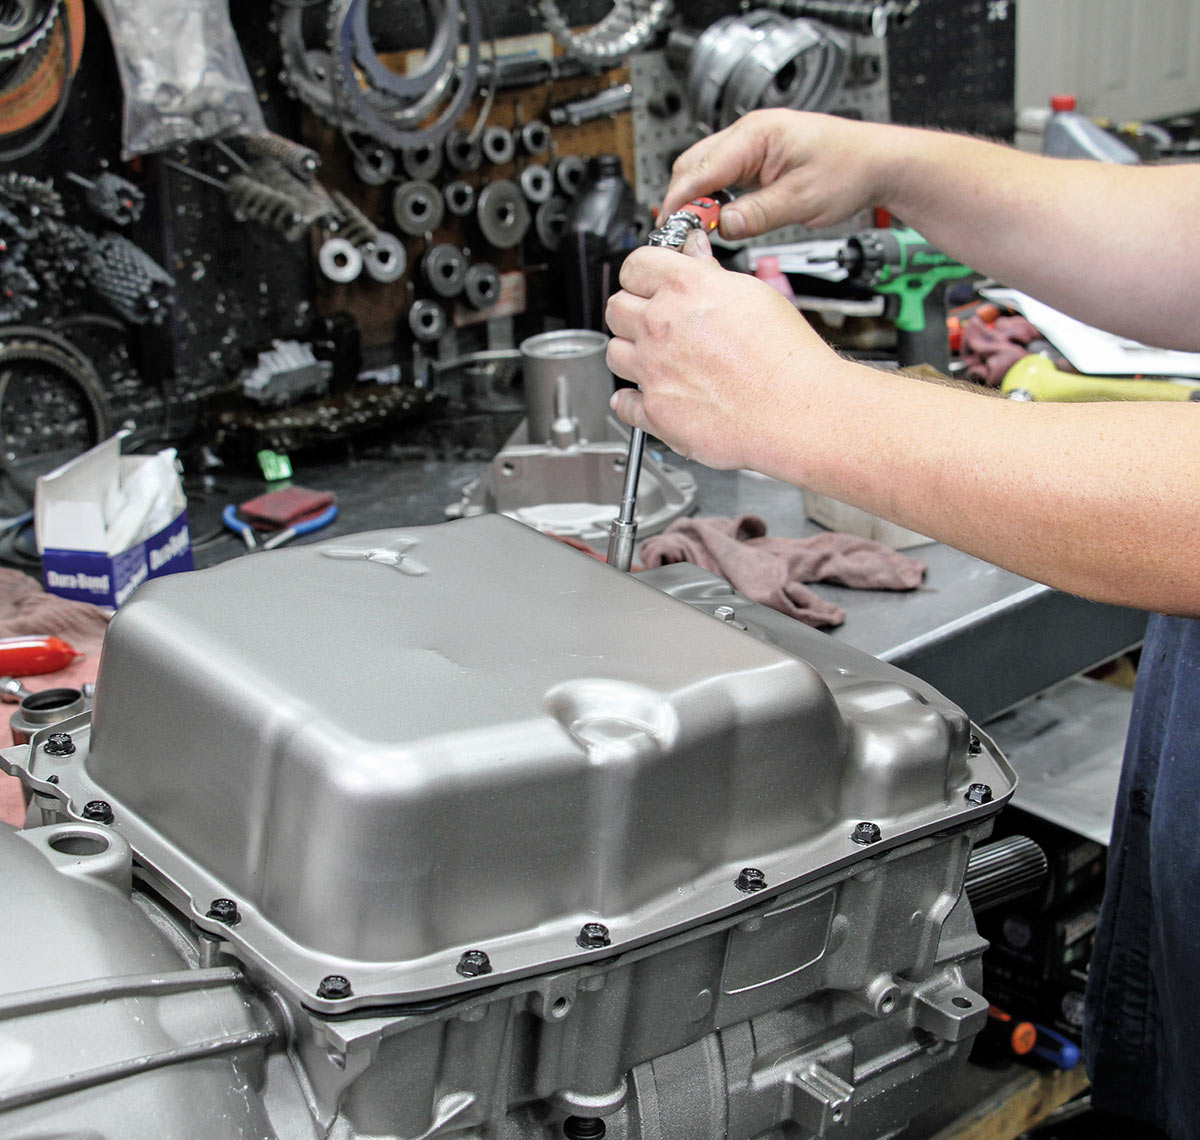
Final installation of the oil pan.
28. Finally, a new oil pan is installed, completing the transmission’s assembly.
Fully assembled 6L80E transmission unit.
29. Although not shown here, each assembled transmission comes with a Yank lockup torque converter. Installing a 6L80E in a vehicle not originally equipped with one will require a separate, stand-alone transmission controller.
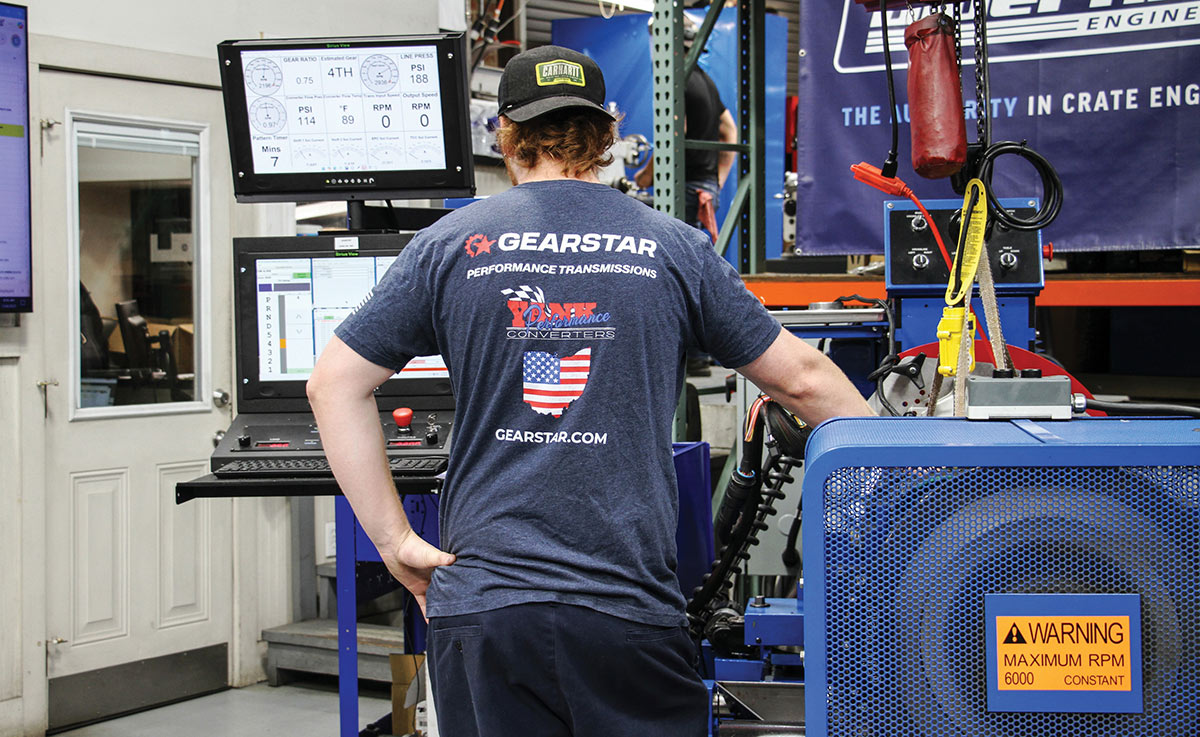
Transmission undergoing final dyno testing.
30. The final step prior to shipping is a thorough dyno test of the gearbox. It involves about 2 1/2 hours of continual gear cycling to ensure shift performance, lockup functionality, and more. It’s the equivalent of about 100 miles of driving.
In The Garage Media
Gearstar Performance Transmissions logo

(330) 434-5216
gearstar.com