

 TECH
TECH
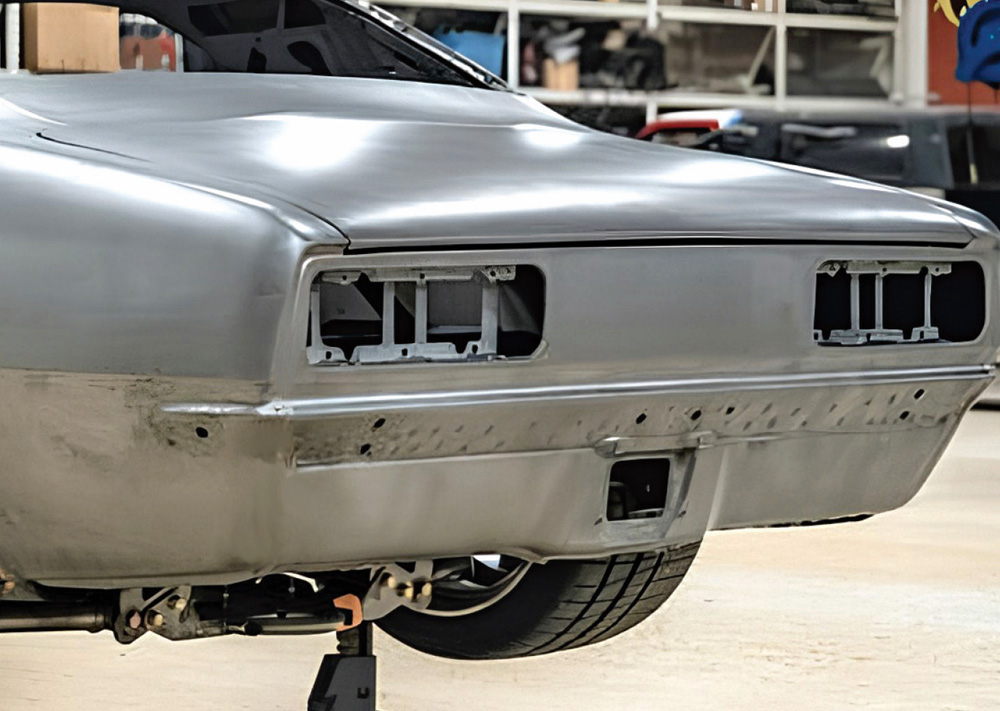
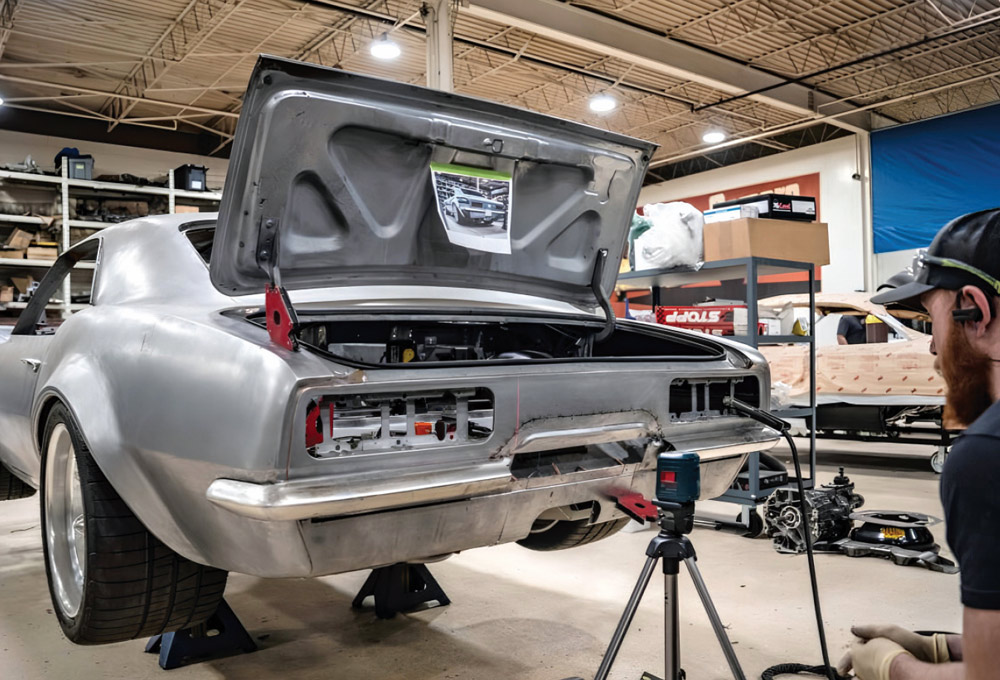
1. This is the rear of the stock Camaro, and it’s about to undergo a major transformation.
Back Panel
 Images Courtesy of Roadster Shop
e have been following this unique 1968 Camaro build at Roadster Shop for a couple of installments. This time we’ll look at the tasteful modifications made to the rear of the car.
The first step was filling the gas cap opening and the hole for the decklid key. All the joints on the rear corners were finish-welded and smoothed at this time.
The fit of the rear bumper was tightened up against the body, and the holes for the original bumper bolts were filled. All the bumper surfaces were metalfinished at this stage.
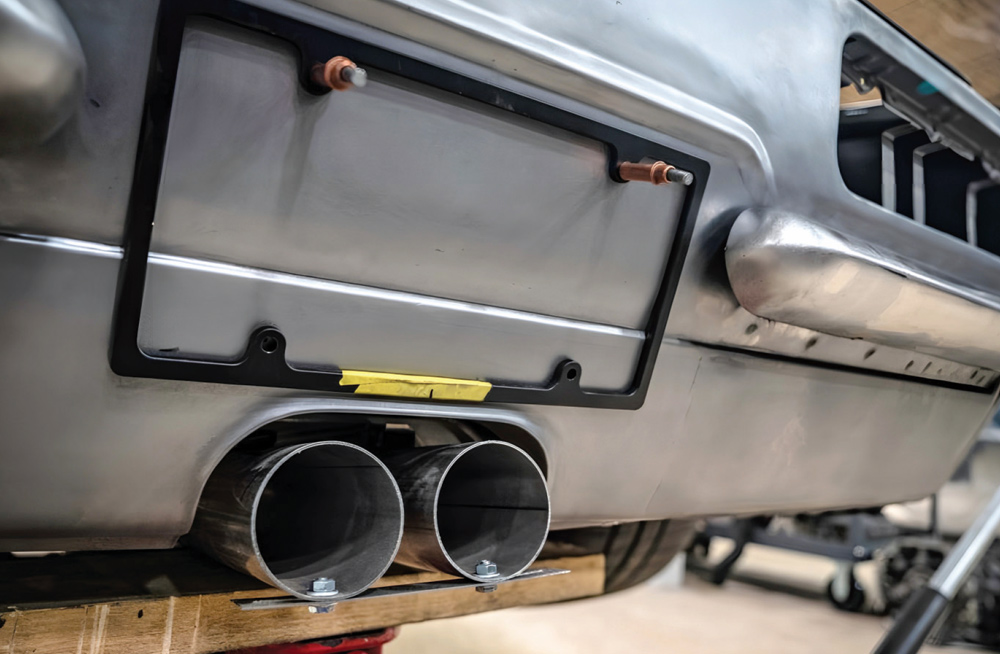
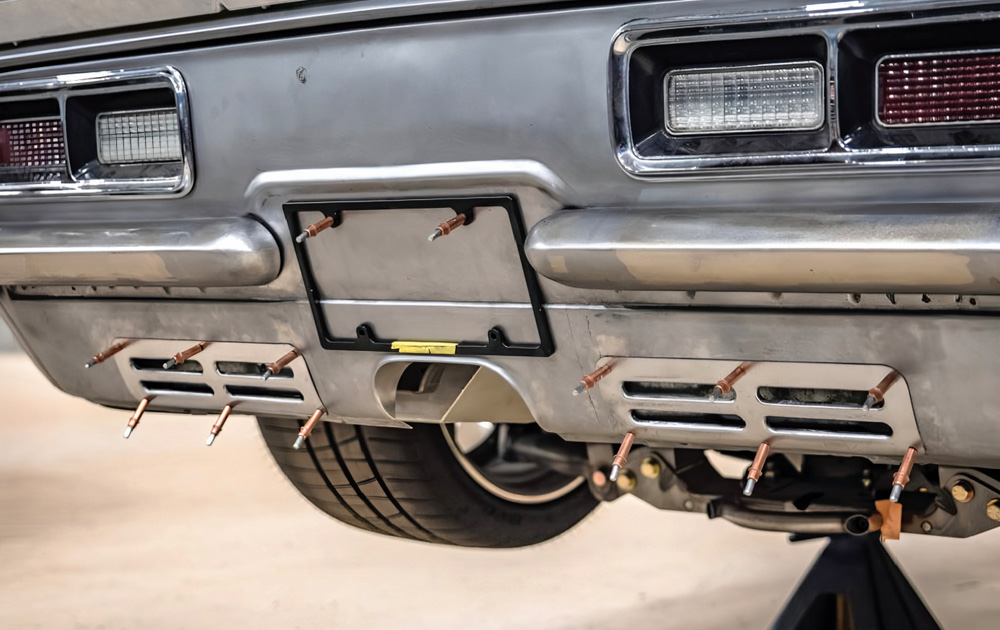
There will be twin exhaust pipes exiting in the center of the car. The original license plate mount was removed and a new panel was formed with the cutout for the exhaust tips. The license plate was moved up a few inches, and the center of the rear bumper was removed. Portions of the removed bumper section were worked into a bullet shape, which will cap the cut ends of the bumper.
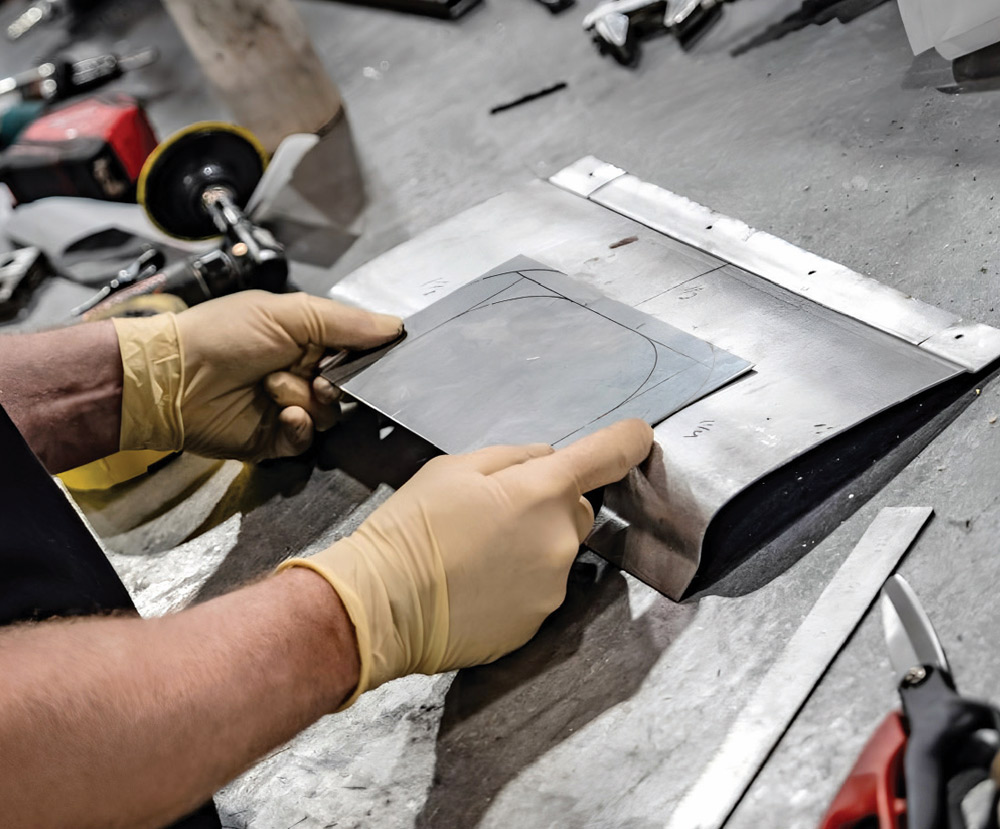
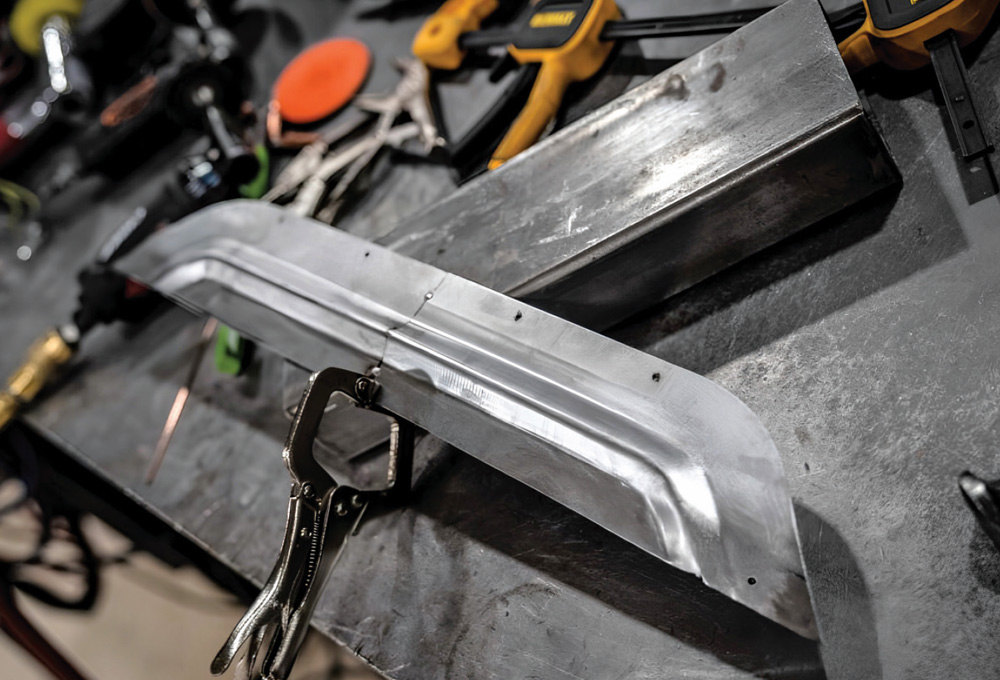
A contoured bead was formed on a piece of sheetmetal and fitted into place just above the license plate frame. Great care was taken to get all these elements to fit together neatly, and after all the adjustments were made and checked with a laser level, the new bead was welded into the rear panel.
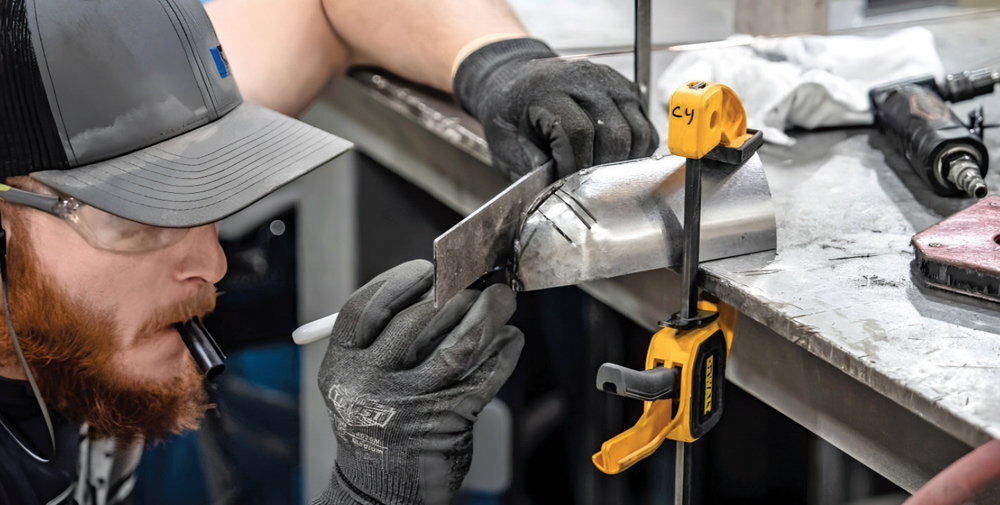
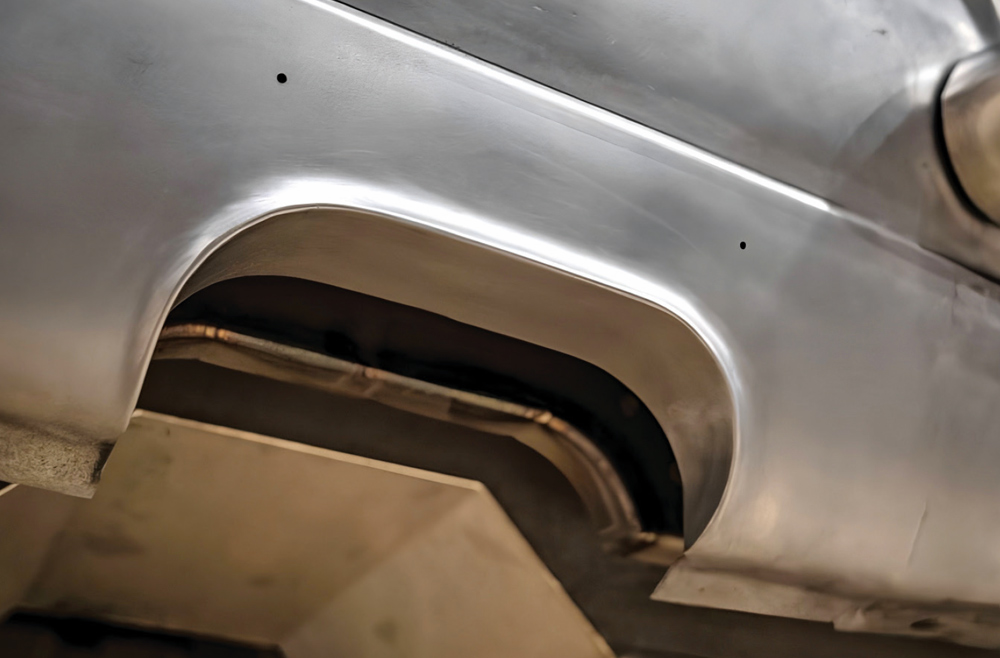
The edge of the opening for the exhaust pipes was given a subtle outward curl, and a flange was made to cap the inside, which gives the opening a much more finished look and adds strength.
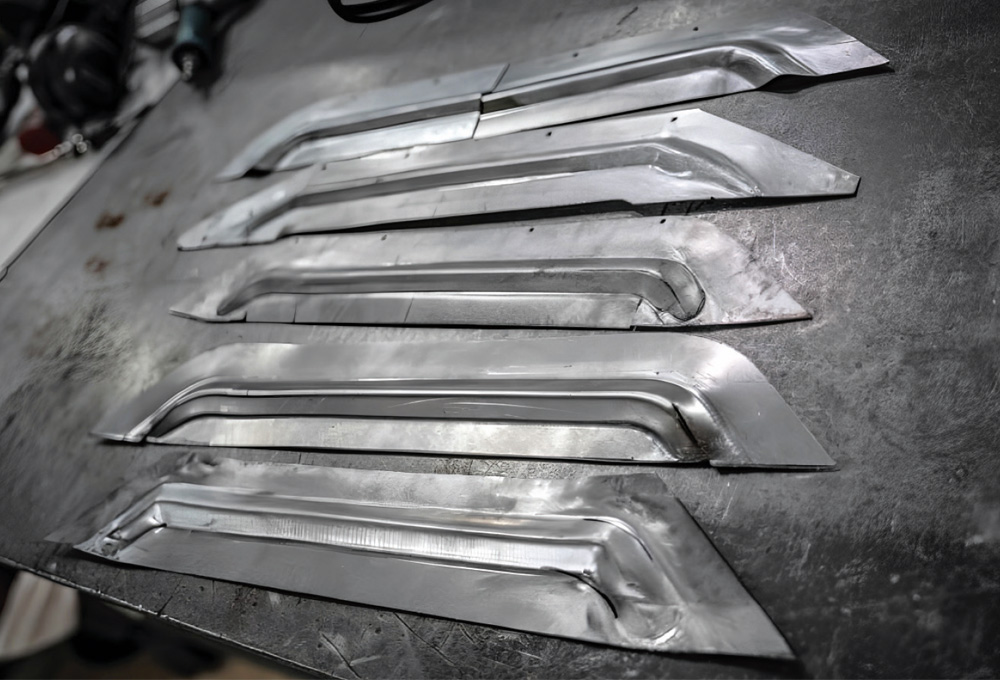
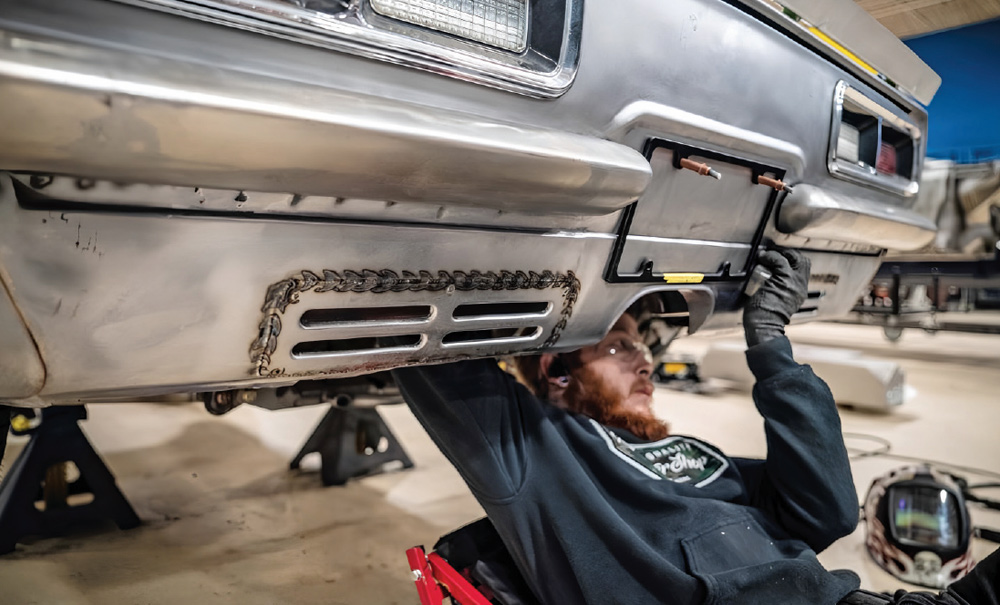
Special vents were added to the rear valence panel. Each vent has four slots in it, and special tooling was made to form a nice, clean flange on each opening. Once the slot’s vent panels were made and flanged, they were contoured to fit the valence panel and then carefully aligned and finish welded into place.
The result of all these modifications gives the car a distinctive character, but it is very much in keeping with the design characteristics of the original Camaro.












 SOURCE