

ACP department heading TECH
InTheGarageMedia.com
Old wood block versus new electronic actuator.
1. Old parking brake versus new parking brake.
Stop Playing with Blocks
A Smart Parking Brake Upgrade For Our 1971 Camaro
BY NICK LICATA IMAGES BY TRAVIS SCUDELLARI
W

hen wrapping up a project, it’s common for a few loose ends to linger, especially if they don’t affect how the vehicle looks, runs, or handles. Case in point: our 1971 Camaro, “Project Orange Krate.” The car has performed flawlessly for years, but it never had a functioning parking brake. To be honest, the pedal assembly was missing when we bought the car, and replacing it simply kept getting pushed down the priority list.

Not surprisingly, we found it’s sort of important to have a properly functioning parking brake, especially in a car equipped with a manual transmission. Being the car is armed with a T56 six-speed, I always had a 2×4 on hand to use as a wheel chock so I could warm up the car without having one foot on the brake pedal. Not ideal and not totally safe, but it got the job done … kind of. Plus, having a block of wood banging around the back seat area while on an autocross or road course is a bad idea. Ask me how I know.

Finally, after years of putting off installing a manual parking brake mechanism, I figured it would be a great time to up the technology and go with an electric parking brake system. I headed over to the Summit Racing website (SummitRacing.com) and picked up an E-Stopp Electric Parking Brake System to replace our “Fred Flintstone-era” system that we’ve relied on for the past 15 or so years.

The E-Stopp comes with the actuator, dash button, indicator wire, power to actuator wires, and power from battery and ignition safety wire, along with detailed instructions. While on Summit’s website, we also picked up the Universal Emergency Brake Cable Kit (PN SUM-761001) necessary to complete the install.

With parts in hand, I pulled out the old 2×4 from behind the rear tire and headed over to HB Hot Rod in Huntington Beach where Travis Scudellari put the Camaro up on their two-post lift and took care of the install. Keep in mind the E-Stopp can be done on jackstands as well, but for obvious reasons, a lift makes it a much easier process.

With moderate mechanical experience, this can be done in 3-5 hours, just be sure to map out where you plan to mount the E-Stopp while making sure you have the correct brake cables that will adapt to your current brake system.

We have to say, having a fully functioning electric parking brake system beats dragging around a chunk of wood posing as a parking brake. It’s great to finally be able to fire up the Camaro without having to be inside through the whole warm-up process.
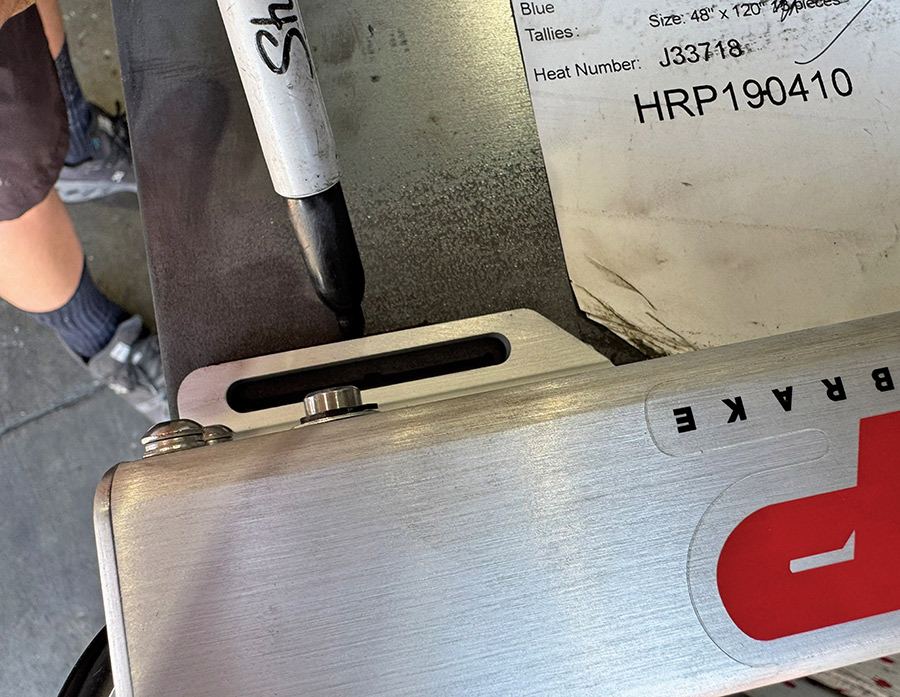
Outlining the mounting bracket on a metal plate.
2. To get started, Travis Scudellari of HB Hot Rod outlines the E-Stopp Electronic Parking Brake using a permanent marker on a 3/16-inch piece of flat plate to fabricate a bracket that will be used to mount the E-Stopp actuator to the subframe.
Metal plate marked with a bracket outline.
3. The clear outline dictates where the cutting will go down.
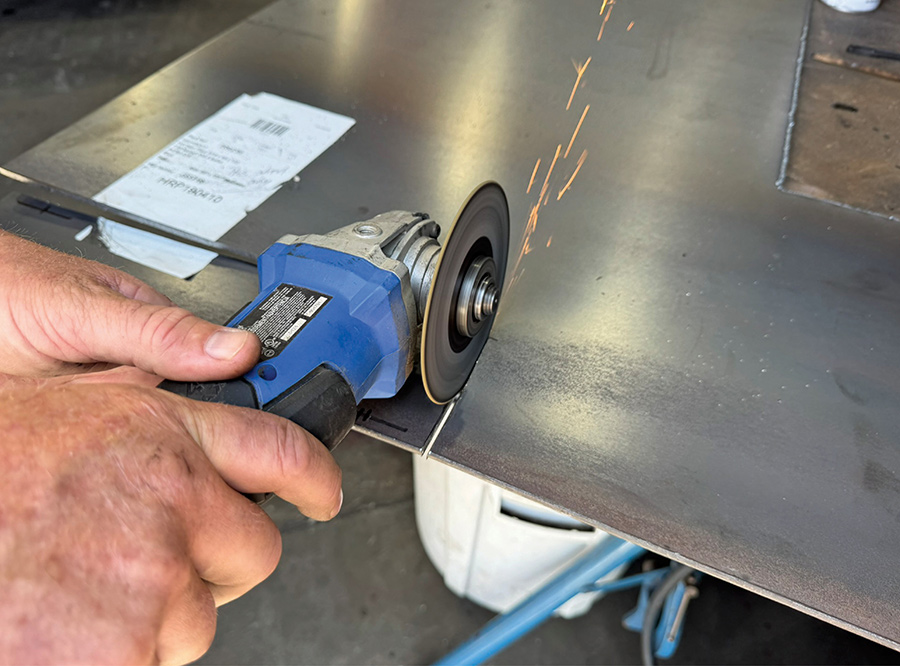
Cutting a metal plate with an angle grinder.
4. Scudellari carefully uses a 4.5-inch metal cut-off wheel to follow the outline.
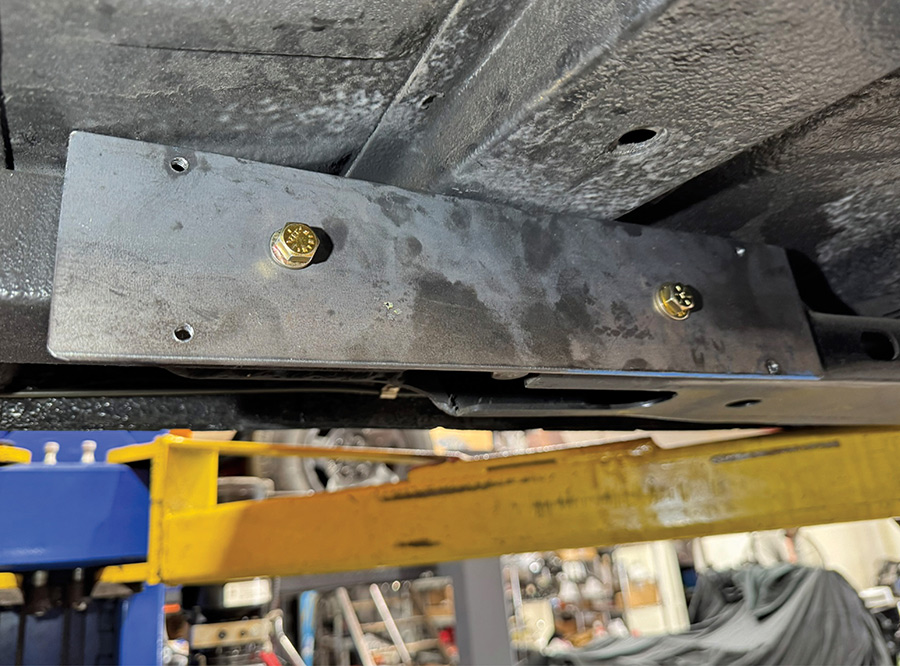
Custom mounting bracket bolted to the car subframe.
5. The bracket was then secured to the subframe with two 3/8-inch bolts.
E-Stopp actuator installed on the custom bracket.
6. The E-Stopp was then secured to the bracket with four 1/4-inch Grade 8 bolts.
Parking brake cable junction bracket assembly.
7. The E-Stopp parking brake cable junction bracket (PN ESA1-BKT CJ) was then mounted to the subframe connector and the E-Stopp cable and housing was bolted to the cable bracket.
Brake cable housing installed at the rear wheel.
8. We ordered a parking brake cable kit from Summit Racing (PN SUM-761001) and installed the cable housing to the existing parking brake bracket.
Trimming brake cable housing to length.
9. The cable housing was then cut to length. Don’t cut the housing too short and check to ensure the housing doesn’t rub on any moving components. A cutoff wheel was used for a clean cut.
Tightening cable housing fittings on the bracket.
10. The cable housing fittings were then secured to the cable bracket.
Running the parking brake cable through the housing.
11. From there, Scudellari ran the cable from the parking brake bracket through the housing to the cable housing bracket that feeds into the E-Stopp.
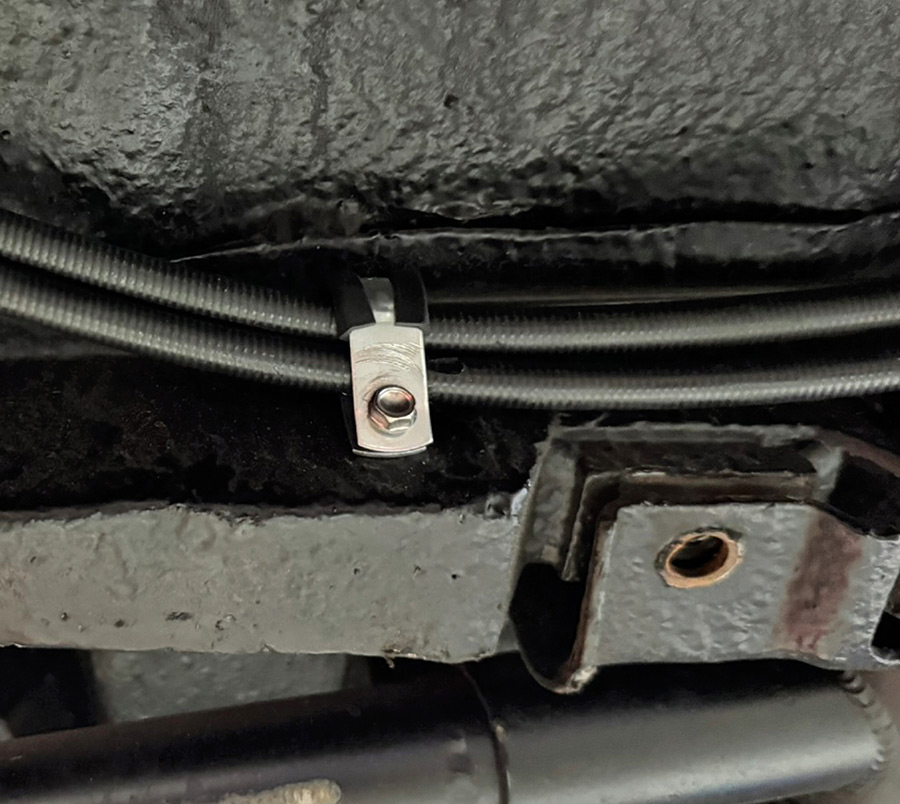
Rubber-coated clamp securing brake cable housings.
12. He then secured both cable housings to the frame using a rubber-coated clamp for a clean look. Once again, ensure the cables are free of any moving parts.
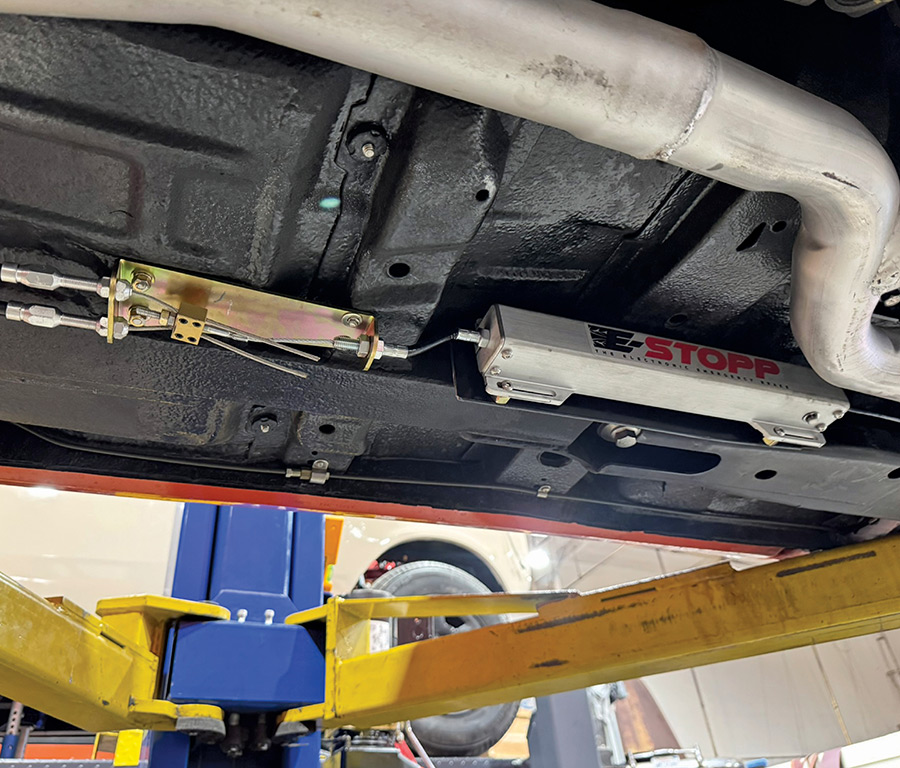
Completed electronic parking brake and cable installation.
13. This overall image shows the E-Stopp, cable bracket installed, and the cables adjusted to the proper length.
An E-Stopp controller with wiring on a workshop surface.
14. The E-Stopp controller comes with plug-and-play wiring. This unit controls the load setting of the parking brake, which will release the parking brake through the push-button switch. We mounted it under the dash and then ran the wiring. The positive and negative on the right runs directly to the battery. As an optional safety feature, the blue wire goes to the ignition ensuring the parking brake cannot be set while the ignition is on. The red and black wires on the left side will need to be lengthened using 16-gauge wire or thicker to run from the controller to the E-Stopp system.
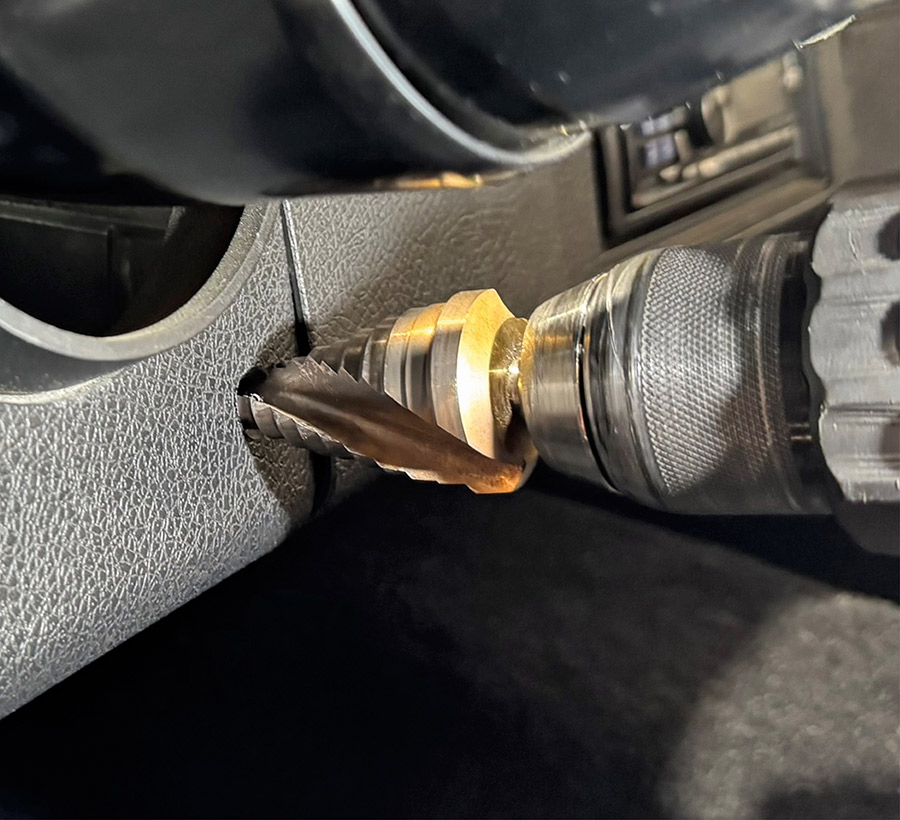
A step drill bit is used to bore a hole into a vehicle dashboard panel.
15. To complete the install a step drill was used to make the appropriate-sized hole to mount the E-Stopp push button.
An illuminated red push-button switch mounted on a vehicle dashboard.
16. Here’s the E-Stopp button mounted on the lower dash for easy access. The system will make unmistakable “beep” when activated and deactivated, so you know when the brake is set. Gone are the days of dragging around a wood block “parking brake.”
In The Garage Media
ESTOPP logo

(888) 688-6348
estopp.com
Summit Racing Equipment logo

(800) 230-3030
summitracing.com