
 TECH
TECH
 IMAGES BY THE AUTHOR
n adjustable proportioning valve. We are willing to bet that most of our readers are at least vaguely familiar with this part of a brake system. But do you actually know its purpose? OK, but do you know how it works? Did you know it’s not just for high-performance Pro Touring builds destined for an autocross track?
Let’s take a step back. Brakes are important, we all intuitively know that. But it’s not often a situation arises when you need to utilize the full capability of your brakes during normal street driving. Modern cars have forward collision warning systems to help reduce unforeseen collisions and advanced antilock braking system (ABS), which can manage tire slip up to 100 times per second. Our old muscle cars simply don’t have that. So, it’s our responsibility to make sure our brakes are set up as well as possible.
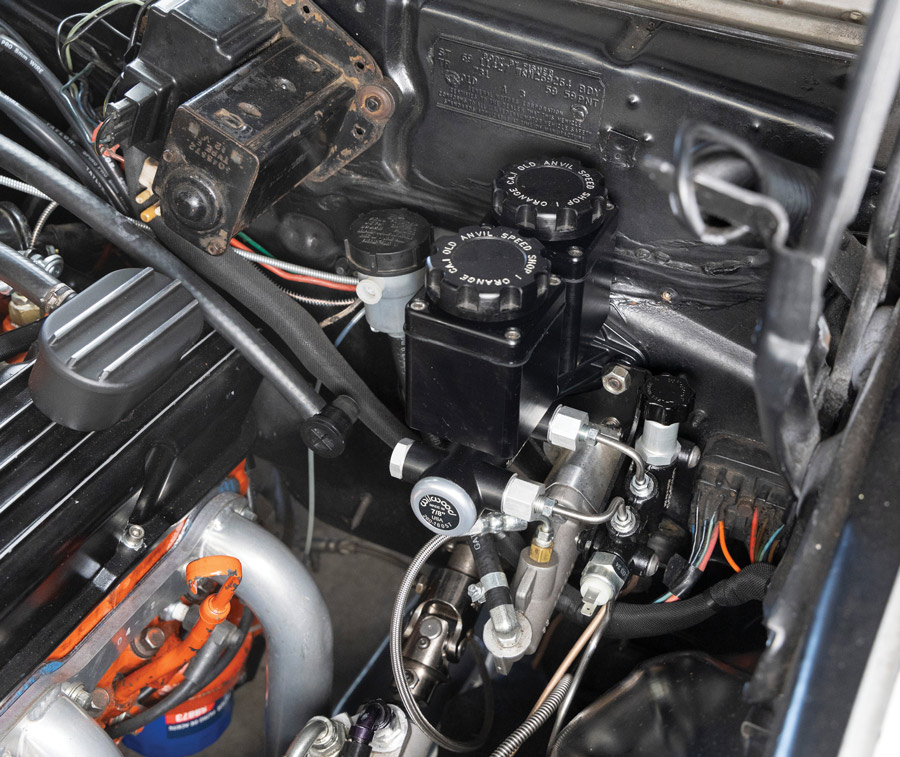
A few issues back, we talked about the differences between brakes that are too touchy or too hard. With help from Paul Bosserman at Old Anvil Speed Shop, we solved our issues by installing a properly sized Wilwood manual master cylinder. Now that we have adequate control over the braking effort, the last piece of the puzzle is the front to rear brake bias. Too much front brake and you’ll lock up only the front tires in a panic, removing your ability to steer. Too much rear brake and you could slide the car sideways into whatever it was you were trying to avoid.
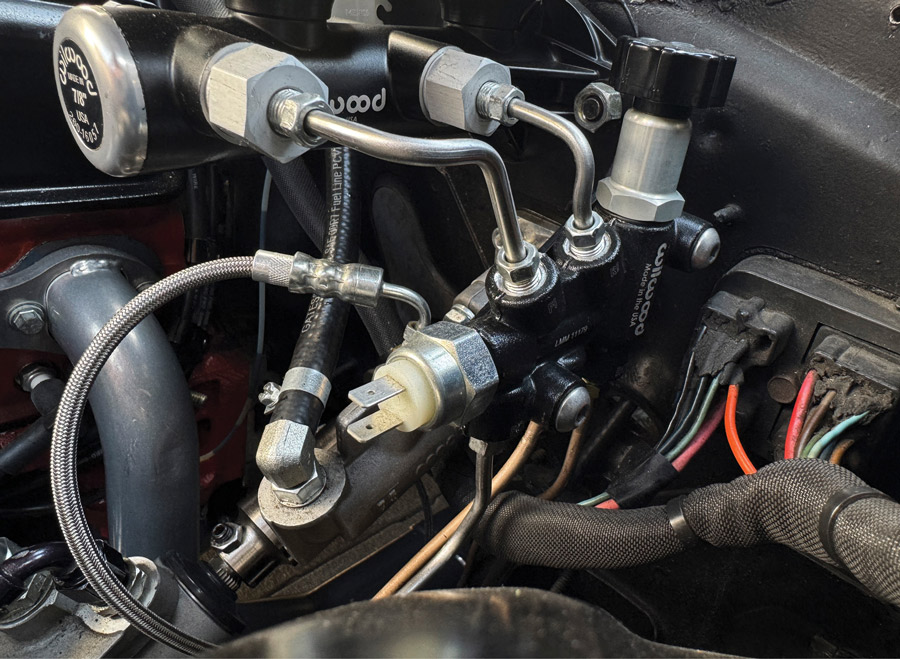
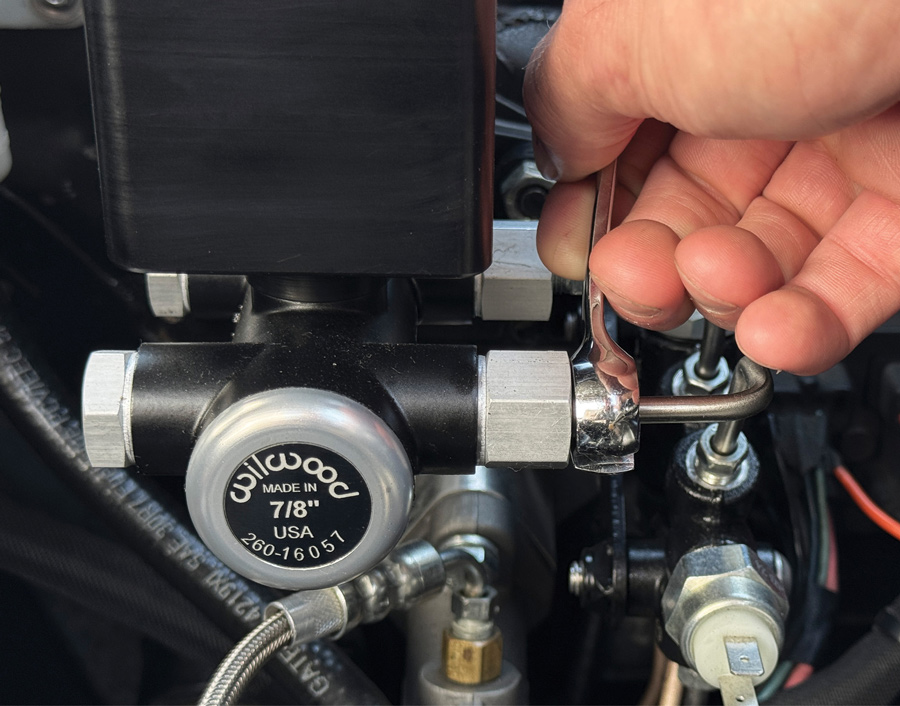
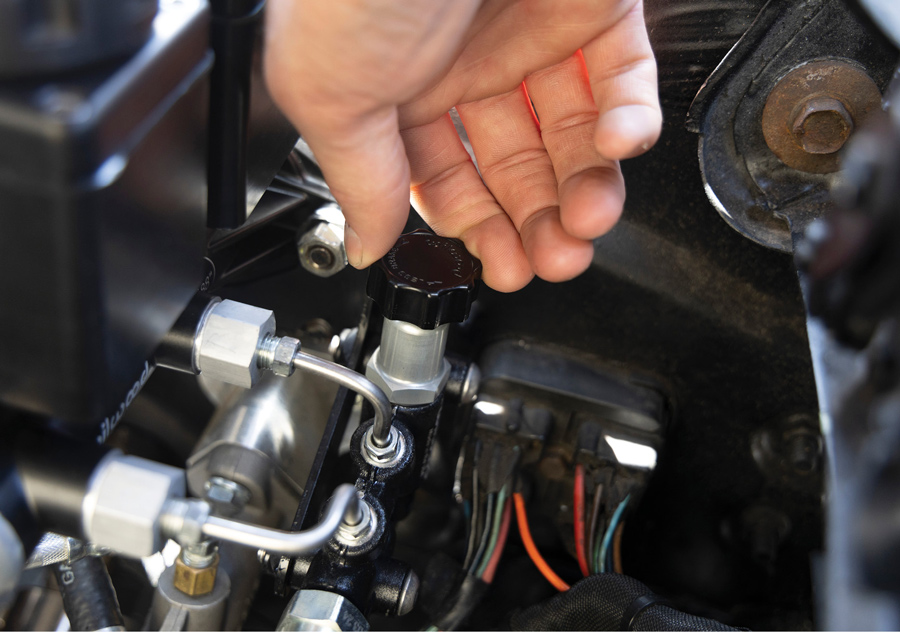
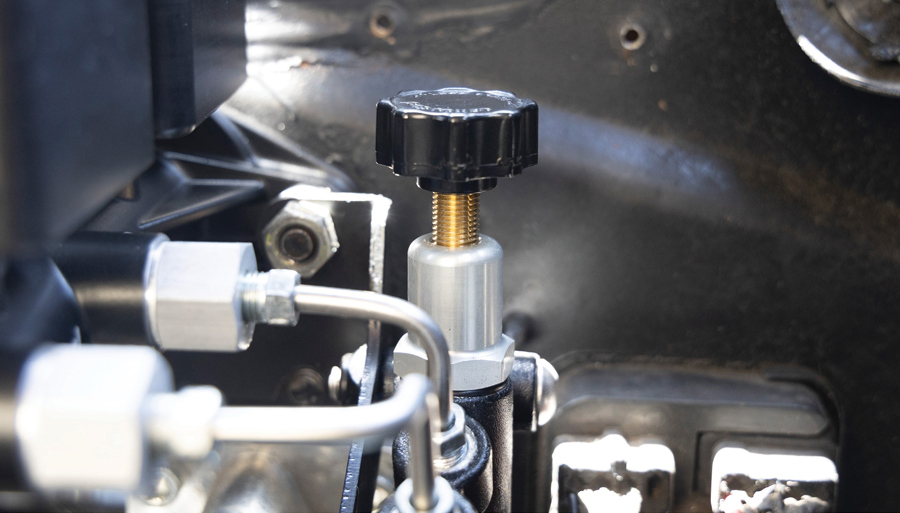
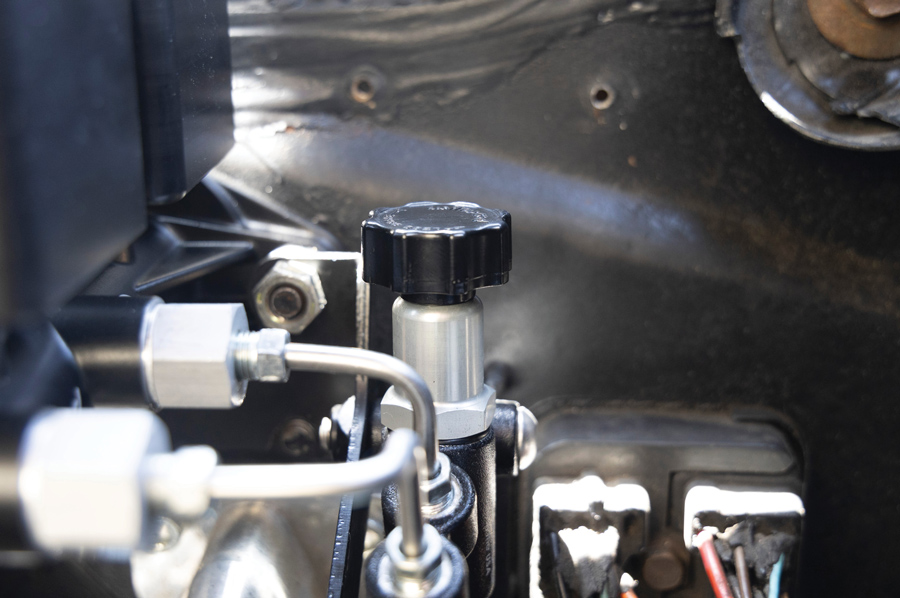
For a little more context, the combination proportioning valve we’ll be using is from Wilwood (PN 260-11179). This is the part they use on most classic car and truck applications as the adjustment is directed only toward the rear brakes. Turn the knob all the way in and you get full rear brake pressure; turn the valve all the way out and you get a 57 percent decrease in rear brake pressure over 100 psi.
But why take away pressure to the rear? When you hit the brakes, the car lurches forward and the majority of the weight transfers to the front tires. So, most of the braking force is handled by the front tires while the rears do minimal work. In some applications, like a drag car with skinnies in the front and wide drag tires out back, the proportioning valve would be installed on the front brake lines since the wide rear tires actually contribute more than the front tires in slowing the car down. But we digress.
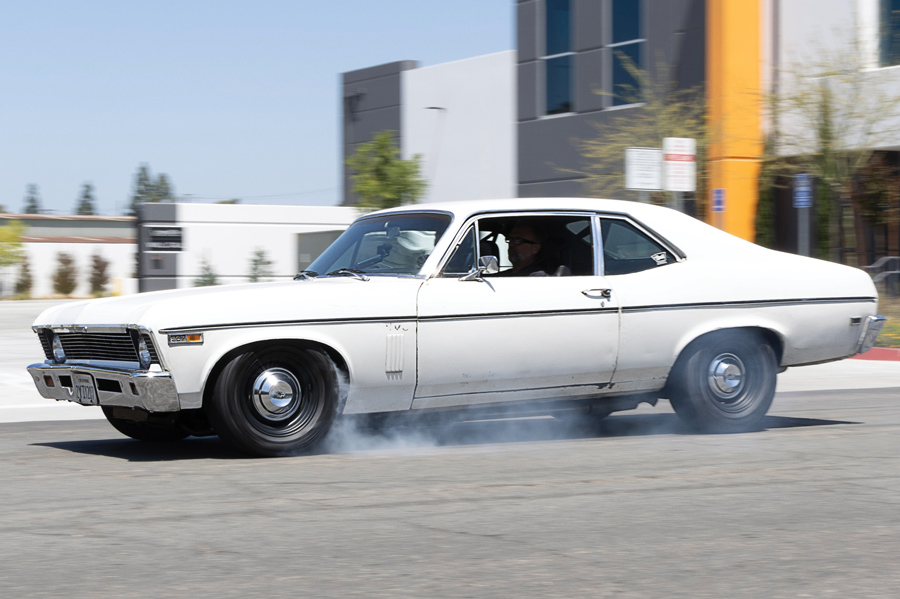
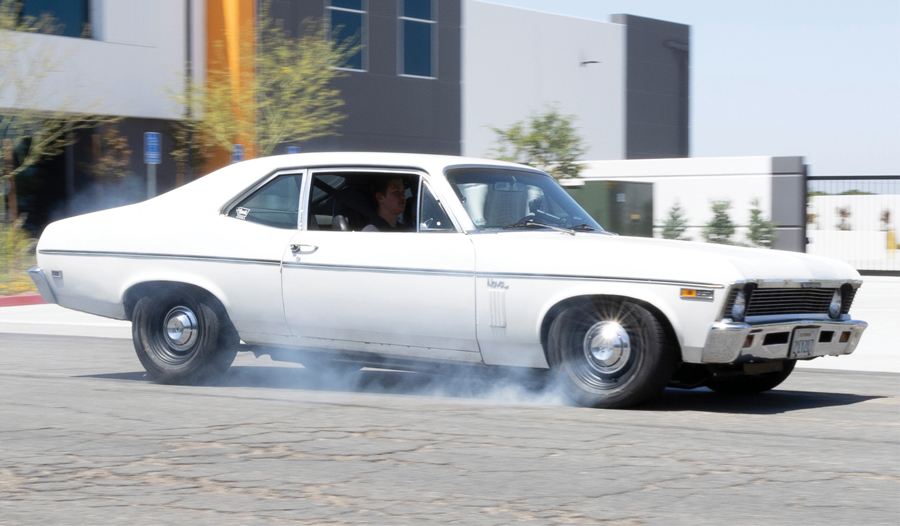
Depending on who you ask, there are generally two approved ways to tune an adjustable proportioning valve. Both begin with full-force panic stops from about 30 to 40 mph in a safe environment while paying attention to which tires lock up and when.
If you consult the instruction manual provided with the Wilwood proportioning valve, it suggests starting with the valve turned all the way out, fully limiting rear brake pressure. If the rear tires do not lock up, turn the valve in two full turns and try again. Repeat the process until you can give the most pressure to the rears without the rear tires locking up.
In Bosserman’s experience, most cars he sees already have a decent front to rear brake bias. This is usually explained by a car having larger front brakes and smaller rear brakes. So, he likes to start with the valve turned all the way in for full rear brake pressure. Then, after some testing, he’ll adjust the valve until the rears barely start to lock up or all four wheels lock up at the same time.
Both methods of proportioning valve adjustment come to nearly the same result. The Wilwood instructions err on the side of no rear lockup while Bosserman would rather see just a touch of rear lockup. Which one is correct? The debate will probably persist eternally. The main takeaway is you don’t want your rear brakes locking up uncontrollably, but you do want to use as much of your rear brakes as possible. Neither want only the front wheels to lock up and cause a loss of steering.
In the case of our 1969 Nova with smaller rear brakes than front, we found it most helpful to start with full rear brake pressure and adjust from there. As a counter example, if you happen to be tuning a Chevy C10 with big six-piston, 14-inch brakes at all four corners and no weight in the bed, you might want to start with the least rear brake pressure since you’re more likely to lock up the rear tires too soon.
It’s all a process of trial and error, so get out there and try. Not only will it make your car safer to drive in traffic, but it will also give you some experience with panic braking and make you a safer driver, too.