

ACP department heading TECH
InTheGarageMedia.com
Driven
Update The LS With An Eddie Motorsports S-Drive Pulley Kit
BY CHUCK VRANAS IMAGES BY THE AUTHOR
A

s hot rodders, we’re driven to embrace factory offerings while always seeking to increase performance and add plenty of cool features to our rides. With today’s engineering and technology, the aftermarket has raised the bar in every aspect of our hobby, from platform upgrades to suspension dynamics and increased braking capabilities. One of the most important parts maintaining the heartbeat of your LS is the management system of how the accessories are driven off the front of the engine. There are numerous options available if you’re looking to update your existing system, take on an engine swap, or address a full rebuild. Gone are the days of feeling stuck using the unattractive factory mounting brackets requiring you to use multiple belts to support A/C, power steering, alternator, and fan.

We’re here to tell you that the engineering and design team at Eddie Motorsports have upped the ante with the development of their exclusive S-Drive 6-Rib Serpentine Pulley Kits for Chevy LS, big-, and small-block engines. Utilizing cutting-edge technology fused with meticulous attention to detail, they’ve produced an excellent system for the LS.

On a recent visit to Chris Cerce Customs (CCC) in Taunton, Massachusetts, we met with shop owner Chris Cerce who was preparing to outfit a fresh Chevrolet Performance LS3 long-block packed with plenty of factory performance. With Eddie Motorsports offering a number of different combinations for the LS, he selected their Elite Series in a bright polished finish, complete with upgraded polished billet aluminum power steering reservoir and Powermaster 220-amp alternator. For a truly custom look, the systems are available in seven finishes to suit your build style.

When crafting the USA-made kits, Eddie Motorsports raises the bar, starting with precision CNC-machined 6061-T6 billet aluminum brackets and pulleys as well as all stainless steel fasteners. Top-quality components round out each system from manufacturers, including Tuff Stuff/PRW aluminum water pump, Sanden-style compact A/C compressor, GM Type II power steering pump, Powermaster alternator, and SFI-approved ATI Racing balancer. A step-by-step guide helps to make installation a snap.

Let’s follow along as the CCC team brings the LS to the next level.

S-Drive kit components and ATI Super Damper
1. Eddie Motorsports includes everything to install the S-Drive Serpentine Pulley Kit starting with an SFI-approved, ATI Performance Super Damper, harmonic balancer. Begin assembly mounting the outer shell to the hub using the supplied flathead screws with a Torx T40 Plus bit. Be sure to coat the screw threads with Loctite blue and torque to recommended specs.
Press-fitting the damper assembly to the crankshaft
2. Using a damper installation tool, Chris Cerce of Chris Cerce Customs, press-fit the damper and hub assembly to the crankshaft after coating it with antiseize. Follow by installing a new OEM crank bolt with correlating washers and torque to manufacturer’s specs.
Applying anti-seize to M8 studs
3. To prepare the M8 studs for installation to the block, first coat the threads with antiseize.
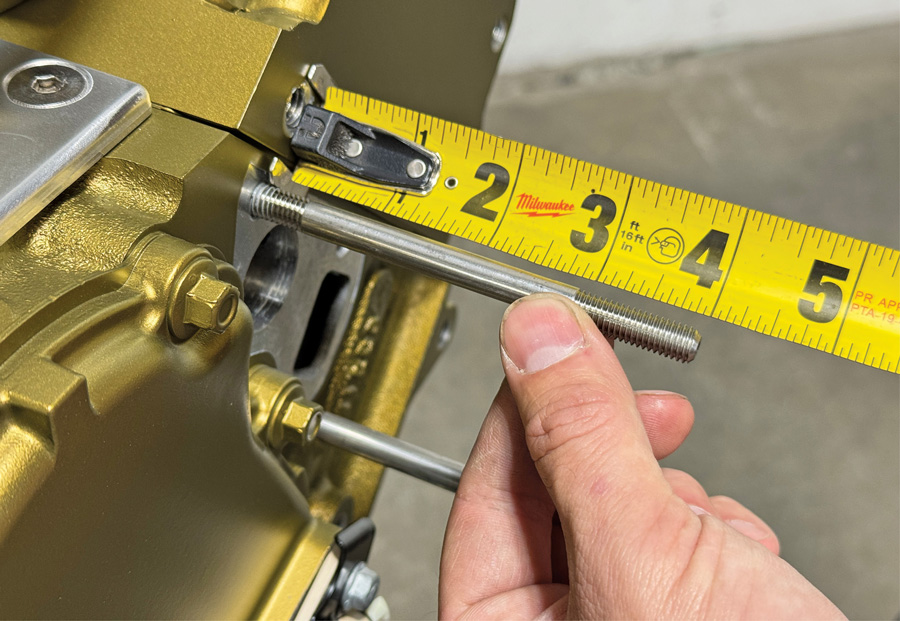
Measuring M8 stud depth on passenger side
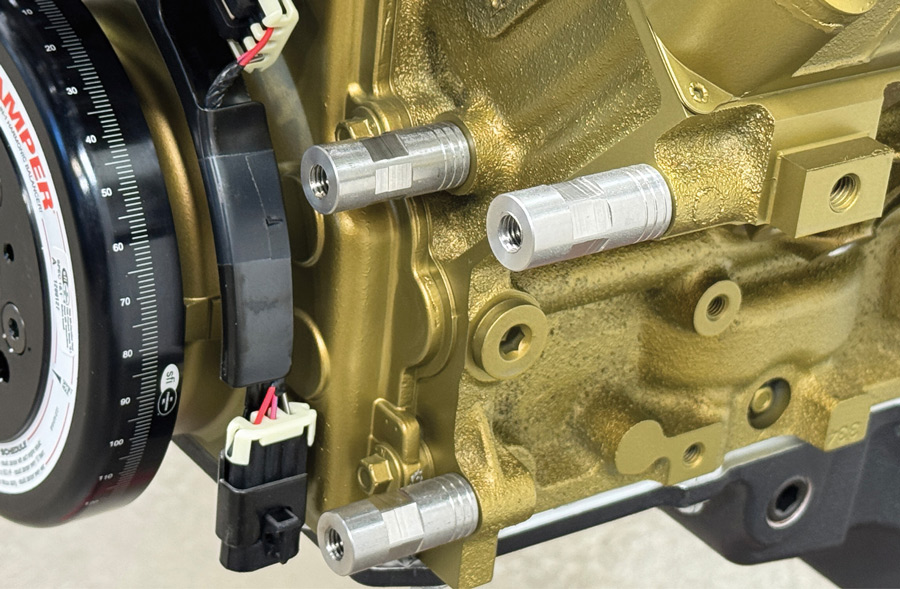
4. Install three M8 studs x 92mm to the passenger side of the block. They should stick out 3 inches from the block (as shown).
Measuring M8 stud depth on driver side
5. Continue by installing two M8 studs x 118mm to the driver side of the block, which should stick out 4 inches from the block.
Installing O-ring gaskets on water pump studs
6. Slip the provided O-ring–style gaskets into place on the water pump studs.
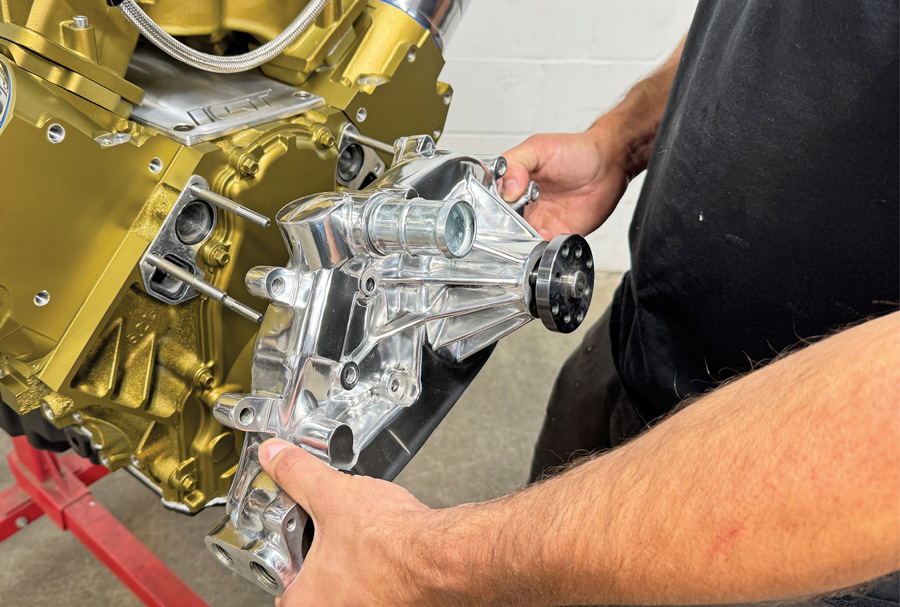
Sliding new water pump onto mounting studs
7. Carefully slide the new water pump into place over the studs.
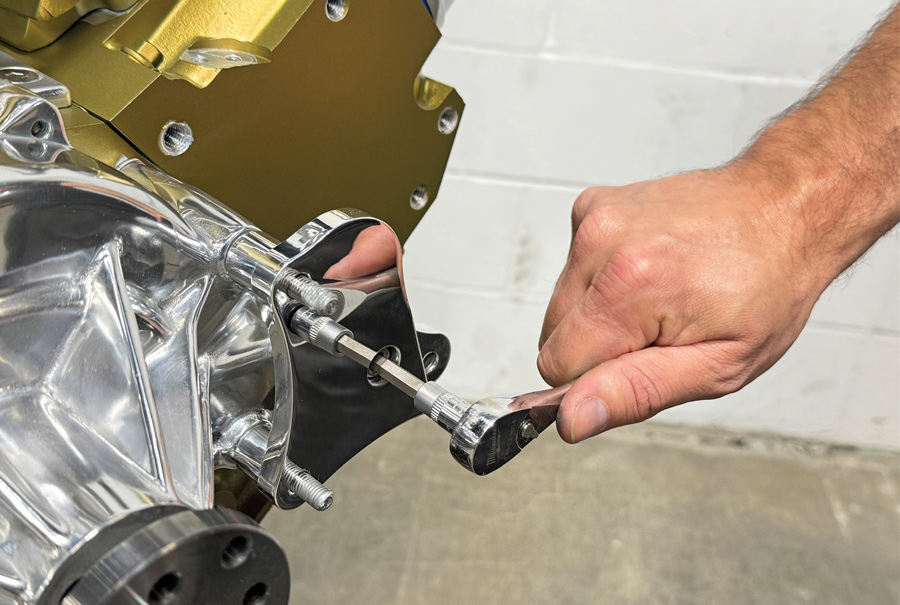
Installing rear alternator bracket with socket capscrew
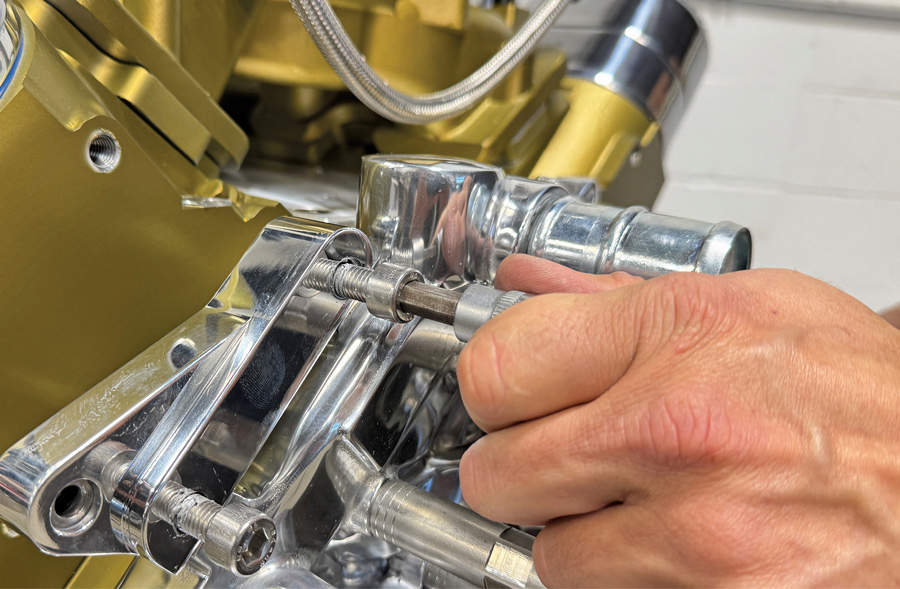
8. Install the rear alternator bracket over the driver side studs and secure in place with one M8x90mm socket capscrew. Tighten in place while making sure not to over torque. Follow by coating stud threads with antiseize to install two ¾ x 1.41 stainless standoffs on the driver side studs. At this time do not fully tighten. The end of the standoff with the hex closest to it faces away from the block.
Mounting stainless standoffs to passenger side studs
9. After coating the threads with antiseize, install three ¾ x 2.55 stainless standoffs to the passenger side studs. Do not fully tighten at this time.
Placing thermostat into the housing with proper indexing
10. Prepare the thermostat housing by first installing the thermostat, noting that it’s imperative to place the locating tab on the thermostat in the approximate index notch on the housing so that the air bleed valve is facing “up” as close to the 12 o’clock position as possible to avoid any possible overheating.
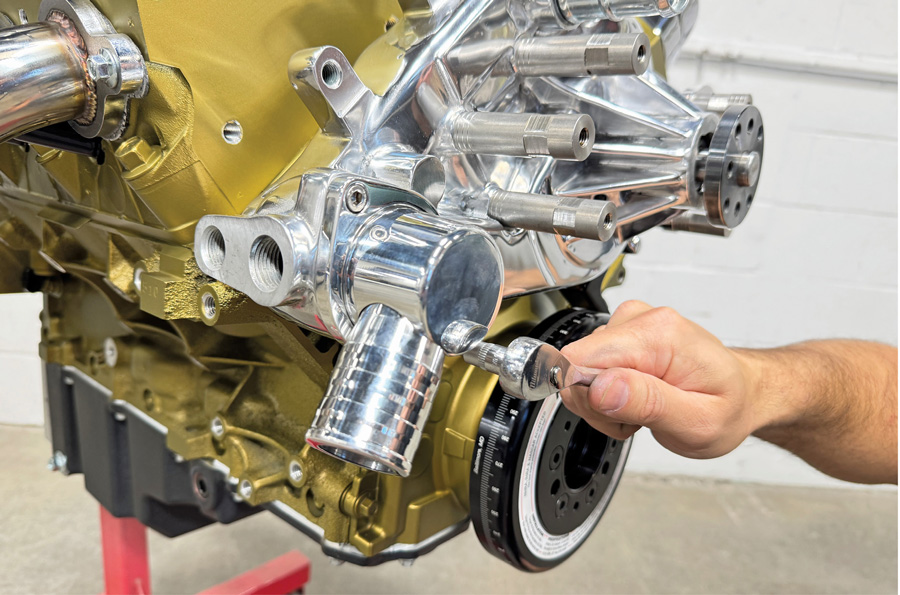
Securing thermostat housing with socket capscrews
11. Secure the unit to the water pump using two M x 16mm socket capscrews.
Attaching rear A/C compressor bracket to the block
12. To attach the A/C rear compressor bracket to the passenger side of the block, use two M10 x 20mm capscrews, coating the threads with antiseize. Tighten bolts till snug.
Applying blue Loctite to water pump pulley capscrews
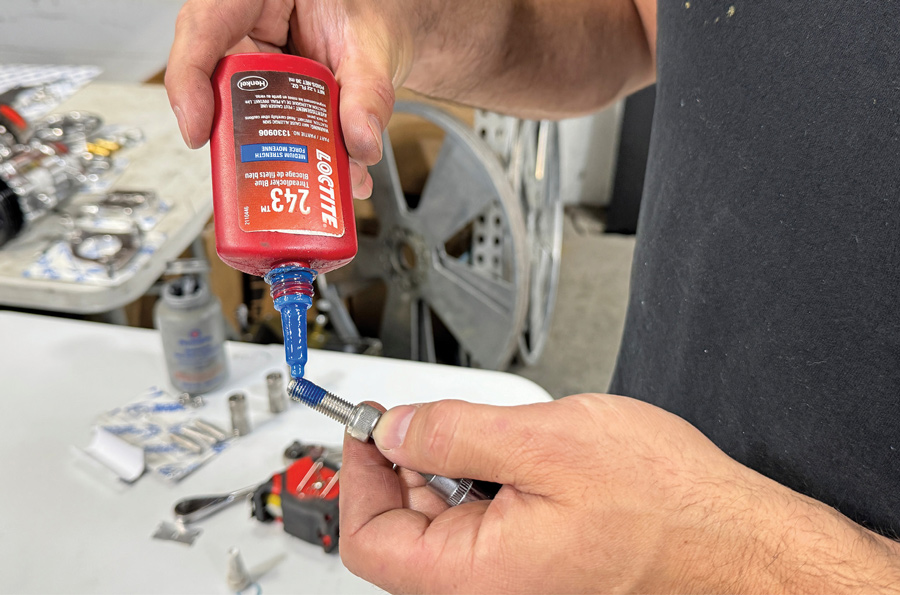
13. To prepare capscrews for the water pump pulley installation, first apply a coating of Loctite blue to the threads.
Bolting the pulley onto the water pump
14. Using the four 5/16-24 x 1-inch capscrews, secure the pulley to the water pump, making sure not to over torque.
Installing M10 setscrews into lower driver side block
15. After coating the threads of the three M10 x 40mm setscrews with blue Loctite, install them into the lower driver side of the block, leaving ½ inch of threads sticking out.
Mounting stainless standoffs onto the driver side studs
16. Coat the three ¾ x 1.75-inch stainless standoff threads with antiseize and install onto the M10 studs, leaving them finger-tight.
Securing the power steering bracket to the block
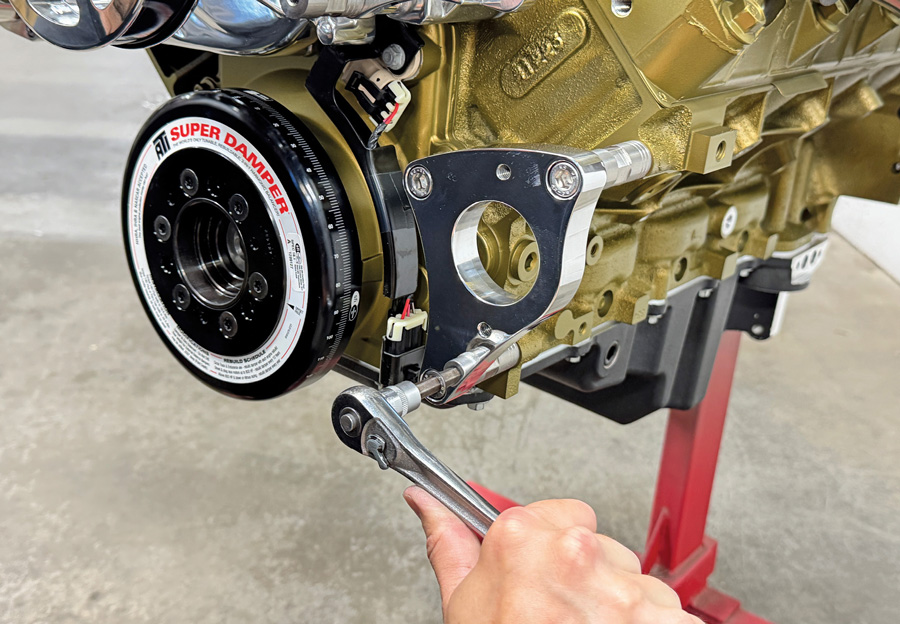
17. With threads coated in Loctite blue, install the power steering bracket using three M10 x 20mm capscrews, leaving them finger tight. Follow by fully tightening the standoffs, then the capscrews.
Installing pressure fitting onto the power steering pu
18. Install the pressure fitting and hard line onto the power steering pump and billet aluminum reservoir and tighten.
Bolting the power steering pump onto the bracket
19. Using two 5/16-18 x 3-inch socket capscrews with lock washers, install the pump onto the power steering bracket. Be sure not to overtighten.
Installing the power steering pump pulley with capscrews
20. Mount the power steering pump pulley using three ¼-20 x 5/8-inch capscrews with the threads coated in blue Loctite till tight.
Mounting the alternator bracket to the standoffs
21. Mount the alternator bracket to the previously installed standoffs using two M8 x 25mm capscrews with antiseize and AN washers. Leave finger tight.
Bolting the alternator into the mounting bracket
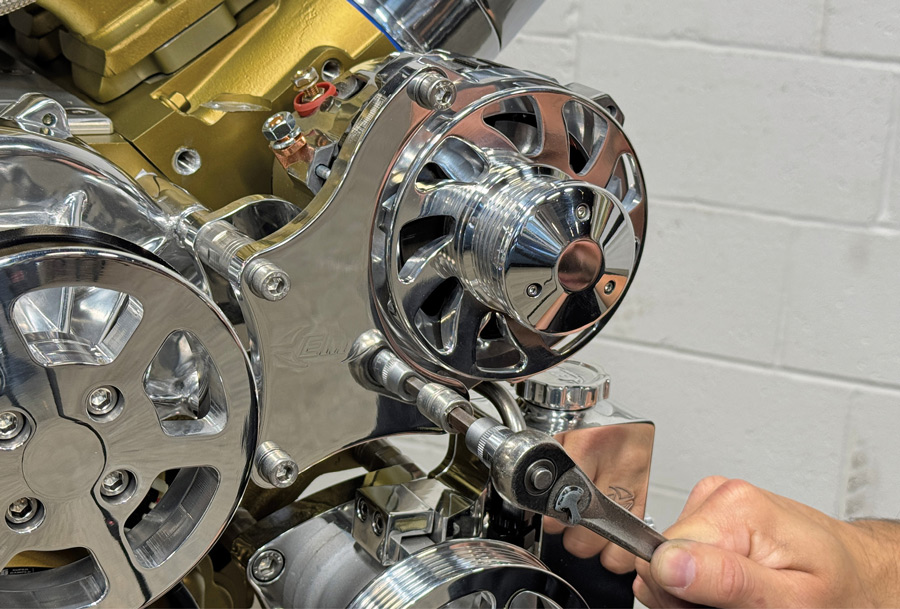
22. Fit the alternator using one M10 x 80mm socket screw with AN washer through the bottom bolthole and one M8 x 25mm socket screw with AN washer through the top hole and fully tighten. Next, tighten the two stainless standoffs and follow with tightening the two M8 x 25mm capscrews.
Installing the crank pulley using Belleville washers
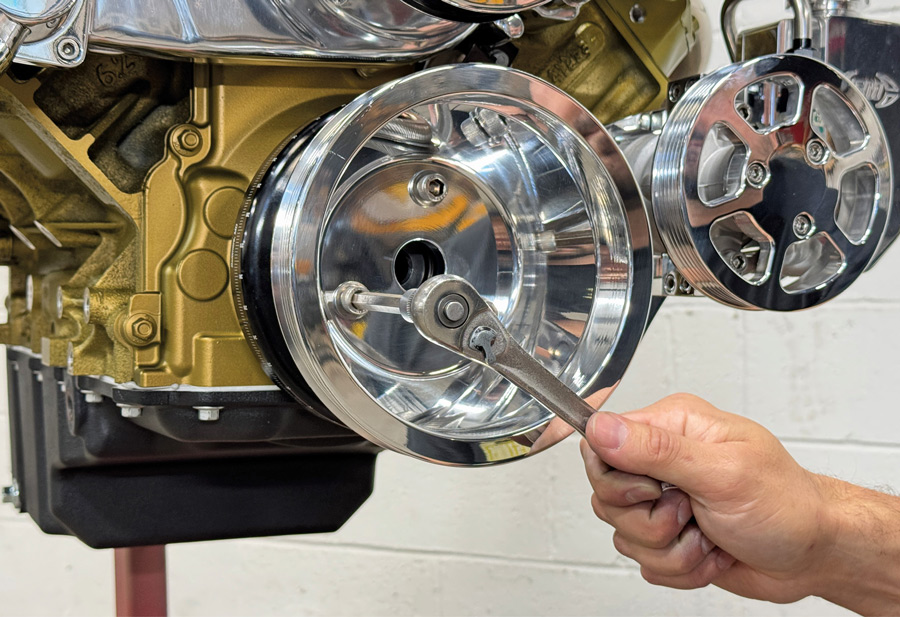
23. Coat the threads of three 3/8-16 x 1¼-inch capscrews with blue Loctite. Add Belleville washers to each and install crank pulley till fully tightened, making sure not to over torque.
Securing the A/C compressor bracket in place
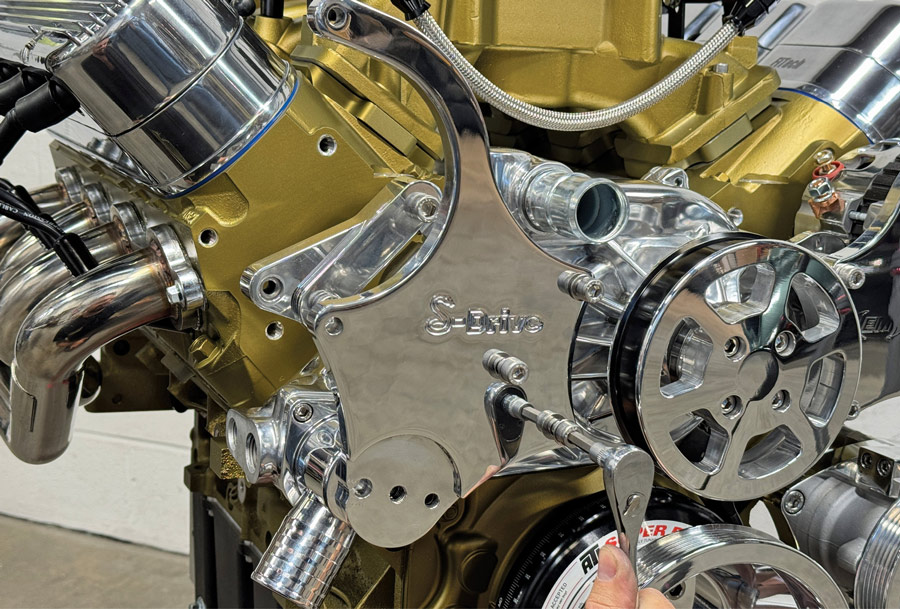
24. Secure the A/C compressor bracket in place by first coating the threads of three M8 x 25mm capscrews with antiseize. Add washers and leave finger tight for now.
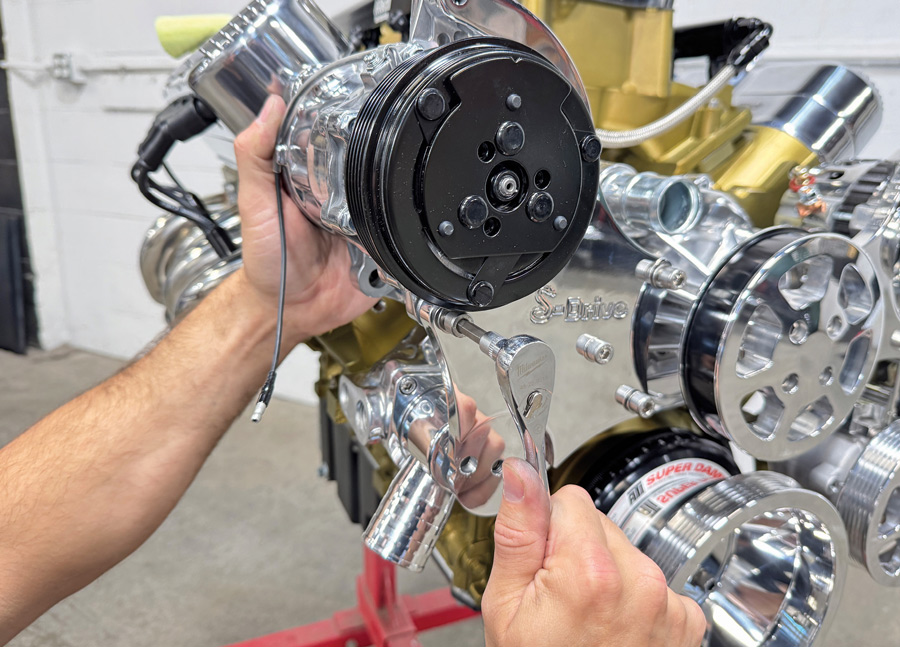
Mounting the A/C compressor onto the bracket
25. Install A/C compressor using two M8 x 25mm cap bolts and leave finger tight. Follow with one ½-inch shoulder bolt and AN washer through lower rear compressor mounting tab and tighten. Finally, tighten all remaining hardware till secure.
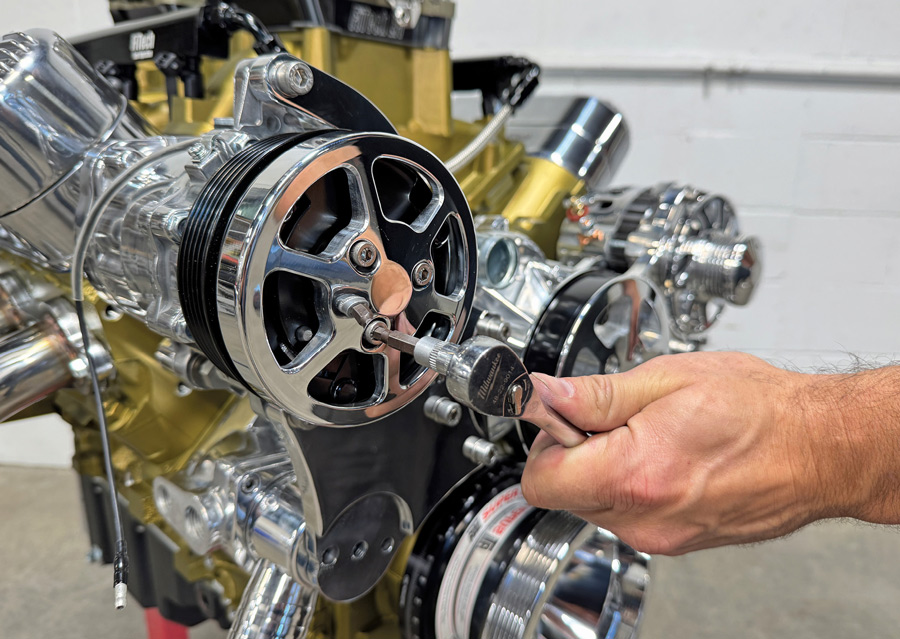
Attaching the compressor cover to the pulley
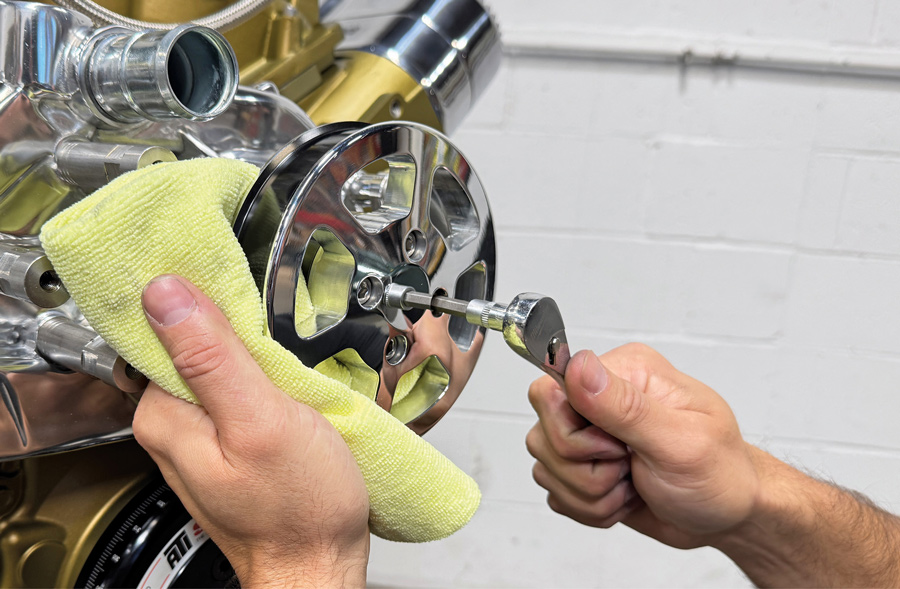
26. Installing the compressor cover to the compressor pulley, first coat the threads of three ¼-20 x ¾-inch socket capscrews with Loctite blue and then then fully tighten.
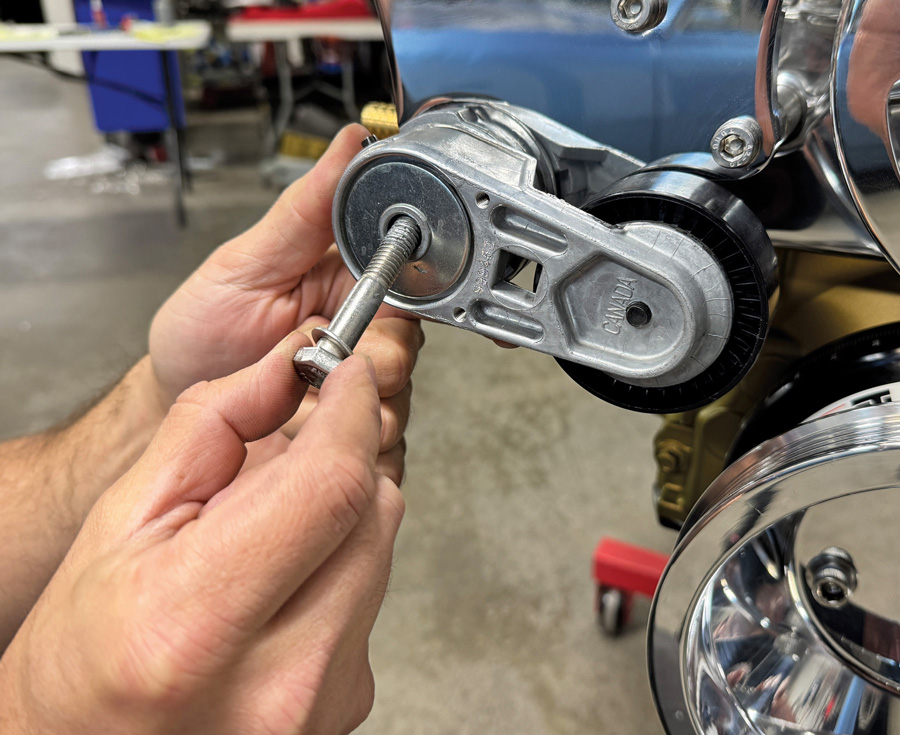
Installing the spring-loaded belt tensioner
27. Using a 3/8-16 x 2¼-inch hex bolt, apply Loctite blue to the threads and install the spring-loaded belt tensioner to the A/C bracket. Secure till tight.
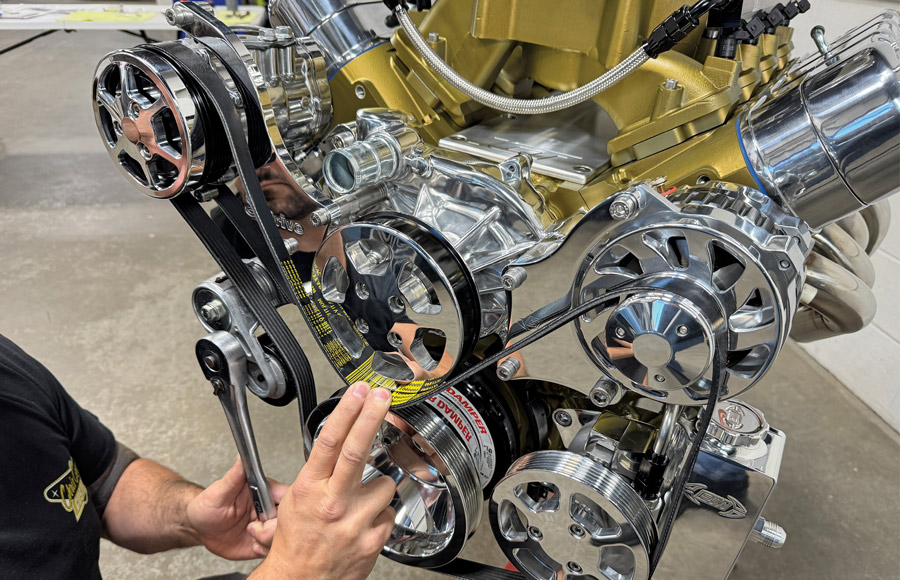
Routing the serpentine belt over the pulleys
28. Route the six-groove serpentine belt onto the pulleys, installing over the crank pulley last. With a ½-inch drive breaker bar, rotate the tensioner down to finish fitting the belt around the crank pulley. Finally, install the polished aluminum tensioner cover using two 1-32 x ¾-inch socket head flat head screws.
Fully assembled Eddie Motorsports S-Drive system on LS engine
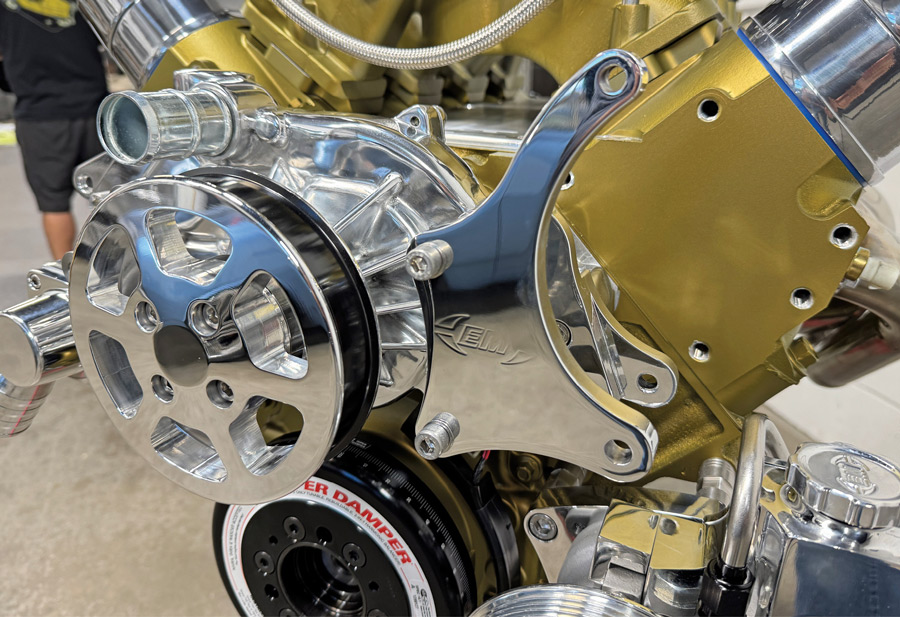
29. The completed installation of the Eddie Motorsports Elite S-Drive Six-Rib pulley system brings your LS to the next level with cutting-edge design as well as dazzling looks and performance, making it a standout in any crowd.
In The Garage Media
CHRIS CERCE CUSTOMS

Eddie Motorsports logo

(888) 813-1293
eddiemotorsports.com