ACP department heading TECH
InTheGarageMedia.com
A mechanic poses in a workshop with a car chassis and various restoration parts laid out on the floor.
1. For parts inventory, plan on half your shop floor space to lay everything out.
Face Lift
1974 Camaro Rally Sport Nose Conversion
By Kevin Tetz Images by The Author
I

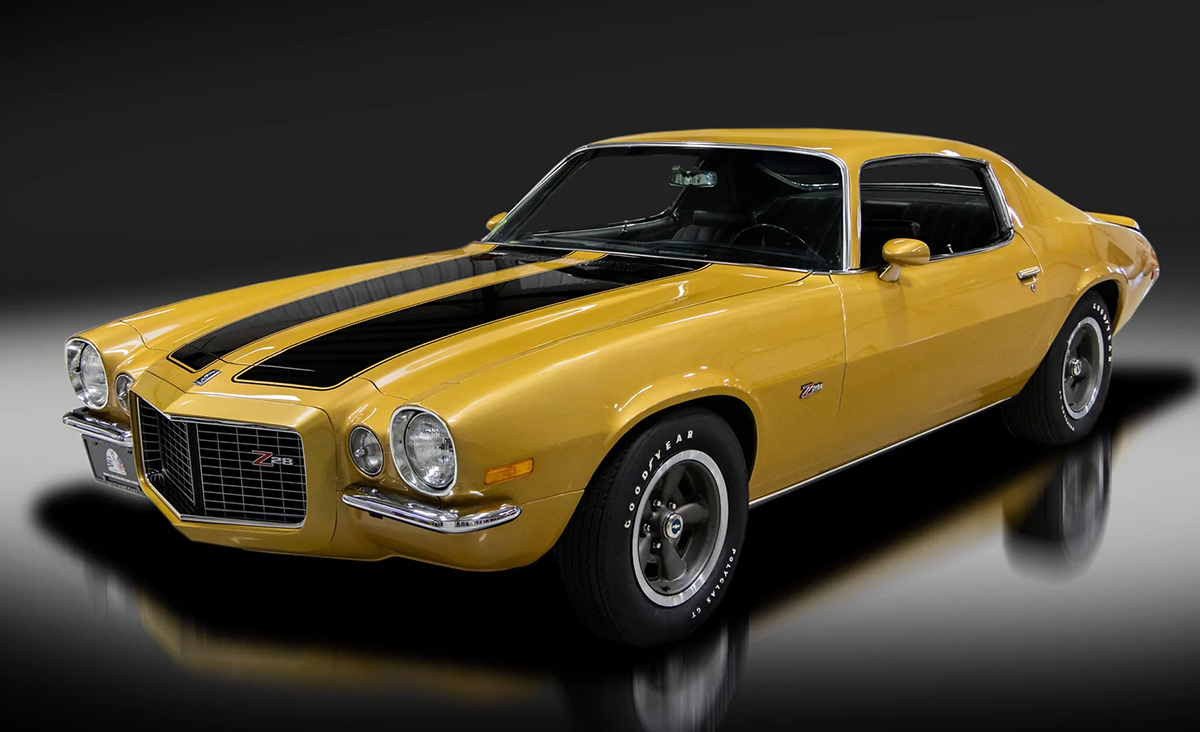
t can be argued that the first-series (1970-73) second-gen Camaro is the most beautiful Camaro ever designed. True, the first-gen Camaro (1967-69) styling is also gorgeous, but the complete restyling of the second-gen brought undeniable benefits through the end of the run in 1981: a front steer gearbox, wider track width, radial-tuned suspension with improved geometry, better insulation, and tons of options, to name a few.

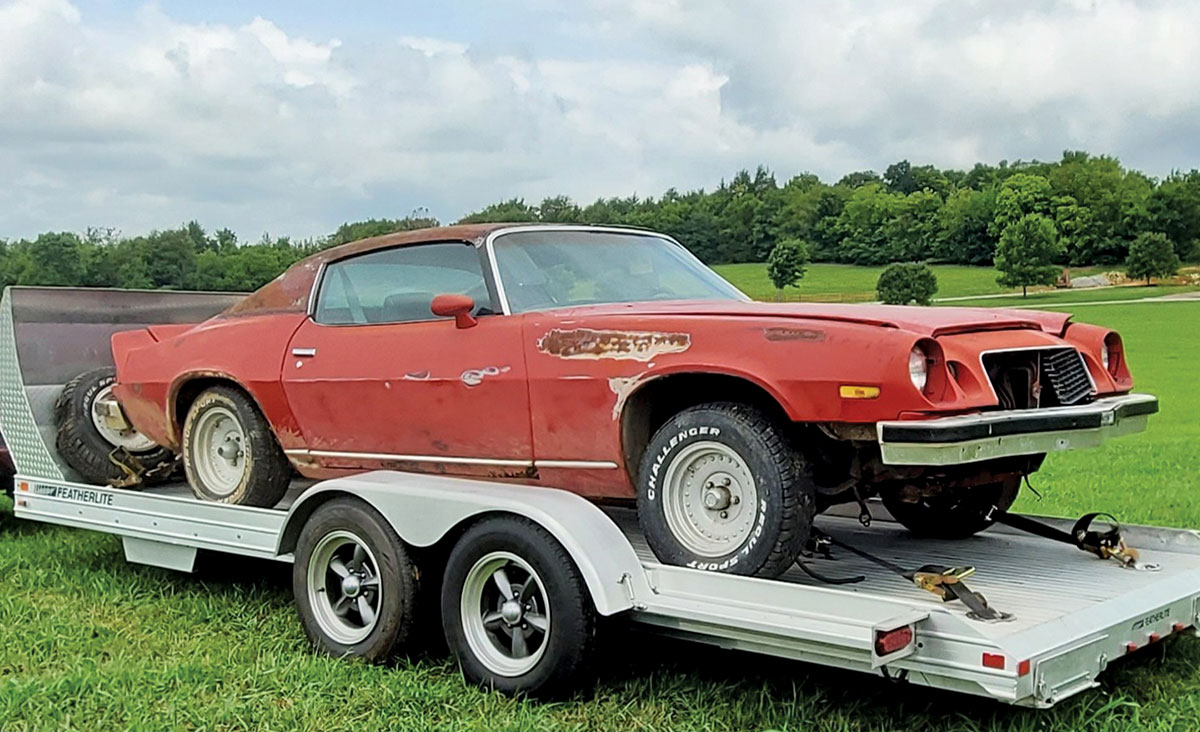
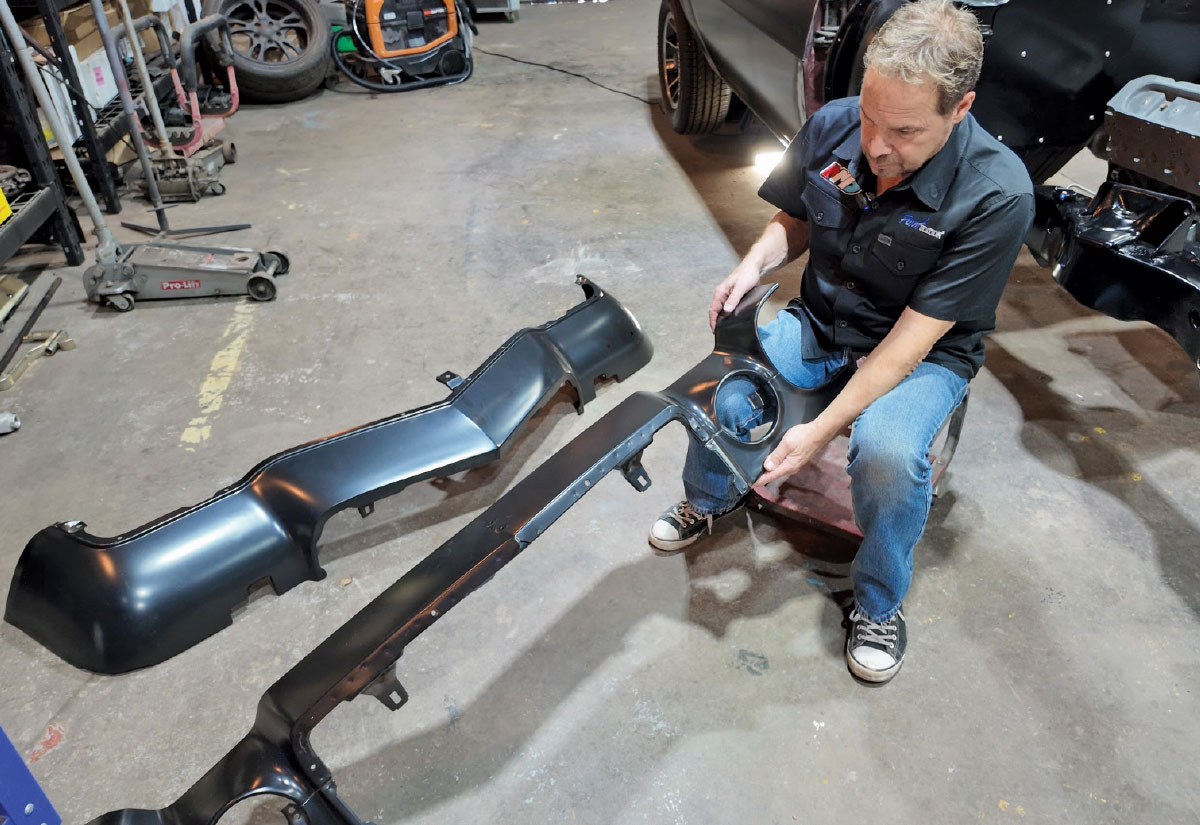
The Rally Sport option is primarily cosmetic, but it was a styling home run that holds up today and makes a fun modification to any second-gen model. Our car is a prime candidate for this nose conversion, since the 1974 model still had the small back window carried over from the 1971-73 body design. The rear conversion involves lots of cutting, replacement, modifications, and welding, but the front is primarily bolt-on, especially if you have a 1974-77 car where the fenders match the first-series design. That’s what we’ll walk you through in this article, pointing out the basic steps, parts, and pieces you’ll need, along with what you can reuse, and what you’ll need to buy to complete the conversion.

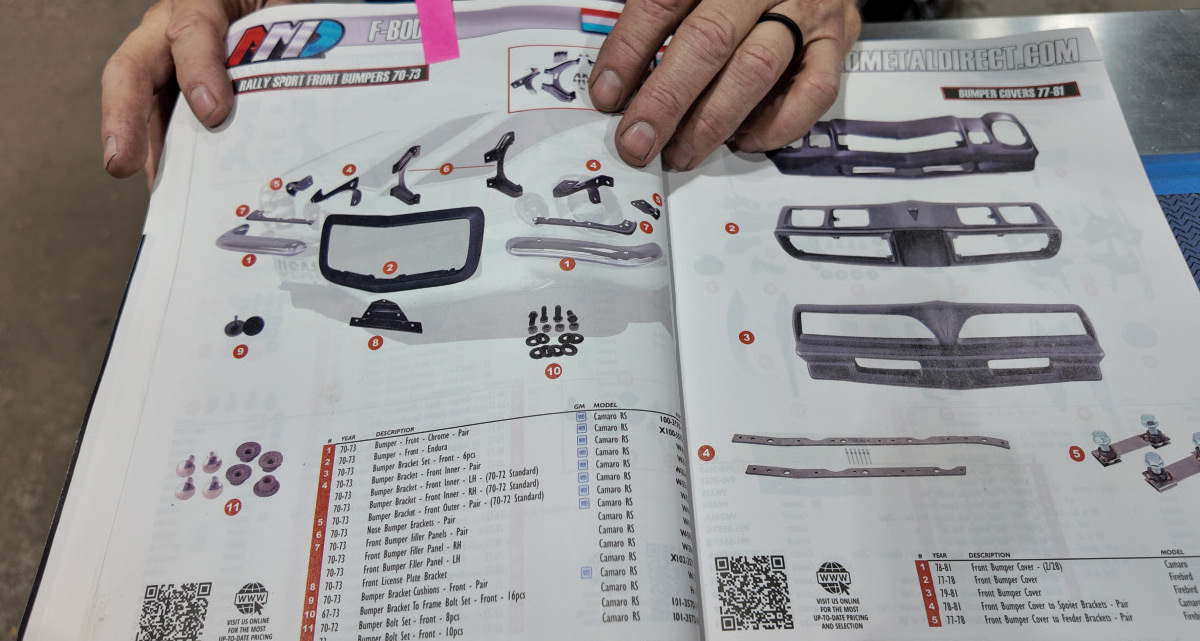
This car made its way to us from Derek Bieri, host of Vice Grip Garage on YouTube. We traded favors and parts and I got this thing for a song. I never intended to fully restore it, but the small rear window and very solid spring pockets and framerails convinced me to go the full-9 on this car. Auto Metal Direct (AMD) has everything I need to transform it into the image of a 1970 RS—but not as a clone, just my version of the best second-gen styling. The AMD catalog along with the GM service manual I found on eBay for $9 has been essential for reassembly and reference.

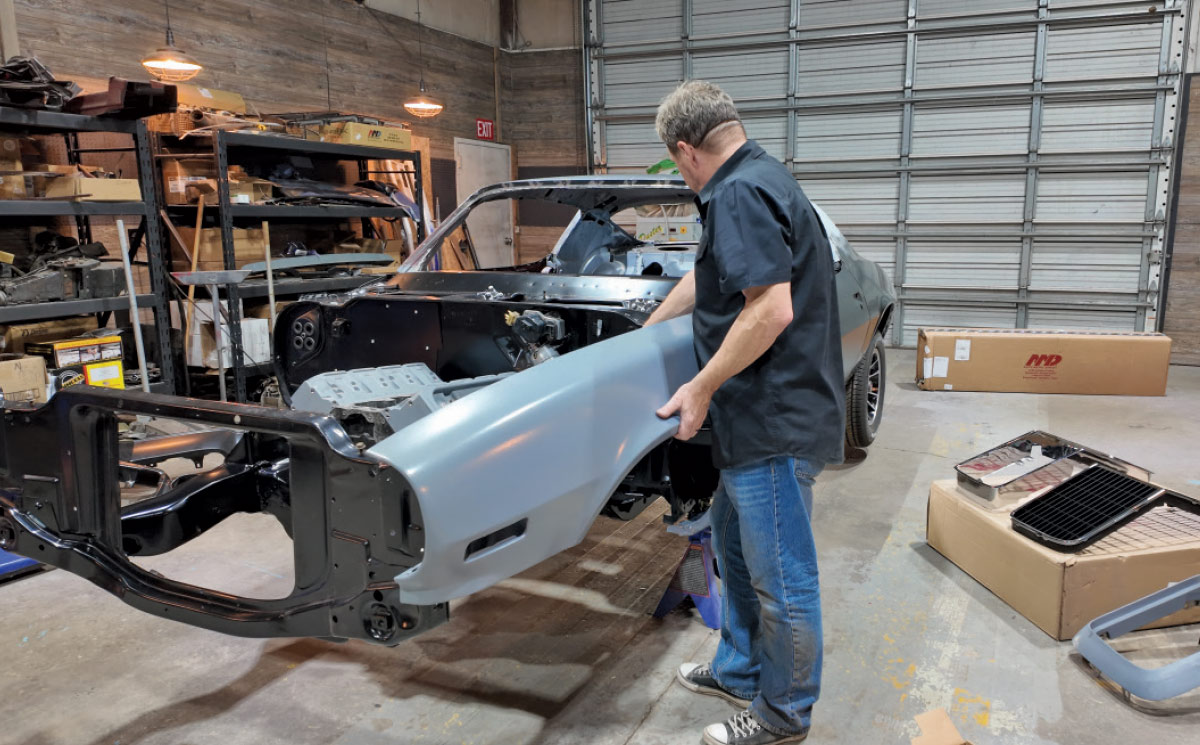
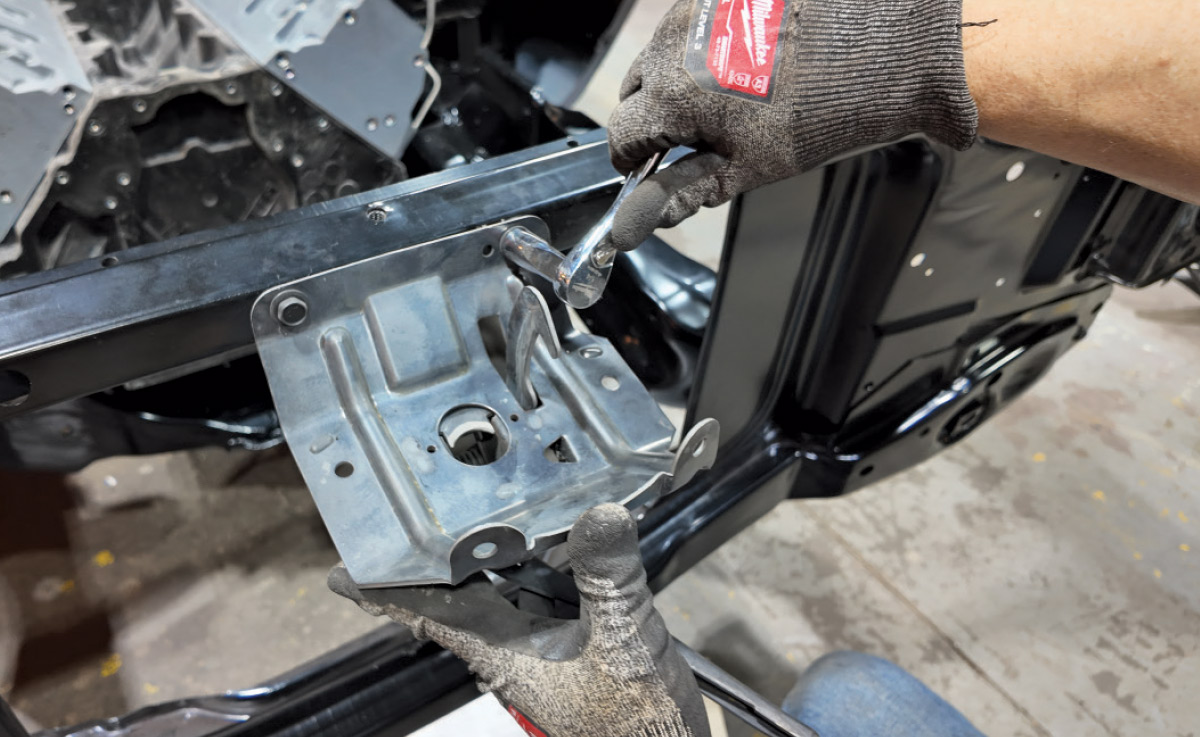
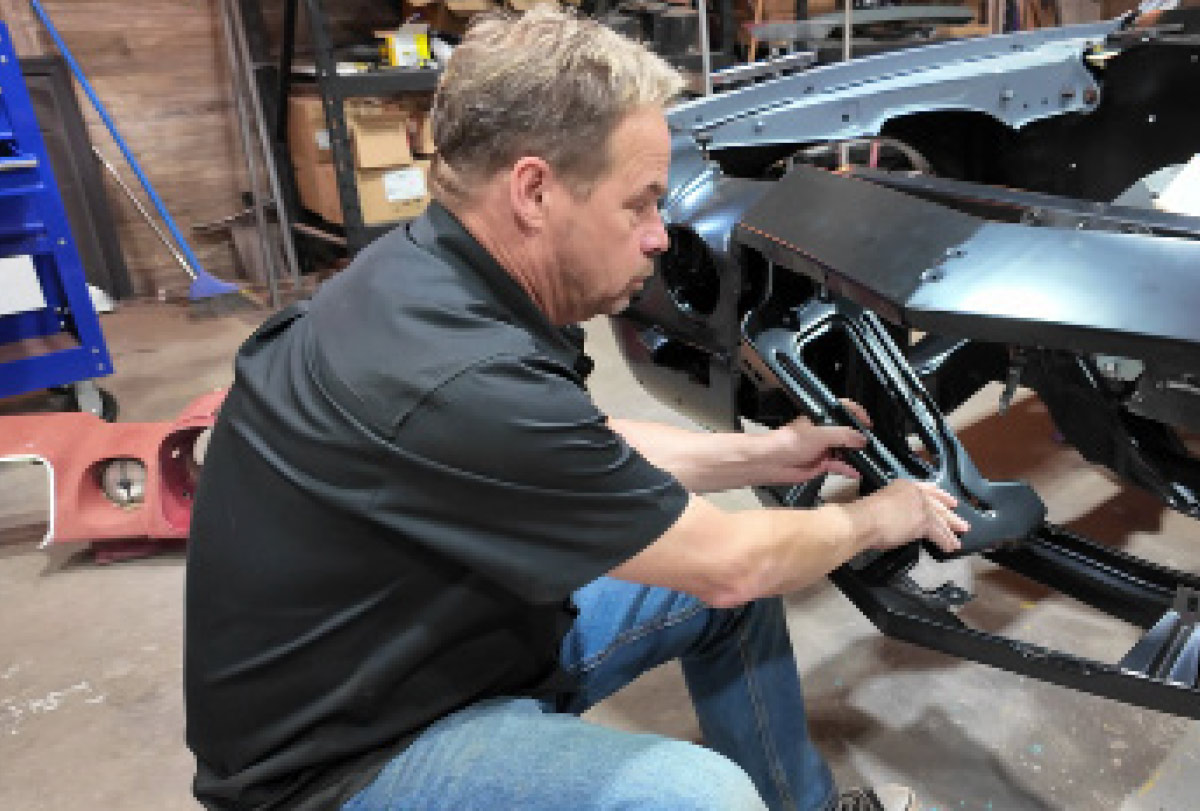
The radiator support is similar to the later version but would require fabrication to work with the 1970-73 nose. Ours was rusty and not worth the effort, so we ordered a new one from AMD, along with support bushings and hardware, giving us a proper foundation for mounting all the RS goodness.

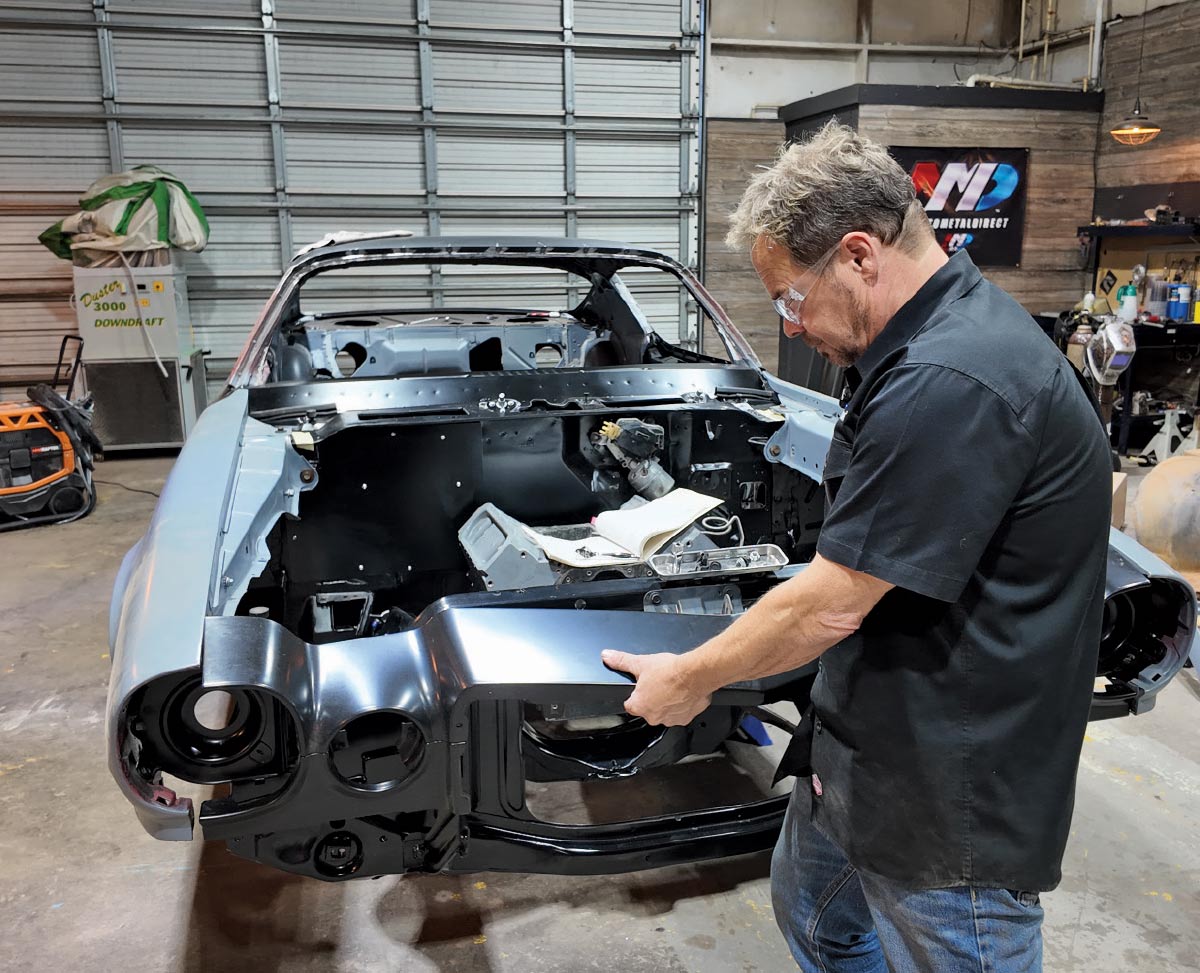
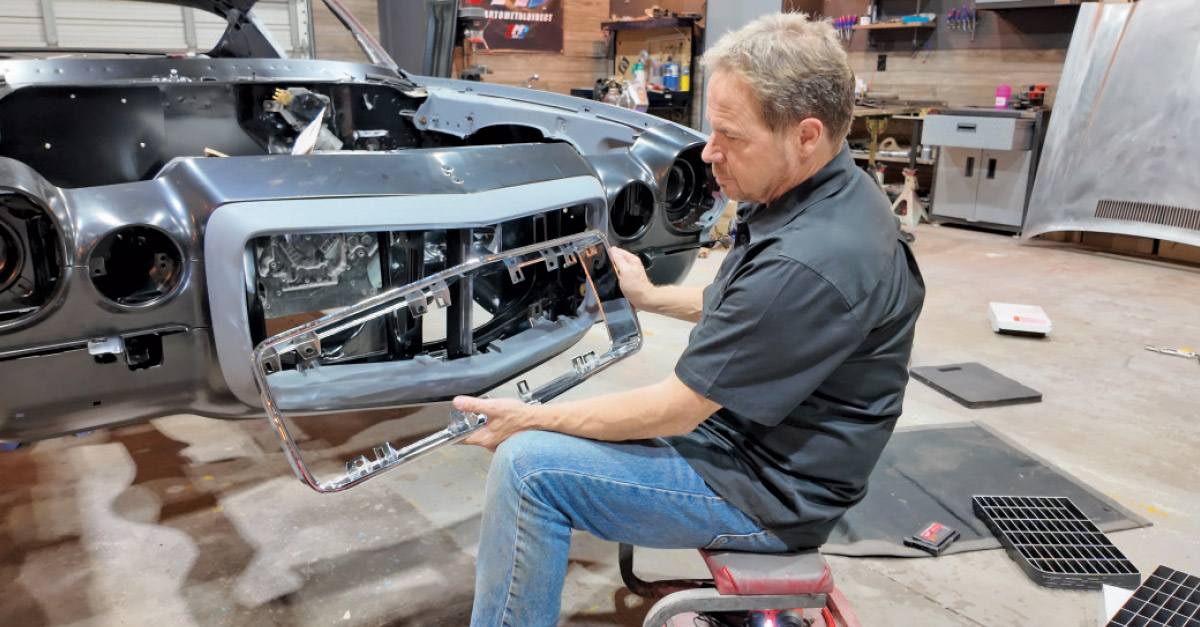
Next, the fenders go on, and the new two-piece header and valance are hung from the support and fenders. This really shows the quality fit of AMD’s panels. Only a few minor modifications were needed to make everything together, even with a mix of vintage and aftermarket parts.

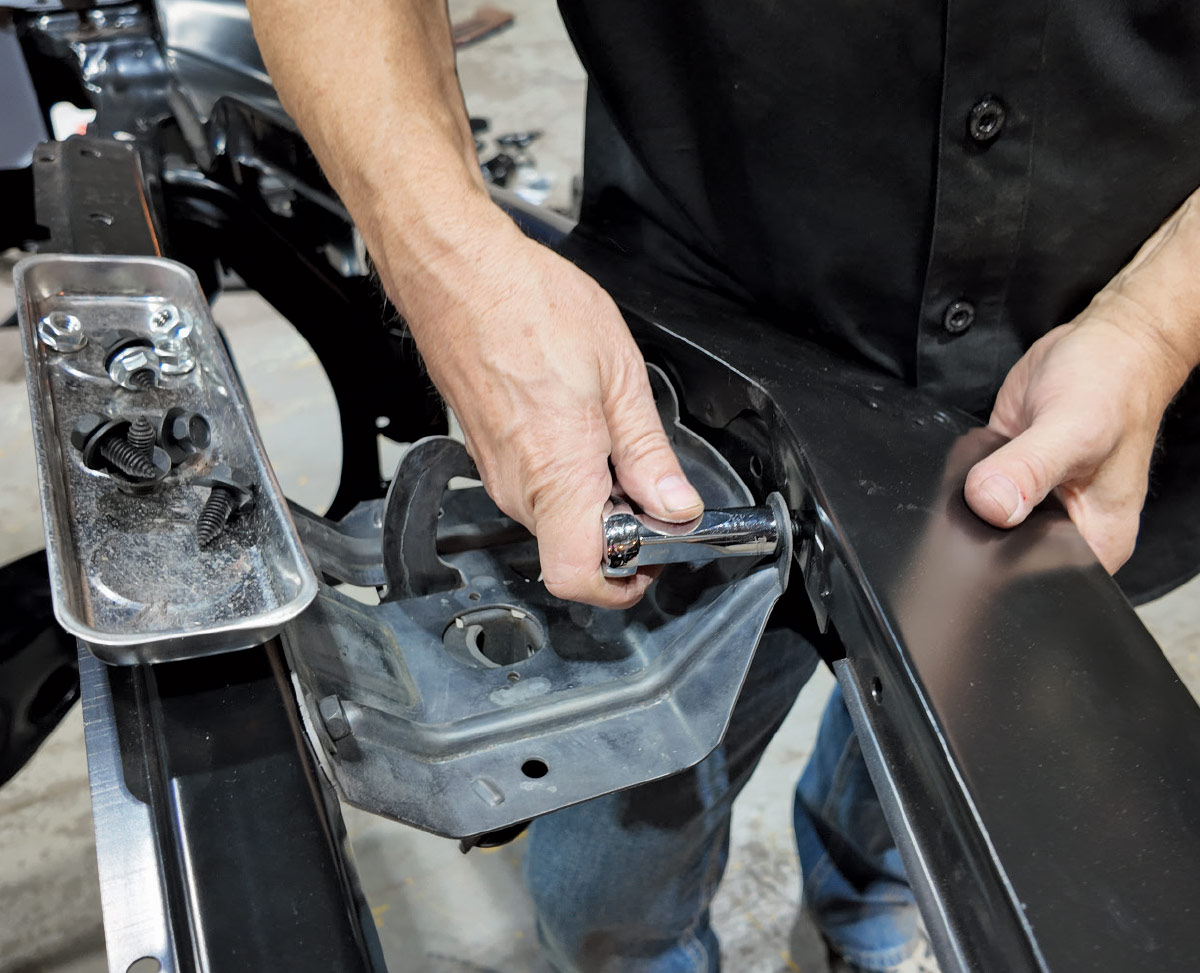
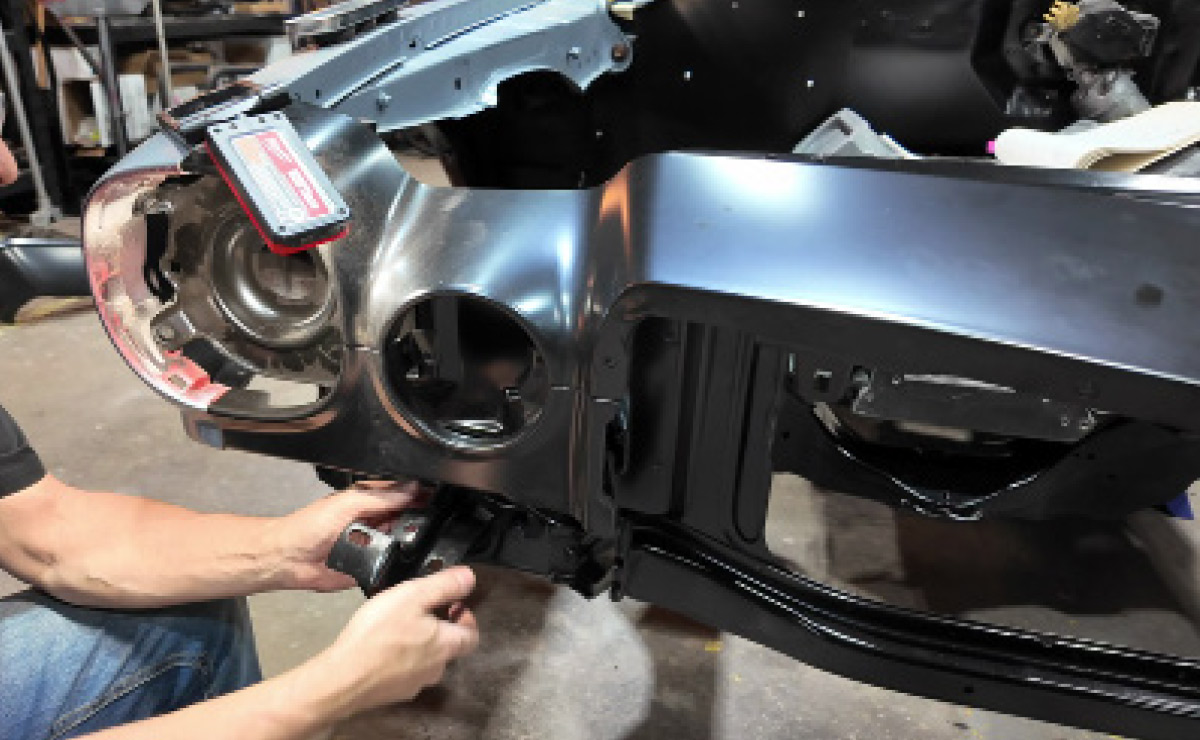
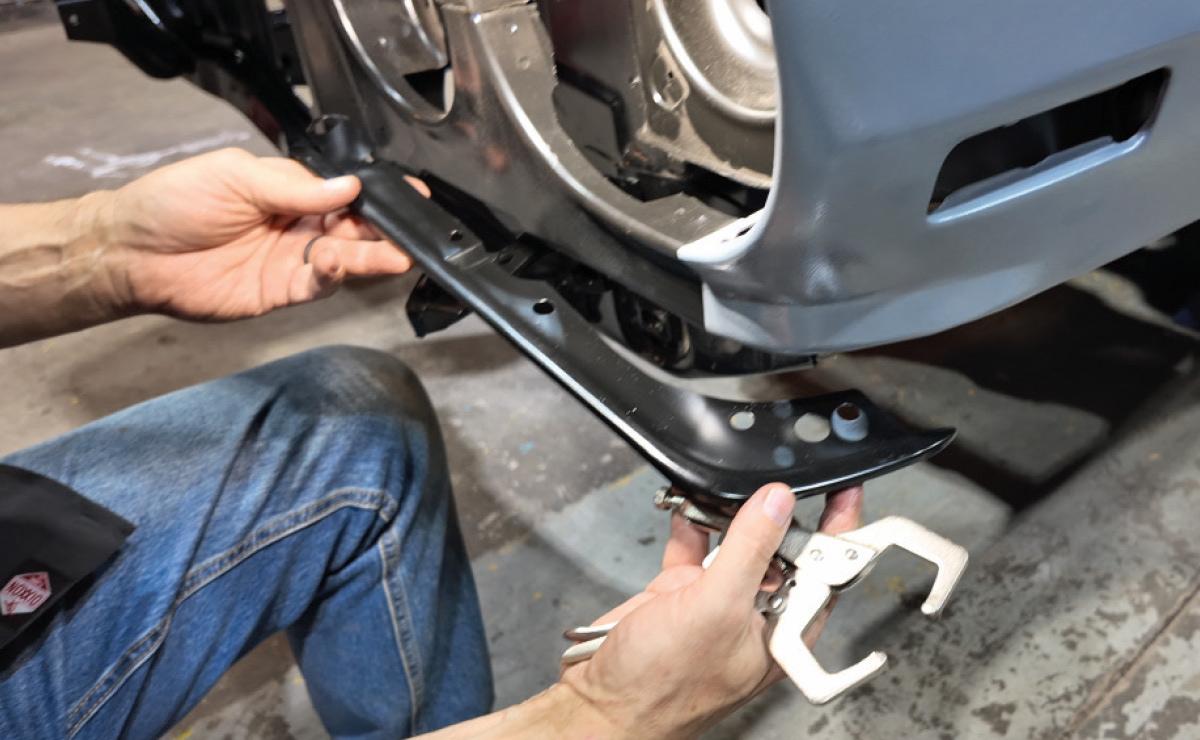
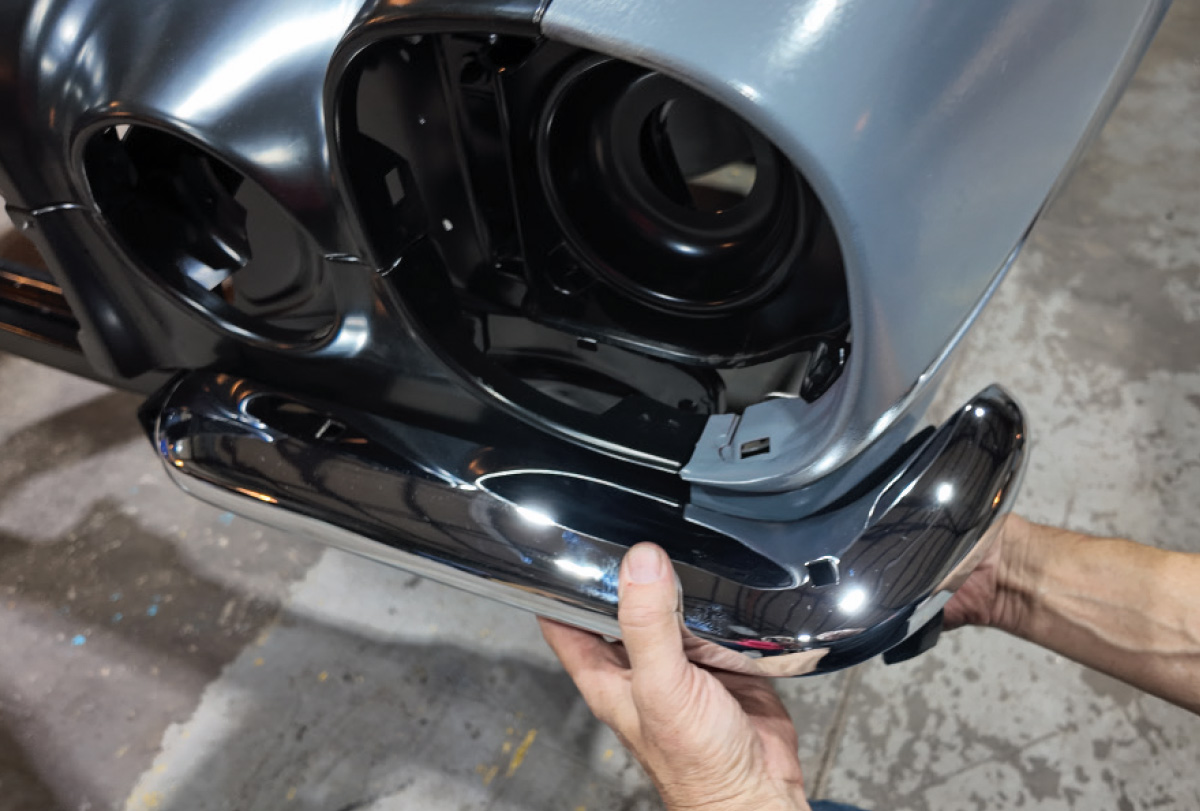
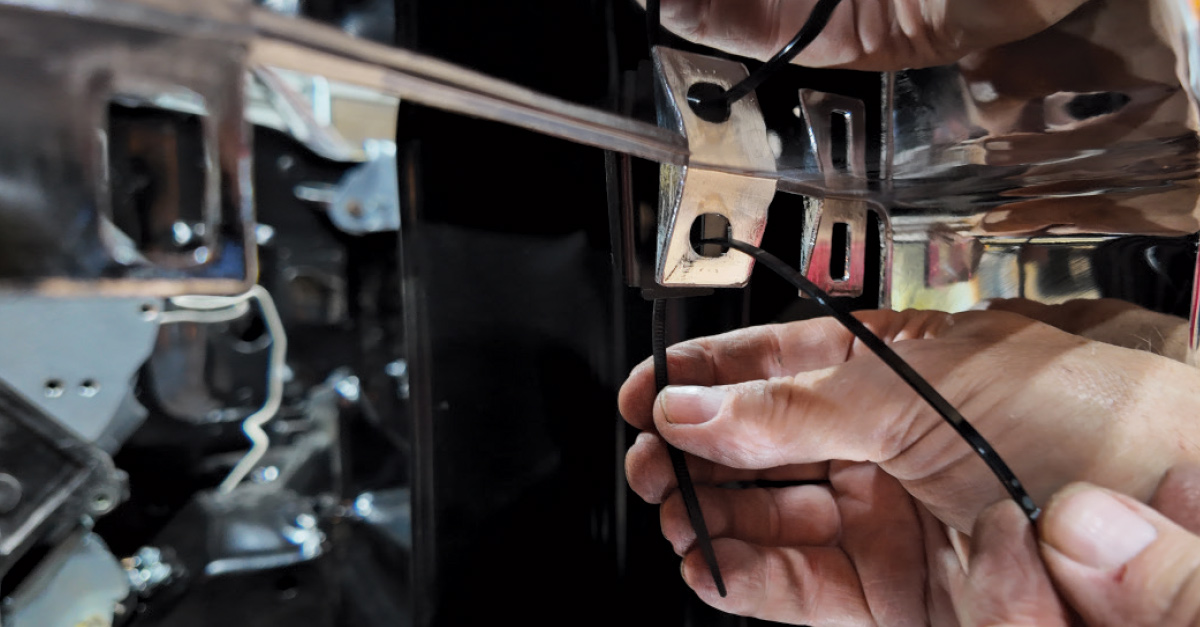
With the lower valance in place, the center grille support goes in and ties in the support, upper and lower valances and grille-mounting locations. I learned the hard way that this part—like most from 1974—is different, and we paid a “stupid tax” in overnight shipping to get the correct one in time. The inner bumper brackets fit into place next and allow us to hang the bumper fillers between the headers. It’s a Jenga battle of sorts, but the fillers and brackets go on before bumperettes. I had heard nightmare stories about fitting the two-piece bumpers in the past, but this was a cakewalk. I may have gotten lucky (though I don’t believe in luck) or AMD parts just fit. The chrome grille surround and center divider get preassembled and as separate pieces. Note: we really should have sprung for the master body fastener kit (PN H-70FB-S) that includes all the plastic inserts for this conversion, but we cable-tied things in place for mockup.

The crown jewel of this whole front section is the urethane nose. GM called this the “Endura Bumper,” which was first introduced in 1968 on the GTO. Several later models used the same style of urethane over a steel framework. Vintage ones are extremely expensive in good condition and nearly impossible to repair if they’re not, so we turned to AMD again. Their reproduction fit well right out of the box.

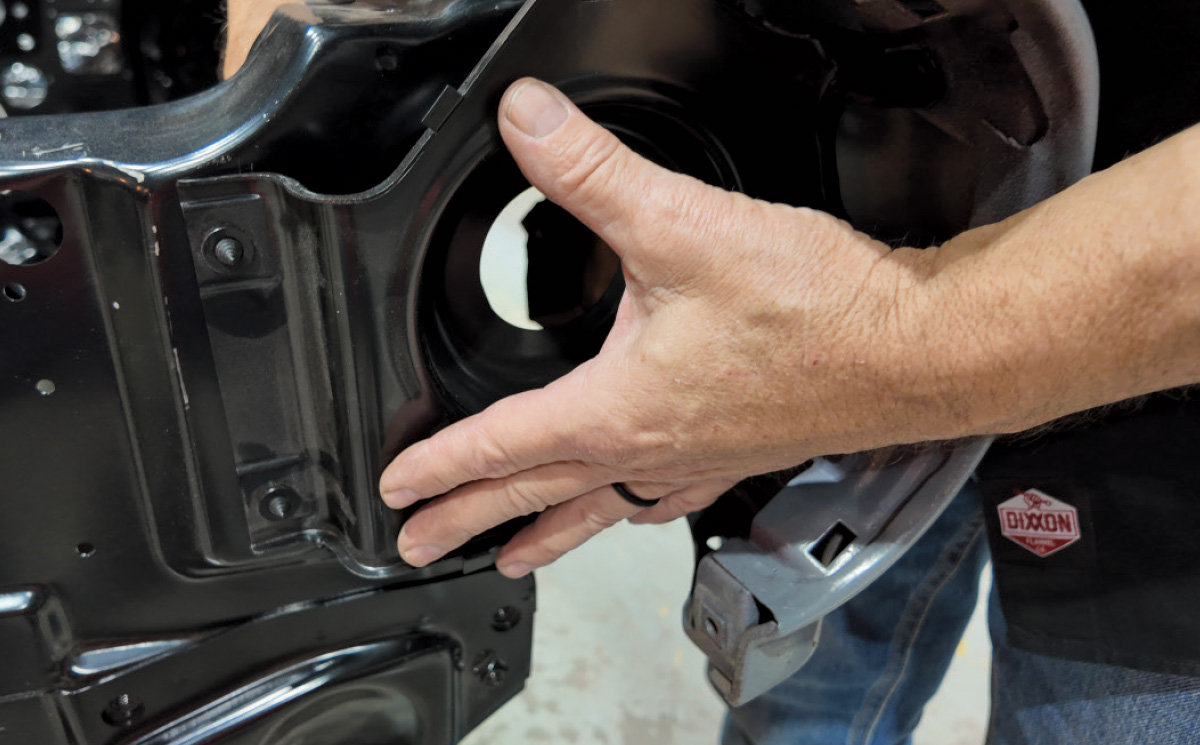
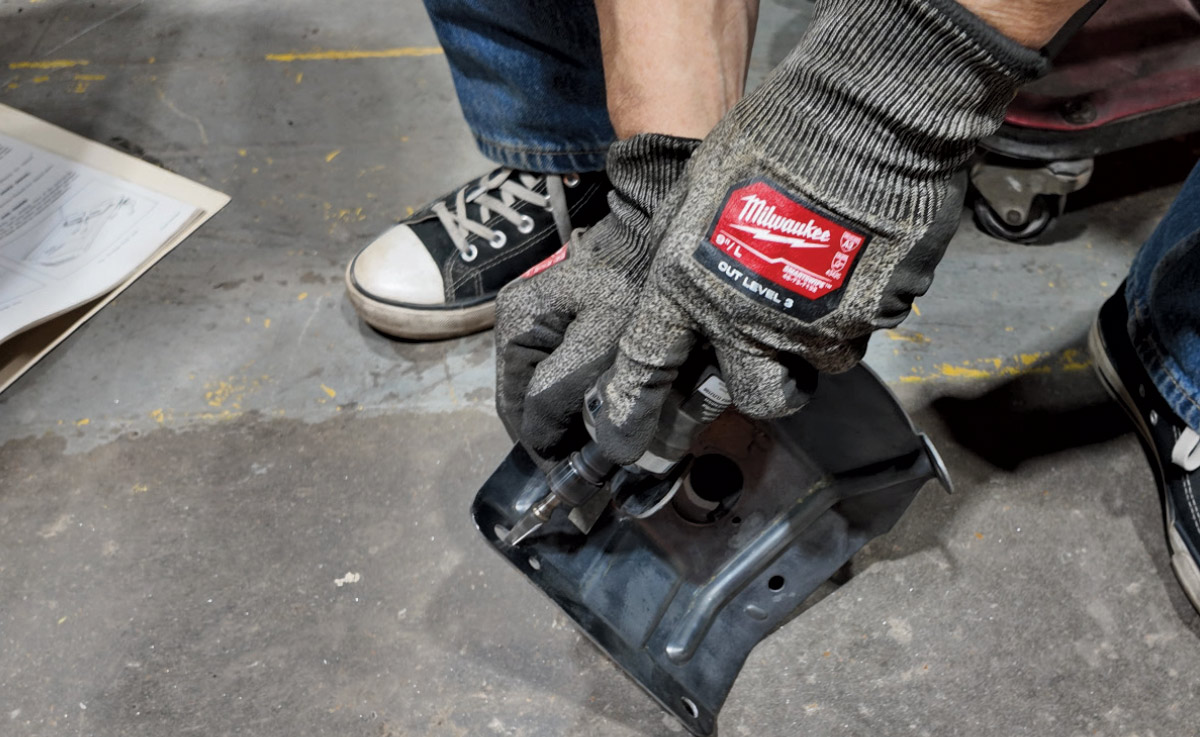
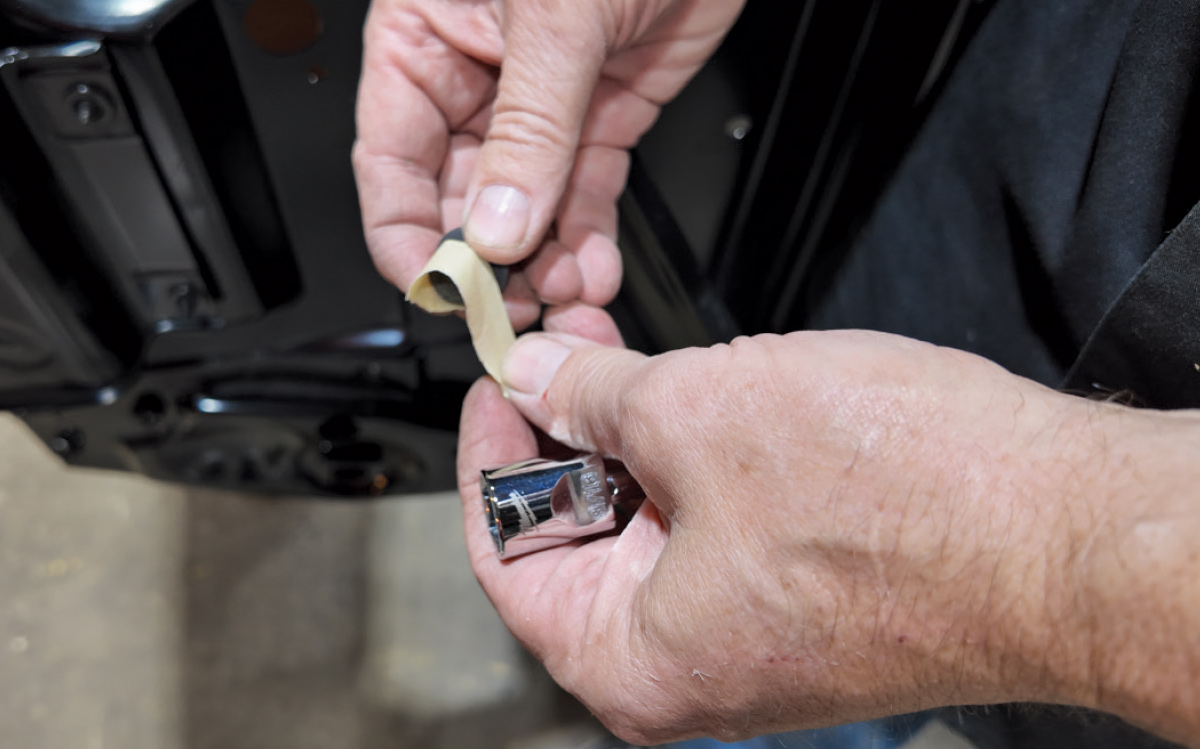
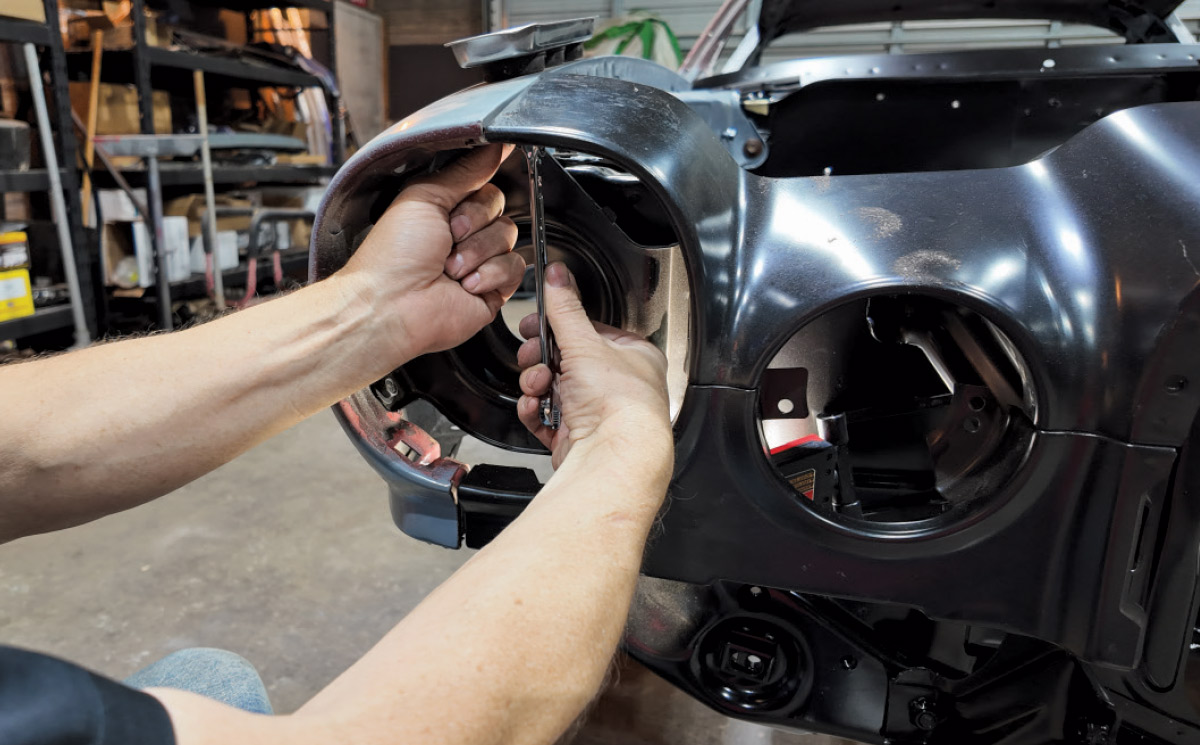
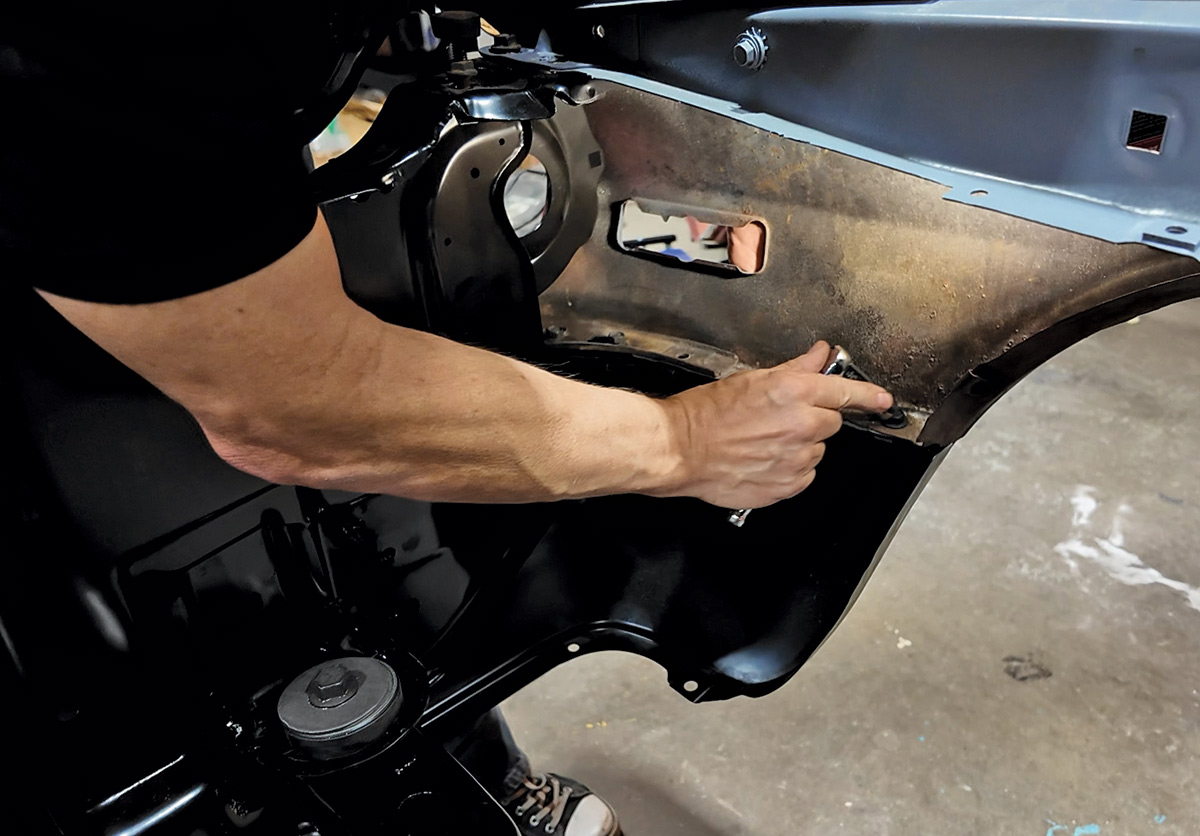
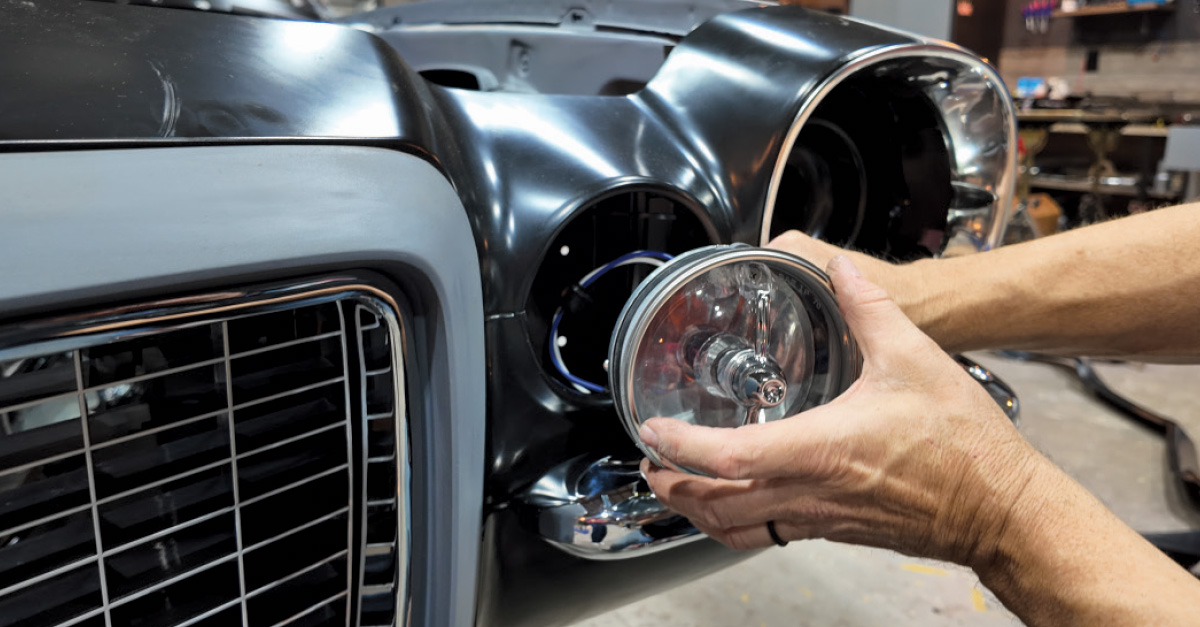
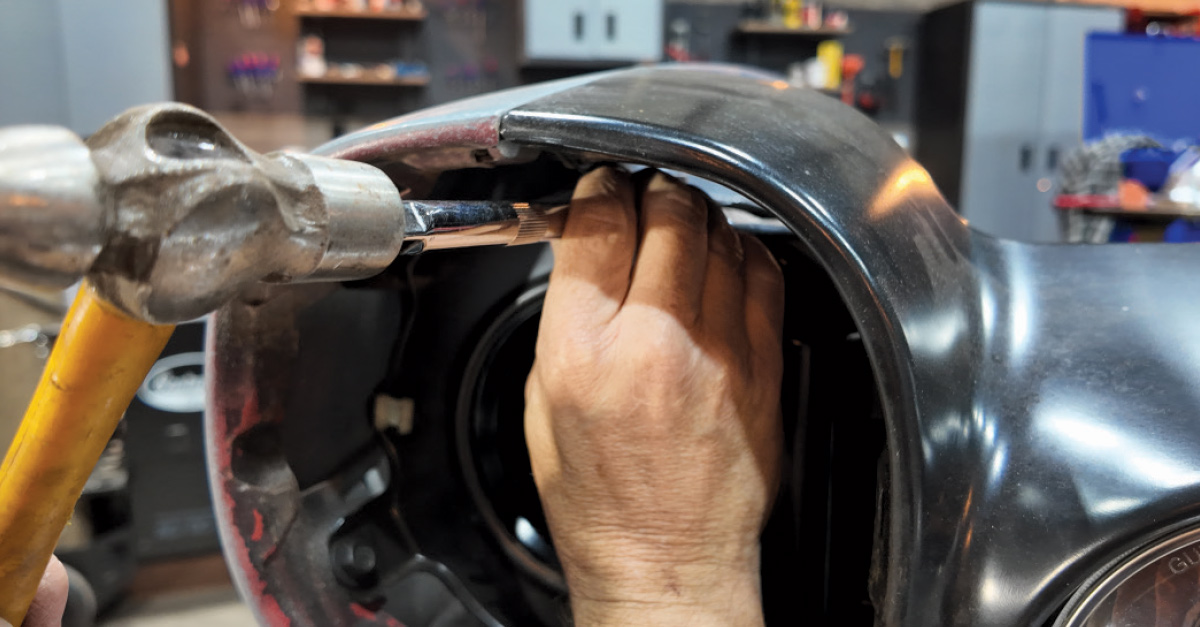
I was today-years-old when I figured out that GM changed the headlight buckets in 1974, and no amount of twisting or persuasion would make them work. We ended up ordering buckets, retainers, adjusters, and rings for 1970-73 cars. It took six days for the brown truck to show up, and about 14 minutes to install both sides. That’s why the doghouse is currently on jackstands—we had a suspension-installation deadline on our YouTube channel (Paintucation by Kevin Tetz) where this is an ongoing step-by-step project.

This was truly a bolt-in job that took about 2.5 hours, some futzing around, and a short list of extra parts we had to order. It makes me grin to see the beauty of this iconic front assembly—and to know it’s a simple DIY project that you can do on any second-gen F-body Camaro. For 1978 and later cars, you’ll need 1970-77 fenders, but AMD has those covered as well.

A polished classic yellow Chevrolet Camaro Z28 with black racing stripes on a reflective dark surface.
2. The goal is simple … replicate the icon! Editor Nick knows how cool these cars can be. #orangekratecamaro
A rusted red classic car sits on a metal Featherlite trailer in a grassy field.
3. This is the humble beginning of the “Garbage Camaro” named after being abandoned twice and resurrected again.
Hands hold an open catalog showing "Rally Sport Front Bumpers 70-73" and various car part diagrams.
4. I leaned on the AMD catalog as an assembly guide …
Hands hold a worn 1970 "Chassis Service and Overhaul Manual Camaro Supplement".
5. … as well as the GM chassis service manual I picked up on eBay.
A person holds a red Milwaukee electric drill over a blue tool drawer filled with socket sets.
6. You’ll need a good socket set, but not much else to complete this project.
A mechanic kneels in a shop next to blue primed car fenders and a silver car hood.
7. We’re able to reuse our fenders, but not the inner fenders. Ours were rusty and either need to be modified or replaced with new or used 1970-73 units.
Close-up of the heavily rusted and corroded undercarriage and frame of a vehicle.
8. Here you can see the DOT-mandated inner structure that the “big bumper” cars had to have. Pre 1974 is much simpler and a lot lighter.
A mechanic kneels in a shop, holding small black rubber components near a large black car frame piece.
9. It made sense to get new radiator support bushings from AMD as ours were completely shot.
A mechanic aligns a blue primed fender onto the black front chassis of a classic car under restoration.
10. Fenders are hung in place on the body and support, and we spent a little time lining up the gaps to the doors just to make sure we were square.
A hand holds a stack of small metal shims over the black frame of a car.
A mechanic uses a red electric drill to secure a blue primed fender to a car's black metal frame.
11-12. We also made notes disassembling this car and had shim stacks ready!
A hand aligns a black metal part against a blue car fender piece.
13. Headlight supports get installed to the support and fenders.
A person compares an old, rusted metal car part with a new, clean black replacement part.
14. The hood latch does not carry over, no matter how much you want it to …
A person in work gloves uses a marker to label a black metal car component.
15. We slotted the holes about ¹/8-inch each side to make it fit the header.
Hands in work gloves use a power tool to work on a black metal car part.
A person in work gloves uses a socket wrench to bolt a metal part onto a black car frame.
16-17. With the holes marked, we used a die grinder to flare them to fit.
A mechanic wearing safety glasses inspects the front chassis alignment of a car.
18. The “wishbone” grille mounting brackets should have been installed before the radiator support for better access.
Close-up of hands applying masking tape to a small black component near a silver metal socket.
A hand uses a socket wrench to tighten a bolt on a black metal car component.
19-20. We managed to get to the backside fastener locations by taping the bolt head to keep it in place in the socket while it was fed through the support into the bracket.
A mechanic sits on a workshop floor examining various black front-end car body parts.
21. The front sheetmetal is a two-piece header/valance and gets hung between the fenders starting with the upper.
A mechanic wearing safety glasses test-fits a black front-end body piece onto a classic car.
Close-up of hands using a socket wrench to bolt a metal bracket onto a black car frame.
22-23. We used the interference-fit of the fenders to locate it to the hood latch support, which holds it in place.
A hand uses a socket wrench to adjust a bolt on the lower front-end of a car body.
24. There’s a threaded boss in the fender at the lower outer location, and it’s a challenge to get the bolt in. We used a ¼ drive ratchet with a long extension to get the job done.
Hands using a wrench to secure a black headlight housing piece into a car body.
25. The fender to header takes two nut/bolt combos on each side.
A mechanic uses a hammer and a blue pry tool to align metal panels on a car's front end.
26. Although the header fit the fenders well, we used a spoon and slight tapping to make them both flush before tightening.
Hands maneuver a black metal structural component into place on a car chassis.
A person uses a metal clamp to hold a black trim piece in place on a car's front end.
27-28. The inner bumper brackets get installed next, but we only finger tightened them to allow for bumper adjustment if necessary. There is a filler panel that lightly hangs on the inner bracket.
A mechanic kneels to test-fit a black front spoiler piece onto the front of a classic car.
A mechanic's arm uses a wrench to tighten a bolt inside a car's wheel well.
29-30. The lower valance gets installed and fastens to the fenders on each side from the inside. Our inner fenders are not installed, which makes access easy for this mockup.
A mechanic kneels to install a black metal bracket onto a classic car's front chassis.
31. The center grille support ties everything together and gets finger-tightened as well.
Close-up of hands precisely positioning a black metal part onto a car frame.
32. The outer bumper bracket is pinched between the valance and fender.
Hands carefully install a chrome bumper onto a blue primed car fender.
33. The beautiful chrome bumperettes get installed at this time.
A mechanic uses a power tool to secure a gray front-end body panel to a car.
A mechanic sits and holds a chrome grill frame in front of a classic car's front end.
34-35. The Endura nose is next, and it’s heavy! It locates on each side to the “wishbones” and has a good amount of adjustment built in.
Close-up of hands using black zip ties to secure components behind a chrome car part.
A finger points to a specific slot in a black car grill during assembly.
36-37. Here’s another example of why we should have sprung for the body hardware kit. Cable ties are not enough! The grille halves are inserted and show us why we need to have the 1970-73 hood latch.
Hands hold two round car lenses next to a "Classic Headquarters" product label.
A mechanic installs a round parking light lens into a black headlight housing on a car.
38-39. The inner marker lights are another signature part of this nose. The kit doesn’t come with gaskets, so make a note to order these separately. They do arrive with mounting hardware in the box.
A screwdriver points to a white plastic clip on a black car body panel.
40. The headlight mounting hardware is snug. We tried using the older ones, but they broke instantly. New plastic is a must.
Hands using a tool and hammer to adjust the alignment of a black car body panel.
41. We drove them in gently with a socket extension and a tap of the hammer.
Close-up of a hand holding a small metal spring near a black car body part.
42. After screwing in the adjusters, you’ll need to pre-install the retaining spring …
A hand adjusts a black circular metal housing on the front end of a classic car.
43. … and then the headlight bucket …
A mechanic uses a tool to secure a spring onto a black car headlight component.
44. … followed by using a hook tool to pull the spring into place. Trust me, vise grips or a pair of pliers will not work!
A mechanic uses a screwdriver to install a glass headlight into a classic car.
45. Fully assembled, it looks amazing.
Front-end view of a classic car under restoration with new headlights and chrome bumper.
46. Very little adjustment will need to be made for final fitment and paint.