

ACP department heading TECH
InTheGarageMedia.com
1968 Camaro rear panel fresh paint prep trunk open taillight housings removed

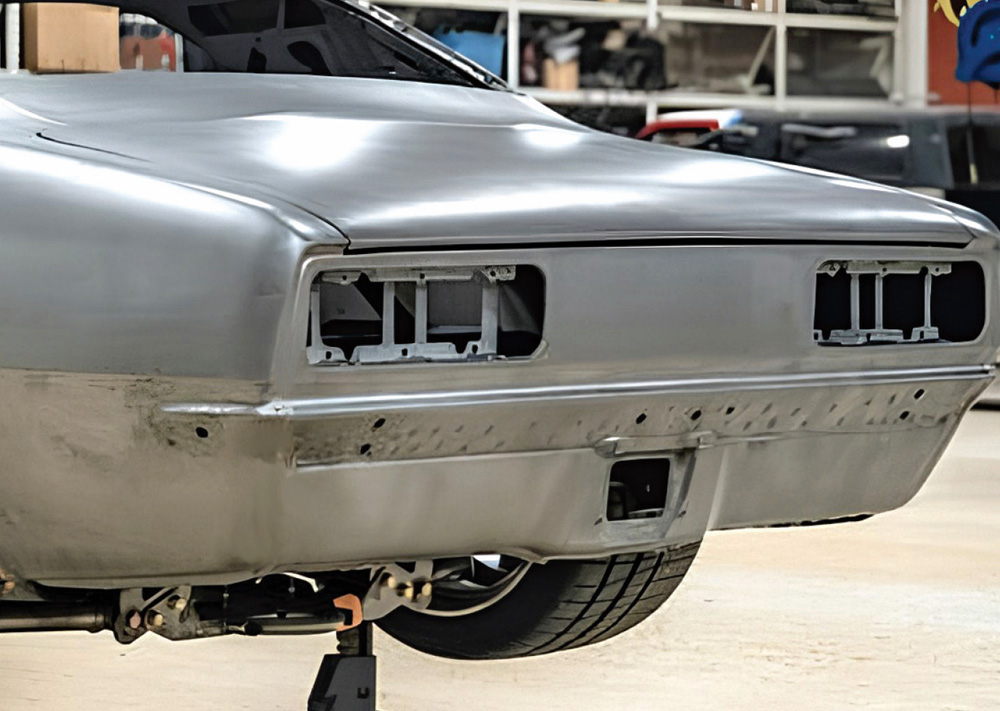
1. This is the rear of the stock Camaro, and it’s about to undergo a major transformation.

Back Panel

Giving Some Style to the Rear of a 1968 Camaro
By Ron Covell Images Courtesy of Roadster Shop
W

e have been following this unique 1968 Camaro build at Roadster Shop for a couple of installments. This time we’ll look at the tasteful modifications made to the rear of the car.

The first step was filling the gas cap opening and the hole for the decklid key. All the joints on the rear corners were finish-welded and smoothed at this time.

The fit of the rear bumper was tightened up against the body, and the holes for the original bumper bolts were filled. All the bumper surfaces were metalfinished at this stage.

There will be twin exhaust pipes exiting in the center of the car. The original license plate mount was removed and a new panel was formed with the cutout for the exhaust tips. The license plate was moved up a few inches, and the center of the rear bumper was removed. Portions of the removed bumper section were worked into a bullet shape, which will cap the cut ends of the bumper.

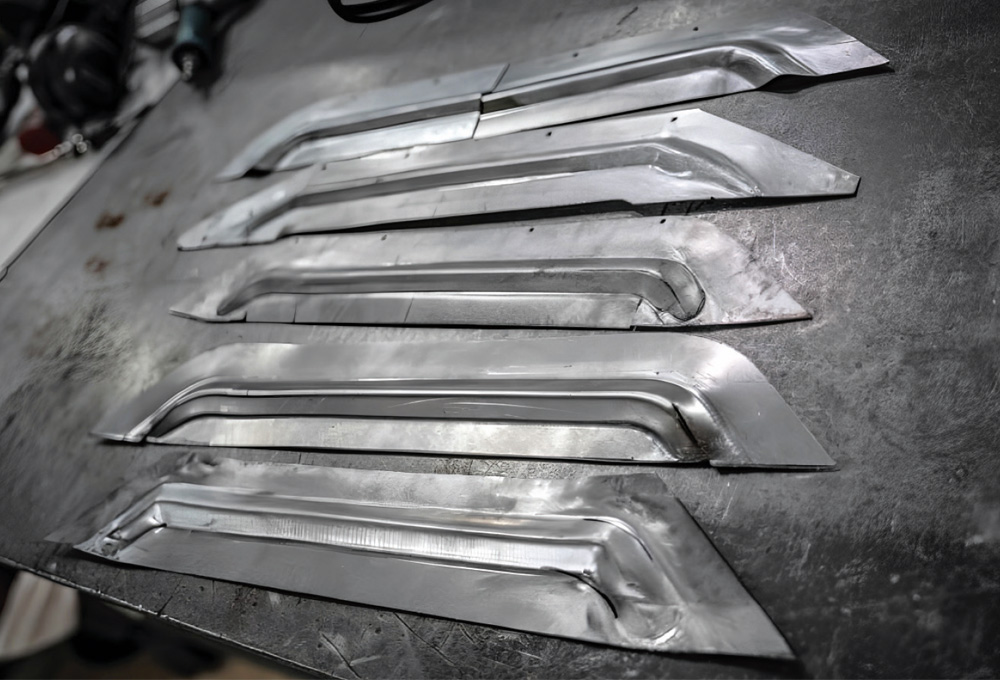
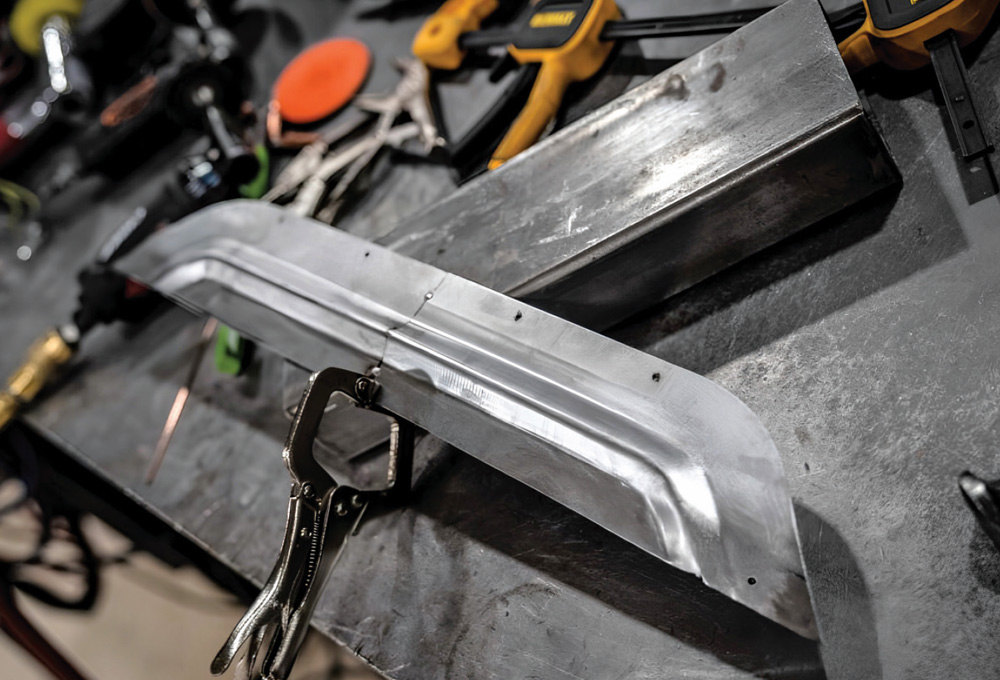
A contoured bead was formed on a piece of sheetmetal and fitted into place just above the license plate frame. Great care was taken to get all these elements to fit together neatly, and after all the adjustments were made and checked with a laser level, the new bead was welded into the rear panel.

The edge of the opening for the exhaust pipes was given a subtle outward curl, and a flange was made to cap the inside, which gives the opening a much more finished look and adds strength.

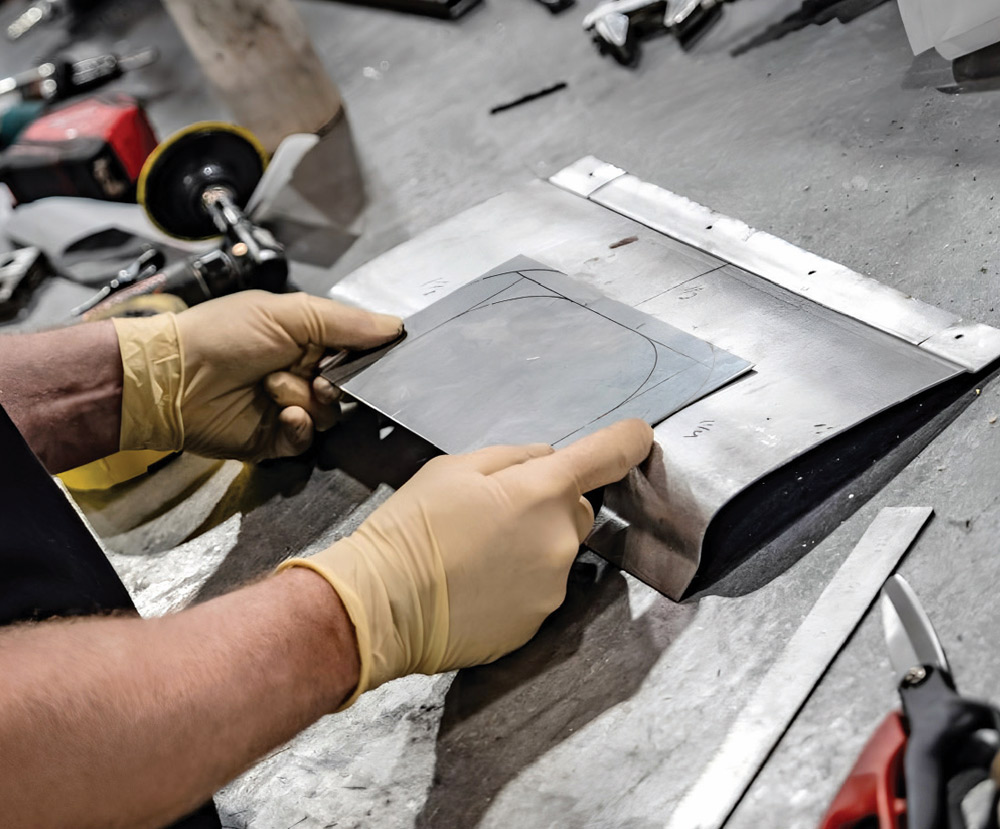
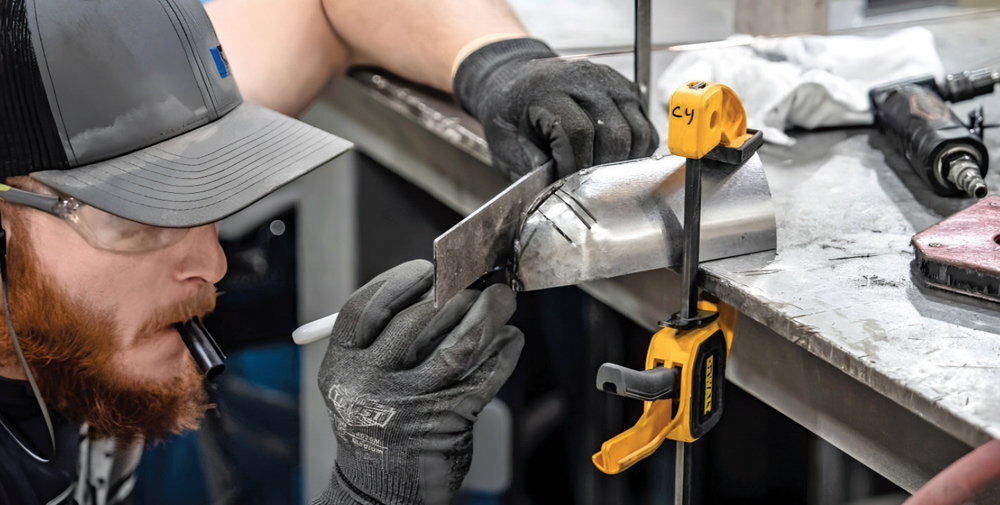
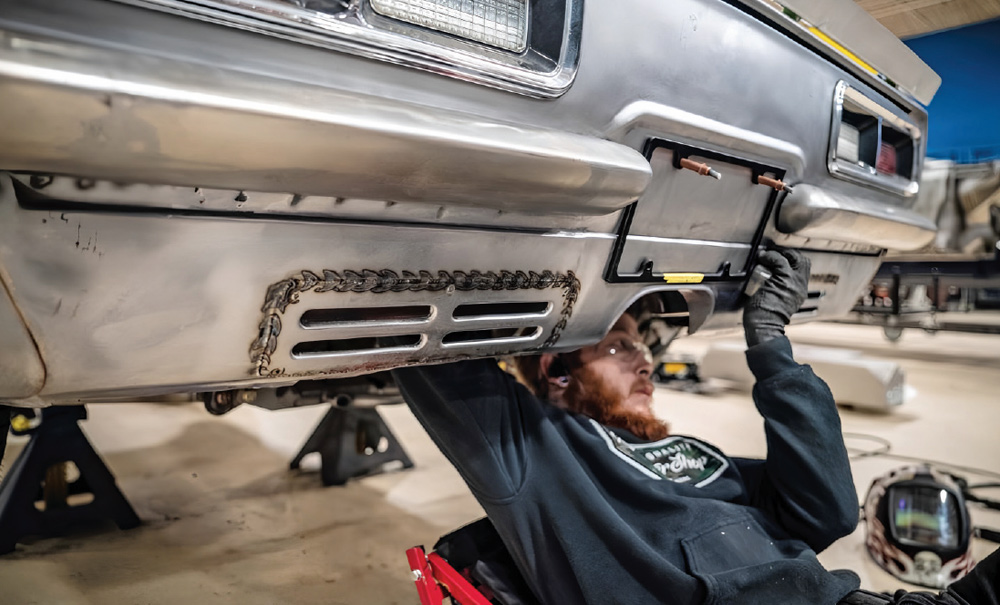
Special vents were added to the rear valence panel. Each vent has four slots in it, and special tooling was made to form a nice, clean flange on each opening. Once the slot’s vent panels were made and flanged, they were contoured to fit the valence panel and then carefully aligned and finish welded into place.

The result of all these modifications gives the car a distinctive character, but it is very much in keeping with the design characteristics of the original Camaro.

1968 Camaro rear quarter TIG welding patch panel sheet metal repair
2. All of the unfinished seams on the back panel were welded up, and the openings for the gas cap and decklid key will be filled.
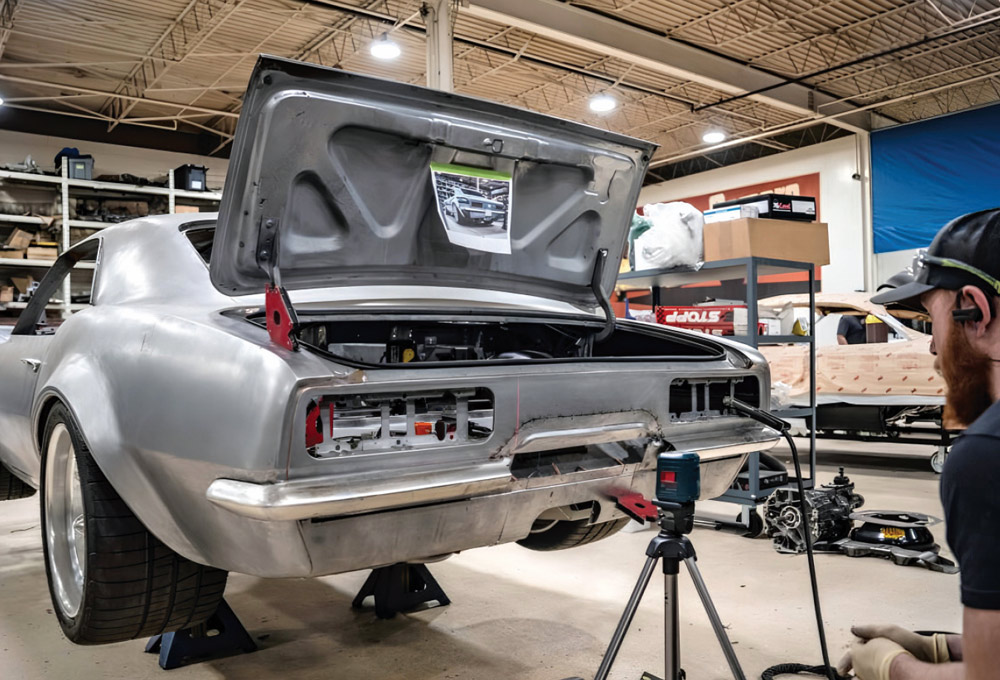
1968 Camaro bare metal body taillight panel mock-up on jack stands
3. Even these small steps have made a noticeable improvement in the look of the back panel.
1968 Camaro rear bumper test fit clamps taillight panel fab process
4. Clamps and magnets are used to support the rear bumper as it is pulled in closer to the body.
1968 Camaro sanding rear bumper in prep for chrome or polish
5. The original boltholes in the bumper were filled, and all surfaces were filed and block-sanded to get them perfectly smooth.
1968 Camaro rear bumper smoothed in vise chrome ready for fitment
6. One hole is left to fill on the bumper sides.
1968 Camaro bumper clamped taillight panel aligned mock-up for welding
7. The bumper was split into four pieces to draw it in a little closer to the body.
1968 Camaro rear body panel blended bumper smoothed factory fit
8. The bumper is completely smoothed here and tucked snugly against the body.
1968 Camaro metalwork lower rear valance panel mocked for weld
9. The projection for the license plate mount was removed, and a new piece of metal is being fitted to replace it.
1968 Camaro fabbed patch panel rear valance hand fitment in progress
10. The dual exhaust pipes will exit through this new panel. A layout is being made here for the opening.
1968 Camaro raw metal rear body trunk open mini-tubbed custom fabrication in progress
11. The license plate is trial-fitted in its new location, and the center of the bumper has been cut away to make room.
1968 Camaro custom panel shaping TIG prep with clamps and marker layout
12. A section of the removed center portion of the bumper is being contoured on one end. This will become the inner cap for one side of the bumper.
1968 Camaro bumper delete panel mocked up with magnets for rear metalwork
13. The newly formed bumper caps are held with magnets for the test-fitting.
1968 Camaro rear vent panel fabbed sheet metal ducts mocked on workbench
14. A bead roller was used to prepare several sample panels for a formed detail that will go above the license plate.
1968 Camaro Cleco pins holding rear panel fabbed ductwork pre-weld setup
15. The best-looking panel was selected, and a cut was made in the center to narrow it slightly for a perfect fit. Clecos hold the part in place as the final adjustments are made.
1968 Camaro rear exit panel clamped for shape and final fitment test
16. Once the fit of the parts was finalized on the body, they were removed from the car and welded together.
1968 Camaro lower rear panel full Cleco mock-up and bumper delete lines
17. After the welded seam was smoothed, the panel was reinstalled on the car so the rear panel could be marked and trimmed for a butt joint.
1968 Camaro builder using laser alignment tool for custom rear bumper layout
18. Prior to final welding, a laser level is used to verify the precise alignment of all components.
1968 Camaro fully tacked rear panel dual exhaust tips custom bumper delete
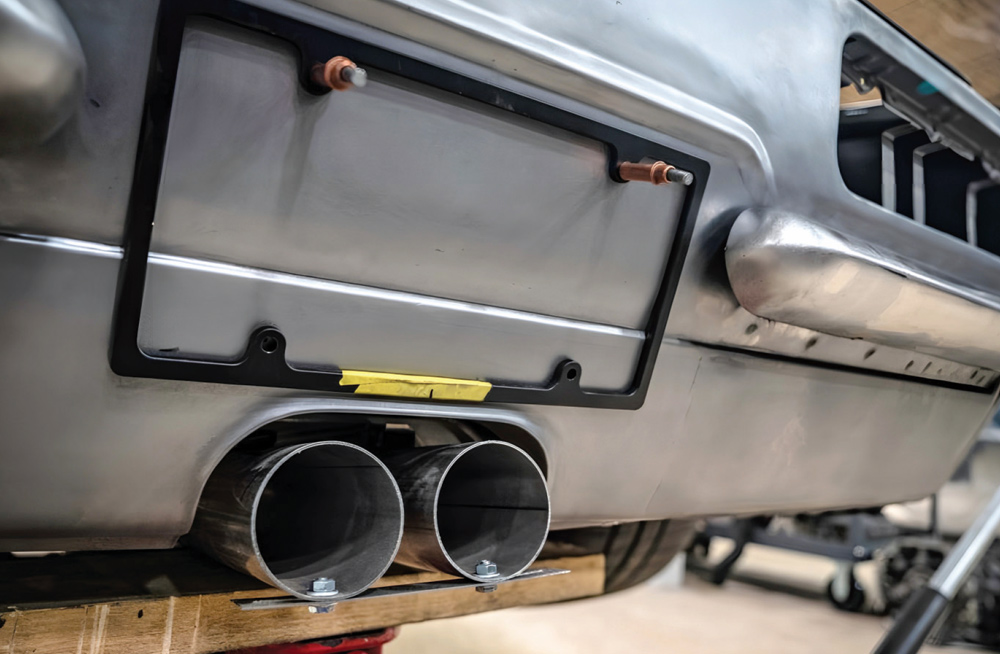
19. The new beaed panel has been tack-welded into place and a mockup of the dual exhaust pipes is trial-fitted in its opening.
1968 Camaro completed rear panel welds dual exhaust finished fab look
20. Here the beaded panel is being finish welded.
1968 Camaro Cleco pins and TIG prep lower valance shaping for bumper delete
21. A radiused edge is added to the opening for the exhaust pipes.
1968 Camaro rear TIG weld in progress dual exhaust panel fully tacked
22. The lower edge of the beaded panel is finish-welded
1968 Camaro smoothing welds on custom bumper delete panel with skull flame helmet
23. Here, the beaded panel has been metalfinished and the panel with the exhaust opening is being tack welded into place.
1968 Camaro mini tub close-up hand-formed arch finished raw metal look
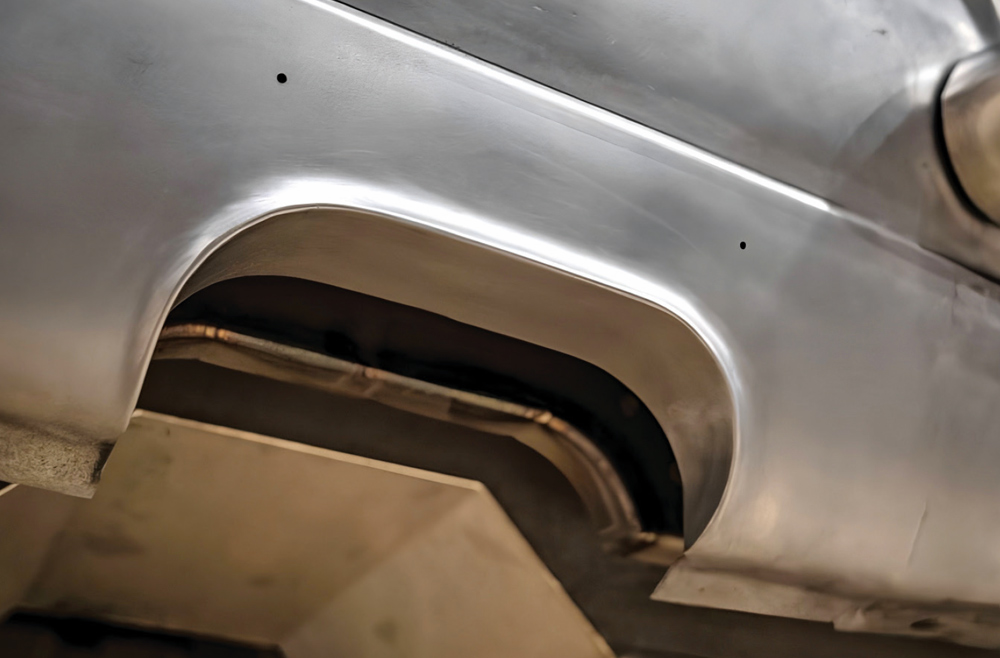
24. A wide flange was added to the lower edge of the exhaust pipe opening, giving it a more finished look, and adding extra strength.
1968 Camaro dual exhaust mock-up rear cutouts Cleco pins license frame test fit
25. Here the bumper caps have been welded and smoothed and the license plate frame is trial-fitted. Note how snugly everything fits together.
1968 Camaro rear vent panel layout and shaping pieces staged on fab bench
26. A special form was made to create flanged openings on inserts being made for the rear valence panel.
1968 Camaro bumper delete slotted panels Cleco pinned both sides of license area
27. Clecos hold the panels as the placement is finalized.
1968 Camaro tailpanel shaping air tool detail smoothing slot edge and welds
28. The openings for the flanged panels were cut out and are being carefully cleaned in preparation for welding.
1968 Camaro fitting vent insert into slotted lower valance test placement
29. The panels are test-fitted one last time before being tack welded.
1968 Camaro welded vent panel finished TIG bead license recess fitment check
30. The panels have been finish-welded here and are being metalfinished. After welding, sometimes hammering from the back side is the best way to raise a low spot.
1968 Camaro rear bumper delete custom valance slotted vents quad-link suspension on jack stands
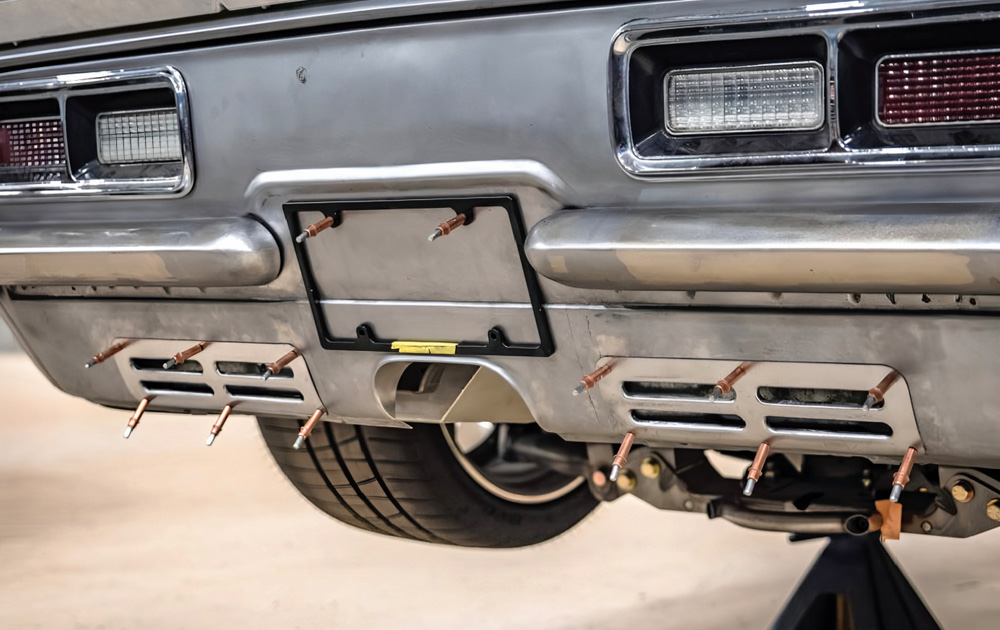
31. Here is the finished tail section of the car. It is unmistakenly a Camaro, but the thoughtful tweaks in design make this one truly unique.
SOURCE