ACP department heading TECH
InTheGarageMedia.com
Almost Stock
Old-School Looking, Modern Functioning ’66-’67 Nova Gauges
By Todd Ryden Photography by David Stoker
W

hen the Chevy II was introduced in 1962, it was targeted as a smaller, economical choice compared to the fullsize cars available. Sure, there was the futuristic Corvair with its rear-mounted, air-cooled engine, but the Chevy II provided a more traditional approach to transportation. It was designed as basic automobile to compete with the Ford Falcon. In short, the Chevy II was all about basic transportation.

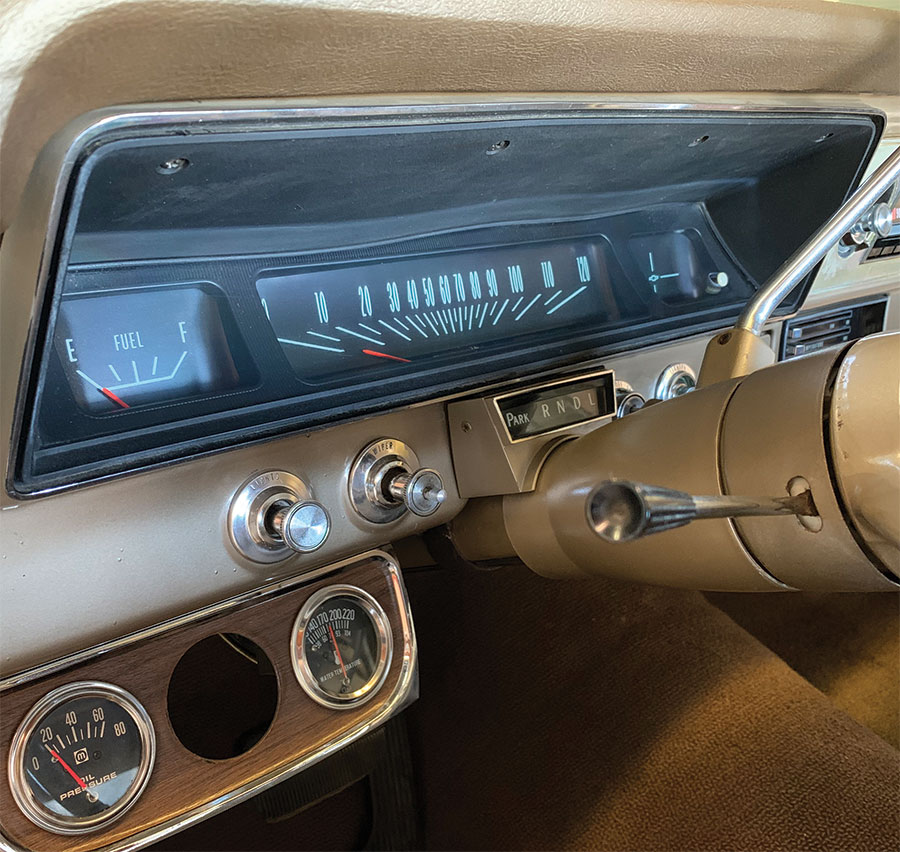
The first generation of the Chevy II continued on the economical tract, though it did receive the Super Sport option in 1963 and a V-8 was made available the following year. There were even gauge packages available from the factory as Chevrolet added more styling cues for the Nova. Strangely enough though, the second-gen models did not have an option for gauges. They were offered with increased performance and power, but no factory gauges. Even the 350hp L79-equipped models had no engine instrumentation (however, a clock was added on Super Sports!).

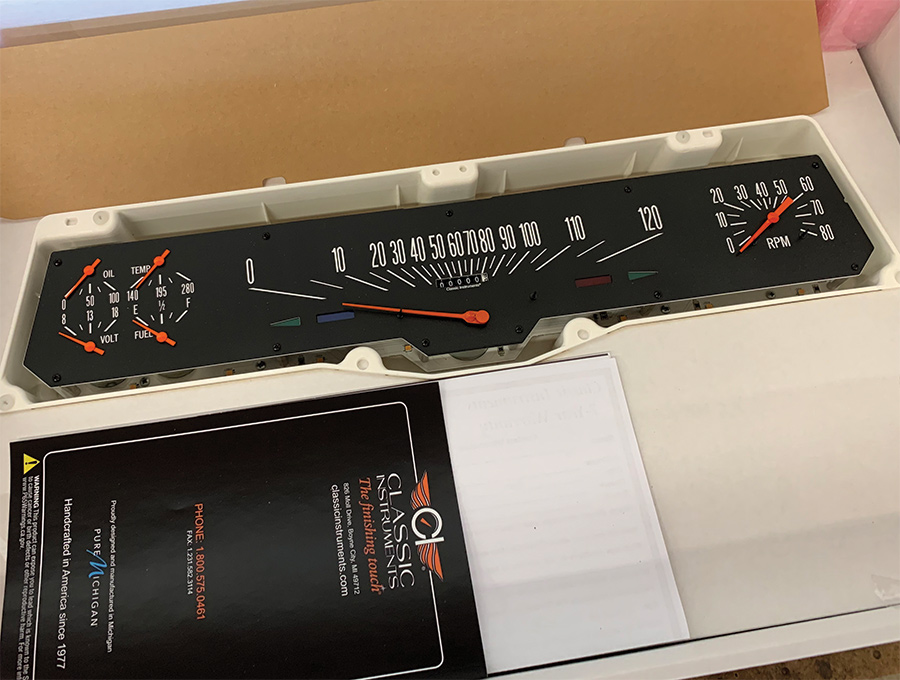
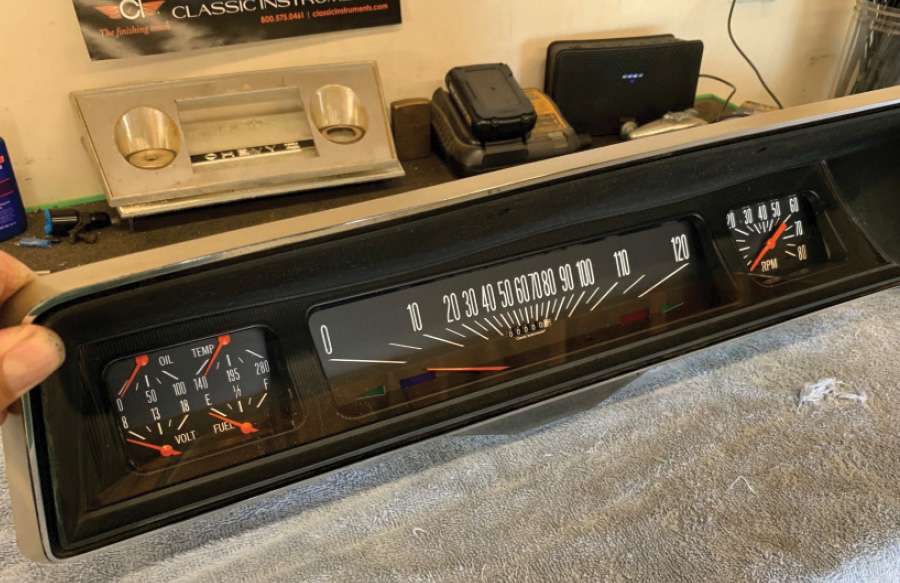
So, back in the day, if you cared about engine vitals, a set of gauges had to be hung under the dash. Today, however, second-gen Nova owners can easily update their dash with a full set of gauges along with a tach thanks to Classic Instruments. Their new ’66-’67 Nova gauge assembly is a direct-fit package that includes fuel level, voltage, oil pressure, temperature, and a tachometer.

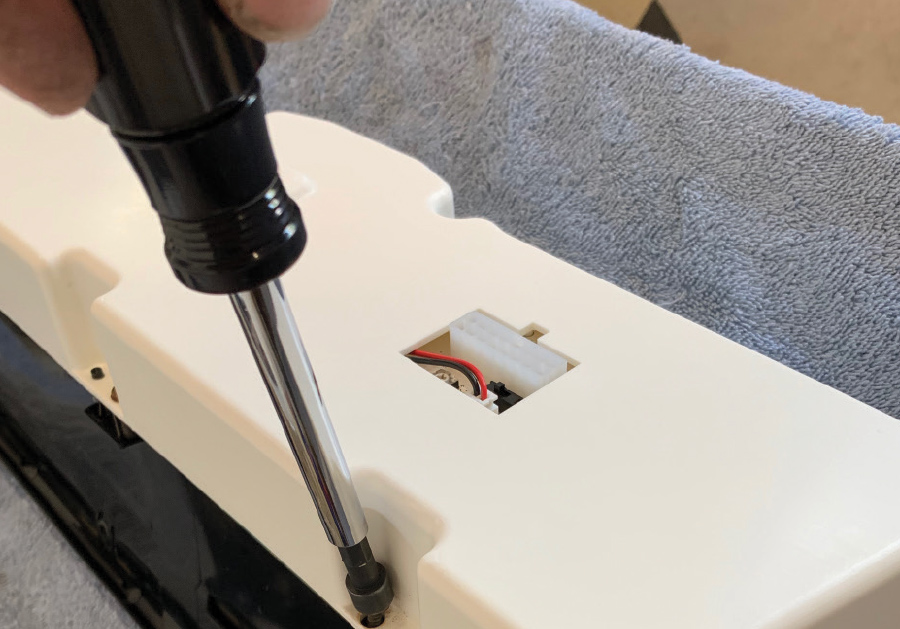
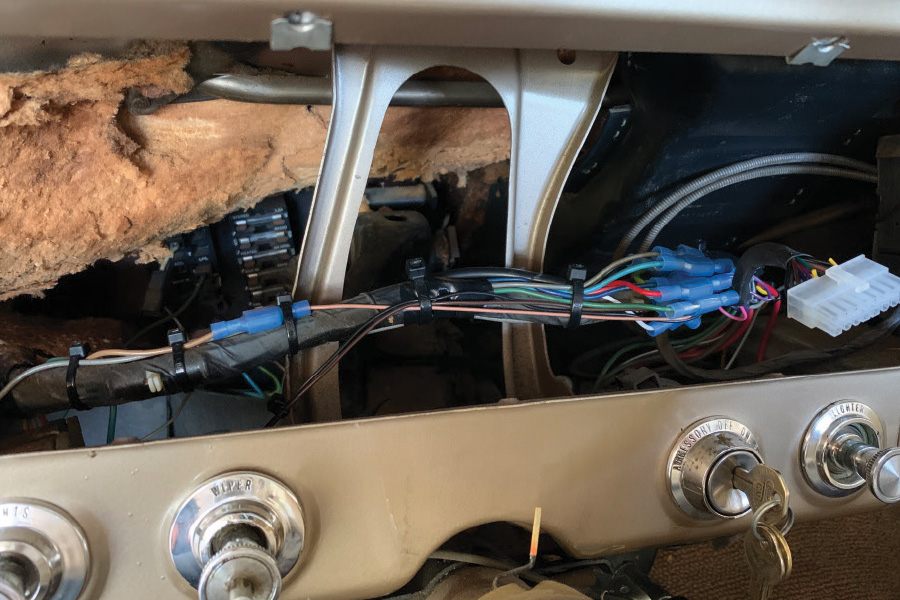
The assembly is housed in a sturdy injection-molded housing that provides a secure mount for each gauge and its advanced electronics. There is only one connector to plug in, making the wiring much easier and cleaner under the dash. As for the looks, Classic offers a number of different styles to choose from, or they can create a custom model for your application. In our case, we went with their G-Stock design to keep things a little more factory appearing since our Nova is basically a stock cruiser.

Not only were we updating the dash to have a full brace of precision gauges, we were also stepping up to an electronic speedometer and tach. This is a point where Classic has really done their homework, as the speedo and tach can be programmed for use with pretty much any driveline. We’re talking from an old points-triggered distributor up to the individual coils of an LS drivetrain and electronic transmission. In short, if we do ever upgrade to a modern driveline, all we need to do is simply re-program the system with the push of a button.

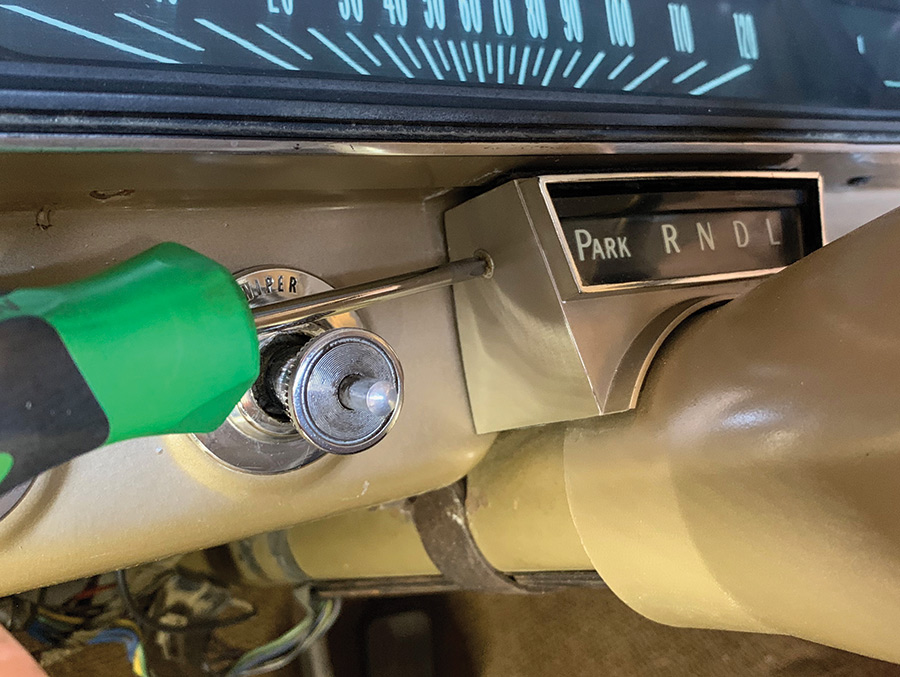
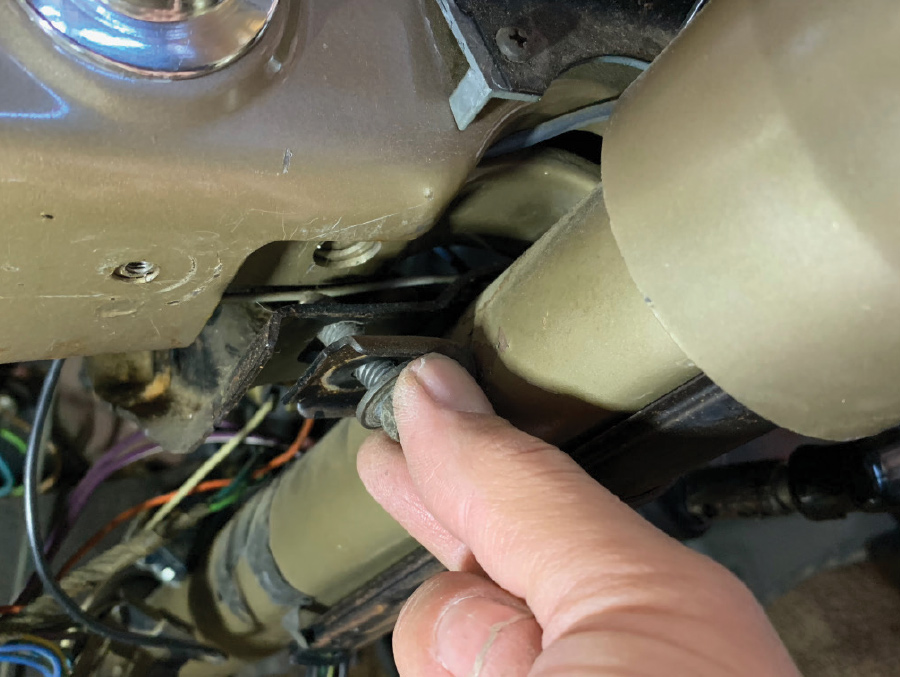
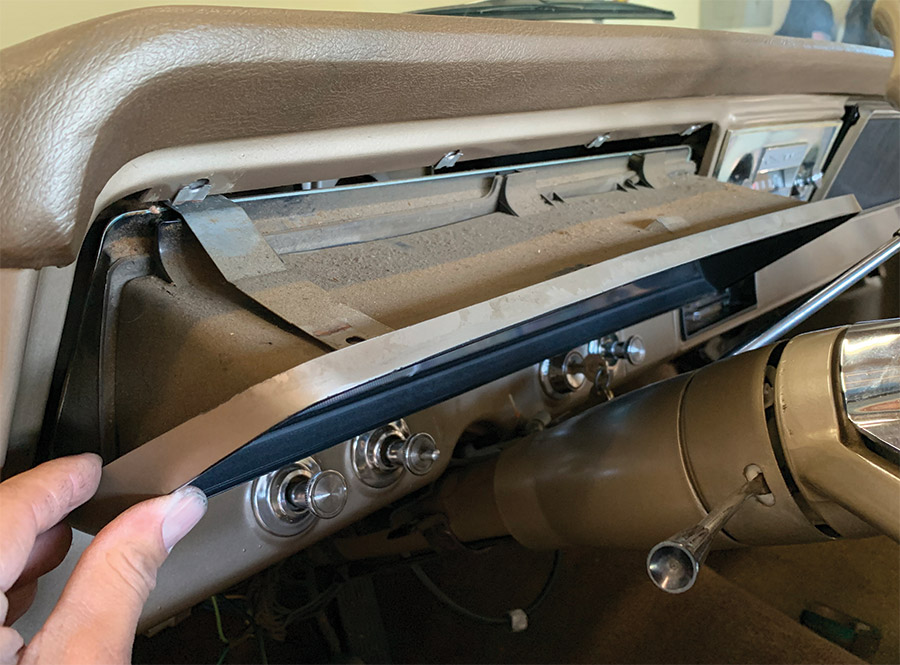
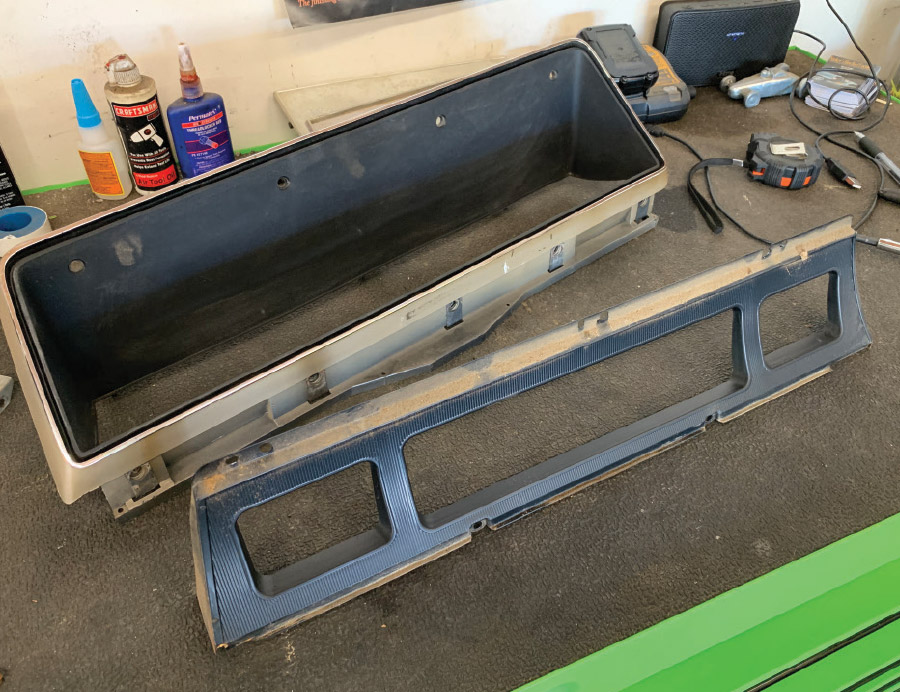
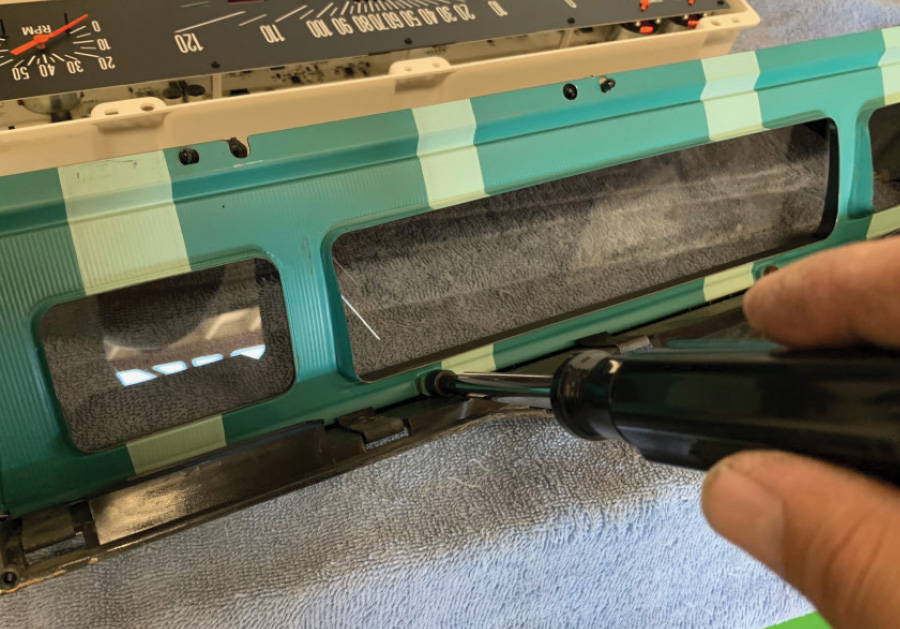
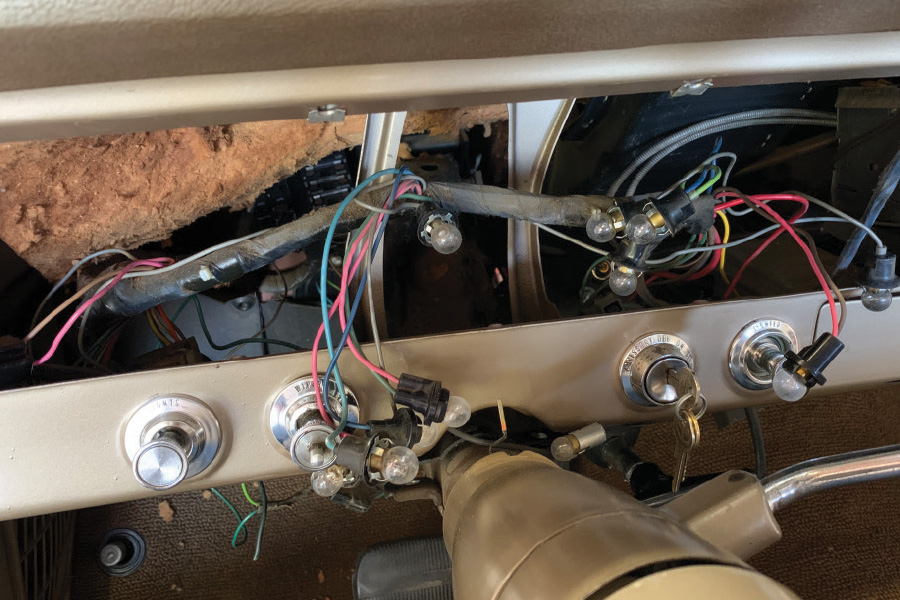
As designed, the new dash bolted right in place. We used the factory diffuser and cluster frame, then installed the new wiring harness to the factory wiring while removing all of the original bulbs and their wiring. It’s a lot of wires, but nothing to get worried about and all of the wiring is clearly labeled and supported with simple diagrams.

Follow along as we modernize the dash of a stock ’66 Nova, even though it still looks plenty original!

The stock dash
1. The stock dash of the ’66-’67 Chevy IIs were an exercise in no-frills. Gas and speed, what more do you need? Note the old gauges mounted beneath the dash. It’ll be nice to finally get rid of those, thanks to Classic Instruments.
G-Stock design
2. We chose the G-Stock design, which has more of a stock-styled appearance, though Classic offers a few different graphic styles of the dash. We’ll now have precision, electronic gauges to show voltage, oil psi, engine temp, and a tach to complement the speed and fuel level as well as indicators for turn signals, high beams, and even an output for an optional shift light.
Column-shift automatic
3. As a column-shift automatic, we started by removing the gear indicator from the column and dash. Sixty-seven models and floor-shifted cars get to skip this step.
Original dash out
4. To get the original dash out, the column needs to be lowered, which is easily achieved by removing the two bolts from under the dash. While we were under the dash, we reached up and unscrewed the speedometer cable, which won’t be used with the new dash.
Master cylinder nuts
5. We also loosened the master cylinder nuts as the studs are a part of the steering column/dash brace, allowing the column to drop down a bit more with no binding.
Dash update
Lightbulbs on dash
6-7. The dash is held in place by several Phillips head screws then folds forward to be pulled out. There will be light bulbs to pull out of the dash along with some wiring.
Remove the seven screws
Gauge surround assembly
8-9. Remove the seven screws and brackets to separate the original gauge cluster, lens, and diffuser from the surround assembly. Now is the time to clean and detail the gauge surround assembly.
Lens install
Original hardware
10-11. Install the new lens to the gauge surround along with the original diffuser followed by the Classic gauge assembly using the original hardware.
Dash assembly Closeup
12. Looking good! The dash assembly is ready to be installed, but first we’ll get the new oil pressure and temperature sensors installed along with the speedometer signal generator.
Dash assembly
13. A new one-wire temperature sensor is supplied and for the most accurate reading, Classic recommends installing it in the manifold port near the thermostat. A cylinder head port is acceptable, but the intake has proven more accurate. Note that the sensor is grounded through the threads so if you need to run thread sealer it must be a conductive compound.
The supplied oil pressure sensor
14. The supplied oil pressure sensor is a bit bulky, but an extension and 45-degree adapter are provided so it fit nicely in the back of the block with clearance around the distributor, the coil and throttle linkage.
A pulse signal generator
15. A pulse signal generator is supplied to convert the mechanical speedometer output to an electronic signal for the new speedo. It simply screws in place of the old cable and has a three-pin connector harness that is routed up to the gauge cluster (12 V, signal and ground).
Dash and wiring
Single connector
16-17. Back to the dash and wiring. The Classic assembly uses a single connector for a simple installation, but you still need to connect the new harness to all of the wiring. The instructions detail the colors and function of each wire and in most cases they synch with the factory wires. It’s best at this point to have a schematic of the factory wiring handy as you’ll be connecting turn signals, fuel sender, high beam, plus all the new gauges.
Harness installed
18. With the new harness installed, we went to the new dash to confirm the setting for the fuel level sending unit. There’s a small rotary dial that can be positioned to work with several different units. Our tank still had the original 0- to 90-ohm sending unit, which is position number two. There are also two settings for the speedometer selection. Note the red and black wires; these are optional and are used to illuminate a shift light, if desired.
Programming button
19. The dash popped right back in place followed by the column and shift indicator. One last connection is the small programming button for the dash that is simply connected to ground and the brown wire from the main connector. The button can be mounted or left loose and removed once the tach and speedo are calibrated.
New dash
20. The new dash looks stellar while appearing stock to most people taking a peek inside. We just love having a tach and gauges right in front of us and really like how it cleaned up the entire interior–what a difference!
SOURCE
Classic Instruments
(844) 342-8437
classicinstruments.com
Programming the Tach and Speed
One of the coolest things that the Classic dash assembly offers is its versatility to be used with different engines, fuel systems, and transmissions. Thanks to the advanced digital technology built into the gauge assembly, it is very easy to program the tach and speedometer for your application.

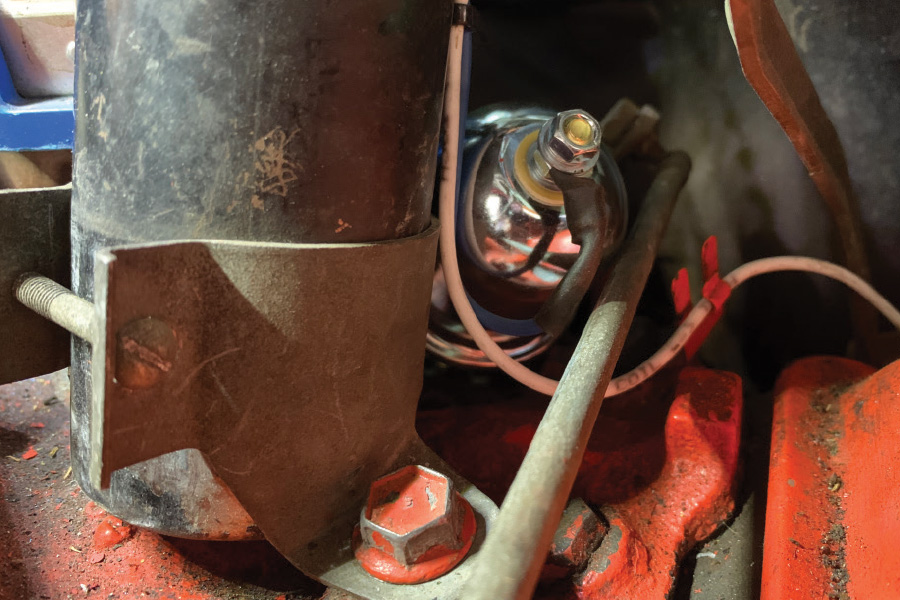
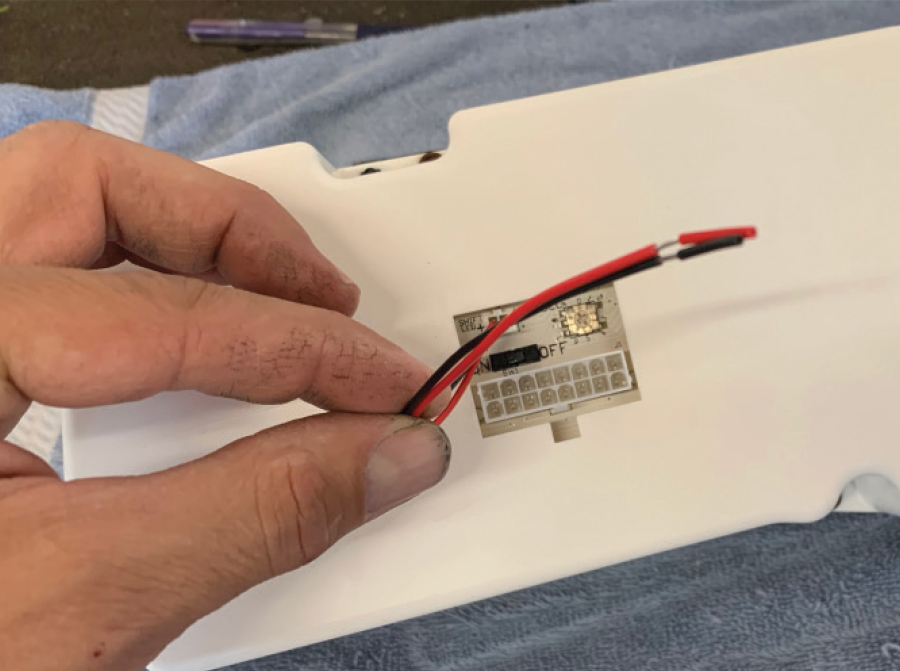
The tach can be programmed for use on single-cylinder engines up through a 12-cylinder and will accept signals from a traditional coil negative terminal, a 12V output (like a CD ignition), or from an EFI system. Programming the system is as simple as pushing a button with the supplied momentary switch that connects to the brown wire of the dash and ground.

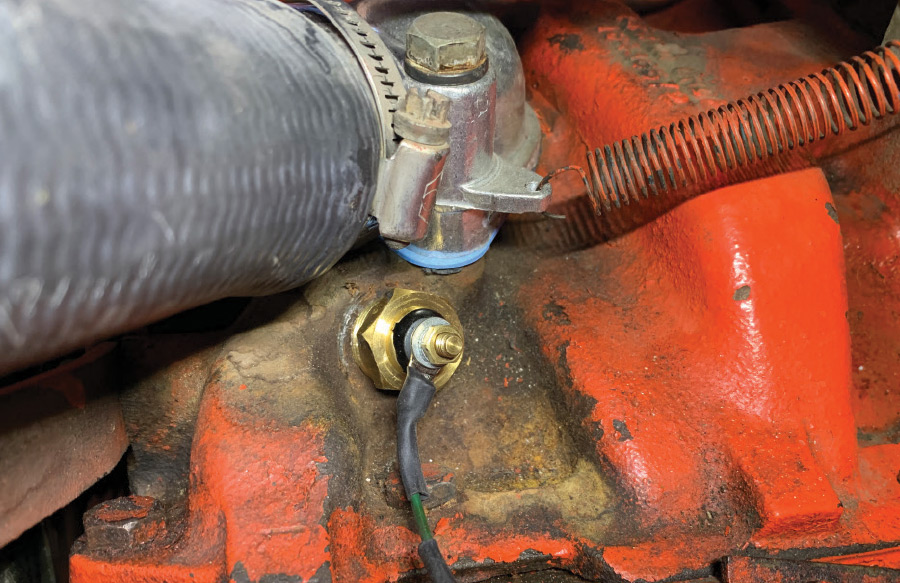
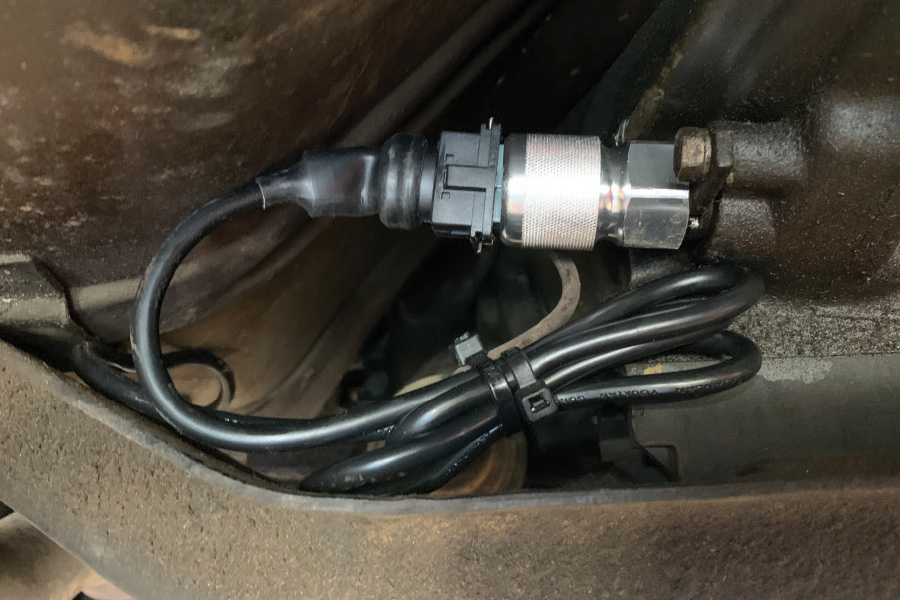
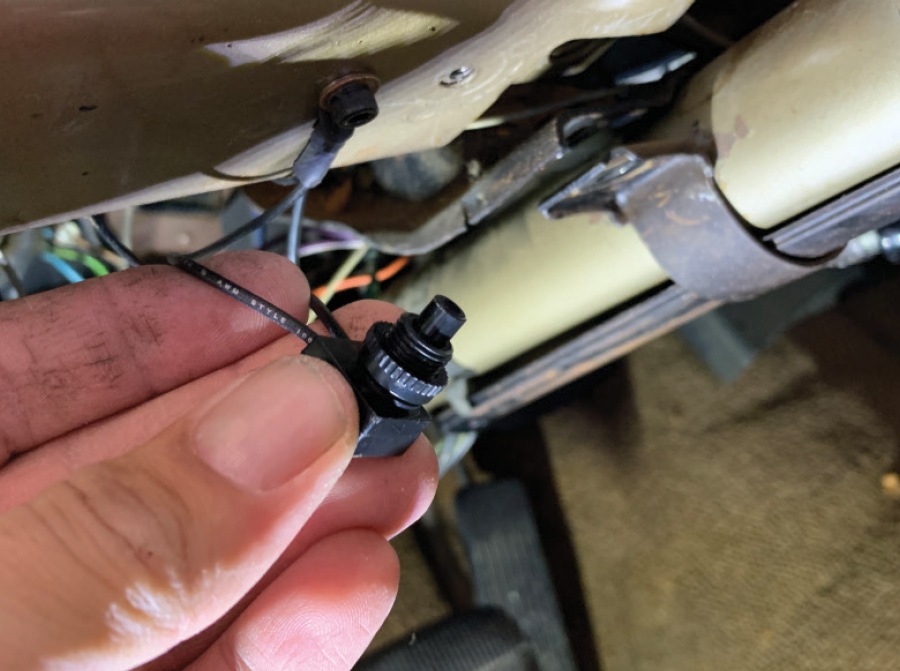
The speedometer follows suit as it too works with nearly any application without the need for any external boxes. It can use the output of a factory electronic trans or the signal from a pulse generator like the SN16 that was supplied with the kit. That means that when our Powerglide finally gives up the ghost, a modern overdrive will find its way into the Nova and we can simply recalibrate the speedo with a click of a button.

There are three ways to calibrate the speedometer: Instant, Real-Time, and the Measured Mile. Each has their purpose, but we used the instant setting with the help of a friend riding along with a GPS app on their phone. In this mode, we simply drove at a steady 30 mph as indicated by the GPS and followed the calibration procedure. Simple as that!