TECH
InTheGarageMedia.com
EFI
IN A RAM
INTAKE
TEXT AND PHOTOS BY Todd Ryden
Installing FiTech’s New Ultra Ram EFI System
I

n our modern times, upgrading a classic car with electronic fuel injection has become standard in the hot rodding world. There are a number of different throttle body EFI systems available designed to bolt in place of your carburetor, and while these systems are certainly worthwhile investments that do deliver driveability benefits, your engine still looks like an old carbureted engine.

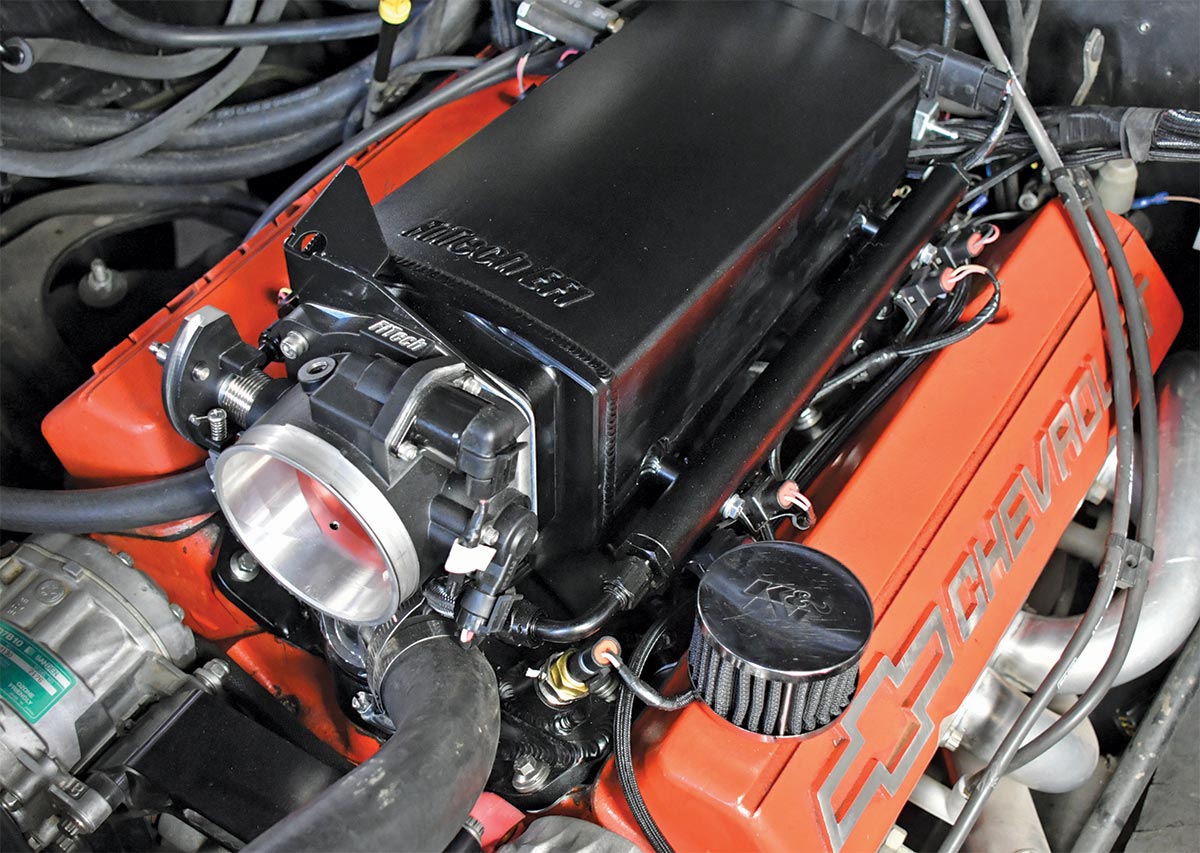
FiTech Fuel Injection is one company that has made it easy and affordable to make the EFI swap and offers quite a few different throttle body systems. One newer system that caught our attention is their Ultra Ram EFI, which is a complete port fuel injection system with a slick sheetmetal intake system as a foundation.

The Ultra Ram places the throttle body vertically at the front of the engine, similar to modern muscle EFI systems. Rather than four injectors placed in the middle of the intake plenum, the port fuel design has an injector for each cylinder (a 39-pound injector in this case). With individual runners for each cylinder, throttle response is destined to be snappy with smooth acceleration.

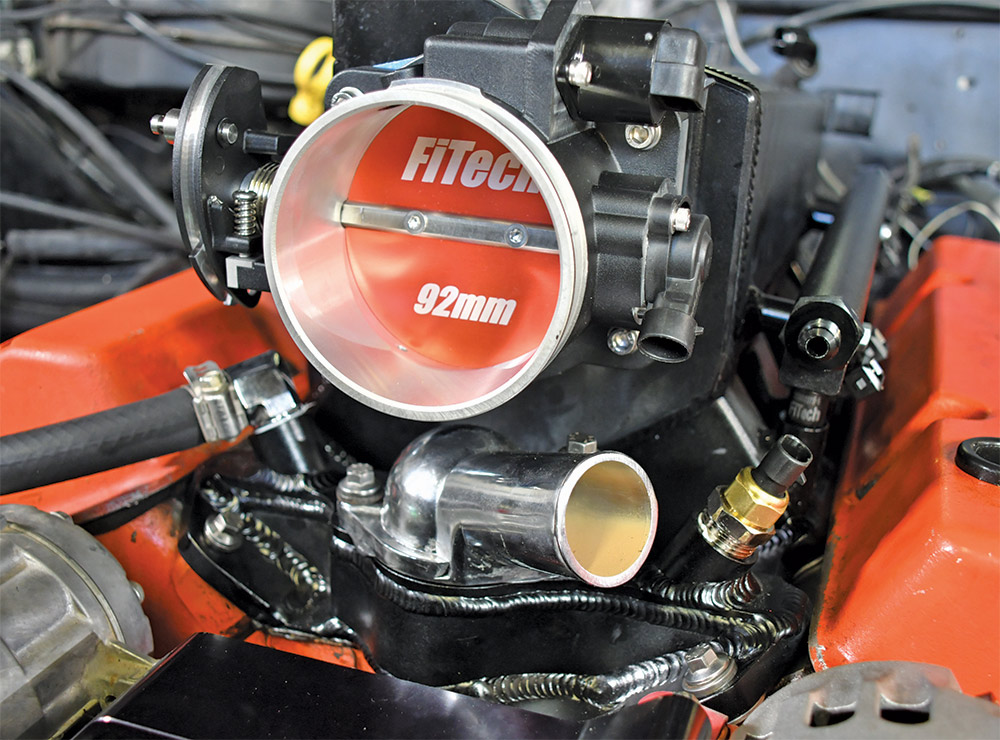
The airflow is controlled by a 92mm cast-aluminum throttle body that is controlled with a mechanical cable. To manage the air/fuel system, FiTech created a compact ECU that easily mounts to the firewall or fenderwell connected through a nicely assembled and packaged harness. All of the sensors—coolant temp, TPS, IAC, MAP—mount in the intake assembly, with only the supplied wideband oxygen sensor needing to be installed in the exhaust.

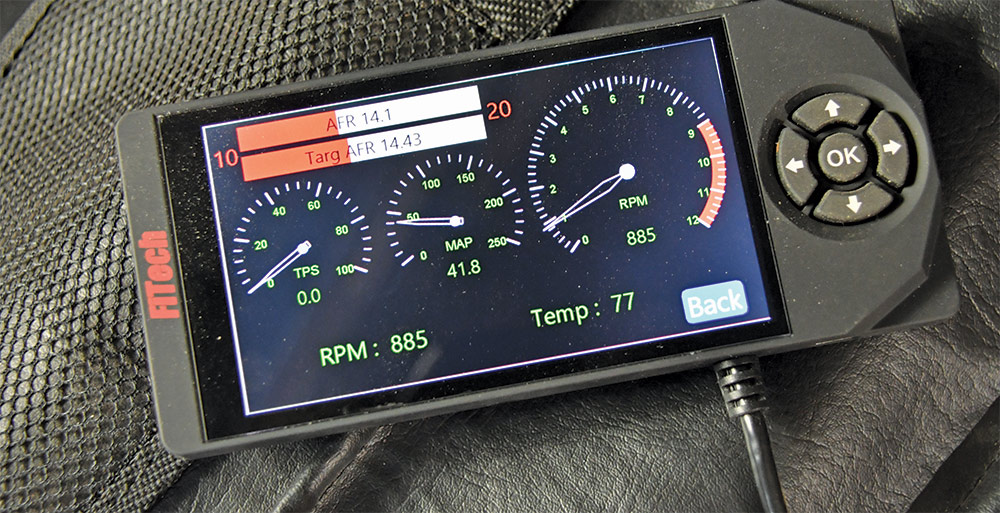
The Ultra Ram system is designed for small-block–powered street and performance applications supporting up to about 600 hp (we heard about a big-block version in the works!). If you’re interested in forced induction, the system can handle about 30 psi of boost and allows you to set target air/fuel ratios based on boost. Programming is handled through an easy-to-maneuver touch screen controller.

Our 1964 Chevelle had been throttle body–equipped for over 10 years, and the system was giving us some bugs. Plus, we were ready for a fresh look and feel under the hood, and the Ultra Ram delivered. As a mild street car, the handheld would do just fine, but it’s good to know that if we decide to step up our power output, we have the access to more advanced tuning.

The Ultra Ram system went together easily and installed just like any other small-block intake manifold. We were impressed with the wiring harness, as every connection was clearly labeled and the assembly was routed into a durable webbed sleeving. As with any electrical system, take your time to use proper connectors and ensure your grounds are paint-free, clean, and tight. Grounds are one area that will come back to haunt you, so take your time on the harness installation and route the wires properly.

When it came time to fire up our Ultra Ram–equipped Chevelle, it was easy to plug in a few engine parameters, set the fuel pressure (check for leaks), and hit the key. Once the timing was dialed in, it was surprising at how quickly the engine came down to idle and smooth out. After running the engine to temperature a few times, we set the IAC steps for a consistent idle, which is easily adjusted by moving the throttle blade position. Plus, the engine revs quick and sounds good, as we’re learning more on the programming while the ECU learns the engine’s needs. The Ultra Ram is running as good as it looks.

FUEL SYSTEM PREP
Our 1964 Chevelle had already been running an old, out-of-date throttle body system, so we didn’t need to install an electric fuel pump and high-pressure lines. This is generally the most time-consuming part about swapping to fuel injection, but FiTech has several options to help you with the update.

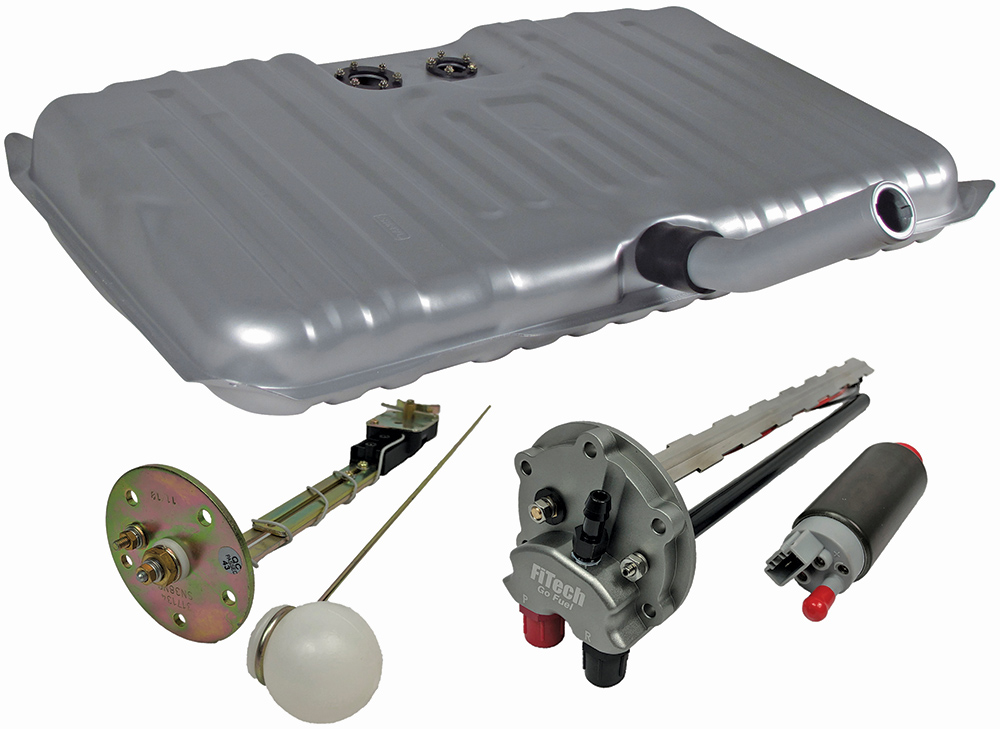
The best place for the fuel pump is in the tank. It’s quieter for the passengers, plus the fuel keeps it cooler. FiTech offers a Universal Pump Module that allows you to modify your tank to accept an in-tank pump. The assembly works on tanks with a depth of 6-15 inches and accepts -6AN fittings and is properly vented. They also offer a number of retrofit tanks that are EFI ready and will bolt right in place of the original.

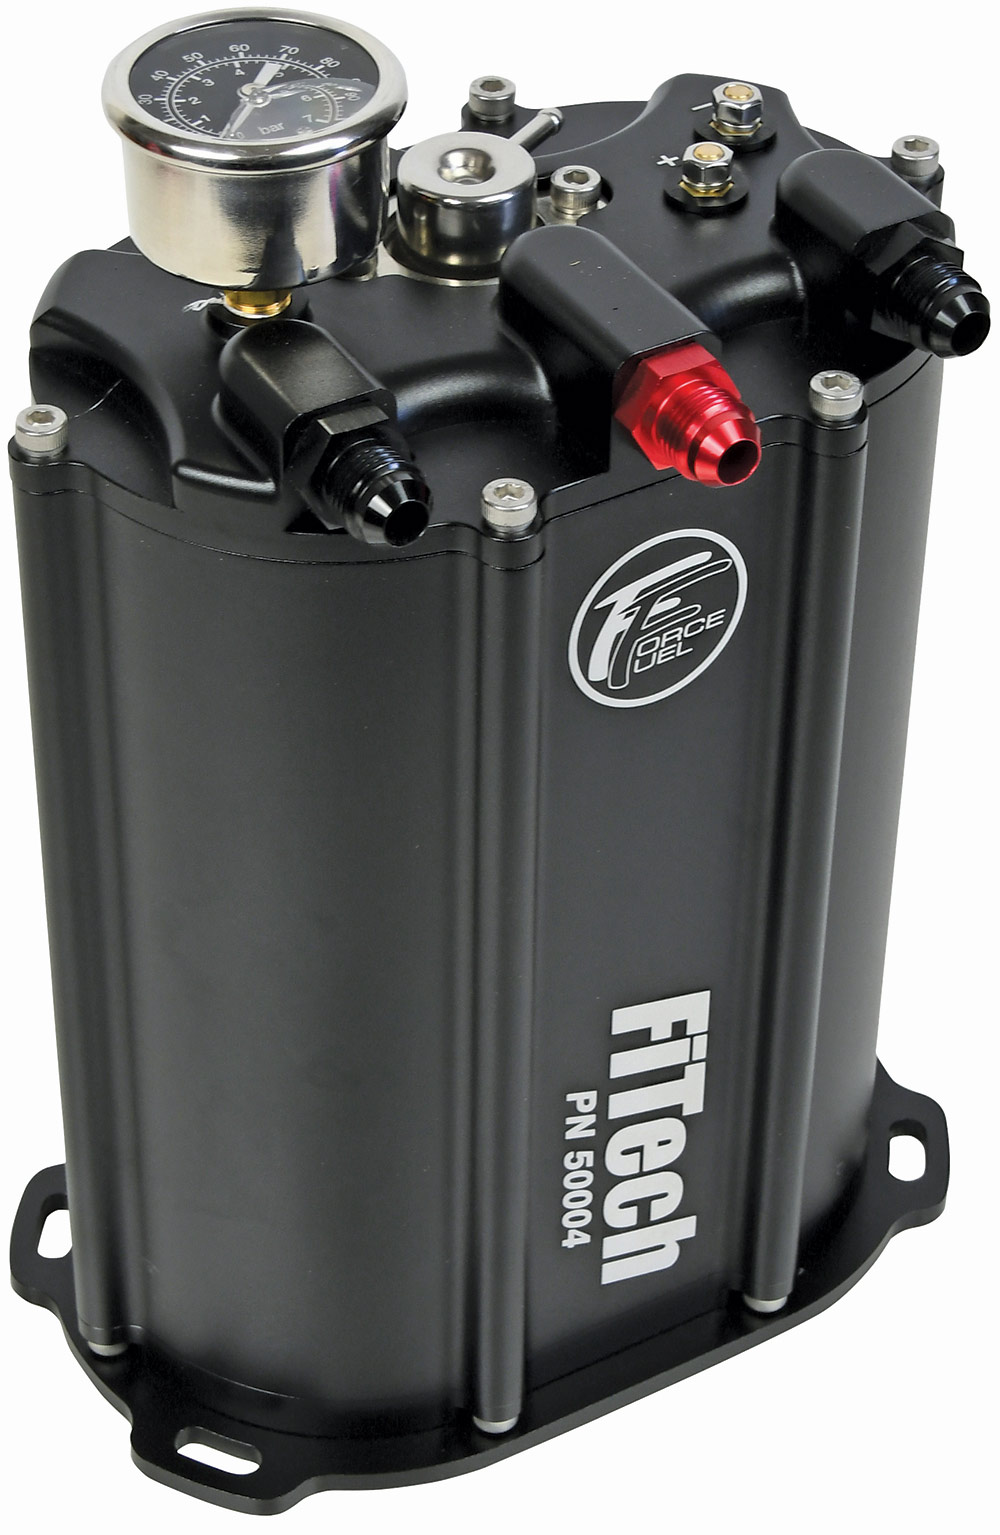
An alternative is their new Force Fuel Sump System. This unique approach uses the original mechanical pump to provide fuel volume to the Force Fuel reservoir where an electric pump is used to create the high pressure required for the fuel system. The Force Fuel has an internal regulator and a dual mount to place it underhood. Note that a return line is still required, but this is an effective solution to installing an in-tank pump.

You’ll also need to use high-pressure fuel hose and fittings—essentially a completely new fuel supply system to support the EFI requirements. Take your time to route and secure the new lines, also position a filter where it can be accessed for preventative maintenance. A properly set up fuel system is imperative to the overall performance and longevity of your new EFI system.
Do it Right, Do it Once
Plan to mount the electric fuel pump in the tank. FiTech offers a Universal Pump Module to modify most existing tanks or offers a number of brand-new, direct-fit tanks designed for an in-tank pump and EFI.
Fuel Delivery
If an in-tank pump is not possible, the Force Fuel Sump System may be the ticket for you. This system is fed by the engine’s mechanical fuel pump and has a built-in high-pressure pump to deliver the 58 psi required for the fuel injection.
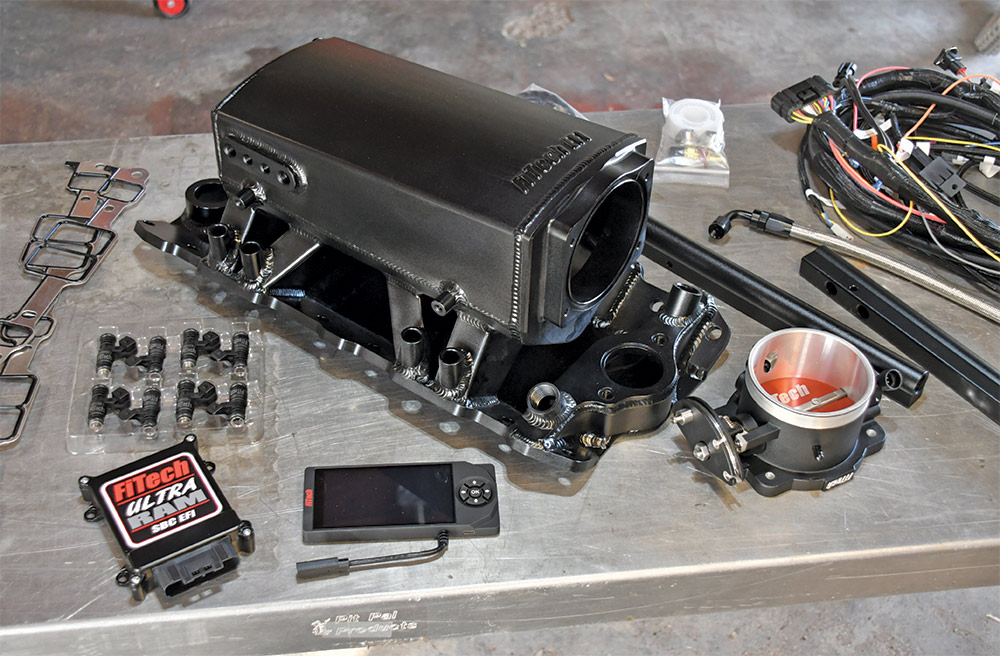
The sensors, billet fuel rails, the 92mm throttle body, the compact ECU, and the wiring harness
1. The Ultra Ram is supplied with everything you’ll need, including the sensors, billet fuel rails, the 92mm throttle body, the compact ECU, and, of course, the wiring harness. There’s a little assembly required but nothing you can’t handle, plus you get to learn more about the parts and intake assembly.
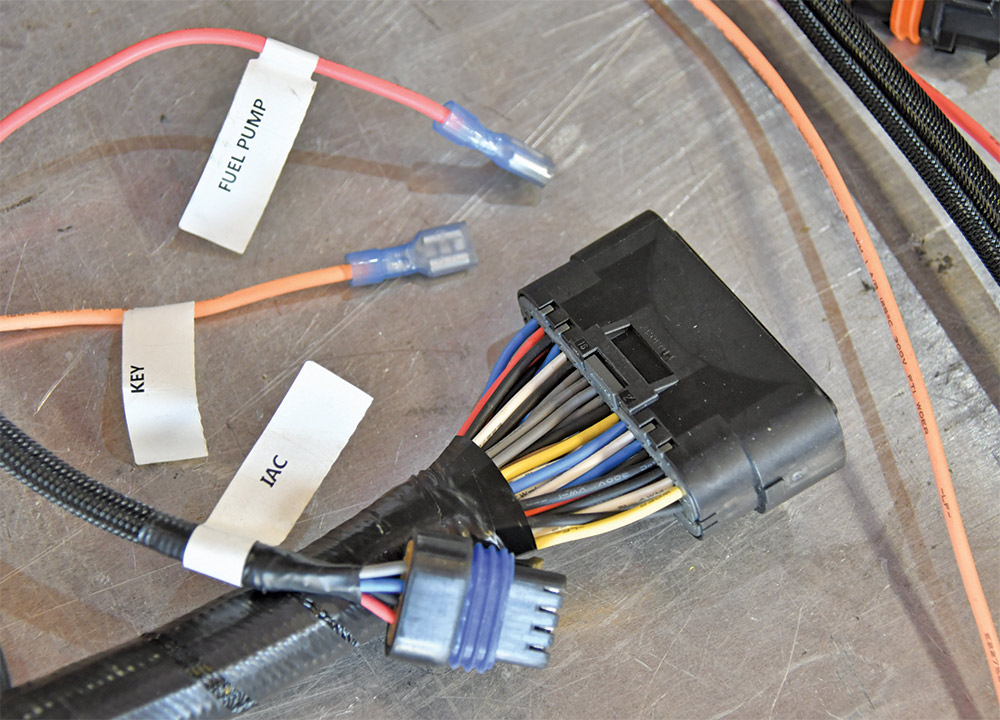
Wiring harness closeup
2. The wiring harness is substantial but is assembled nicely with woven looms for protection and to ease routing. Each OEM-grade connector is clearly labeled.
Oxygen sensor closeup
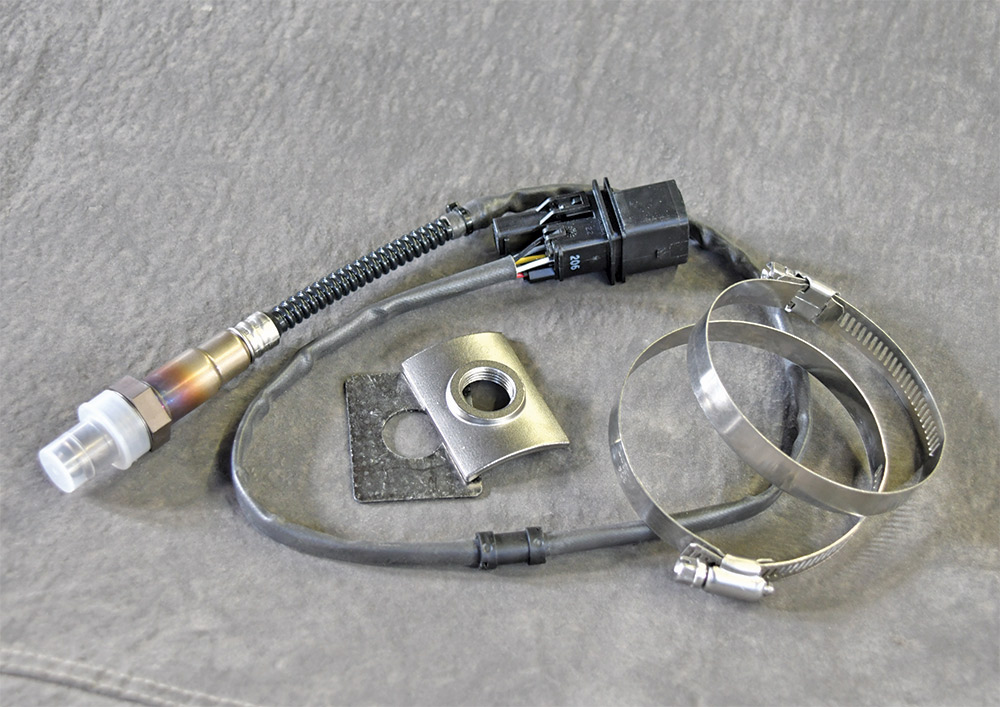
3. One of the most important parts of any EFI system is the oxygen sensor. FiTech supplies a wideband O2 sensor that can be welded in place, or the bung can be secured to the exhaust pipe with stout clamps and sealed effectively with a high heat gasket.
O-rings closeup
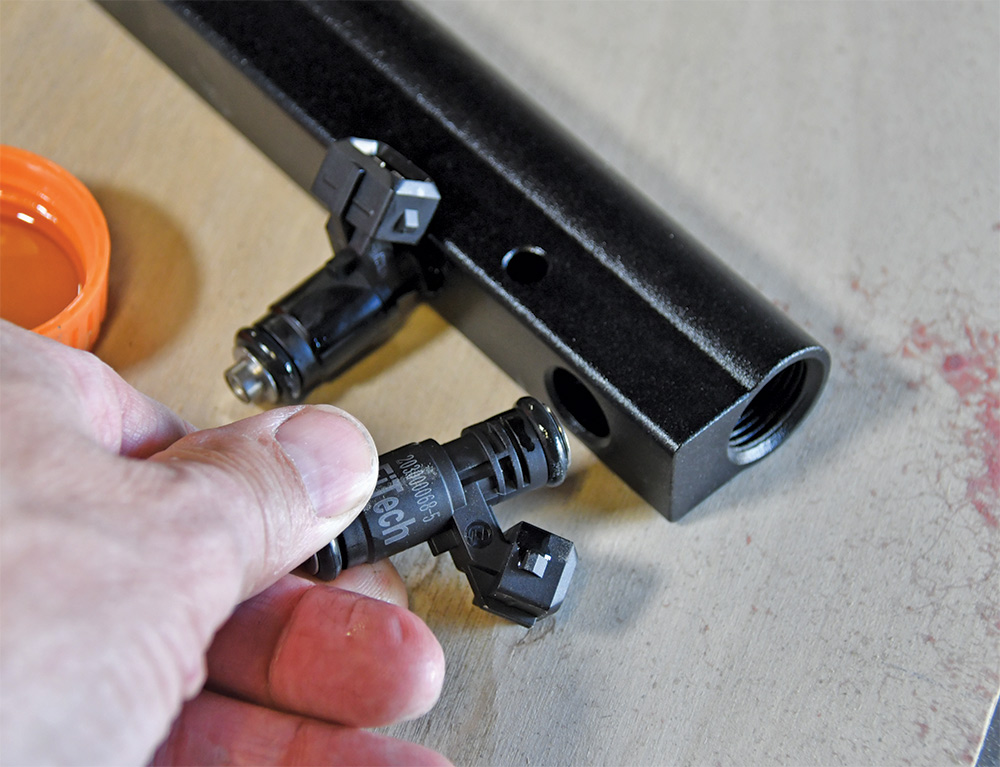
4. The 39-pound injectors are supplied with their O-rings already installed. Use an O-ring lube (or non-synthetic engine oil), then use a twist and push action to mount them into the fuel rail.
placing the fuel rail assembly over the intake manifold bungs
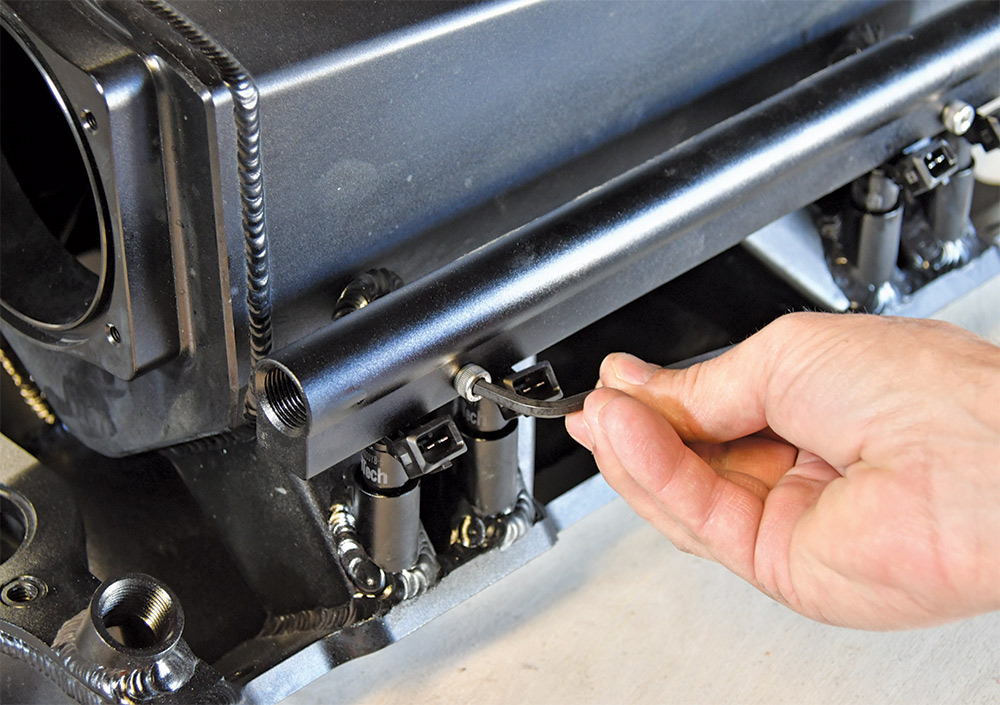
5. With the injectors in place and the lower O-rings lubed, place the fuel rail assembly over the intake manifold bungs and press it down into place. Use a dab of thread locking compound on the bolts to secure the fuel rail to the intake manifold.
The cast-aluminum throttle body closeup
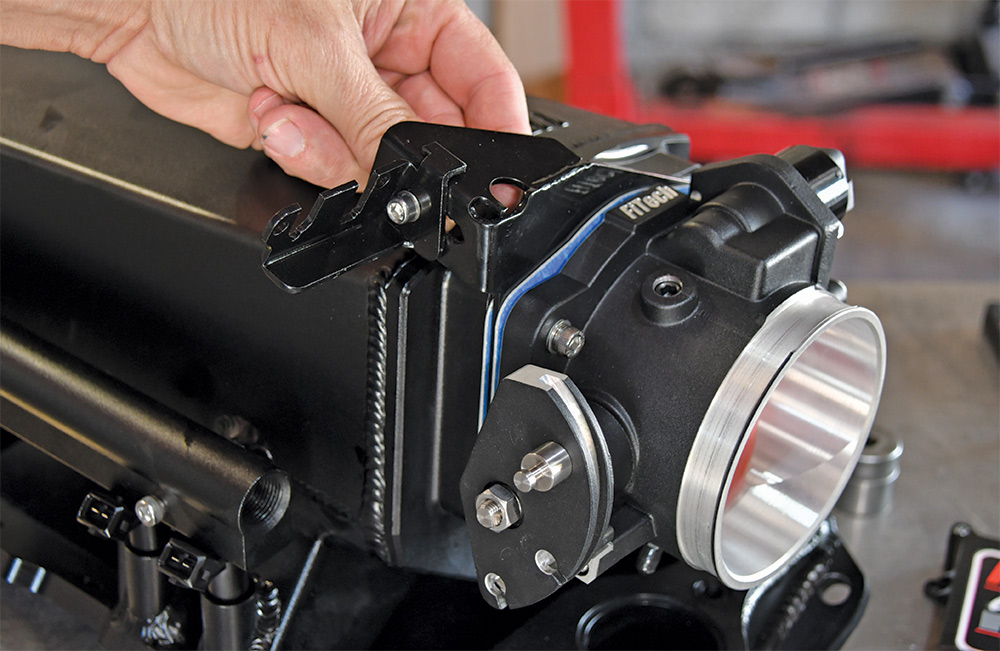
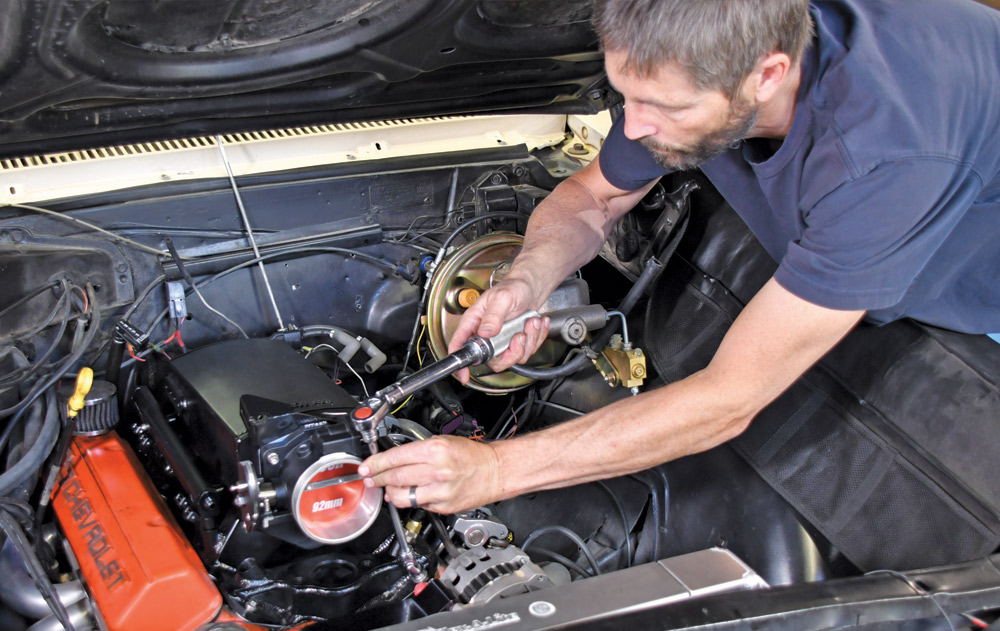
6. The cast-aluminum throttle body is secured with four bolts. A throttle cable bracket is supplied that gets sandwiched between the two.
3-BAR MAP sensor closeup
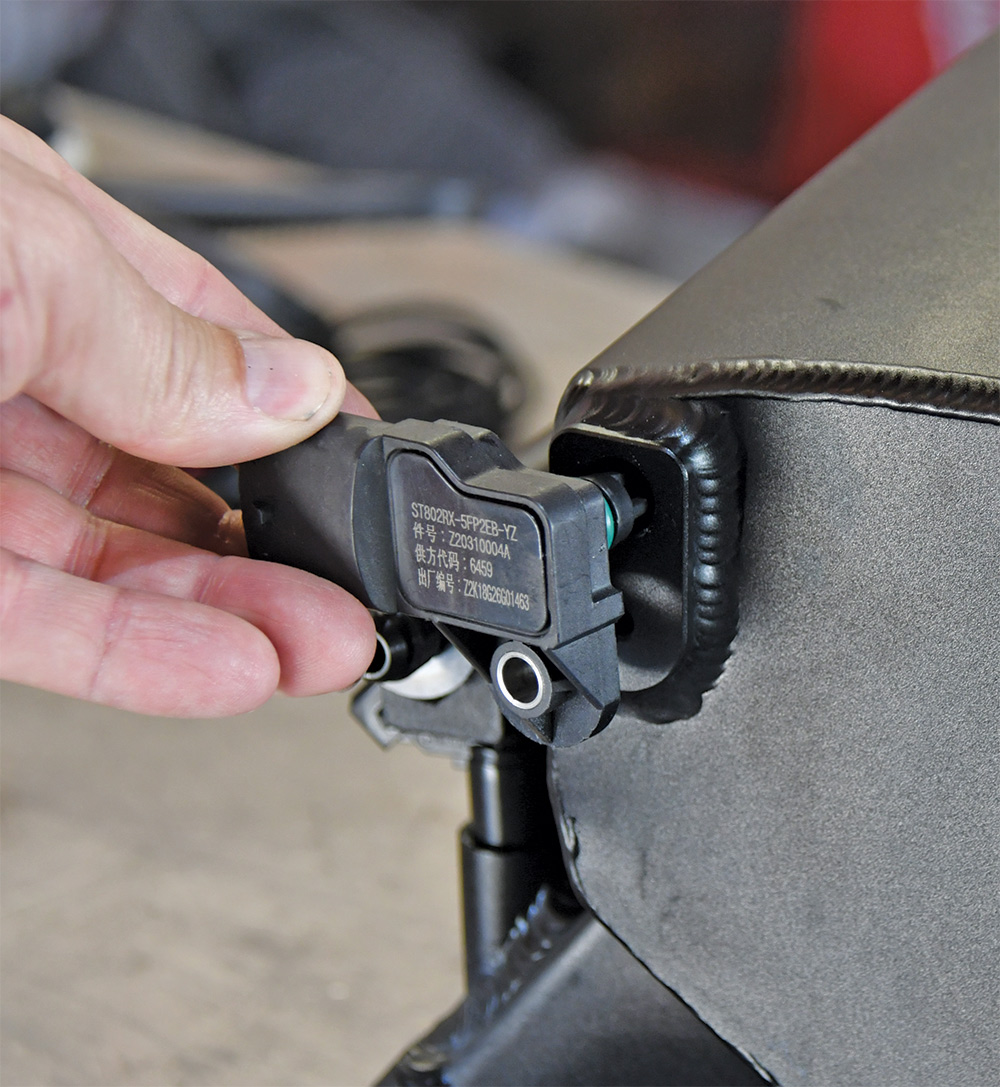
7. FiTech supplies a 3-BAR MAP sensor with the kit that is capable of working with up to 30 psi of boost. It simply installs in the back of the manifold.
Preparing to install the manifold
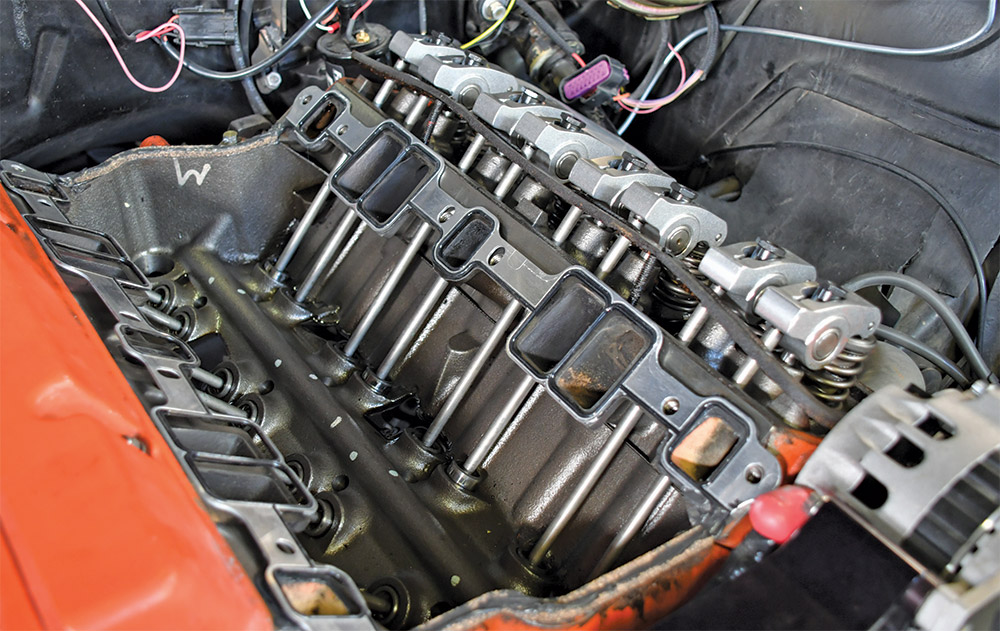
8. With the intake assembled, we moved under the hood to prepare to install the manifold. FiTech supplies quality gaskets with raised seals along with cork end gaskets.
Intake in place
9. With the intake in place, the bolts were torqued to 25 lb-ft in two sequences. Next, we set about installing the distributor.
Closeup of adapter for the coolant temperature sensor and the heater hose outle
10. Most aftermarket thermostat housings will fit under the throttle body. FiTech supplied an adapter for the coolant temperature sensor and the heater hose outlet (though that wasn’t required for the new outlet we used).
The four manifold vacuum outlets on the intake
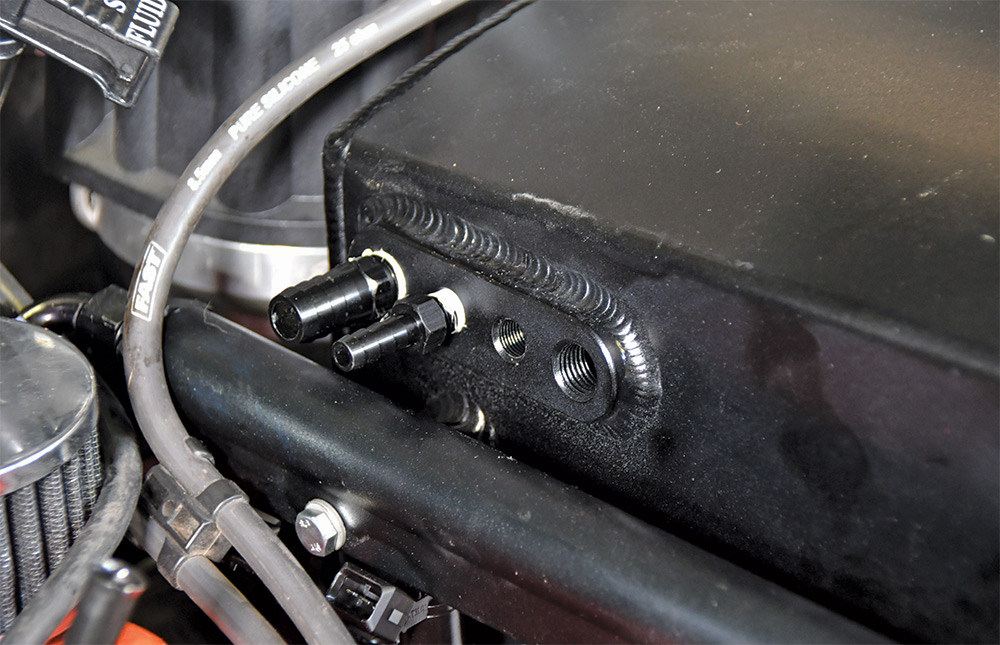
11. There are four manifold vacuum outlets on the intake. In our application, one will be used for the power brake booster, a smaller one for the transmission lockup controller on our 200-4R. For ported vacuum, there is an access port on the throttle body that we’ll put to use for the vacuum advance on the distributor. The other two ports on the intake will be plugged.
closeup of the connections for the left and right banks
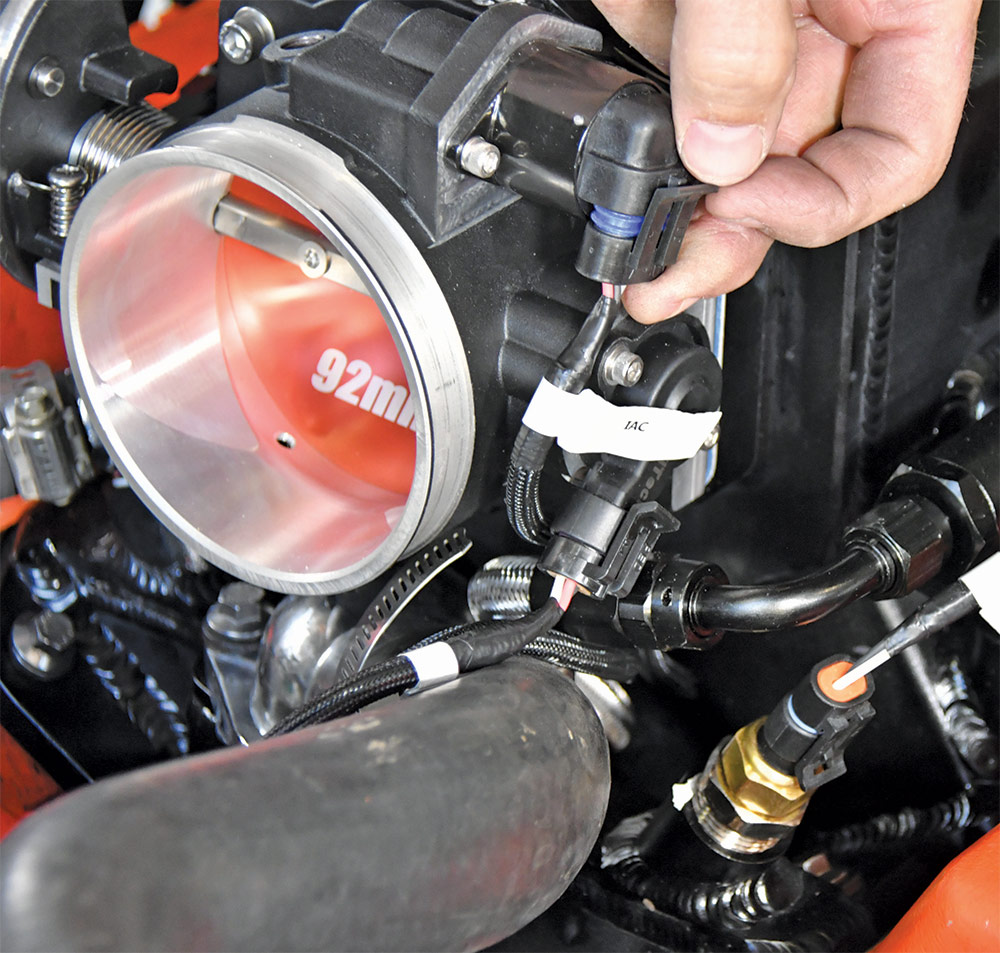
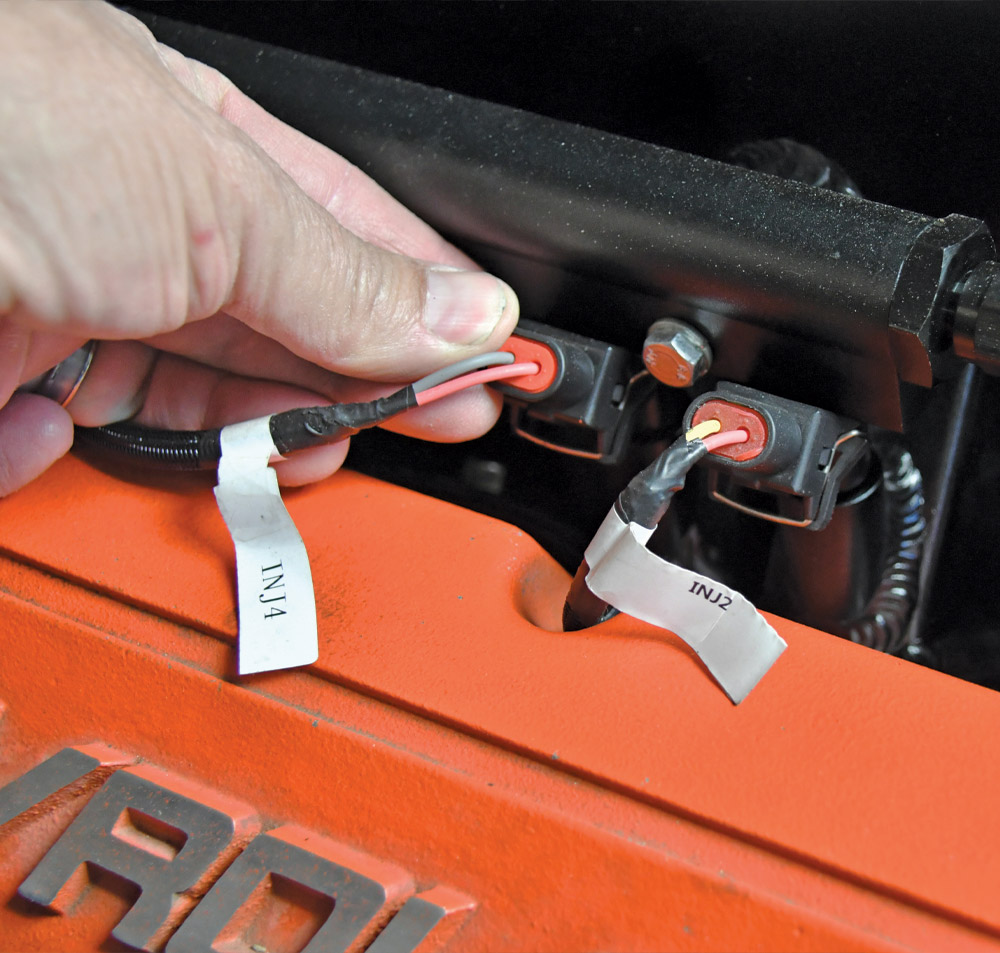
12-13. We prepared the wiring harness by locating the connections for the left and right banks, along with the sensor connections, then draped it over the engine and started making connections. The harness is specific for a small-block Chevy with the injectors for cylinders 2, 4, 6, and 8 on the passenger side. The other injectors, along with the coolant temp, idle air control solenoid (IAC), and throttle position sensor (TPS) came up along with driver’s bank.
Closeup of installation the connectors
closeup of idle air control solenoid
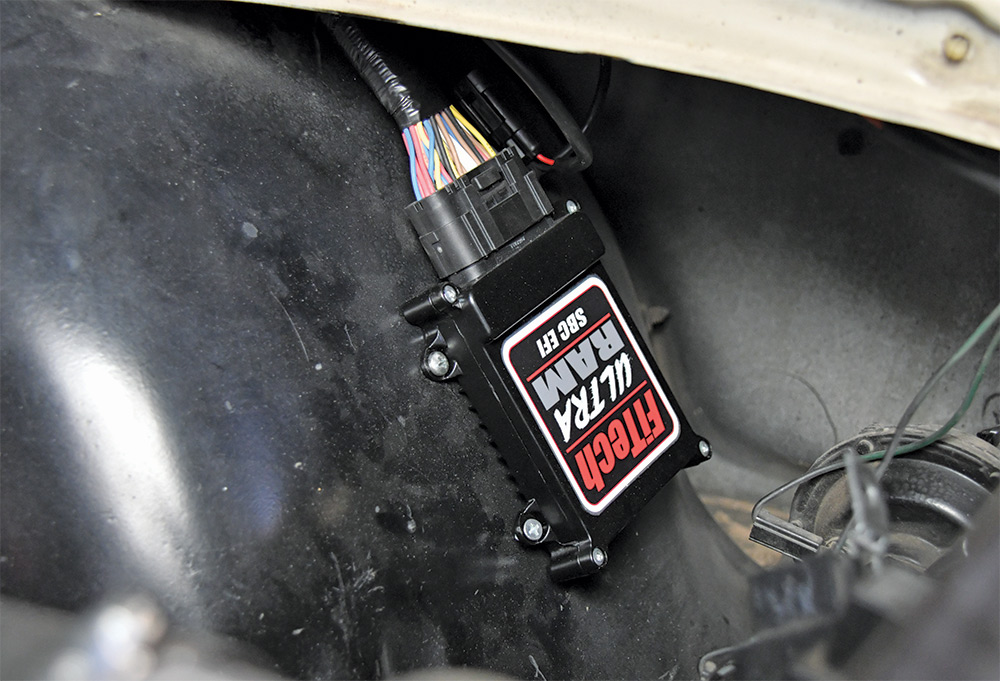
14. The rest of the harness was routed through the fender and over the wheelwell on the driver side where the ECU was mounted.
Closeup of  tach output of a CDI ignition
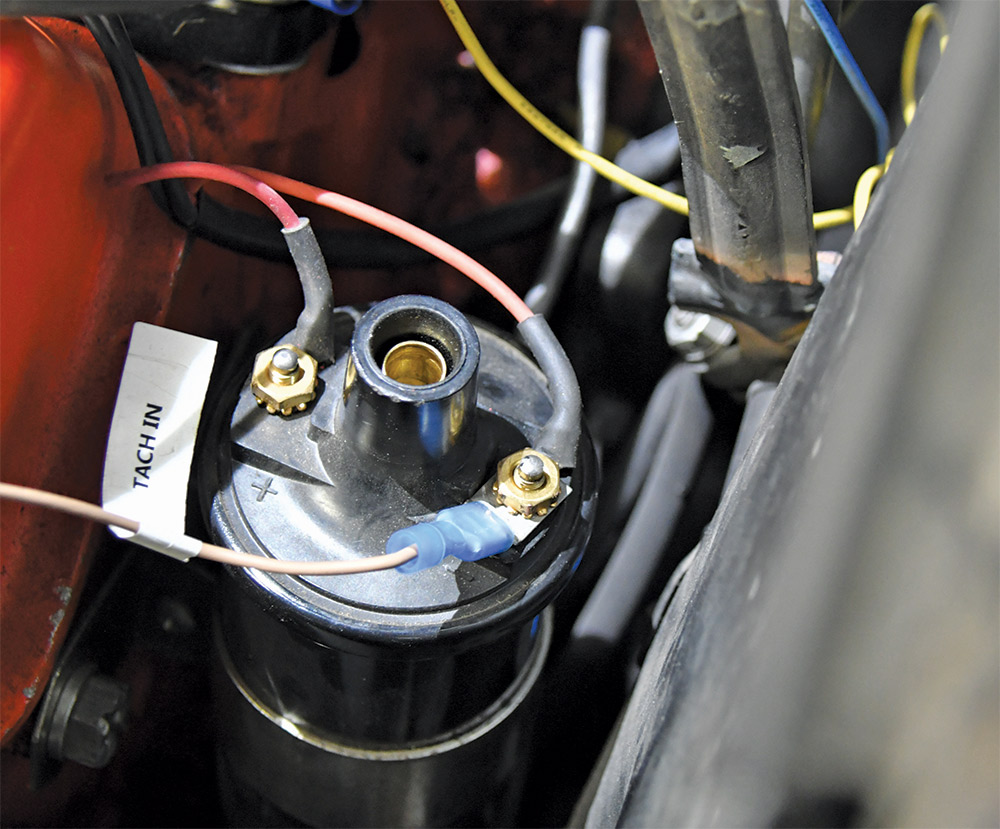
15. The tan-colored tach wire provides the trigger signal to the ECU, which is responsible for triggering the injectors. The Ultra Ram accepts a 12V square wave signal from the tach output of a CDI ignition, the tach signal from an HEI, or the coil negative signal. We are using a Ready-to-Run distributor style so we connected the wire to the coil negative.
Closeup of FiTech’s new regulators
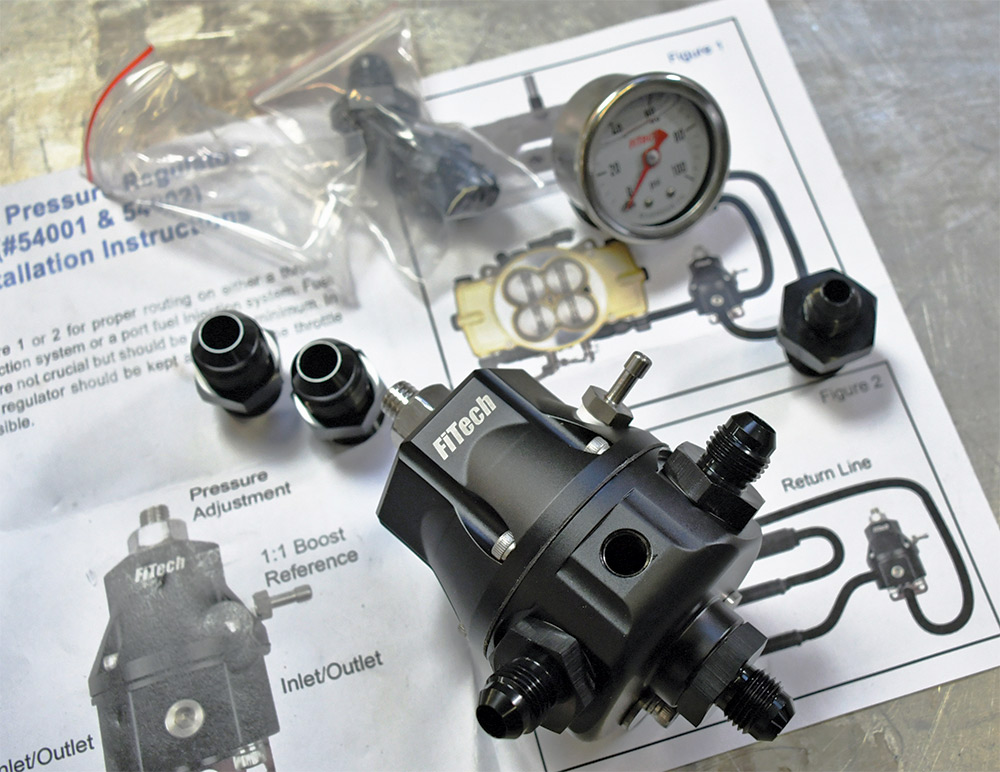
16. Moving onto the fuel system, a regulator is required with the Ultra Ram. We went with one of FiTech’s new regulators and were very pleased to see that it included a liquid-filled gauge and a number of -6 and -8AN ORB fitting adapters. It was mounted on the passenger side fenderwell.
Using the touch screen controller
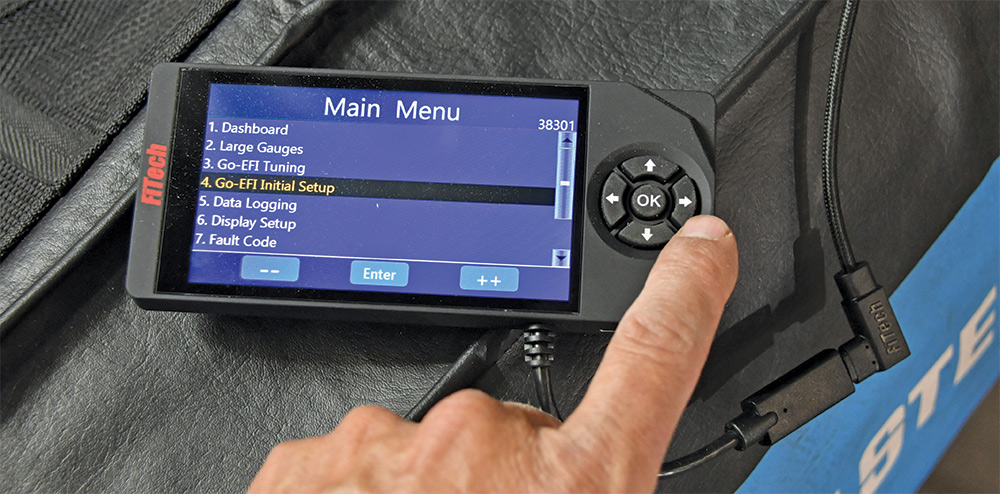
17. After checking and rechecking our connections and fuel lines, we connected the battery and fired up the touch screen controller. The nice thing is that you can put in all the engine parameters without the key on. Going to the Initial Setup menu takes you to simple inputs, such as engine displacement, cam profile, idle rpm, injector type, and more.
Closeup of adjusting the pressure
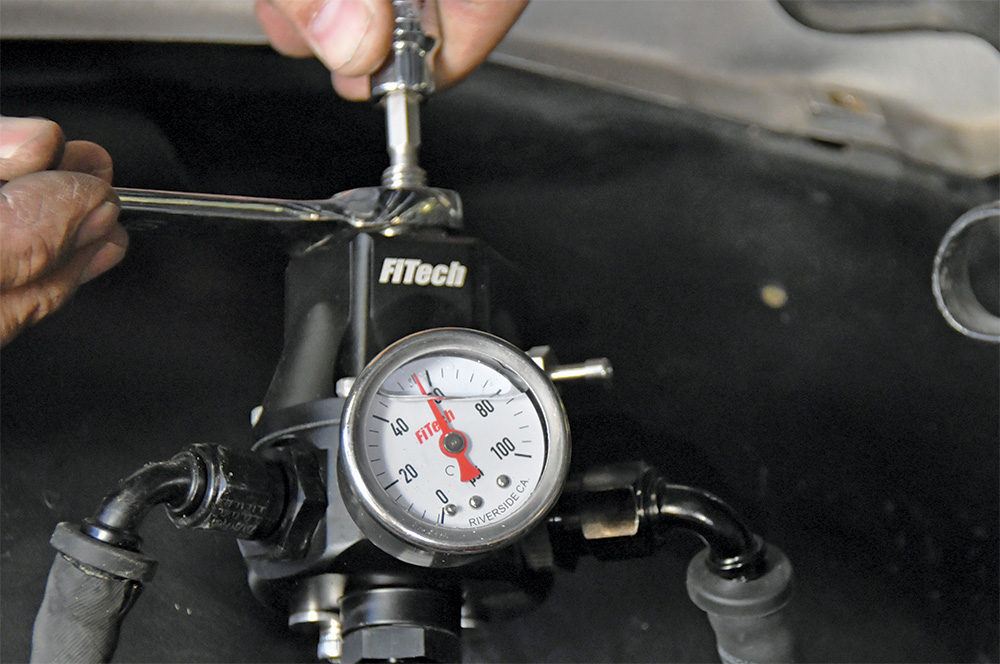
18. Next, we turned the key on, including the fuel pump. We adjusted the pressure to 58 pounds and checked all of the fittings and connections before firing up the engine.
Closeup of touchscreen
19. The engine cranked over a few times and with a little twist of the distributor to get the timing back in place it roared to life. For a few seconds, it hunts for a comfortable engine speed, but the ECU gathers itself and has the engine running smooth in short order. You’ll be able to view real-time data from the handheld.
Closeup of throttle cable
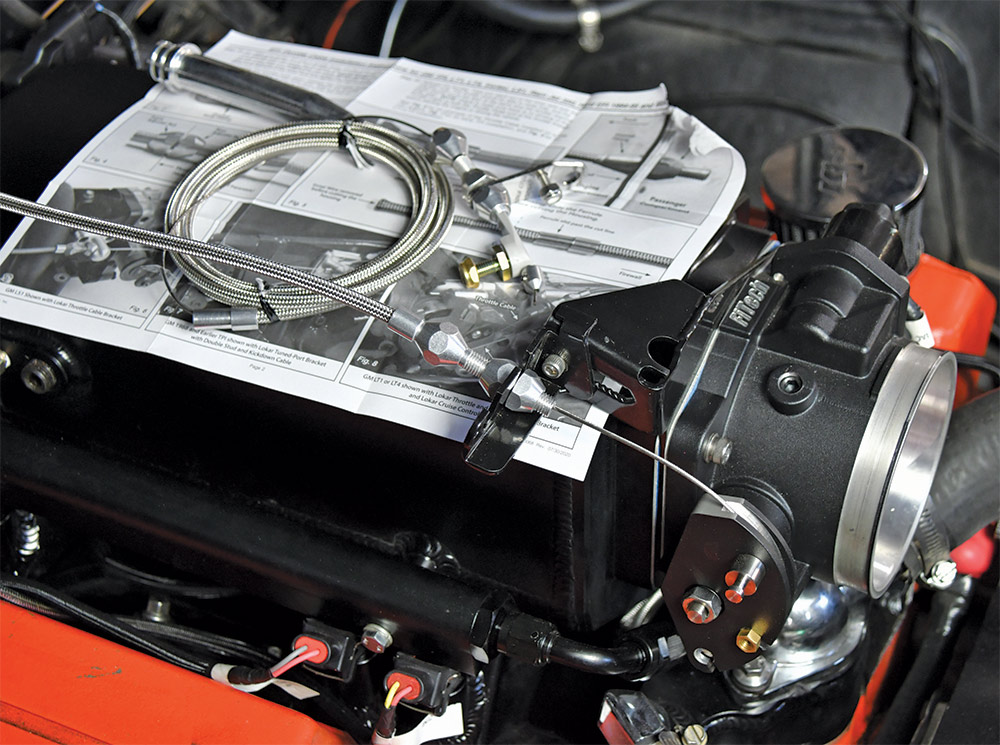
20. One thing we should have ordered when our system came in was a new TV cable or throttle cable to reach the throttle body now on the front of the engine. Measurements were taken, a call was made to the Lokar tech line, and a recommendation was made for our application.
Closeup of the new Ultra Ram
21. We really like the look of the Ultra Ram—a nice modern update from the TBI or carb. The harness was a breeze to install and the initial setup took only minutes. We’ll need to work out an air cleaner duct and some final wire routing, but we’re looking good! Now we need to spend some time detailing the rest of the engine compartment.
ME/Wagner billet adjustable PCV valve
 SOURCES
FITECH FUEL INJECTION
(951) 340-2624
www.fitechefi.com

LOKAR PERFORMANCE PRODUCTS
(877) 469-7440
www.lokar.com