ACP department heading TECH
InTheGarageMedia.com
Nose Job
Nose Job
Fresh Front end Sheetmetal for a Second-Gen Camaro
By Chuck Vranas Photography by The Author
T

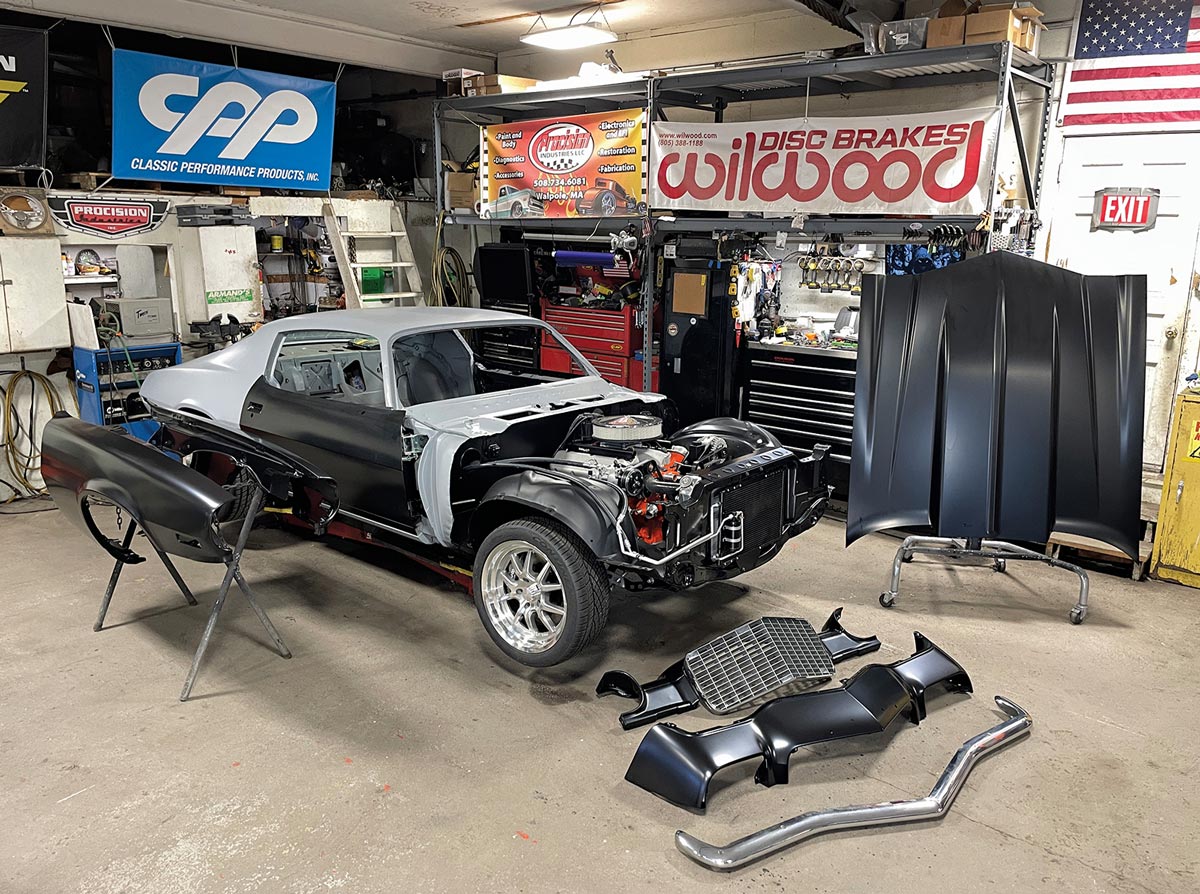
here comes a moment in every buildup where you need to address the status of the body. Many times it can be when all of the mechanical and chassis fabrication upgrades are finally completed. It’s always good to have a plan of action regardless of whether you’re going from ground-zero or taking it on in steps to reach your goals. Regular readers of All Chevy Performance will recognize the ’71 Camaro laid out across our pages as having started its journey as a picked-down shell that was totally bare bones and barely a roller. It’s certainly come a long way through past articles addressing the suspension, brakes, LS driveline, cooling, and exhaust.

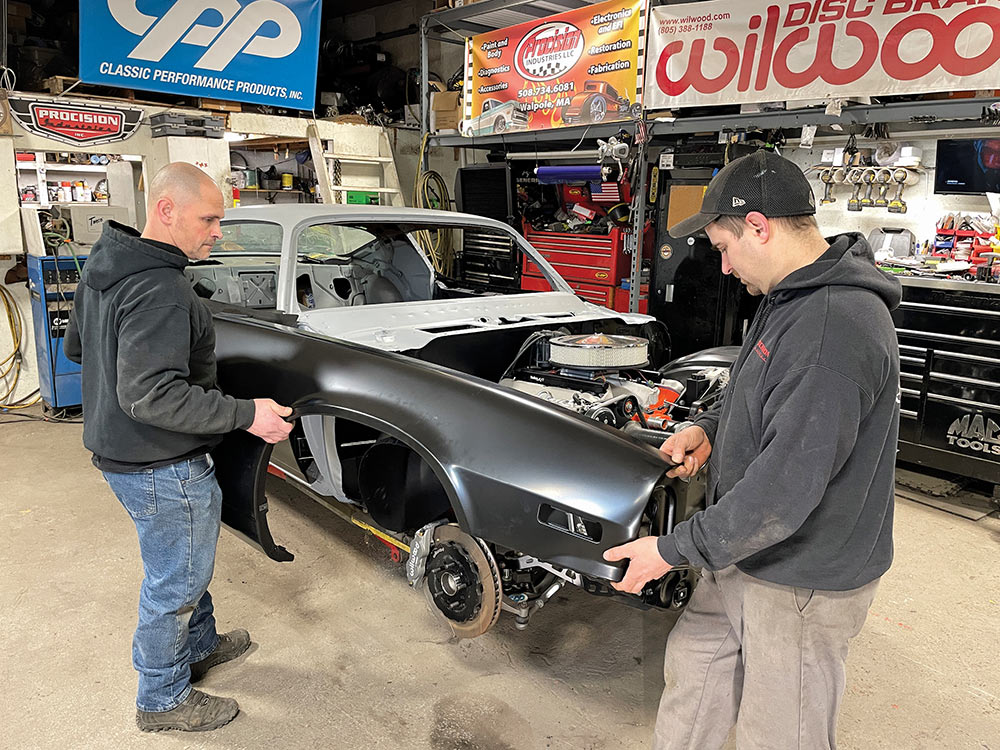
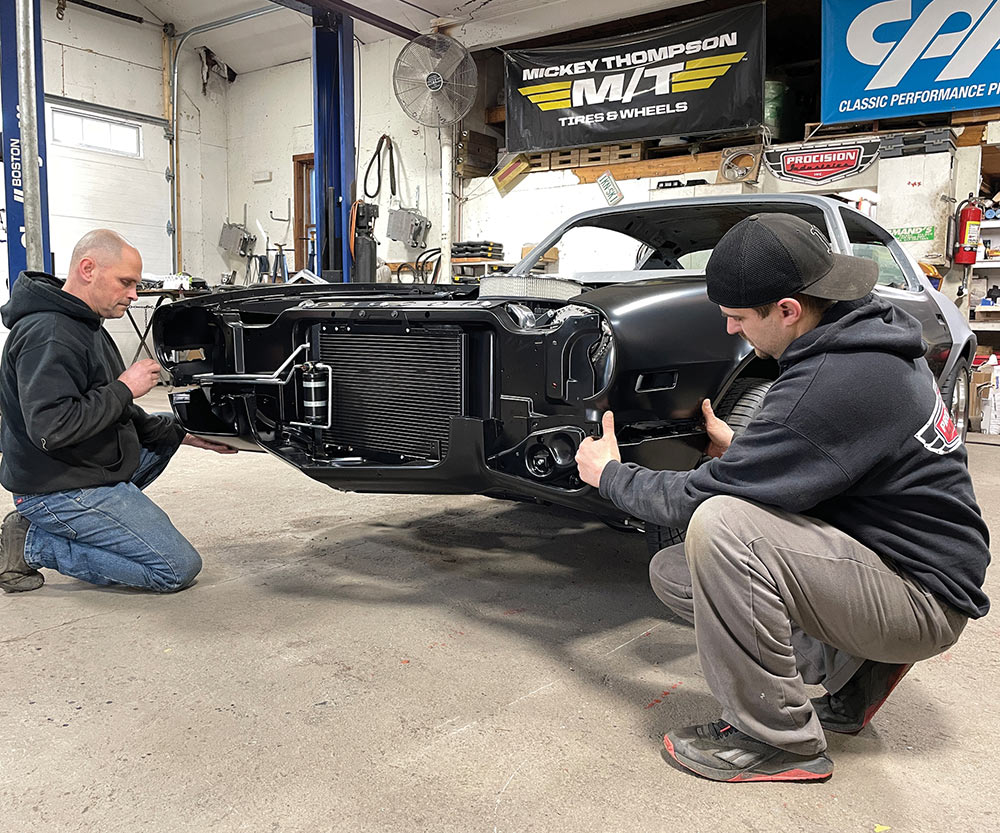
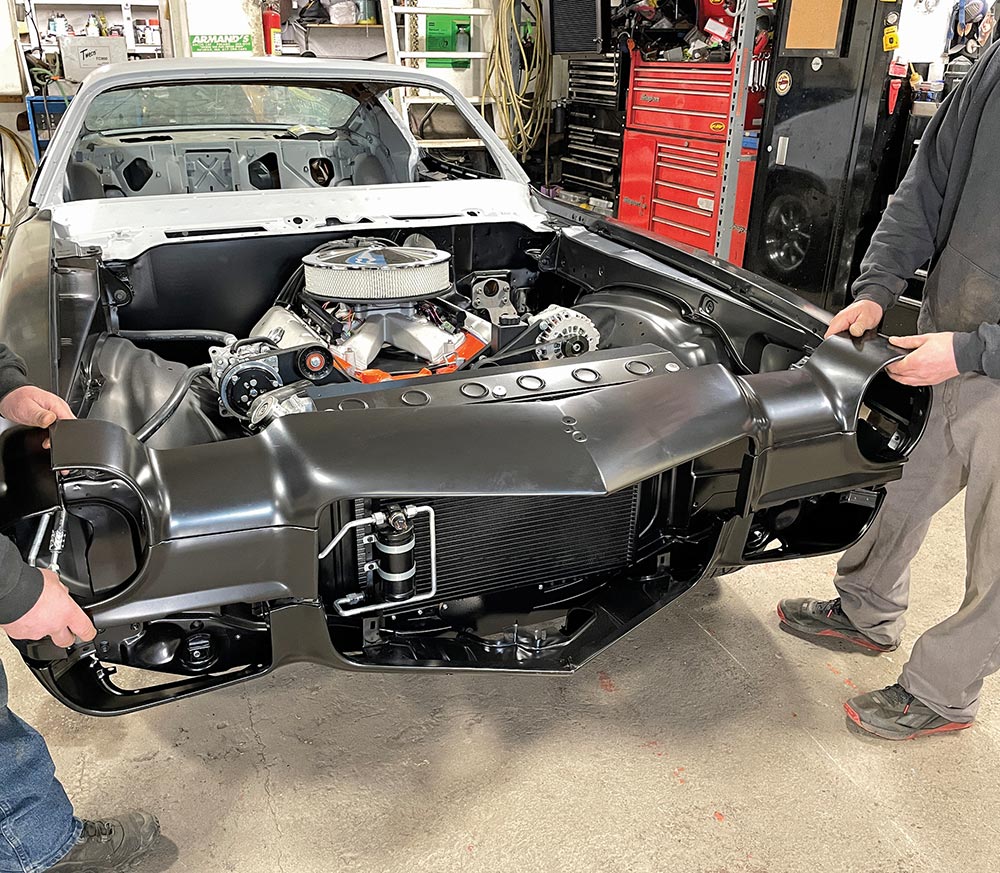
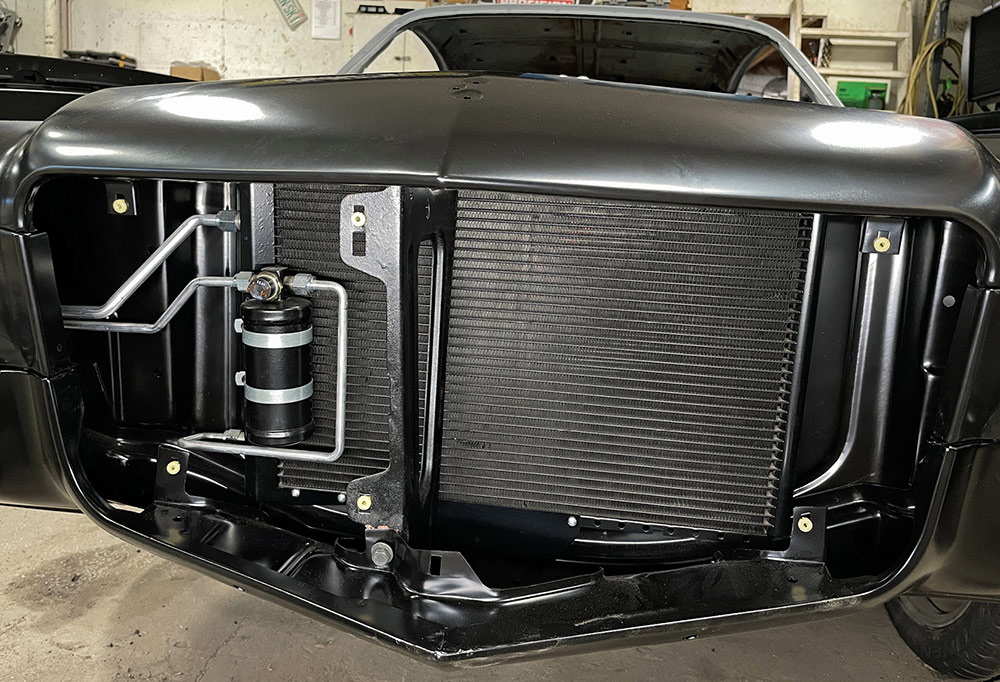
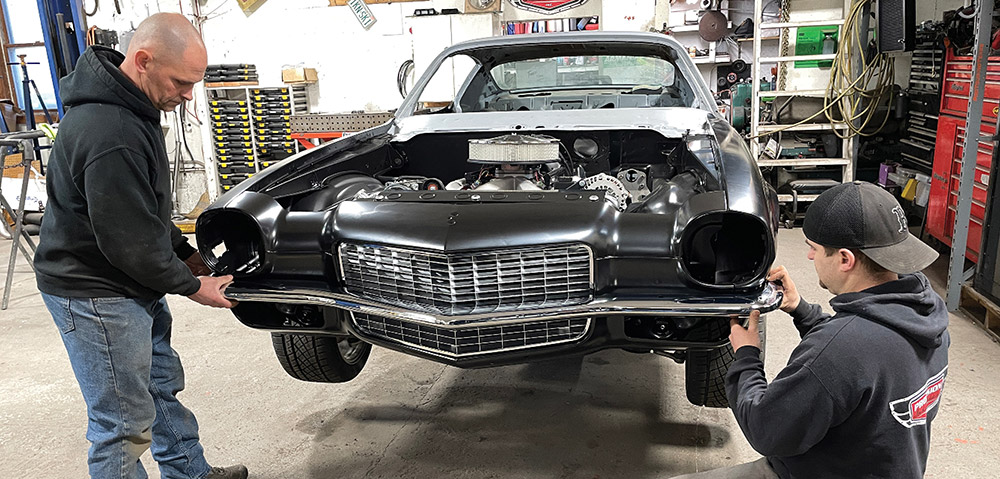
We recently followed up at Procision Industries in Taunton, Massachusetts, where shop owner Pat O’Brien was preparing to move forward on the next step of addressing the body. Seeing that the car was void of any front sheetmetal, it was a perfect time to look into options and address ideas of how he would like the styling of the car to look. O’Brien contacted Auto Metal Direct (AMD) to check out their vast catalog of sheetmetal components as well as everything needed to complete the full assembly of the front end. Any particular needs for your restoration project, from body components to glass, electrical, trim, and everything else you could imagine, they’ve got it covered.

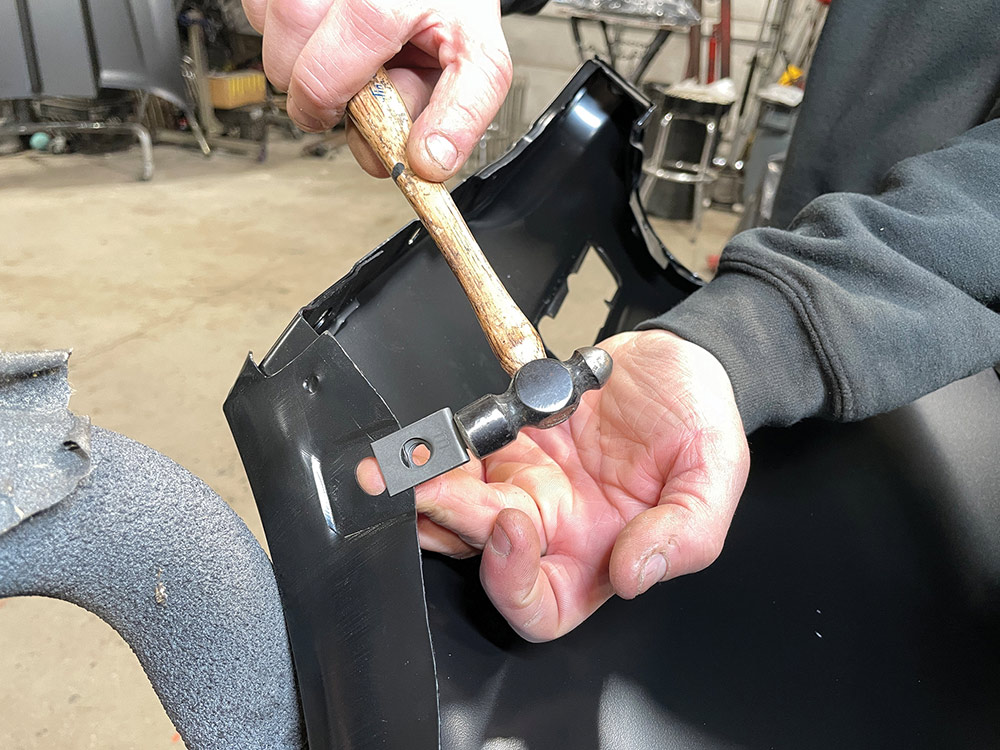
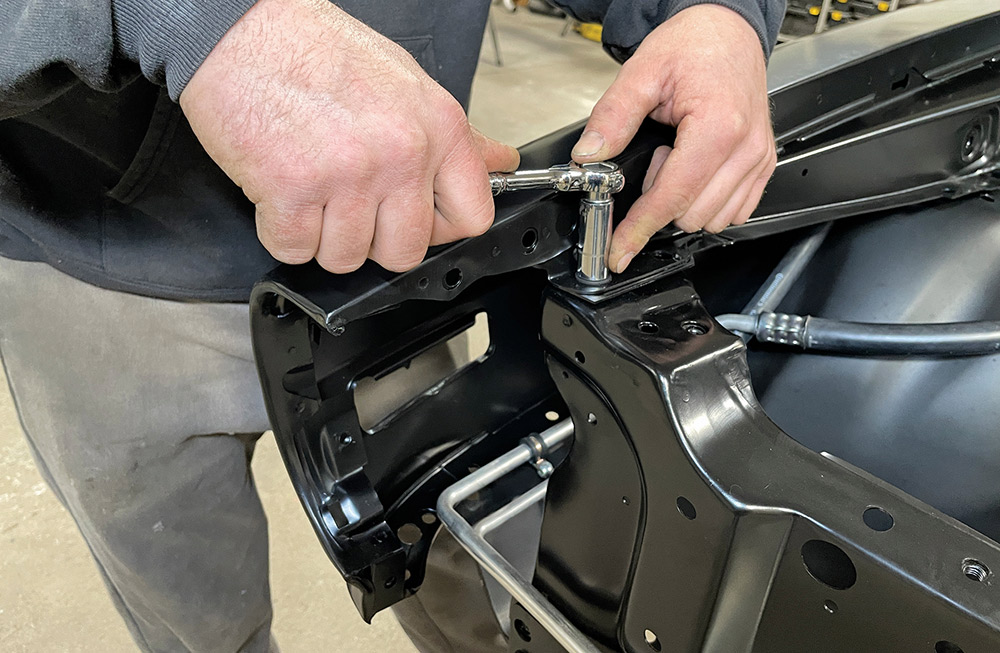
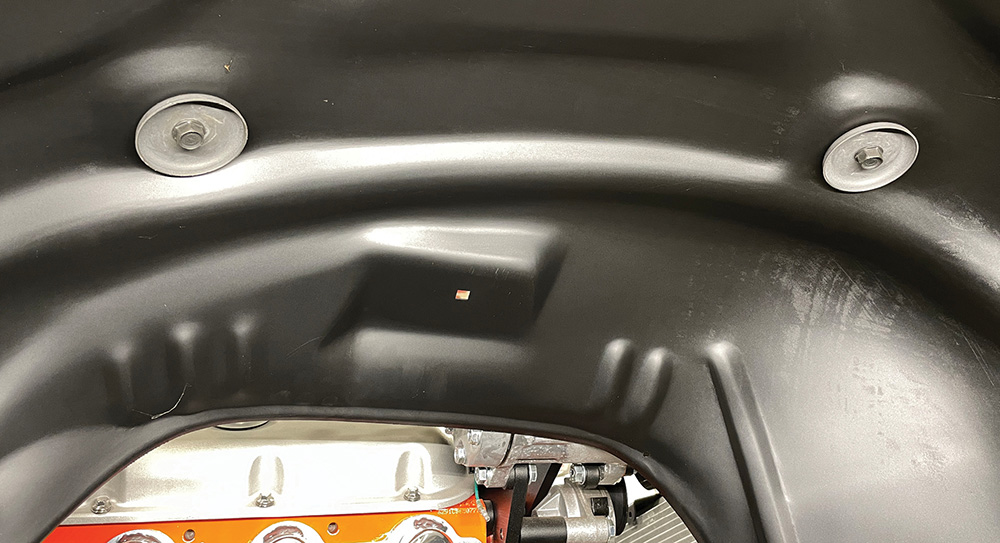
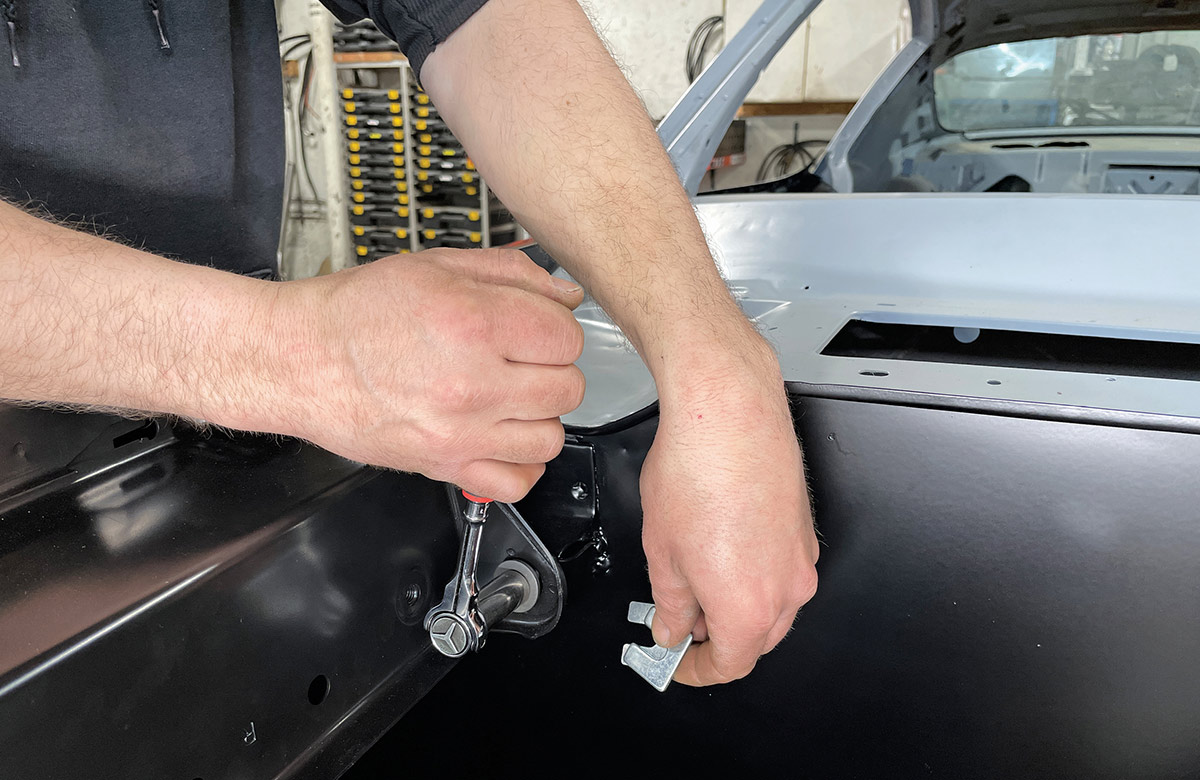
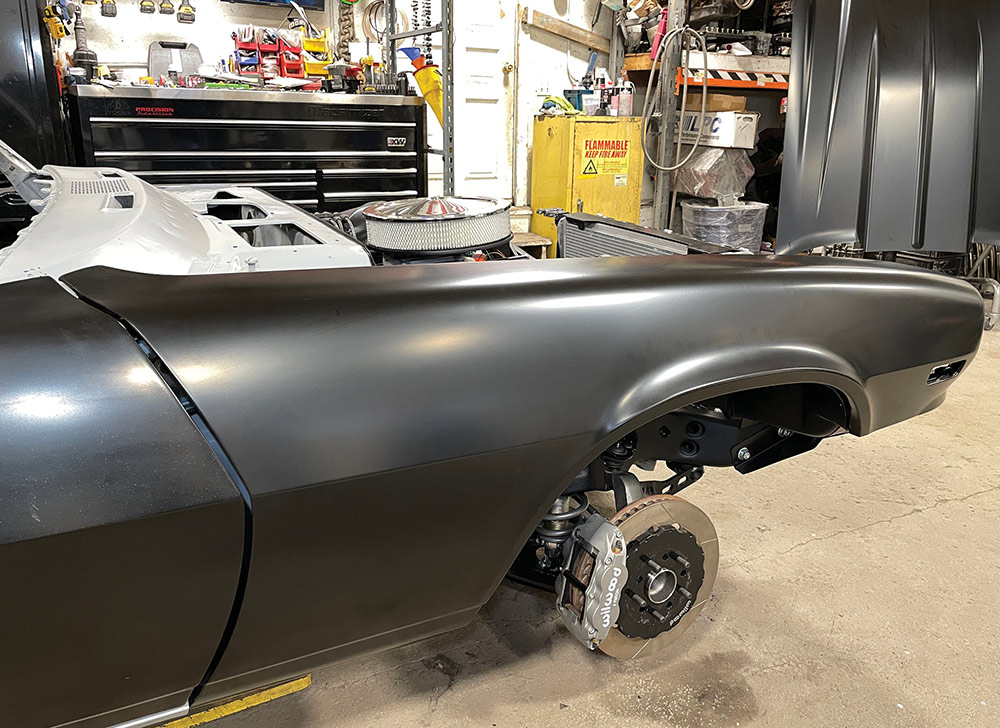
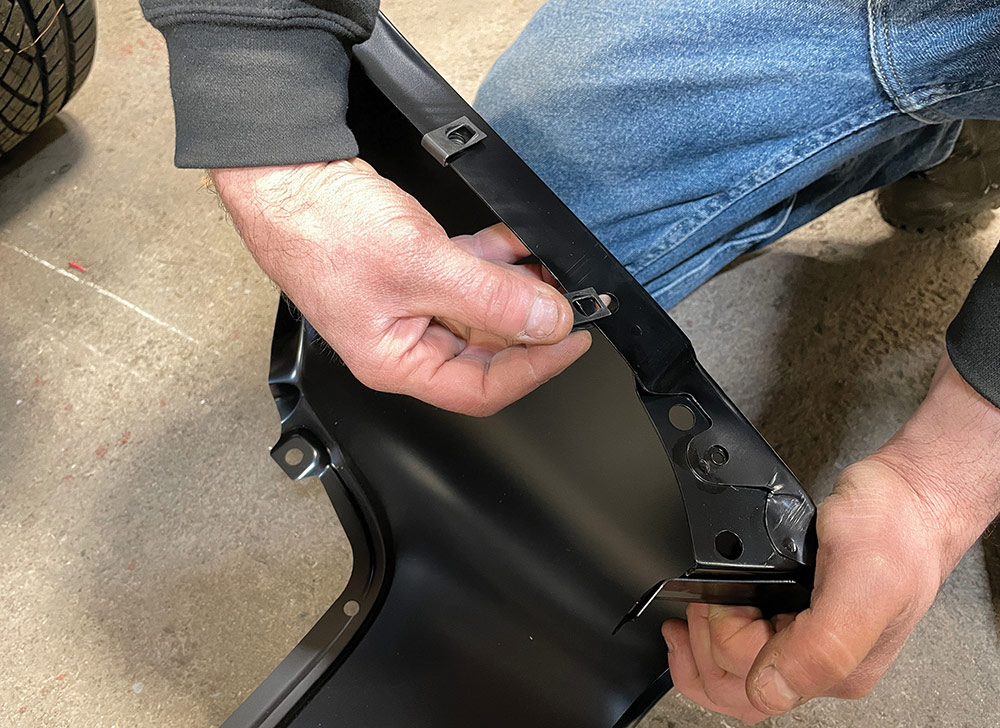
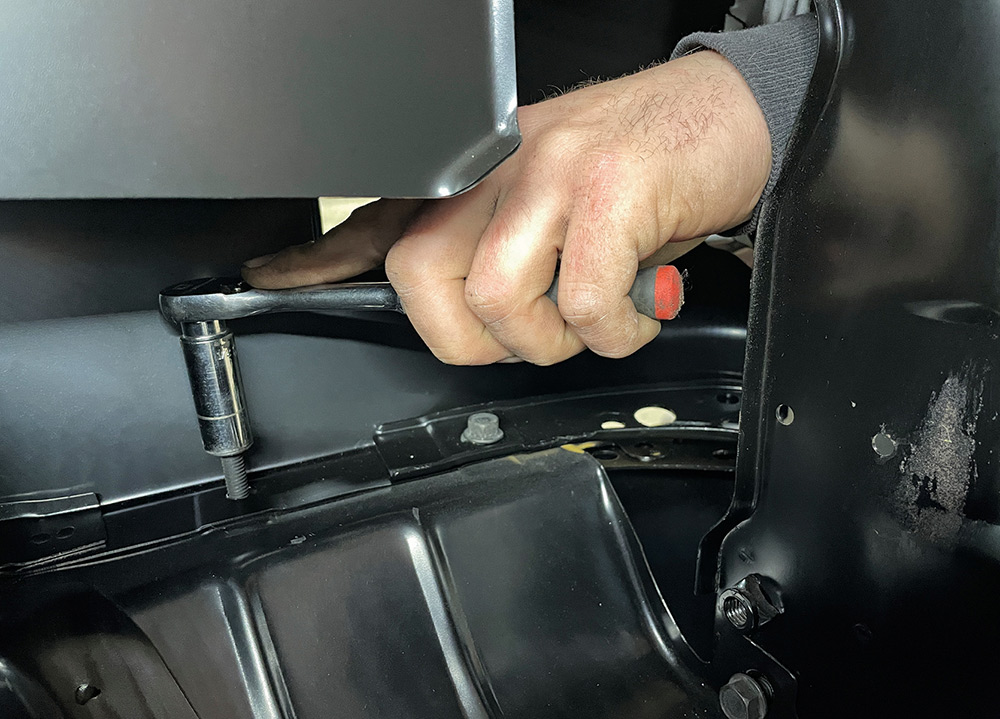
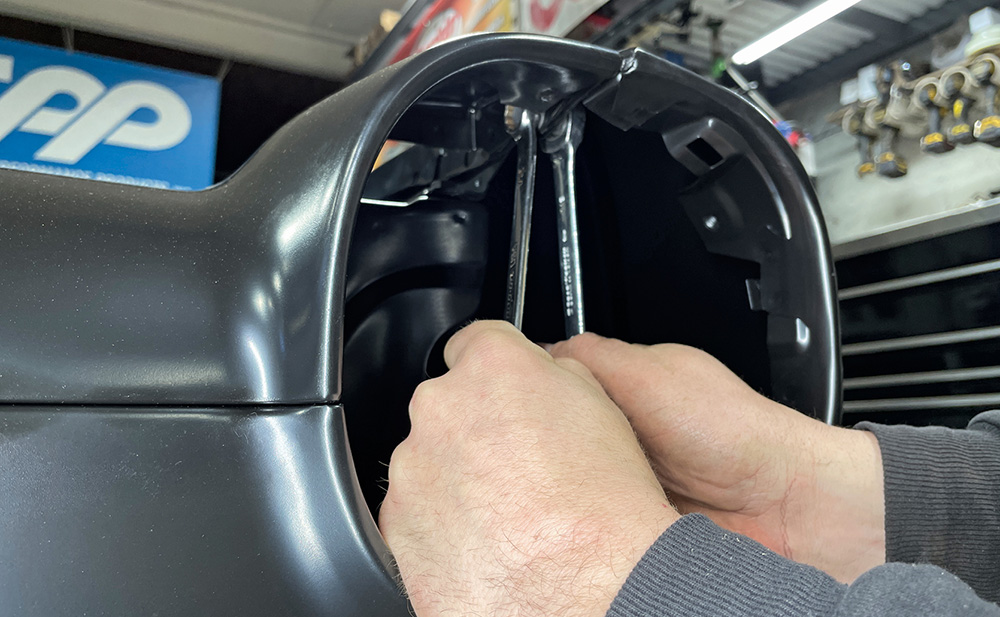
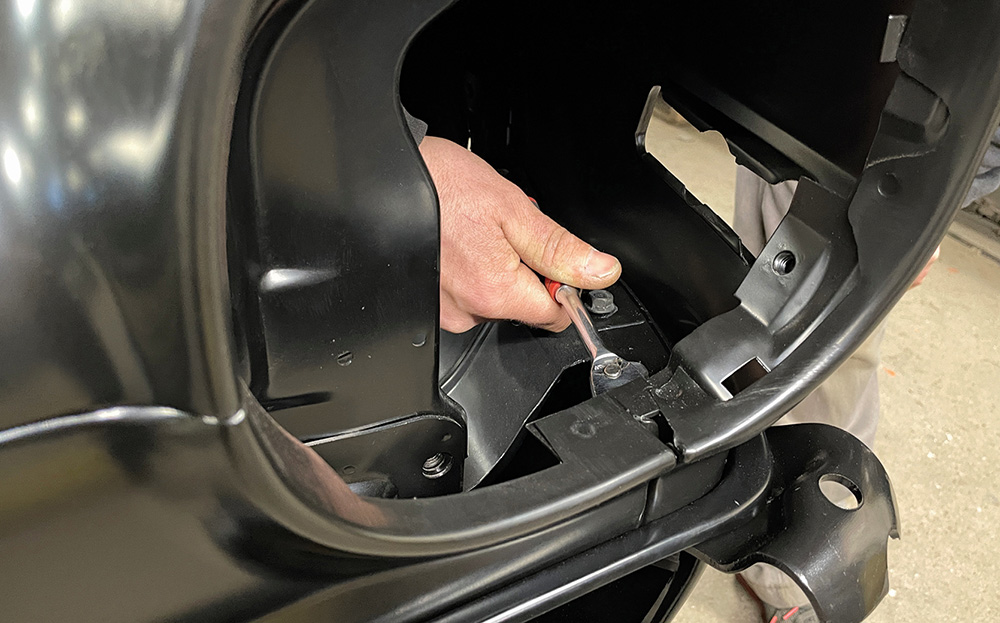
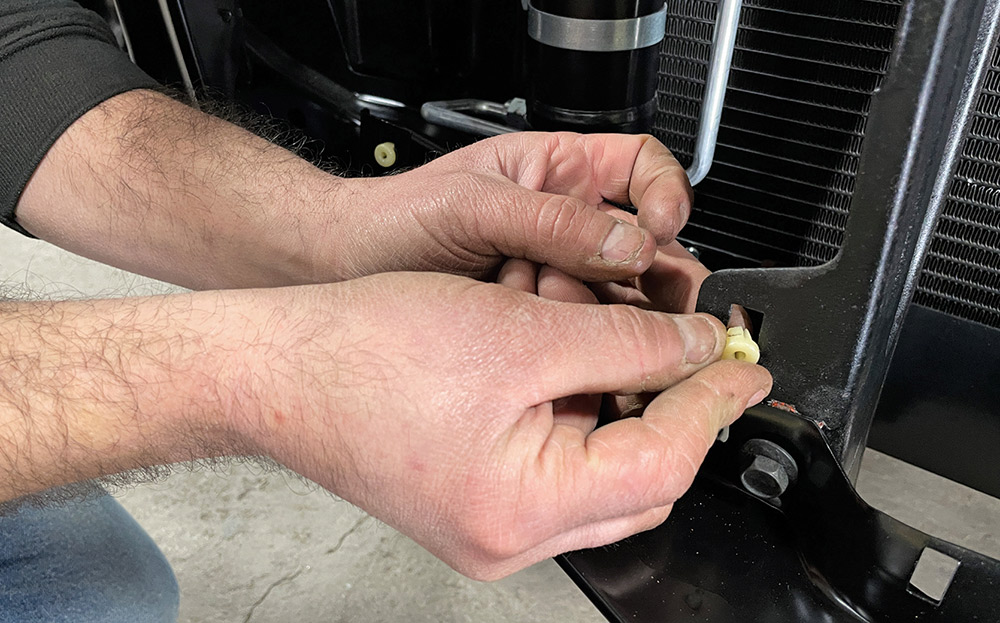
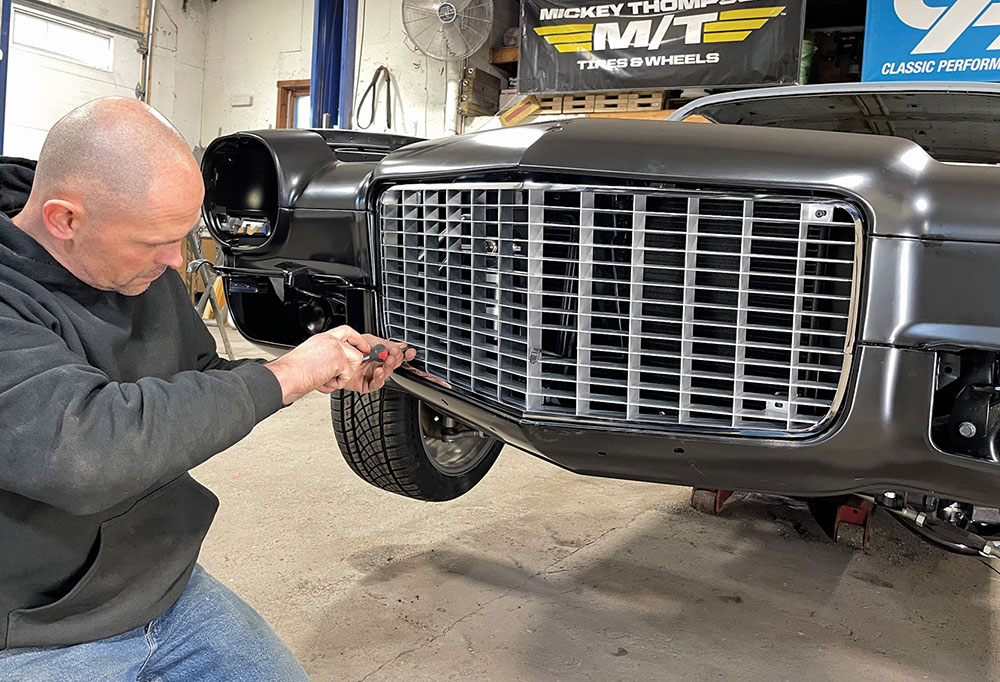
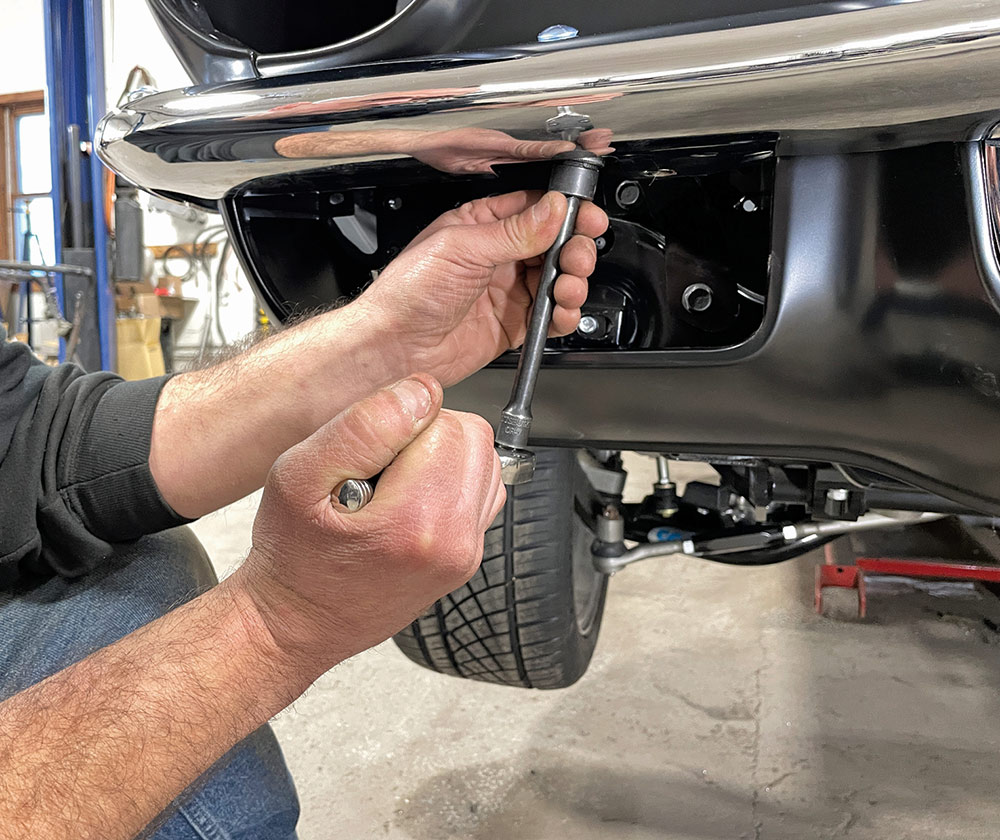
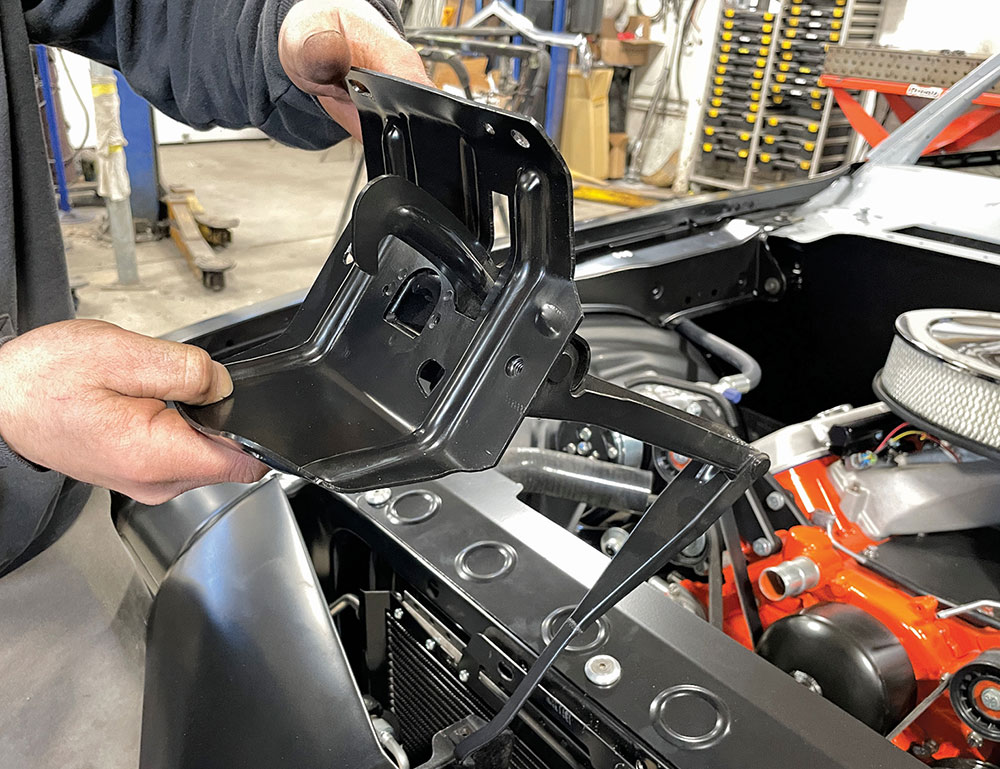
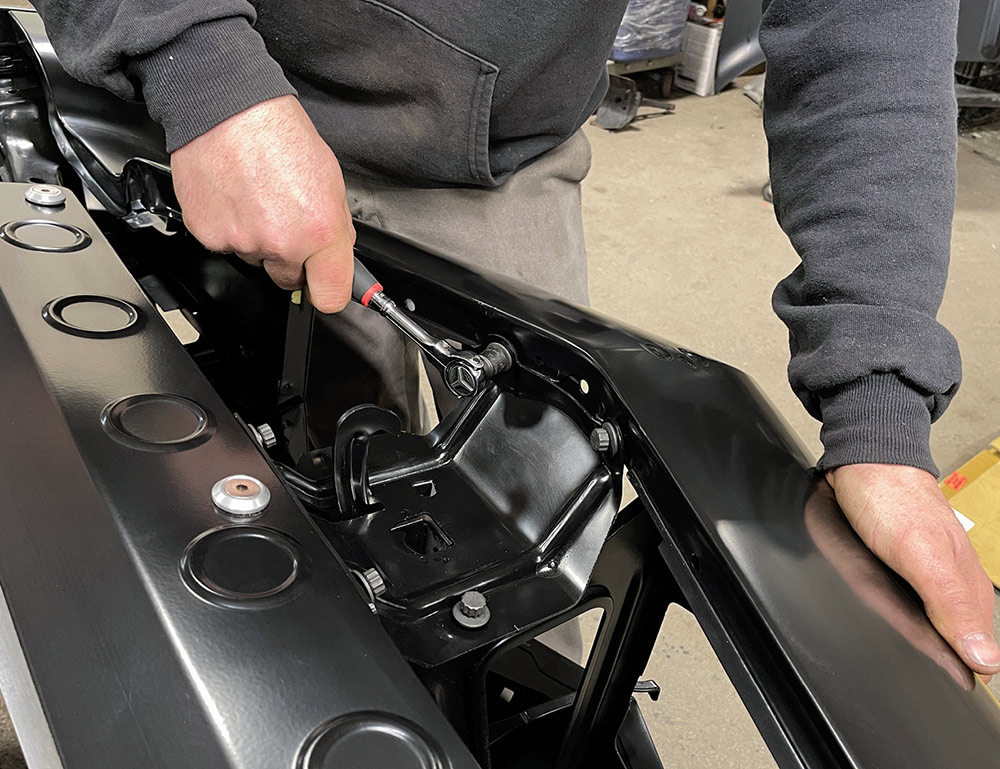
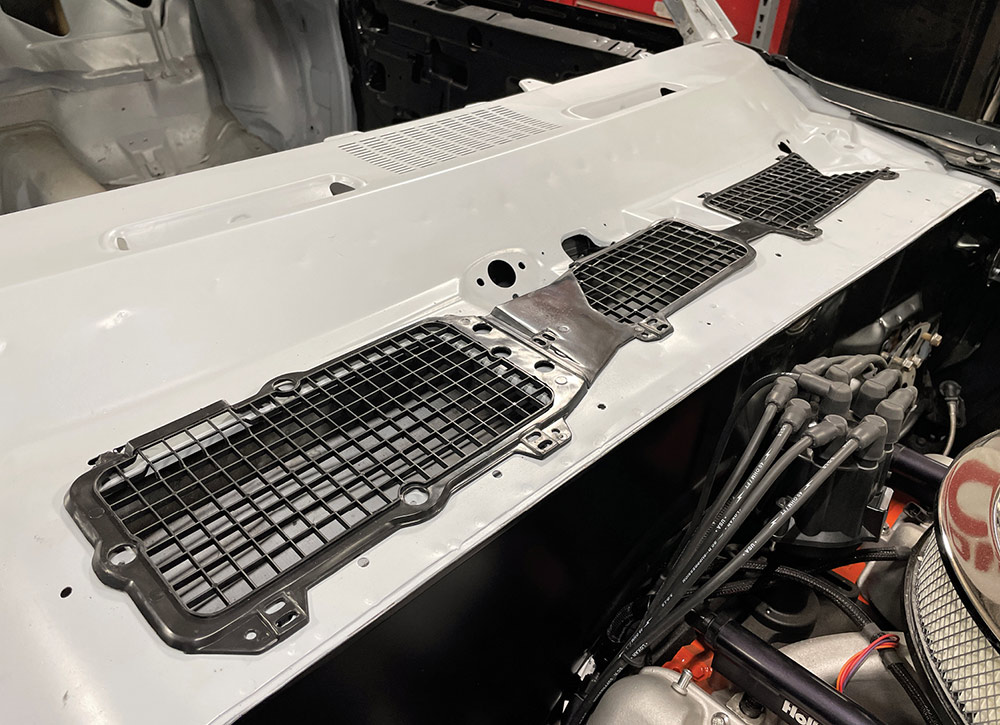
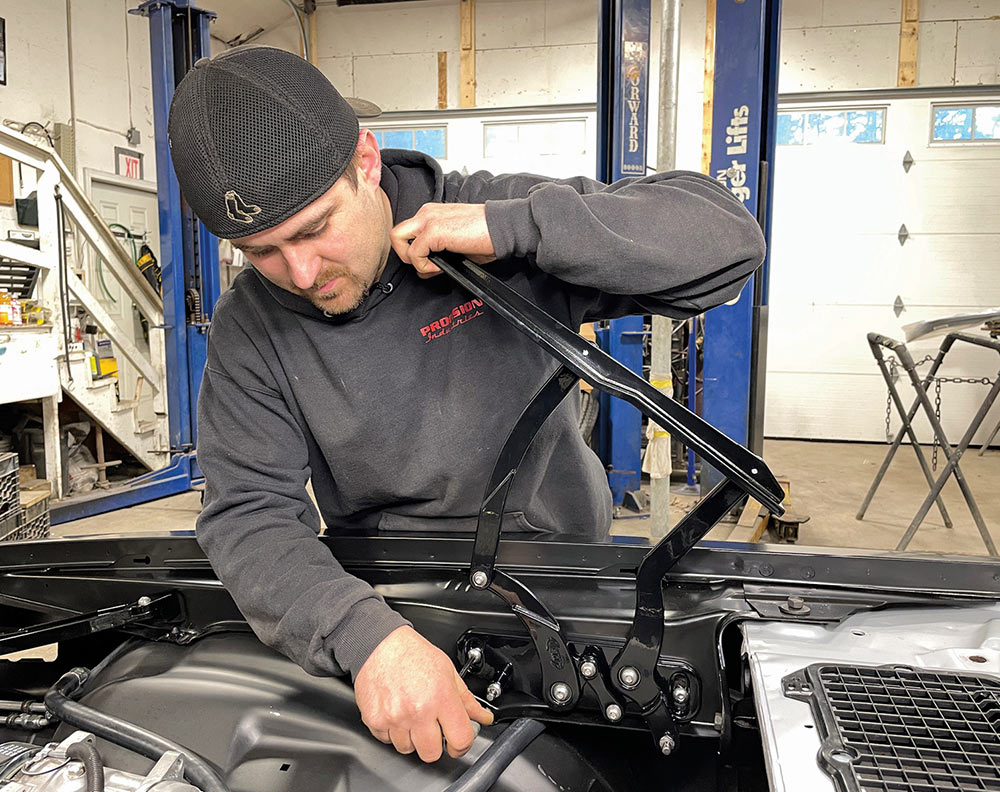
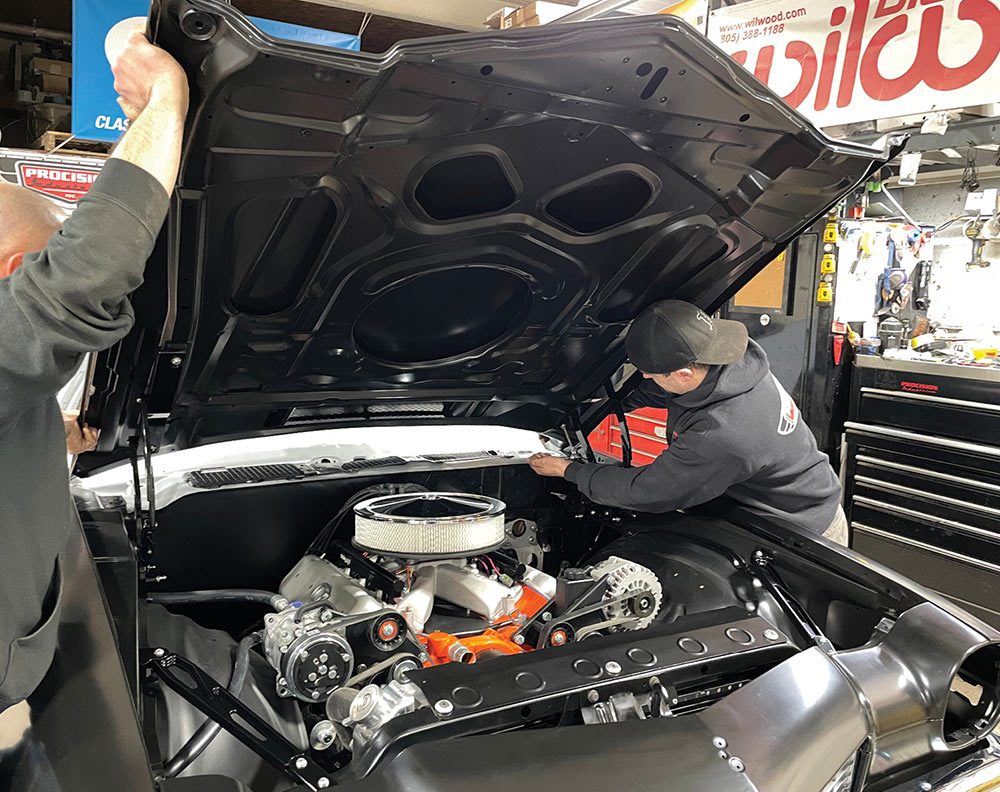
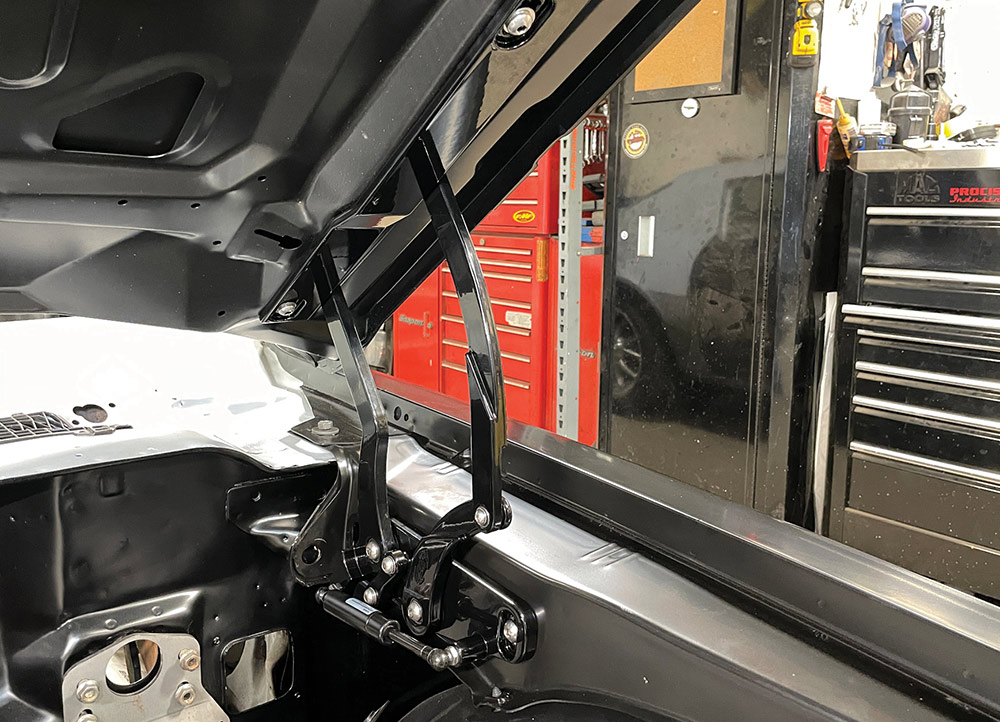
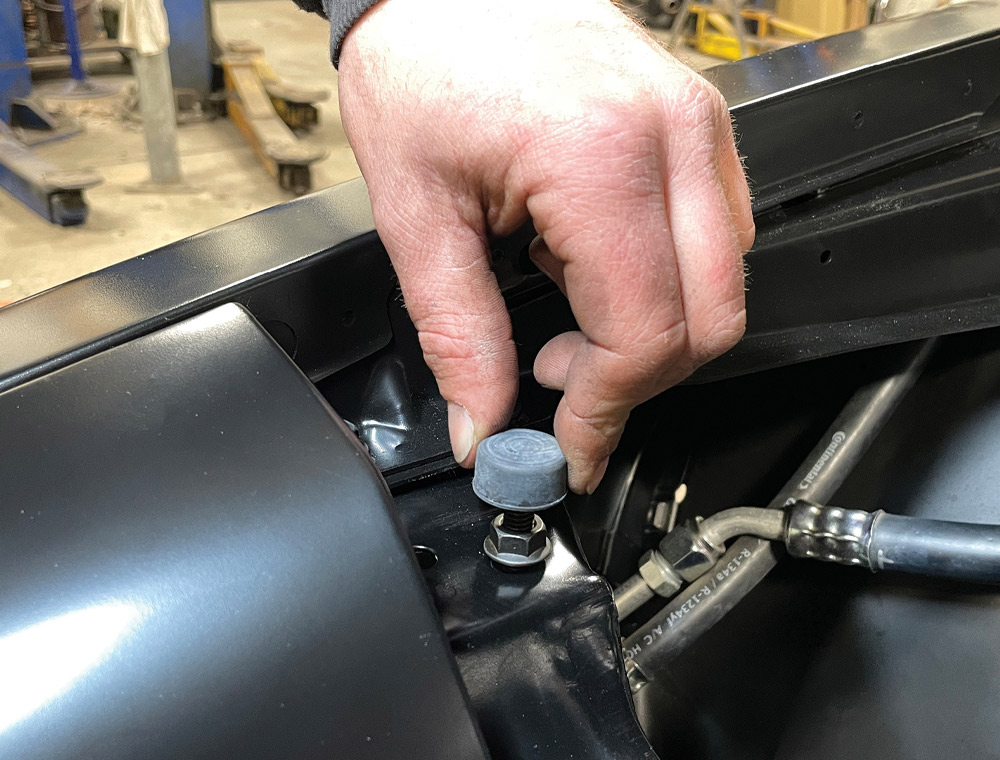
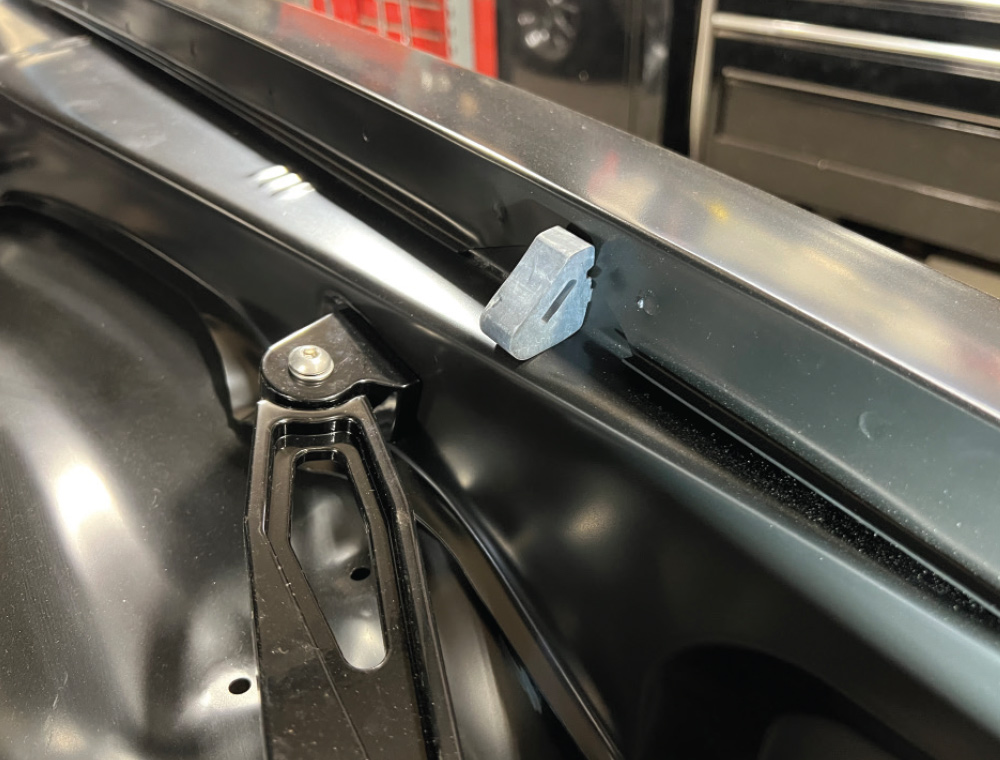
When it came to the front end, there were numerous choices available, from standard front sheetmetal, including the fenders, valance, header panel, and one-piece bumper with grille, to the Rally Sport version incorporating turn signals in the header panel as well as offering split bumpers and an Endura nose. Here, the decision was made to incorporate the standard front end sheetmetal accented by a 2-inch raised cowl hood. To complete the installation, AMD included a complete Master Body Hardware Kit (PN H-70FB-S, 368 pcs) as well as all related brackets, rubber components, shims, latches, plastic components, and filler panels. Taking on a job like this it’s important to have help, especially when it comes to panel fitment, alignment, and hood installation.

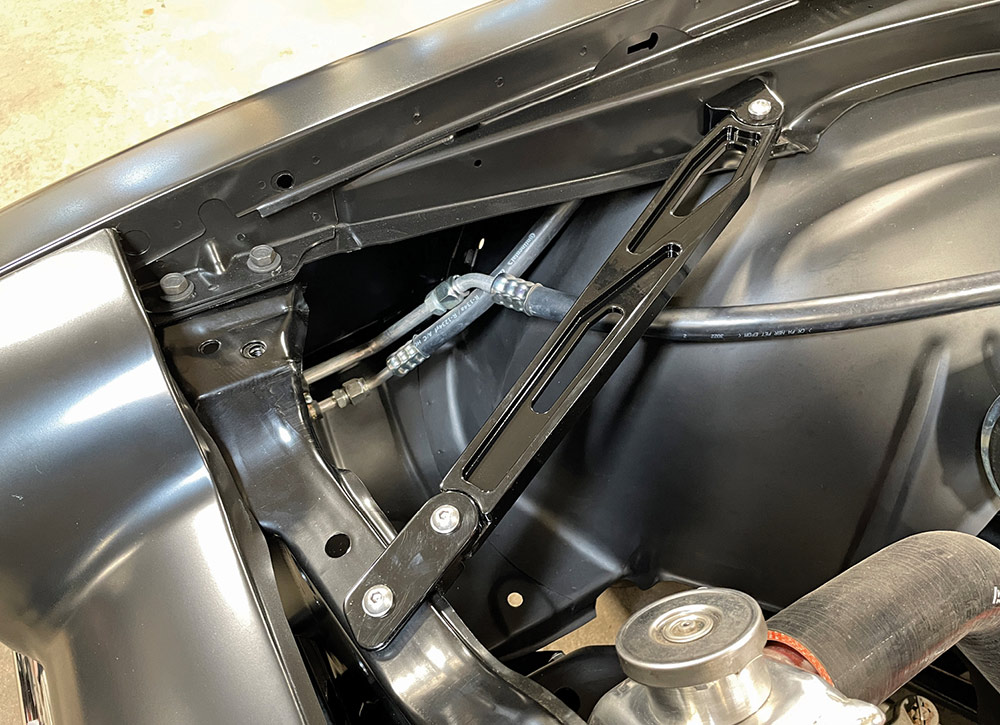
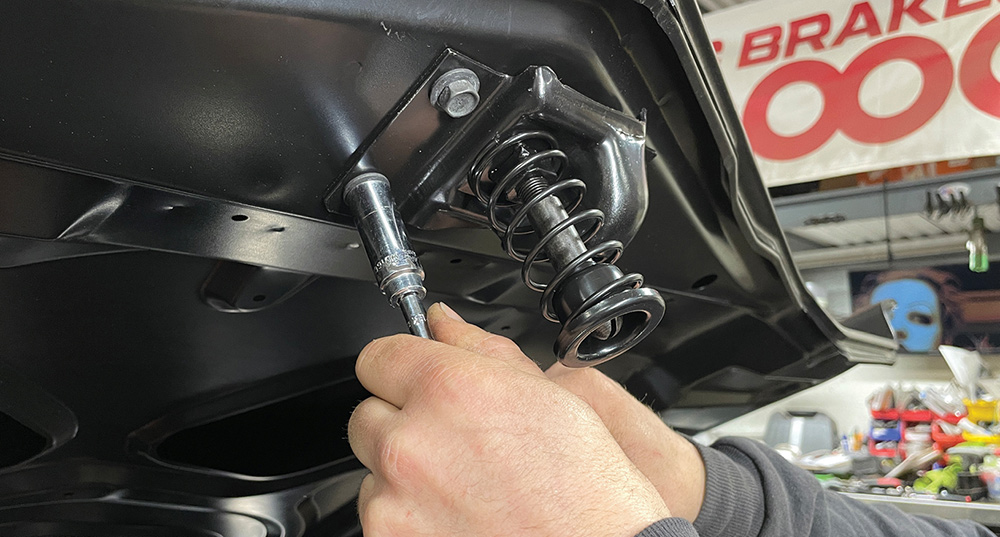
Bringing it to the next level regarding underhood components, a call to Eddie Motorsports raised the bar with a set of their CNC-machined billet hood hinges crafted in the USA from high-quality 6061-T6 billet aluminum. The stunning hinges feature stainless steel nitrogen-filled gas struts with sealed bearings for flawless hood operation and are available in varying strengths to accommodate all types of hoods, from standard steel to fiberglass and even carbon fiber. They’re available in a machined or polished finish as well as a myriad of custom Fusioncoat colors and arrive ready to install with all the needed stainless steel mounting hardware.

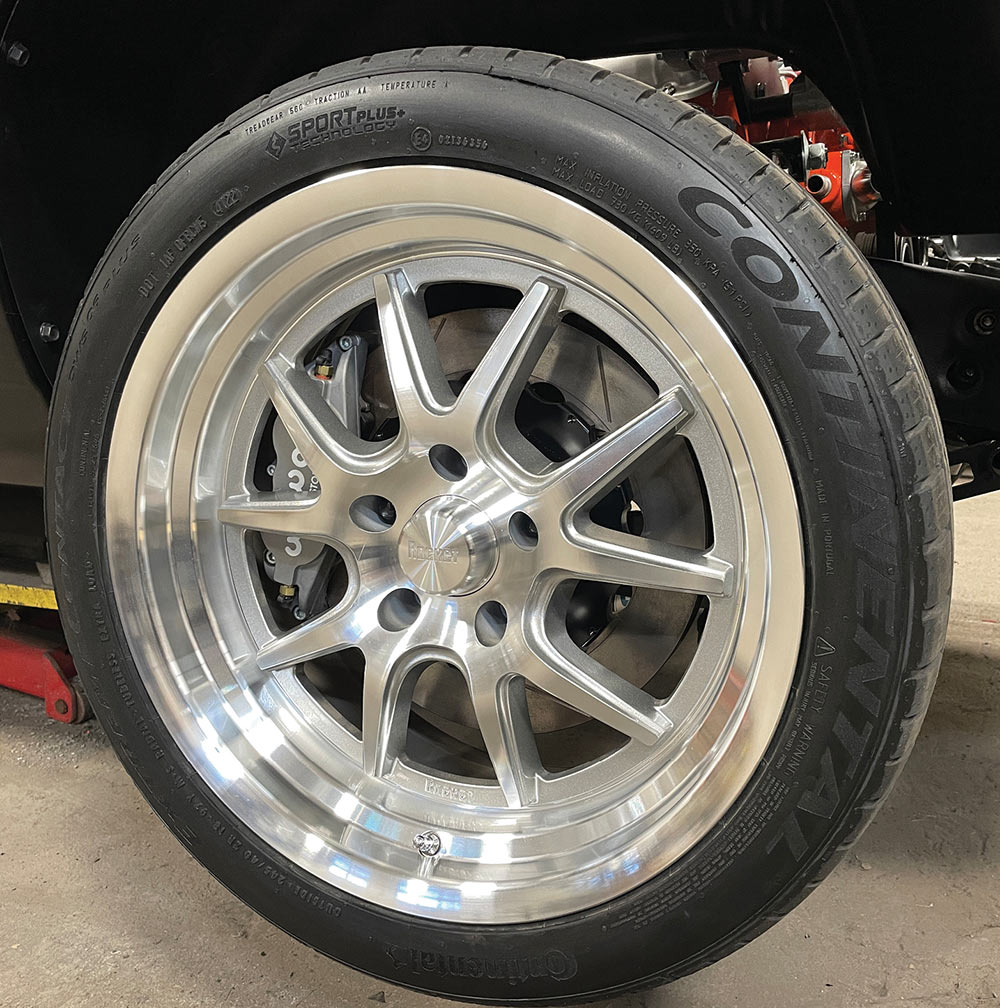
Finally, Rocket Racing proves that performance and stunning looks don’t have to break the bank with their flow-forged aluminum one-piece wheels, which are available in a number of different sizes and offset combinations for most popular applications. Here, the Attack-Series wheels feature a generous caliper clearance design along with a crisp machined face and rim with titanium color accents and a clearcoat for protection while a set of Continental ExtremeContact DWS06 Plus Series tires ensure excellent handling.

Seeing the car with its new front end sheetmetal and wicked rollers easily raises a pulse rate as the build moves closer to the street every day.

Installing U-Nut clips along fender
1. To prepare the new front fenders for fitment, first install five U-Nut mounting clips in place along the fender’s inner lip using a small hammer to tap them into place. A Master Body Hardware kit from AMK Products was sourced from AMD to make installation of the nose a snap.
Test fitting fender
2. It’s always good to have help when test-fitting a fender in place to the body. Here, Pat O’Brien of Procision Industries (right) was assisted by team member Carl Pietro for the initial lineup.
Loosely tightening fender in place
3. To loosely anchor the fender, O’Brien chose to start at the core support and move rearward using hardware from the kit and a ½-inch wrench and socket to set it in place.
Tightening inner fenders
4. Next, the fender was loosely secured to the inner fenders while checking for proper fitment using a ½-inch socket.
New bolts and washers installed
5. A pair of body bolts with load-distributing cup washers were then installed to the upper rear side of the inner fenders.
Lightly securing rear of fender
6. Next, the rear of the fender was loosely secured to the firewall and top of the cowl using body bolts and a ⁹⁄₁₆-inch socket. Follow by starting the alignment of the fender to the door using the provided shims to set the gap.
New fender in place
7. With the initial alignment and gap set, all body bolts were securely tightened to anchor the fender in place.
Attaching more U-Nuts on valance panel
8. U-Nuts were then set in place on the valance panel where required to prepare it for installation.
Test fitting valance
9. The valance was the test-fitted to the lower fenders prior to starting the installation.
Bolting valance to fenders
10. Using the body bolts from the kit, the valance panel was aligned to the fender bottoms and secured using a ½-inch socket and wrench.
Setting header panel onto valance
11. Setting the AMD header panel in place, the allure of the second-gen starts to come to life with its dramatic flowing body lines all joining together on the front end.
Tightening bolt in headlight shroud
12. Using hardware from the master body kit, the header panel is loosely bolted into place on numerous planes using a ½-inch wrench and socket. Make sure to allow room for the inclusion of the filler panels and bumper brackets to follow as well as finessing the fitment.
Test fitting filler panels and bumper bracket
13. Here you can see the filler panel and outer bumper bracket that will be layered and installed in the area between the valance and header panel.
Bolting in filler panels and bumper bracket
14. Utilizing U-Nuts secured to the valance, the filler panel and outer bumper brackets were installed. Follow by installing the inner bumper bracket into the turn signal area of the valance using the supplied bolts. This step will be duplicated for the passenger side.
Installing retainer clips for new grille
15. Next, to prepare the grille for installation, the retainer clips were installed to all the mounting points.
All clips for grille in place
16. Here you can see all of the mounting points for the new grille. Note that the original factory hood lock support is also in place.
Fitting new grille to valance
17. The fresh standard replacement egg crate–styled grille from AMD was then installed to the six mounting points using the provided screws.
Test fitting new full width bumper
18. To add a dusting of dazzle, a standard chrome front bumper made from heavy-gauge steel featuring an OE-quality chrome finish was selected and added to complete the look.
Tightening bolts on bumper
19. The new bumper was then installed to the inner and outer bumper brackets using fresh hardware and a ½-inch wrench and socket.
Fitting new hood release assembly
20. Adding a new factory replacement hood-release assembly ensures plenty of smooth, reliable operation, and long-term durability for years to come.
Tightening bolts on hood release assembly
21. Once lowered into place, the assembly was secured using the provided 12-point bolts and ⁷⁄₁₆-inch 12-point wrench and socket.
Fender braces in place
22. For plenty of style, a pair of Eddie Motorsports billet three-piece fender braces with a gloss black Fusioncoat finish fit the bill perfectly when accented by their included stainless hardware. Always remember to use a good-quality antiseize on all stainless bolts.
New cowl vent screen in place
23. To keep debris from entering the cowl area, a new reproduction OER replacement cowl vent screen was snapped into place and secured.
Installing new hood hinges
24. Here the Eddie Motorsports billet aluminum hood hinges in a gloss black Fusioncoat finish are installed to the factory location with a ⁷⁄₃₂-inch hex key using antiseize on all stainless bolts to prevent galling.
Attaching new hood to hinges
25. The installation process requires two people to complete it safely, especially when mounting the hood in place to secure it to the new hinges. From here the hood is adjustable from four points on each side to ensure proper fitment and alignment.
Gas hood struts installed
26. Before installing the stainless steel gas hood struts in place, apply a small amount of grease to the ball studs on the hinge. Follow by removing the wire keeper from each socket end of the strut. You can then mount the strut in place making sure to have the shaft side down (“body” end up).
New hood hinge assembly fully built and installed
27. The Eddie Motorsports billet aluminum hood hinges add the perfect amount of dress-up to your engine compartment.
Installing hood safety latch
28. Next, one of the most important parts of the front sheetmetal installation is the hood safety latch. This reproduction preassembled unit sourced through AMD includes the lock plate, pilot bolt, spring, retainer, and jam nut. Installation was a snap.
Installing front hood adjusters
Installing rear hood adjusters
Hood side bumper
29-31. To complete the job, front and rear hood adjusters as well as hood side bumpers help complete the proper alignment of the hood.
Rocket Racing Attack-Series 5 V-spoke wheels on Camaro
32. There’s nothing better than a set of ultra-cool wheels to bring the performance to the pavement with a set of Rocket Racing Attack-Series lightweight one-piece performance wheels matched to Continental ExtremeContact DWS06 Plus Series rubber for plenty of grip and great looks once it hits the street.
Front of Camaro with all new sheetmetal and panels installed
33. The new AMD sheetmetal frontend brought the build to the next level, giving it razor-sharp looks that will add plenty of allure once it gets prepped for paint.
SOURCES