
 TECH
TECH
 IMAGES BY THE AUTHOR
his story will approach the art of tuning street carburetors and ignition timing from a slightly different angle. Instead of just listing the information in a generic manner, this story will attack this issue from a real-world problem standpoint by offering information that is rarely addressed by Online experts.
A recent small-block Chevy tuner experienced an interesting problem. As he described it, his big-cammed, small-block 383 fitted with a Holley 4150 carburetor was idling with an exhaust smell he said would make his eyes burn. He assumed this was because of a rich air/fuel mixture. But he was perplexed because his newly installed air/fuel ratio meter reported the engine was idling lean with an air/fuel ratio of 17:1.
Right from the start, his description pointed out two important clues. The first is that his engine was equipped with a cam that he described as idling at less than 10 inches of manifold vacuum (10” Hg). The second important piece of evidence was his air/fuel ratio meter reporting a 17:1 air/fuel ratio.
Our first conclusion was that his air/fuel ratio meter was clearly misrepresenting the facts. We mention this because an engine that idles at 10” Hg would be extremely hard-pressed to idle with an air/fuel ratio approaching 17:1. Engines with long-duration cams with tight lobe separation angles require a relatively rich idle mixture because the valve overlap introduces a certain amount of exhaust gas into the manifold. This effectively becomes built-in exhaust gas recirculation (EGR). This “natural” EGR requires a richer air/fuel ratio merely to support combustion at idle.
But before we go further, we must take a slight sidetrack to describe how an air/fuel ratio meter works so that you can see why we think the meter was not accurate.
Many enthusiasts believe wideband air/fuel ratio meters measure the relationship between air and fuel. This is incorrect. These meters measure free oxygen in the exhaust and use the amount of oxygen at the stoichiometric air/fuel ratio for gasoline of 14.7:1 as an assumption to calculate the actual air/fuel ratio.
If the exhaust contains more free oxygen than the standard amount for stoichiometric, the meter simply computes the difference and reports the air/fuel ratio as leaner than 14.7:1. The opposite situation also works where less than the standard level of free oxygen is calculated as an air/fuel ratio richer than 14.7:1, like 12.5:1 for example.
The owner reported that he was experiencing a rich mixture that burned his eyes. This burning effect is caused by the presence of a large amount of unburned hydrocarbons (fuel vapor) in the air. This led us to believe that his recently installed air/fuel ratio meter was instead reading an excess amount of free oxygen in the air because of an exhaust leak.
Oftentimes, if the sensor mounting bung is not properly welded in place, it will offer a perfect path for the exhaust to leak when the high-pressure exhaust pulse passes the opening. Unfortunately, this leak path will also pull fresh air into the system. When that high-pressure pulse passes by the leak, a low-pressure area follows immediately behind the high-pressure pulse. This low pressure will pull fresh air into the exhaust.
If the mounting bung offers a small leak, this small amount of fresh air will hit the sensor and cause it to assume that the engine is running lean, which the meter will dutifully report on the display. Other potential leak paths upstream of the sensor include a warped header flange, burned exhaust gasket, or a leaking header collector gasket. What we’d recommend for the moment for the tuner is to just ignore the air/fuel ratio meter. Repairing the leak will allow the meter to report more accurate results.
Before we get into the carburetor, this would be a good time to verify the initial timing. Enthusiasts often think that 6 to 8 degrees of initial timing is sufficient but even engines fitted with a mild cam will positively respond to initial timing numbers starting around 10 to perhaps 15 degrees of initial.
One suggestion is to increase initial timing to a minimum of 15 degrees BTDC, with cam timing over 220 degrees of intake duration at 0.050 inch. If you add initial timing and the engine idle speed increases noticeably, you are on the right track. If you add an additional 2 degrees and the idle speed remains the same, return to your previous initial timing setting. The engine will tell you what it wants.
This is a great example of listening and watching how the engine responds to tuning changes. If you pay close attention to the engine, it will tell you what it needs. For example, if an idling engine sounds like a Model T, the timing is likely retarded. If the starter motor labors under cranking, it could be the engine is suffering from too much initial timing.
Of course, adding initial timing will also increase the total advance, which may require limiting the mechanical advance in order to keep the total timing no more than 34 to 36 degrees total for pump gas.
With the timing optimized, it’s best to measure fuel pressure. The common yet incorrect perception is that more fuel pressure (like 6 to 7 psi) is better. For most street engines, 4.5- to 5-psi fuel pressure is more than enough to feed a typical street engine. Even stock mechanical fuel pumps can produce upwards of 6 psi or more. You will only know if you check.
If you discover that your fuel delivery system is delivering more than 5 psi, it’s best to install a fuel pressure regulator that will reduce the pressure. This will also make life easier for the needle and seat.
The next focus should be to address the rich idle mixture. This can often be remedied simply by accurately adjusting the carburetor’s idle mixture screws. But before we go there, it’s also a good idea to first verify that both the primary and secondary float levels are properly adjusted. Another potential source for a rich idle mixture is a blown Holley power valve, which can be easily remedied.
Once it is verified, the carburetor is only metering fuel controlled by the idle mixture screws, it’s time to set the idle mixture. Many enthusiasts do not take the time to perform this task accurately. The best place to start is with the engine off to determine the current position of the mixture screws. It’s best to ensure that all the screws (either two or four) are all set the same. Begin by setting them one full turn out from fully seated.
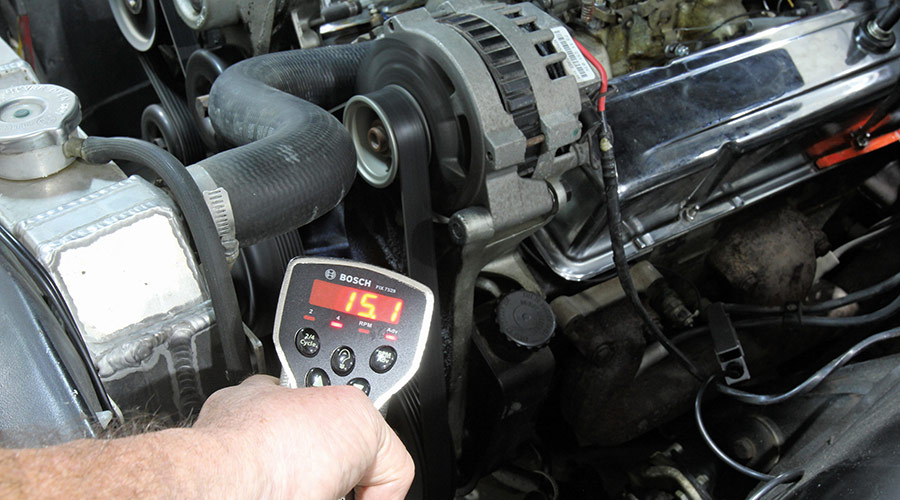
Before starting the engine, connect a vacuum gauge to manifold vacuum along with a digital tachometer so you can see even small increases in engine speed. The process simply is to adjust each idle mixture screw very slowly by moving them roughly about 1/16 turn for each screw and then evaluate both rpm and vacuum level. Always make the same small adjustment to all the mixture screws. The goal is to set the mixture screws to the highest manifold vacuum and rpm. If rpm goes beyond your idle speed spec, merely adjust the curb idle screw to reduce the engine speed.
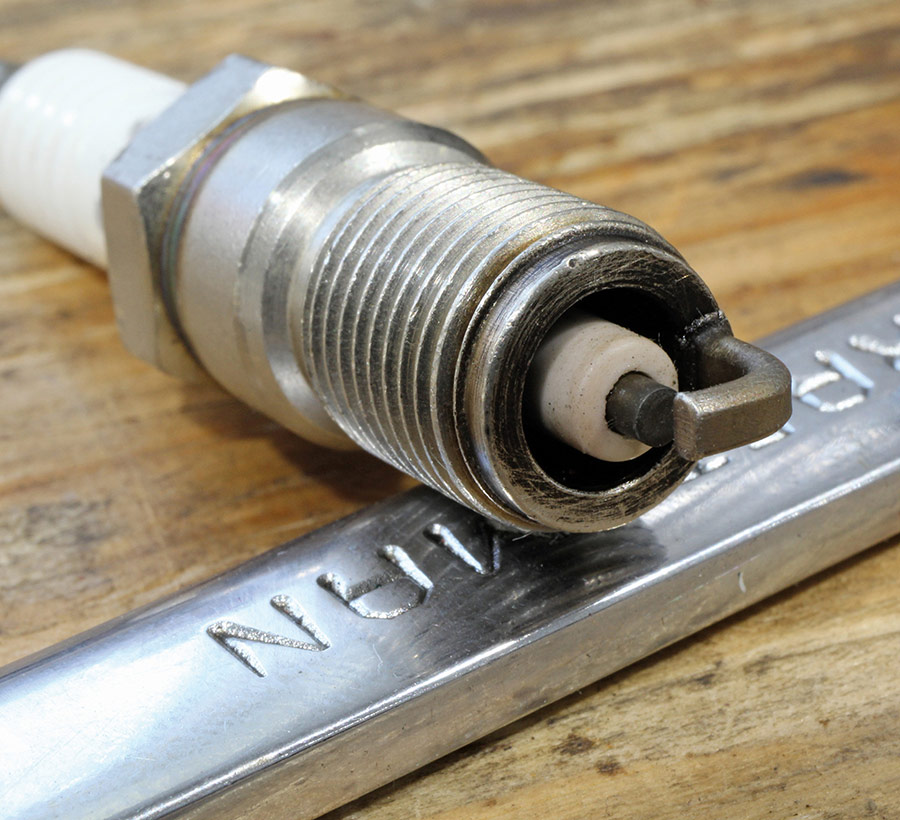
Before you get too deep into this tuning process, it might be a good idea to check the condition of the spark plugs and ignition system. We will assume here that the engine is mechanically sound and that the plug wires are in good condition. If the plug wires reveal high resistance, it’s a good idea to replace them with high-quality wires, such as those from Accel, MSD, Granatelli, or any other of the better wire companies.
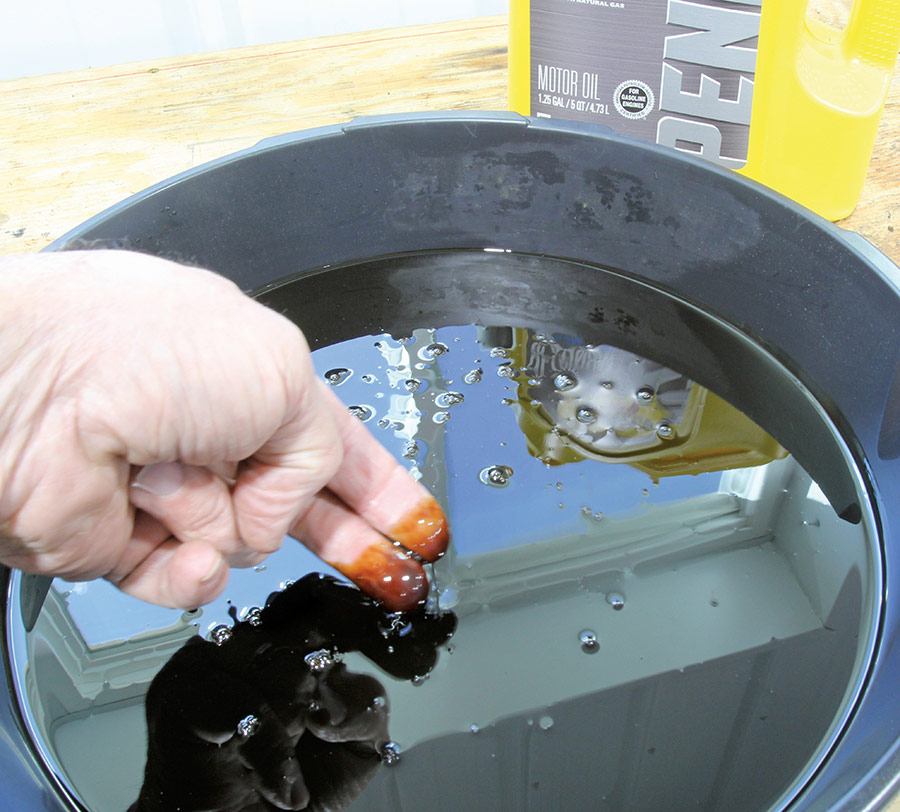
If the engine has been subjected to running under a rich condition for a significant amount of time and the engine has now been brought into a proper state of tune, you should spend the extra time to change the oil and filter as soon as possible. When the engine has experienced a very rich combustion for more than a few minutes, raw fuel has certainly found its way into the oil. This fuel will act like a solvent that has already damaged its lubricating properties.
Plus, fuel in the oil can also affect ring seal to the point where the engine will not run correctly. If there is enough fuel in the oil, you will need to change it even before you begin tuning the engine. This may require new spark plugs as well. Attempting to tune an engine with excess fuel in the oil will only be frustrating. In fact, if the contamination is bad enough, this may require changing the oil and filter twice to ensure all the fuel has indeed been displaced.
We have covered a tremendous amount of material in this short description but hopefully we have offered some new and helpful recommendations for optimizing the idle and part-throttle carburetor tuning for your street-driven small- and/or big-block car. It’s certainly worth the effort.