ACP department heading TECH
InTheGarageMedia.com
TREMEC TKX Five-Speed transmission
Slim-Fit Overdrive
Sliding a TREMEC TKX Five-Speed into a Vintage A-Body
BY Barry Kluczyk 
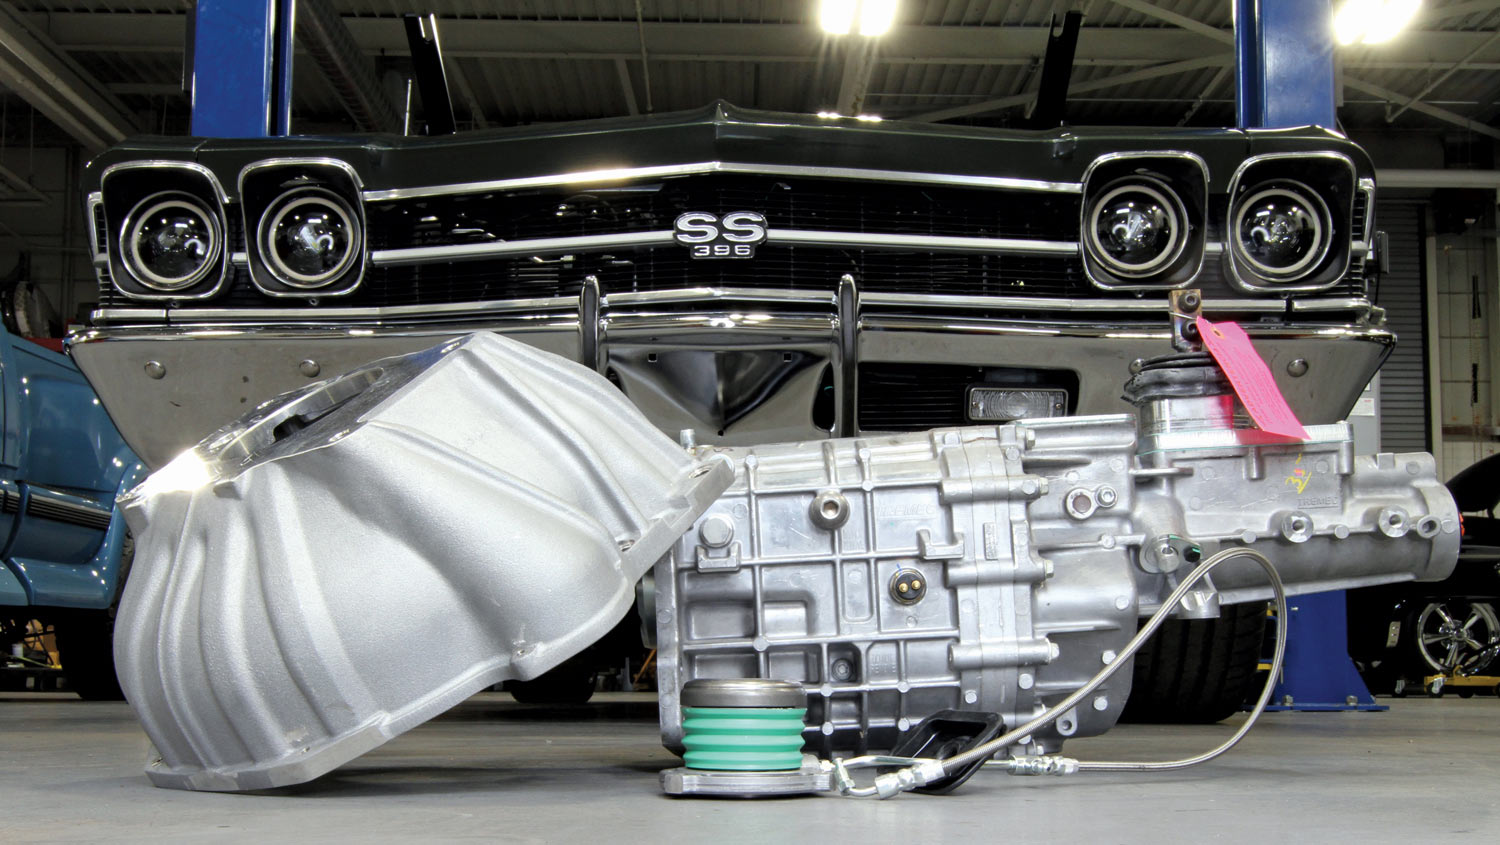
Images by THE AUTHOR
A

fter years of overdrive-transmission swaps, we don’t need to waste words on extolling their highway-cruising virtues, but when it comes to adapting the popular TREMEC five- and six-speed transmissions, there have been compromises.

For five speeds, the TKO500 and TKO600 work well with old-school small-blocks but aren’t well-suited for the higher-revving capabilities of LS and LT engines. When it comes to six-speeds, there are basically two choices: the production-based T-56 and aftermarket-intended and T-56–based Magnum. Used T-56 units are getting scarce and for most vintage Chevys the shifter replacement typically requires modifying the trans tunnel. The relatively bulky Magnum also requires modifying the tunnel—and usually it’s to create room for the Magnum’s wide case and not just the shifter.

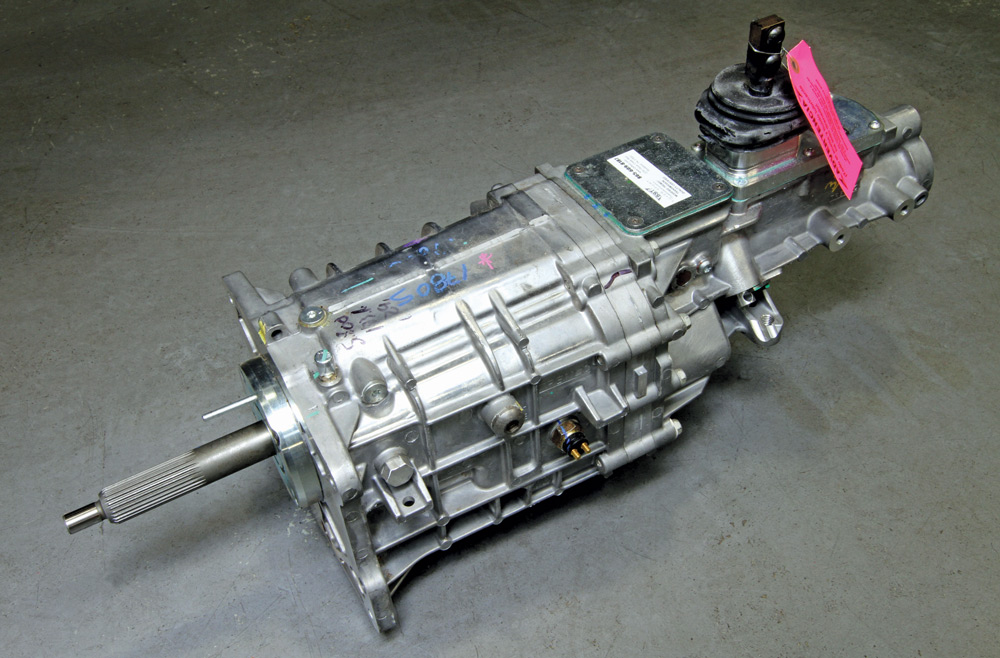
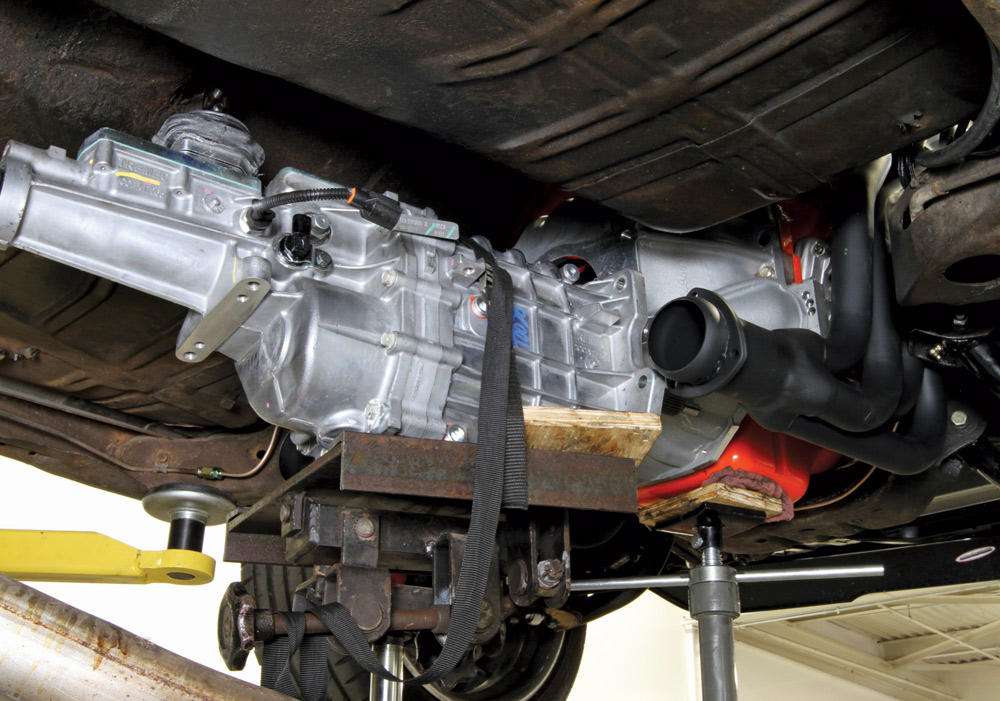
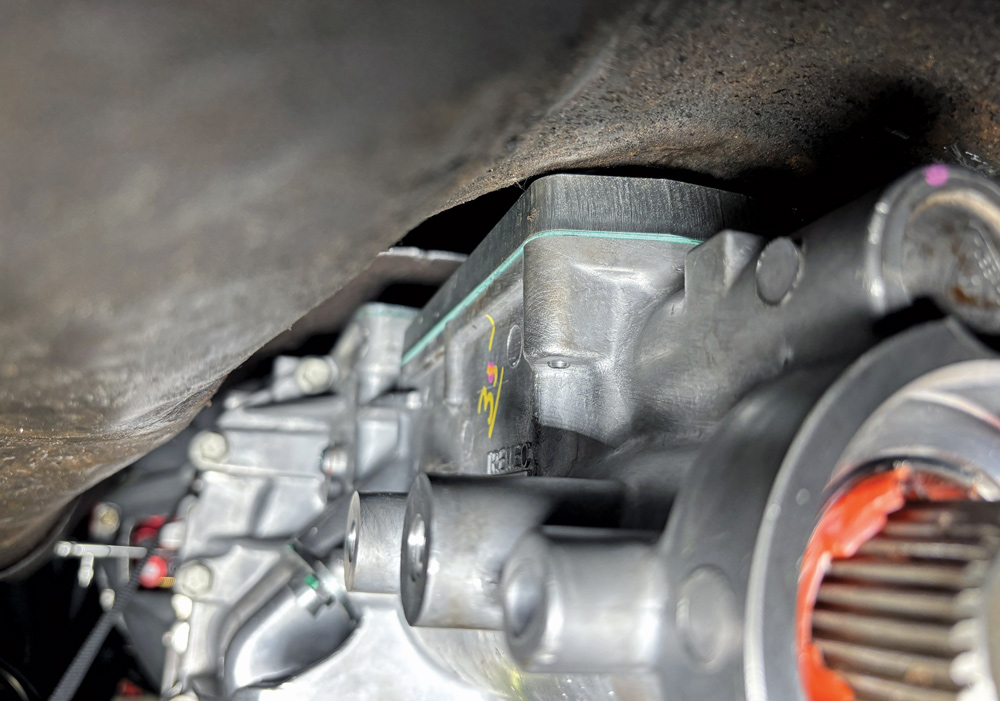
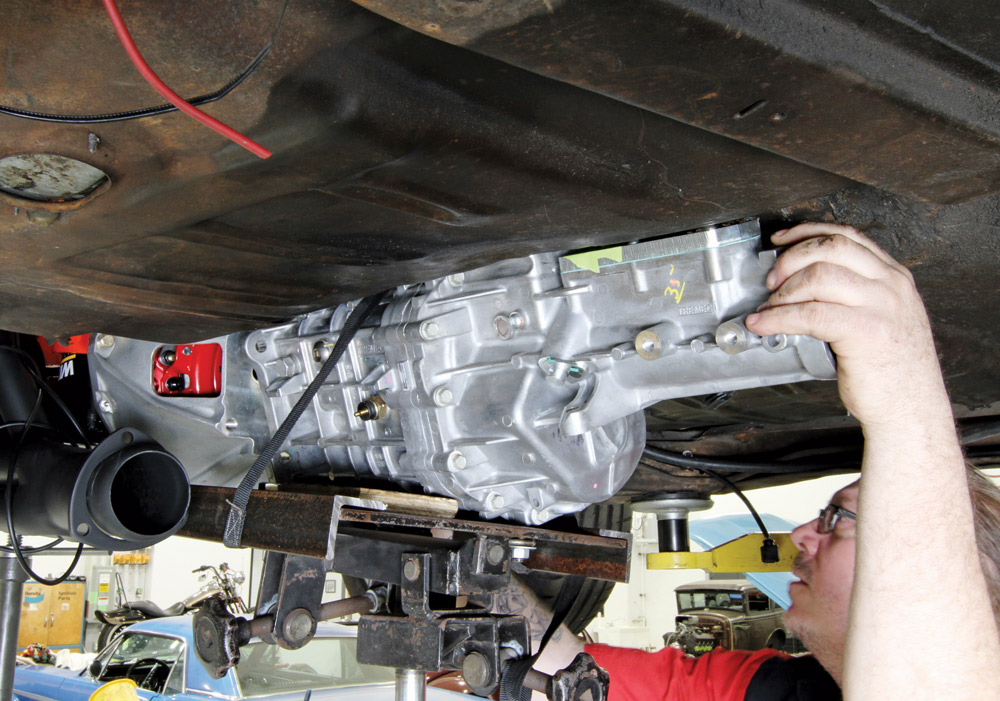
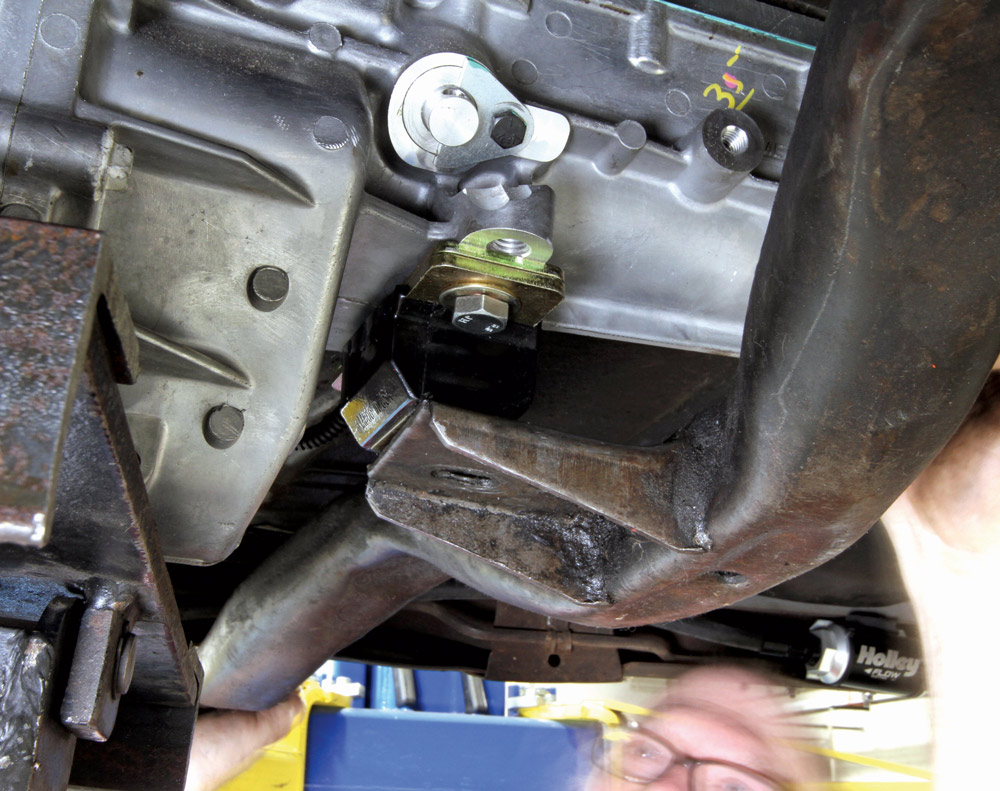
To address those fitment challenges, TREMEC introduced the TKX about four years ago. It’s a five-speed specifically designed for retrofit applications. It has a slimmer profile that slides into most vintage cars’ trans tunnels with little or no clearance issues. There are even specific versions for GM and Ford applications, with unique case patterns and inputs, along with integrated transmission mounts.

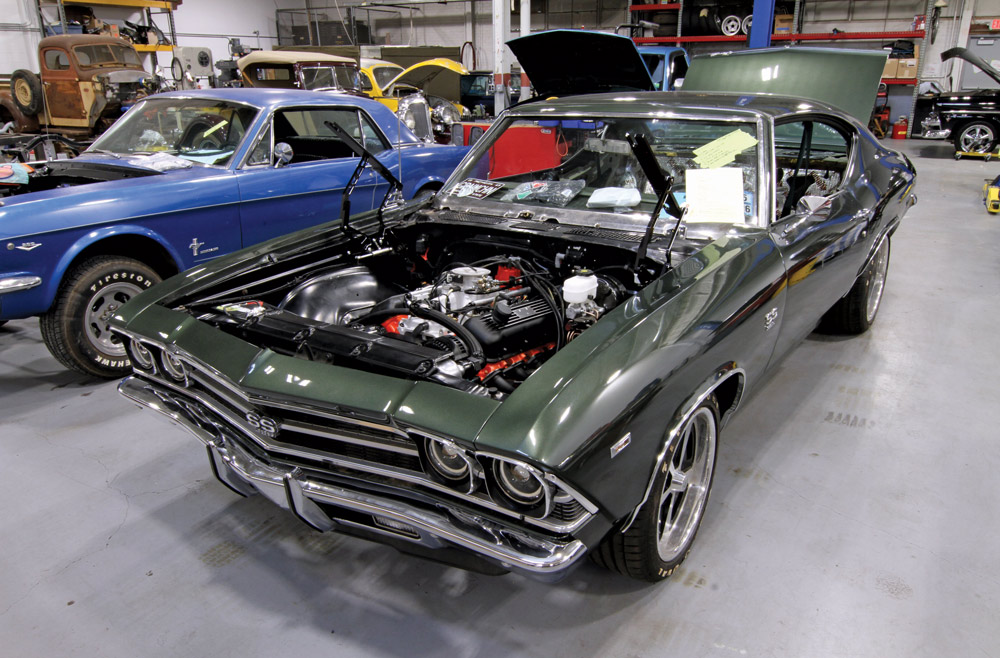
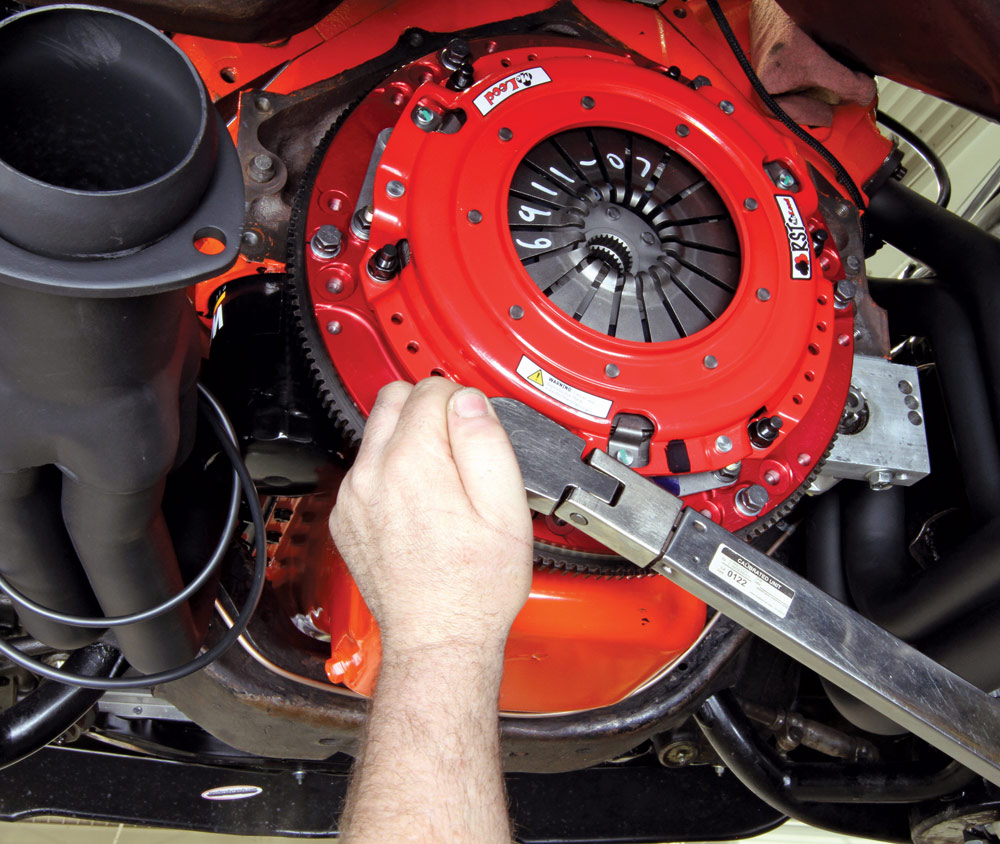
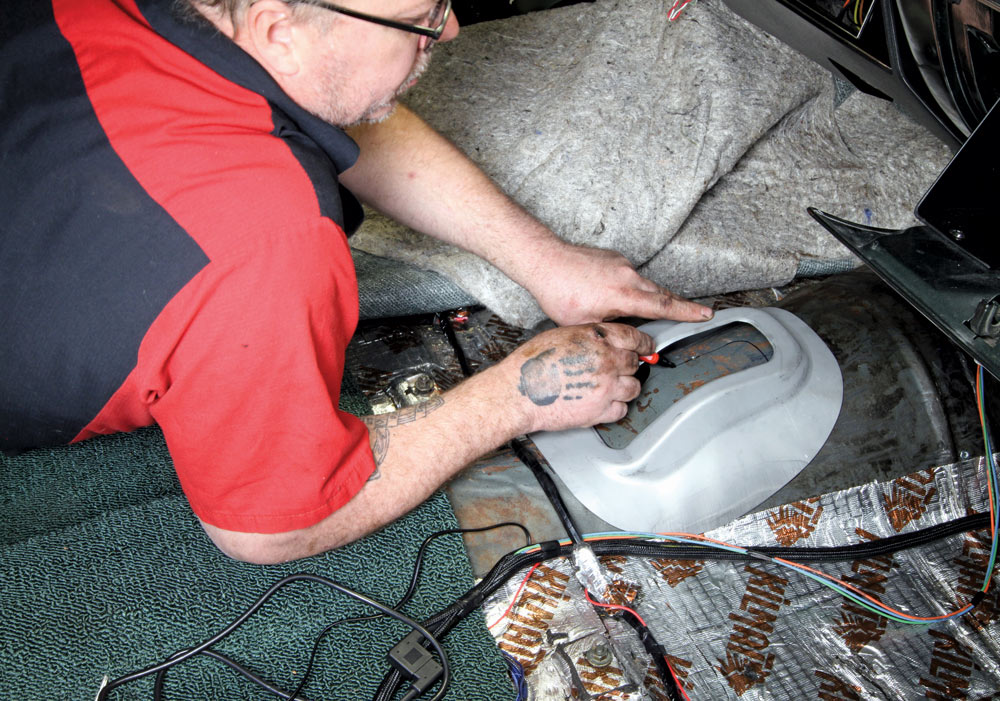
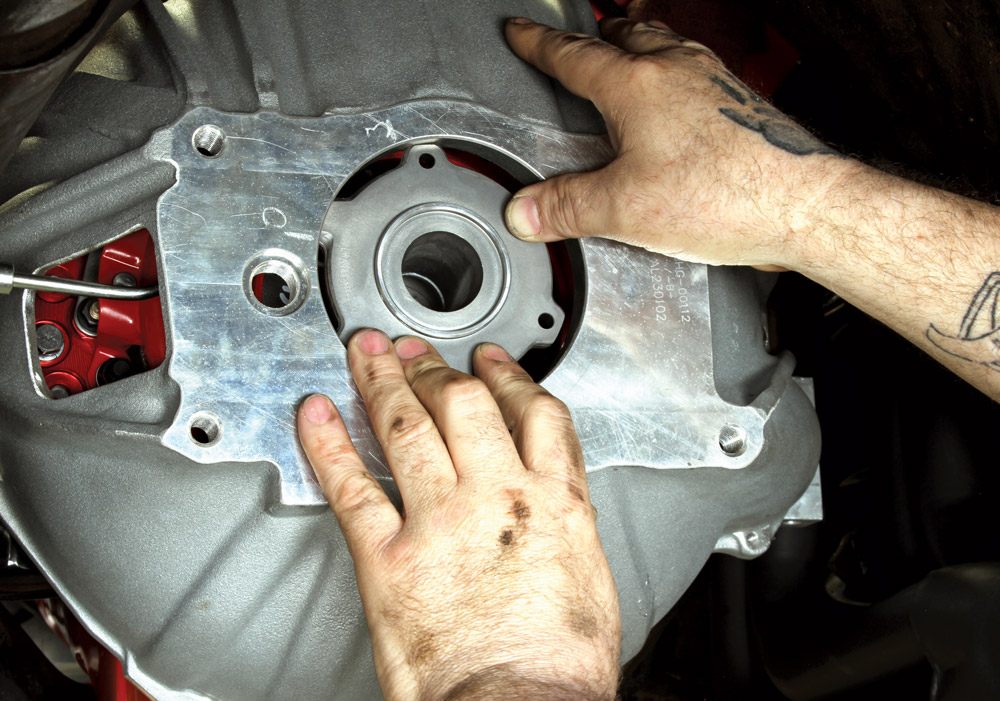
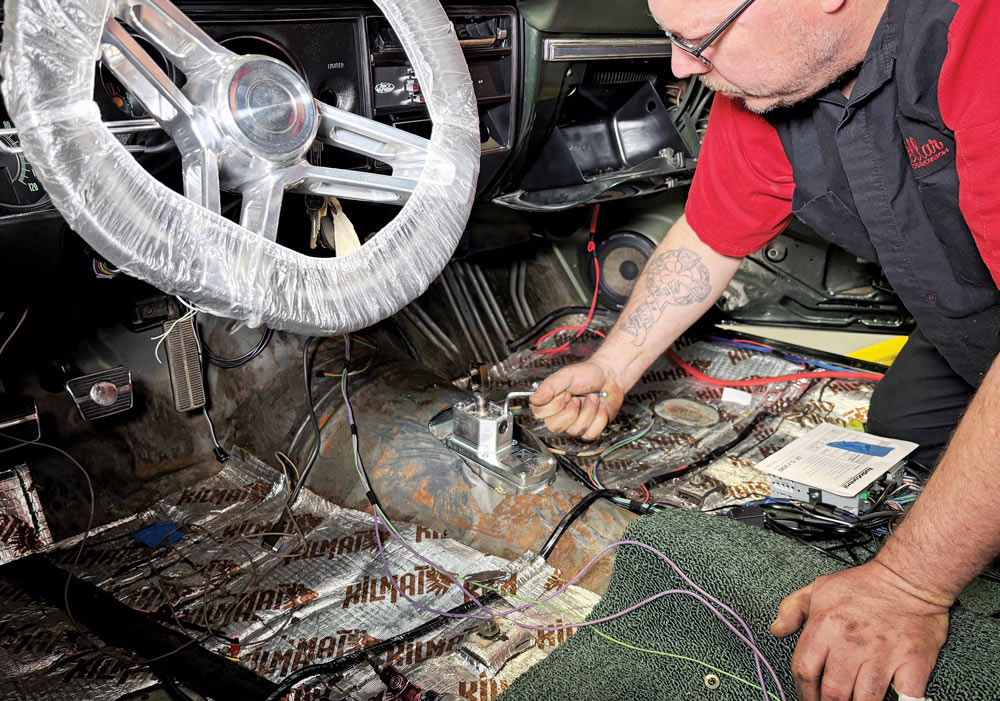
Even better, it was also developed to complement the higher-rpm capability of modern LS and LT engines, handling rev ranges of up to 7,500 rpm and matching that with 600 lb-ft of torque capacity. We recently followed the installation of TKX in a ’69 Chevelle at the Detroit-area shop Stellar Rod and Custom, but rather than an LS or LT the vintage A-body was powered by an EFI-fed big-block. The engine was also backed by an automatic transmission, adding another wrinkle to the project, as changes were required, including swapping the flexplate for a flywheel and adding a new pedal assembly that included a clutch pedal. Ironically, the shop had to cut into the transmission tunnel because there wasn’t a shifter hole in it.

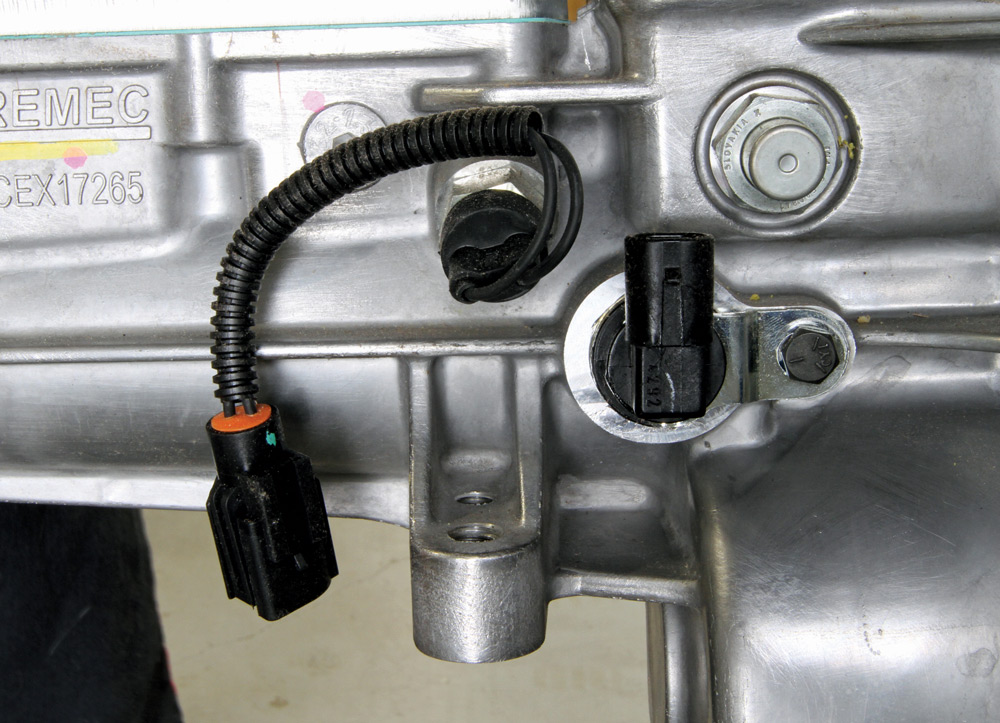
“It was all pretty straightforward because apart from the shifter hole there were no other tunnel modifications required with the TKX,” Mike McKeehan, Stellar’s chief wrench-turner, says. “It slips into place very easily.”

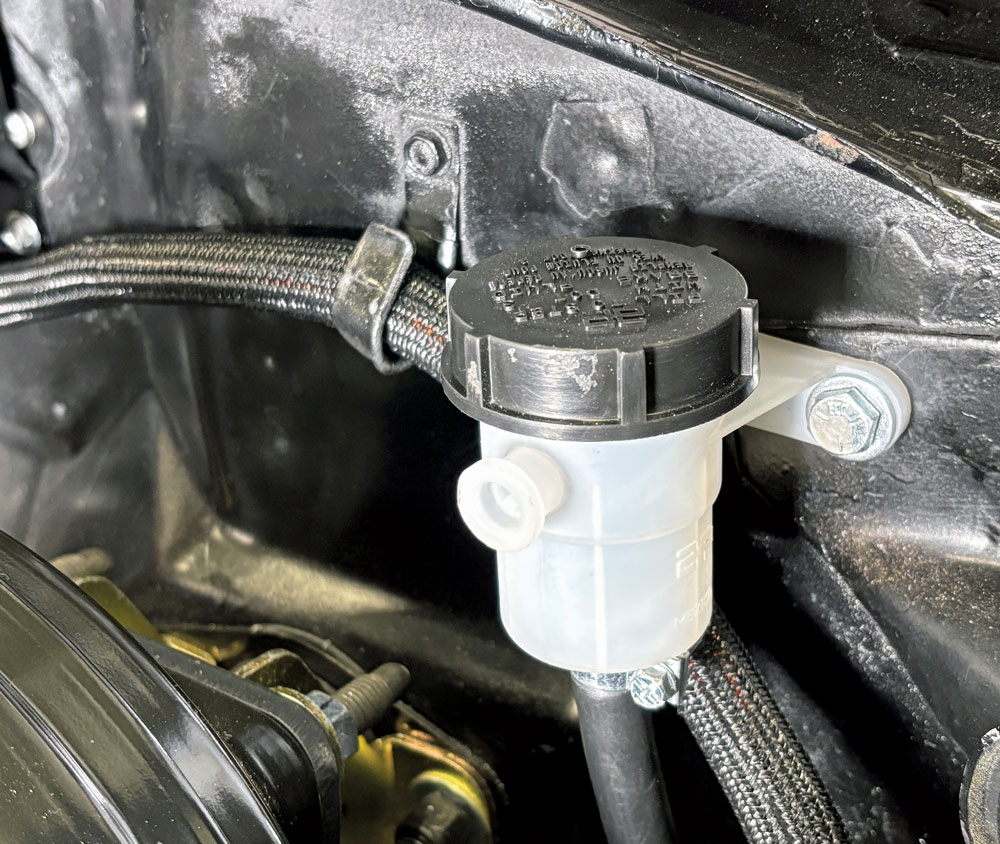
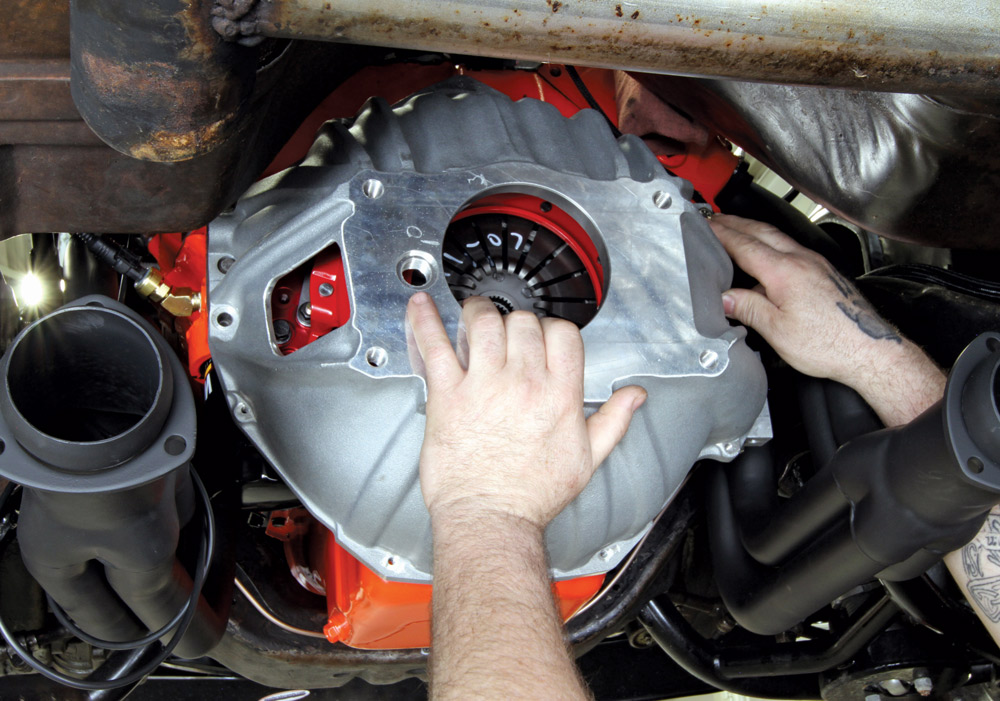
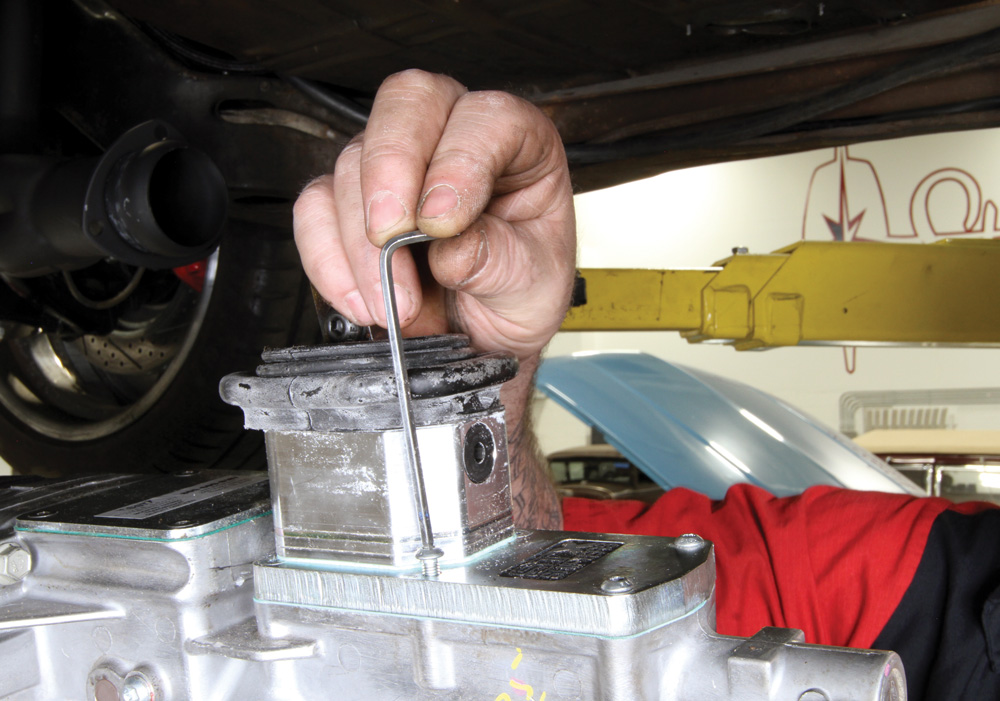
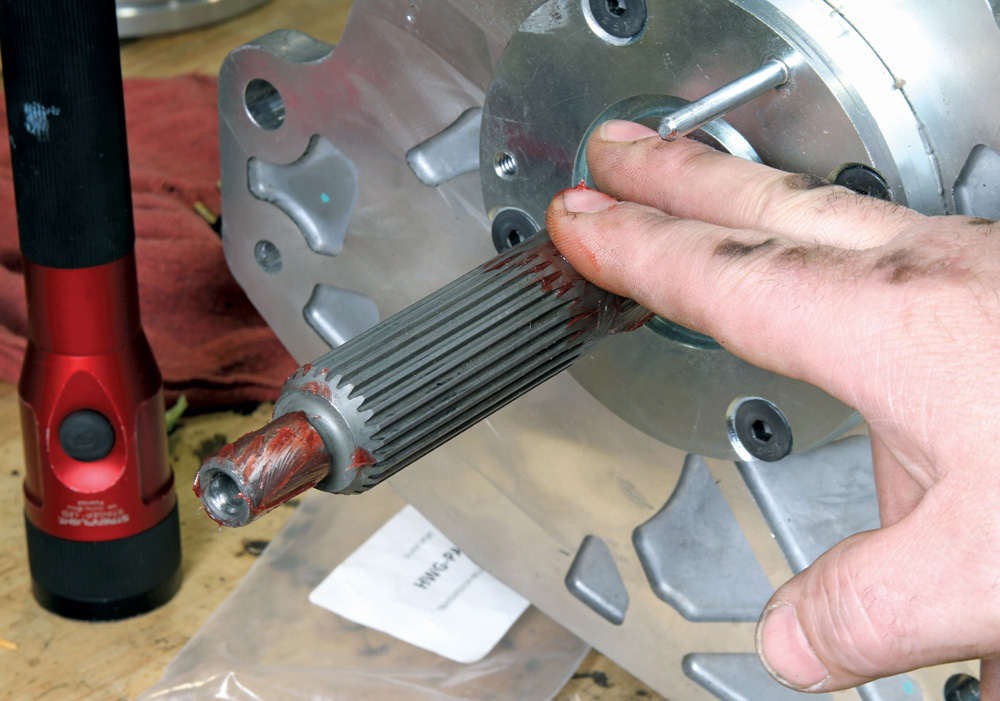
An installation kit with the requisite bellhousing, pilot bearing, throwout bearing, slave cylinder, and so on, is also required. They’re offered from a number of companies, like Speedway Motors, but the one sourced for this project came from Silver Sport Transmission (SST), which included those swap parts in addition to the transmission and flywheel.

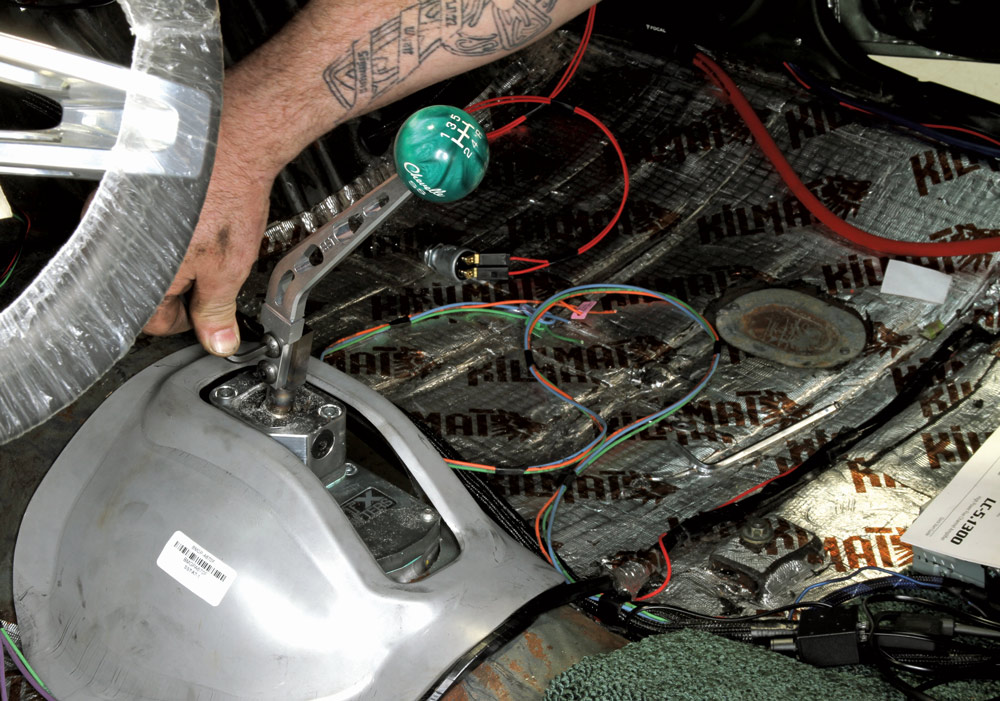
SST also supplied the pedal assembly, along with a reproduction transmission hump for the interior that matched what came on original manual-transmission models. And while a shifter was included with the transmission, the project car’s owner opted for a different aftermarket version.

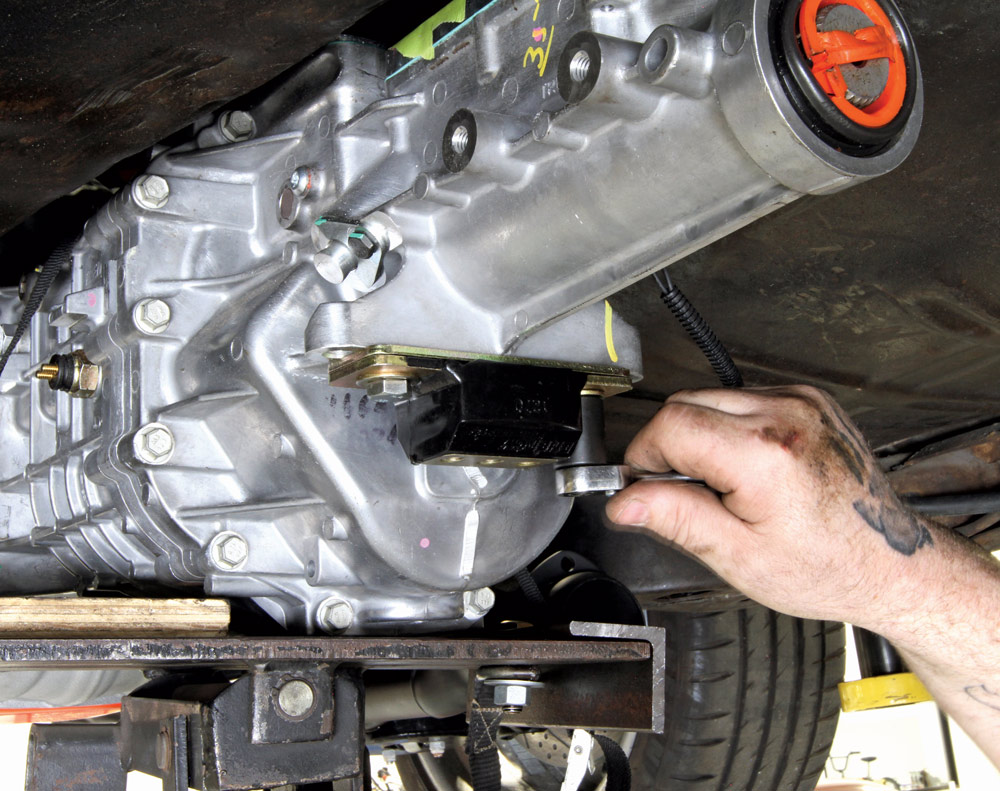
“All the swap parts fit as intended,” McKeehan says. “Thankfully, there were no surprises or hang-ups with the installation.”

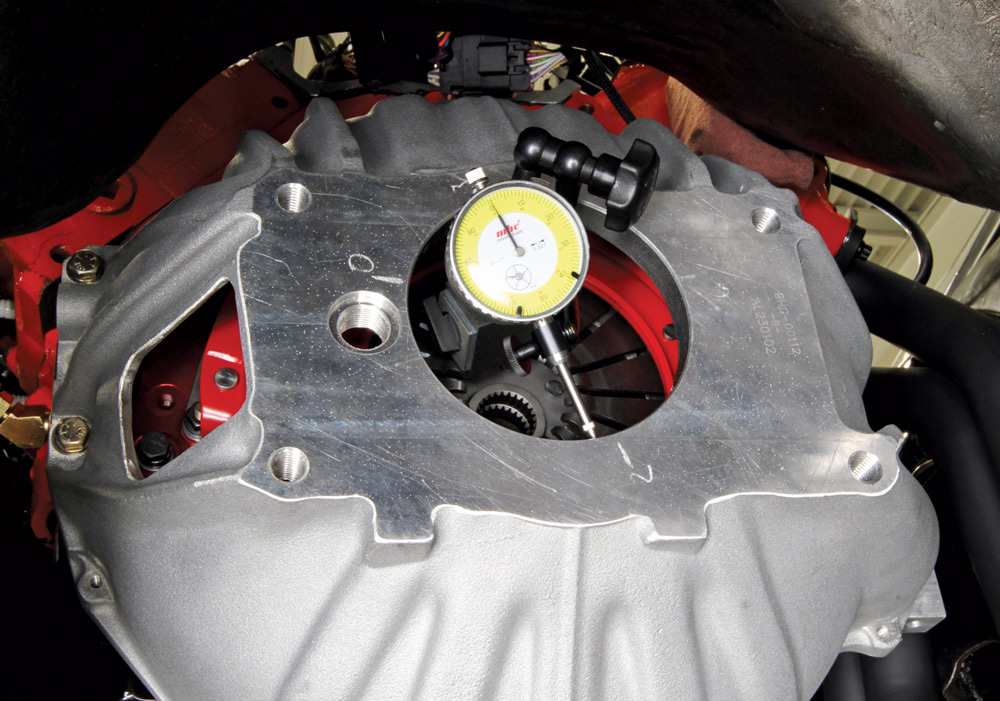
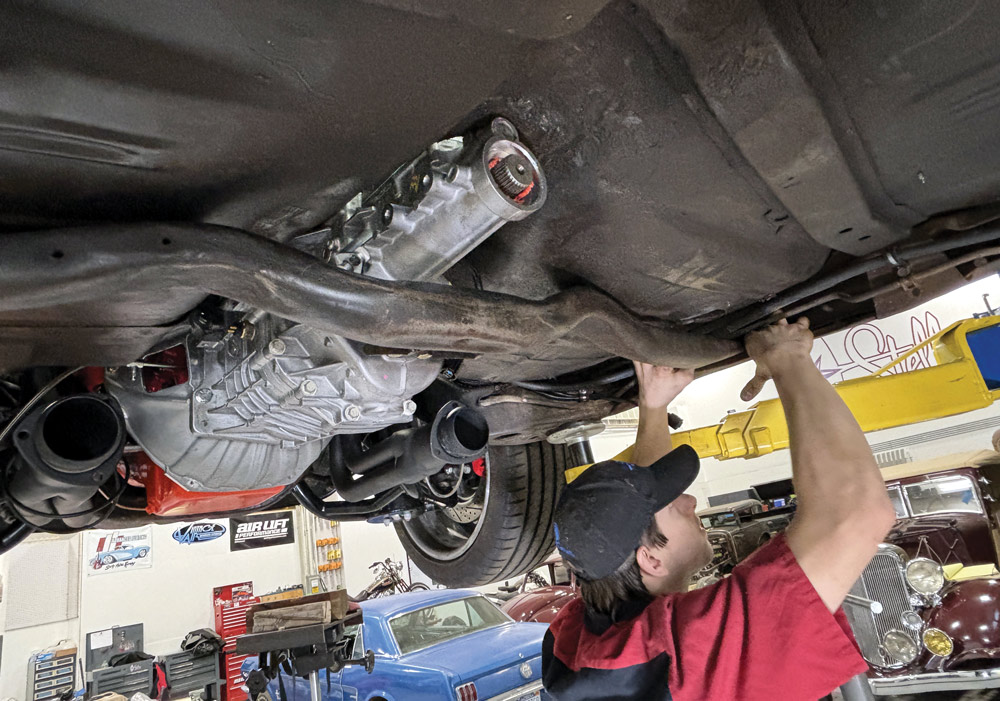
It’s not an exaggeration to say the slimmer profile of the TKX case makes installation easier, but the conversion from an automatic to a manual transmission required a bit of follow-up trimming after the initial measurements were made for the shifter hole. It was really nothing in the grand scheme of the entire swap. A lift made the project infinitely easier and while we know many a transmission has been swapped with just floor jacks, the details involved in converting from an automatic to a manual makes a lift all but a necessity.

We’ve outlined the basics of the project with this story, but it’s also worth noting the installation was performed on a car that was also undergoing additional significant upgrades, from the wiring system to the brakes and more. That meant a road test of the Chevelle with the TKX wasn’t immediately available.

Nevertheless, the project was surprisingly straightforward, and the new five-speed transmission slid into the A-body like an old shoe. And with inclusive swap kits going for typically less than $4,500, including the transmission itself, it’s a smart restomod upgrade to put your vintage Chevy in overdrive.

dark green ’69 Chevelle without hood
1. The project car is a ’69 Chevelle undergoing a comprehensive restomod makeover, including an EFI system on its big-block engine, brake and suspension upgrades, and more. An overdrive transmission will help make it a more comfortable and fuel-efficient highway hauler by knocking down the top-gear cruising rpm.
TKX transmission
2. The TKX transmission is designed for retrofit installations in older cars with slimmer transmission tunnels. It is a little less than 31 inches in length and only 10.5 inches wide. It also offers 600 lb-ft of torque capacity and, depending on the model, an overdrive ratio as high as 0.68:1. TREMEC ships their transmissions without oil, so it has to be filled at the time of installation.
adapter for GM cable
3. Specific GM and Ford versions of the TKX include brand-unique inputs, including a GM-compatible vehicle speed sensor for an electronically controlled speedometer. There’s also an input for a mechanical speedo drive, but it uses a Ford-type drive. An adapter is required when using a GM cable.
new clutch/brake pedal assembly
4. Because the car had an automatic transmission, the original brake pedal was removed and replaced with a new clutch/brake pedal assembly. Additionally, a slave cylinder for the hydraulically operated clutch was also installed on the engine compartment side of the firewall. The push rod for it can be seen here, passing through the new mounting plate on the firewall.
closeup of fluid reservoir
5. Underhood, the slave cylinder is partnered with a fluid reservoir. This hydraulic system reduces pedal effort and offers generally smoother gear engagement than a mechanical clutch, with no need for follow-up adjustments.
hand installing flywheel
6. The installation kit included a flywheel to replace the previous automatic transmission flexplate. A separately sourced McLeod RST twin-disc clutch that aligns with the 26-spline input shaft that’s common among TREMEC transmissions was bolted to it.
hand installing aluminum bellhousing
7. Next, the aluminum bellhousing is slipped into place and bolted to the engine, after making sure no wires or hoses had drooped in the way.
dial indicator measuring centerline relationship
8. An important step to ensure the proper centerline relationship between the crankshaft and the transmission’s input shaft is measuring the bellhousing’s runout with a dial indicator. Even a slight misalignment can result in excessive side loads, poor clutch-to-flywheel alignment, and premature wear. Shift quality also suffers and driveline vibrations are likely.
view of automatic-equipped body
9. With the flywheel, clutch, and bellhousing installed, attention turns to prepping the previously automatic-equipped body for the manual transmission. There’s no hole in the floor for a shifter.
TKX inched up into the tunnel
10. The TKX is slowly and carefully inched up into the tunnel to gauge the general position for the hole that needs to be created in the floor.
hand removing shifter
11. The shifter that came installed on the transmission required removal to raise the transmission to the proper location for its test-fit.
man marking the shifter hold
12. After the general location for the shifter hole was determined and a pilot hole drilled for it, the car was lowered on the lift and a factory-style reproduction manual transmission “hump” was placed on the floor and the opening for the shifter was traced onto the tunnel.
hands cutting hole into floor
13. Next, the hole was cut into the floor.
closeup of hole for shifter platform
14. Although very close, the hole wasn’t quite large enough for the shifter platform.
hands trimming edges of hole for shifter
15. A little more trimming at the rear of the hole did the trick.
hands installing hydraulic throwout bearing onto bellhousing
16. Moving to the final installation, the hydraulic throwout bearing (also known as release bearing) was slipped into the bellhousing, after its clearance tolerance was checked first on the transmission’s input shaft.
hand adding grease to input shaft
17. A bit of grease on the non-splined areas of the input shaft is OK, but greasing the splines risks them flinging the material onto the clutch disc, which is not good. The pilot bearing can also be greased lightly, but the pilot bushing should not be greased.
man guiding transmission into car
18. In goes the transmission for the final time. The throwout bearing aligns with a pin on the transmission to ensure everything is oriented correctly. The connections for the electronic speedometer, backup lights, and so on, will be made later in the car’s overall project.
new GM trans mounts
19. The transmission’s tailhousing incorporates a pad for GM trans mounts and a new one was bolted to it.
original transmission crossmember
20. Using a standard GM mount means the original transmission crossmember can be reused. That’s one less part to purchase or fabricate.
man adjusting position of new transmission
21. Although the crossmember can be reused, the length of the new transmission repositions it on the frame. In this case, it moved rearward.
hand drilling new holes into frame channel
22. New holes must be drilled into the frame channel to accommodate the mounting hardware for the crossmember’s revised position.
man using drill to install crossmember
23. Finally, the crossmember is snugged into place at the transmission and the framerail positions.
man reinstalling the shifter
24. Back inside the car, the shifter is reinstalled.
shift handles and new manual-transmission hump installed
25. After that, the shift handles and the new manual-transmission hump are installed. With a bead of sealant around the bottom flange, the hump will be simply screwed to the floor with a few sheetmetal screws.
red arrow pointing to the throwout bearing’s hydraulic line
26. Wrapping up the installation is the connection of the throwout bearing’s hydraulic line (arrow) to the slave cylinder. The hose for the fluid reservoir is seen in front of it. The system will need to be bled before the car is driven, but that will come later in this project, with the brake system also addressed.
finished transmission
27. The car will also need a shorter driveshaft, with a slip yoke to match the TKX’s 31-spline output shaft. There’s more work to do on this restomod project car, but the transmission is done.
SOURCES