ACP department heading TECH
InTheGarageMedia.com
Dave Williams working on the bumpers of a 1955 Chevrolet Nomad
1. MetalWorks’ talented fabricator Dave Williams made the subtle changes to the bumpers on this 1955 Chevrolet Nomad shown here that are typical of the shop’s attention to detail.
BY Ron Ceridono Images by Chadly Johnson
Making a Good Thing Better
It’s the Details That Make a Difference
D

espite the fact that Chevrolet was the automotive sales leader in 1954, it was painfully obvious it was time to make some changes. Chevrolet was still using a version of the inline six-cylinder engine introduced in 1929. While it was vastly improved compared to the original design, Chevrolet’s chief competitor, Ford, had introduced an OHV V-8.

Another inescapable issue was Chevrolet’s styling had grown stale. The basic design introduced in 1949 had been repeatedly massaged, but by 1954 it was old news. In 1955 everything changed. The revolutionary small-block V-8 debuted, and some of the brand’s most iconic body styles would be produced over the next three years: the 1955, 1956, and 1957 Chevrolets, commonly referred to as Tri-Fives.

One of the most sought-after examples in the Tri-Five series is the 1955 Nomad, and while most would agree these are spectacular-looking cars, MetalWorks Speed Shop in Eugene, Oregon, has found some subtle ways of making a good thing better. MetalWorks has gained a reputation for producing some of the finest restorations and custom builds to be found. One of their current projects is a ’55 Chevy Nomad that will be getting the full Pro Touring treatment. The build began with their in-house acid dipping process that removed all the paint and rust from the vintage sheetmetal in preparation for rust repair and bodywork (see metaldipping.com for more information).

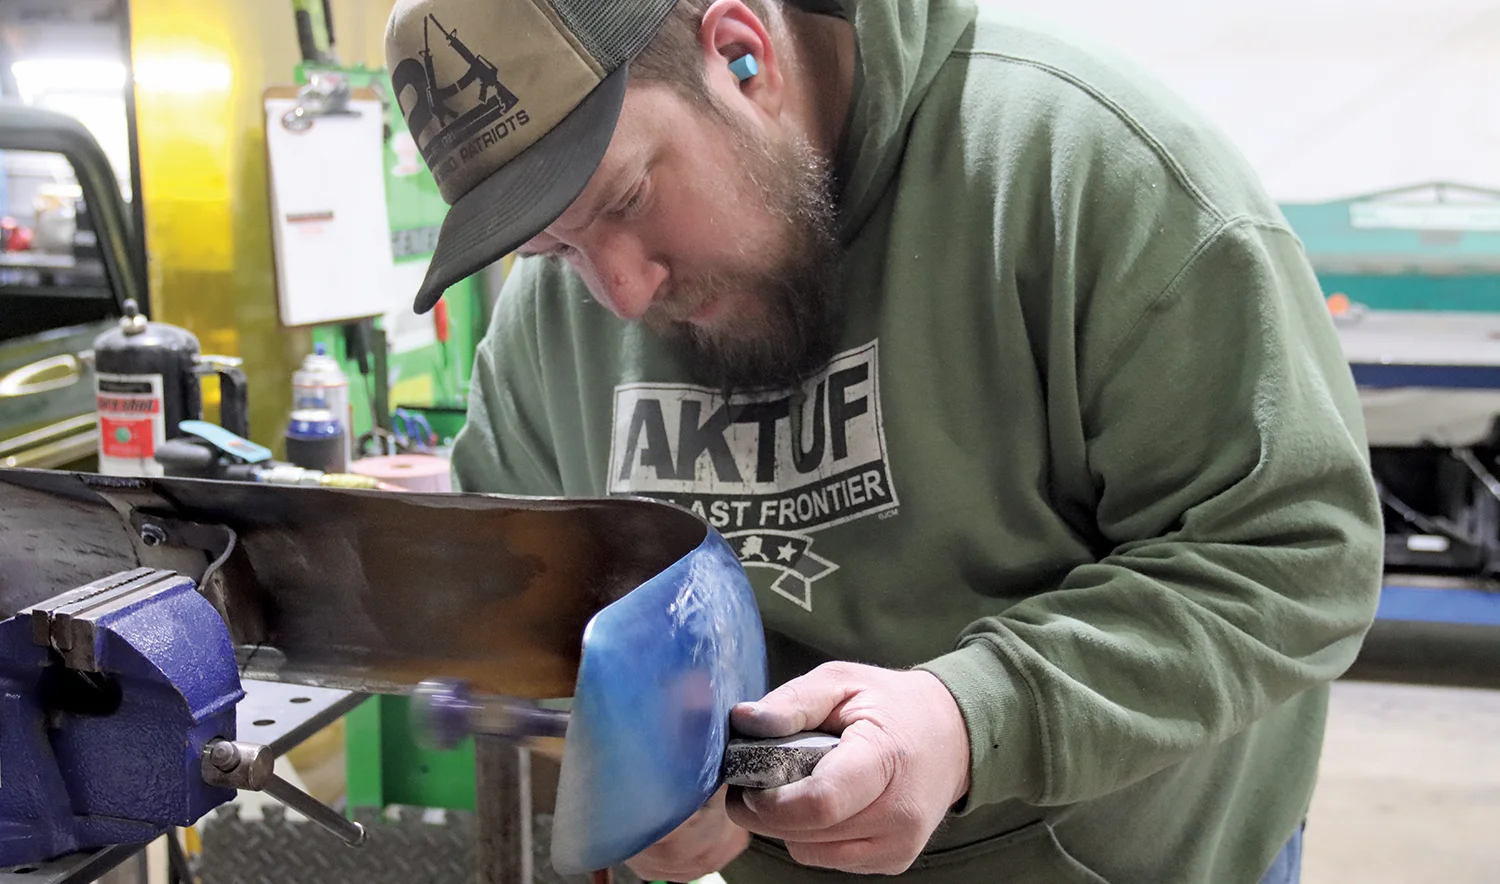
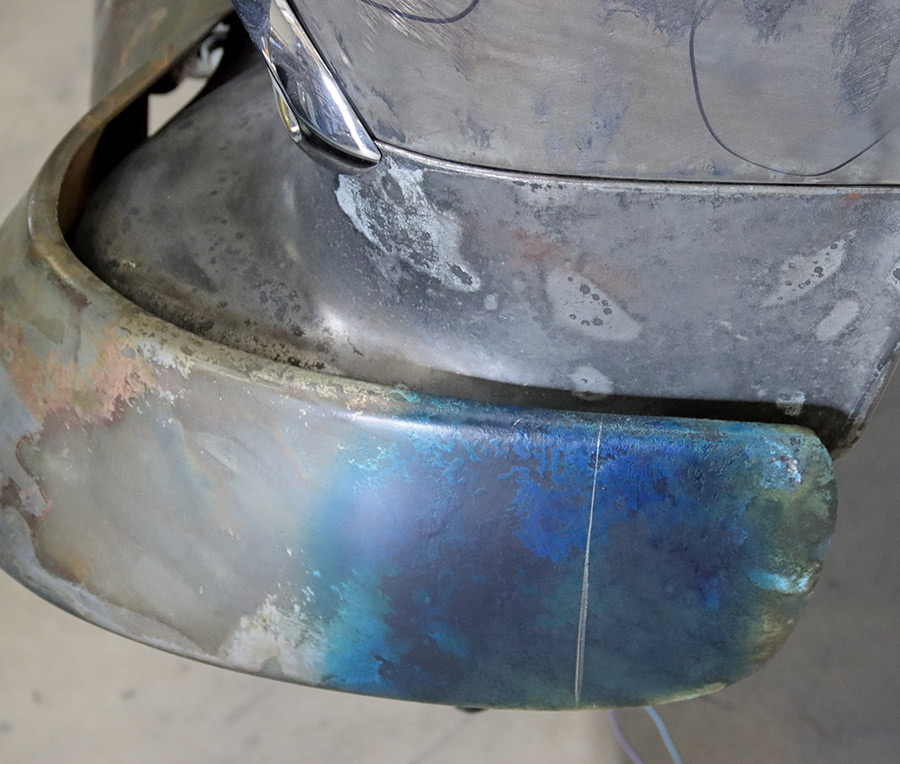
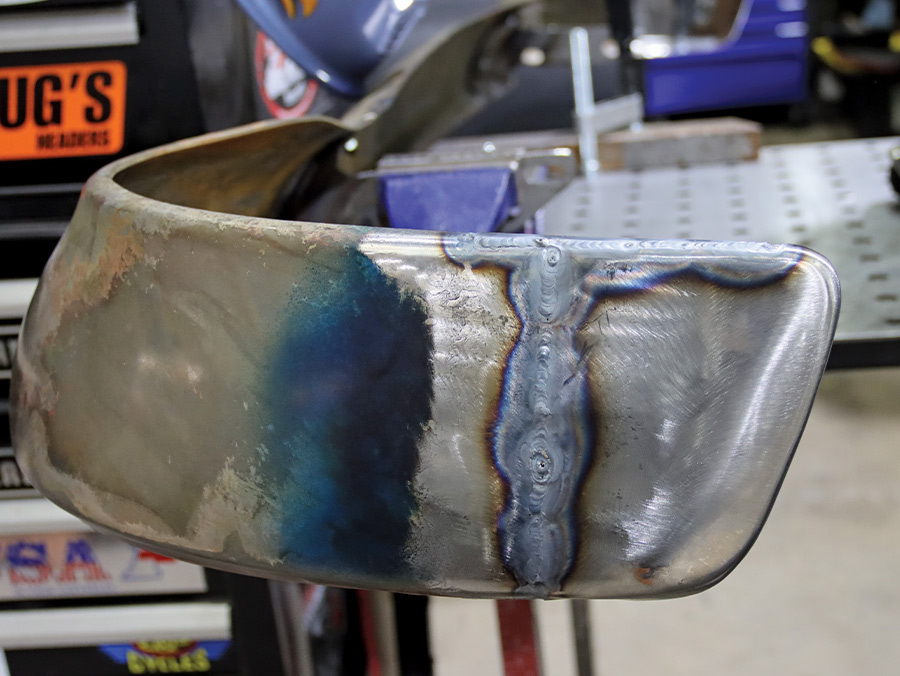
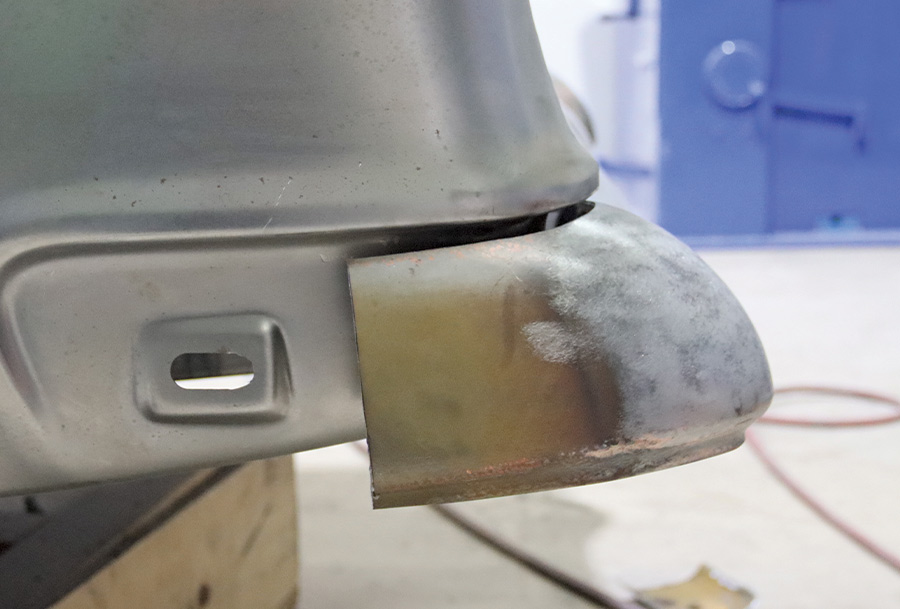
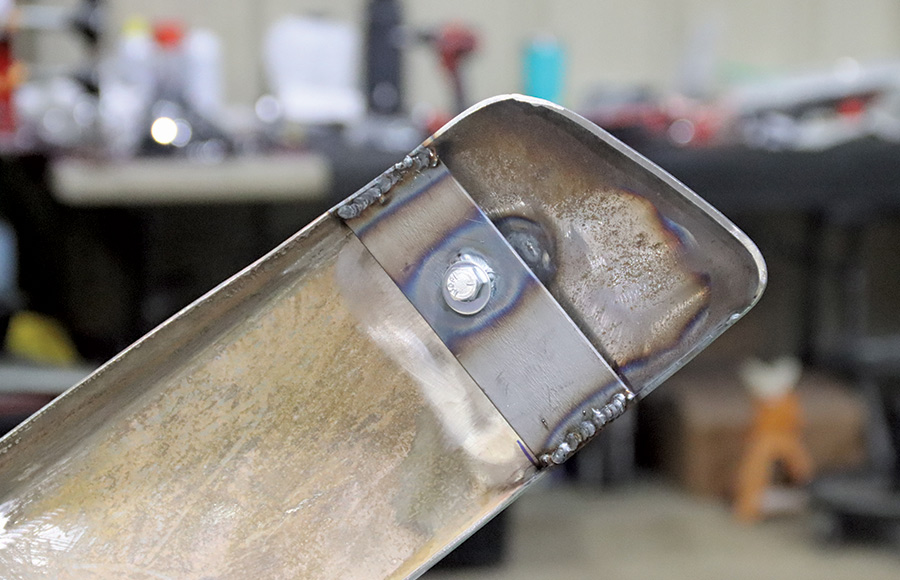
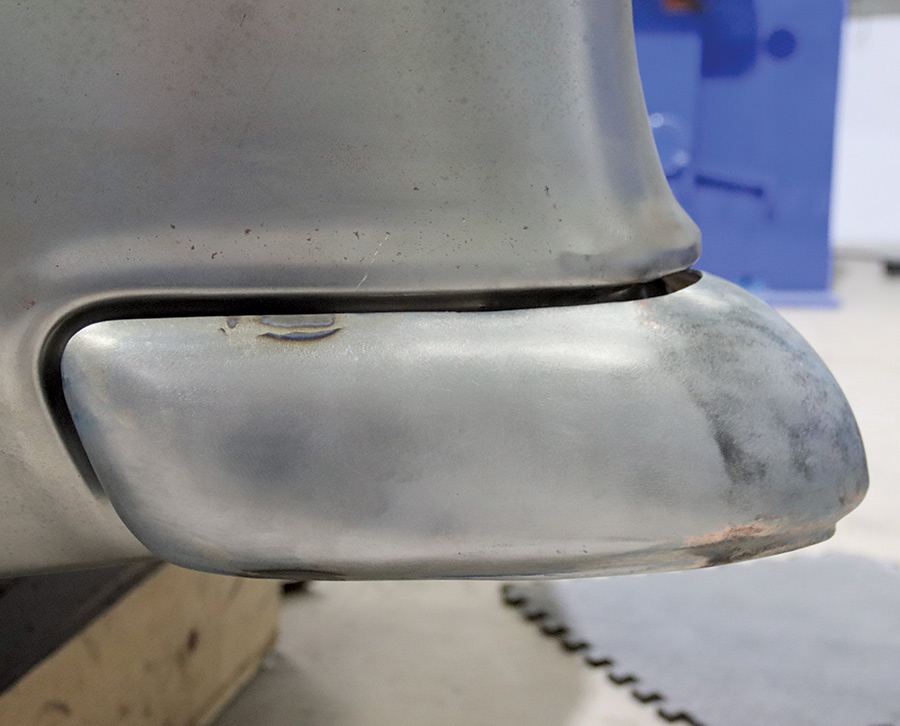
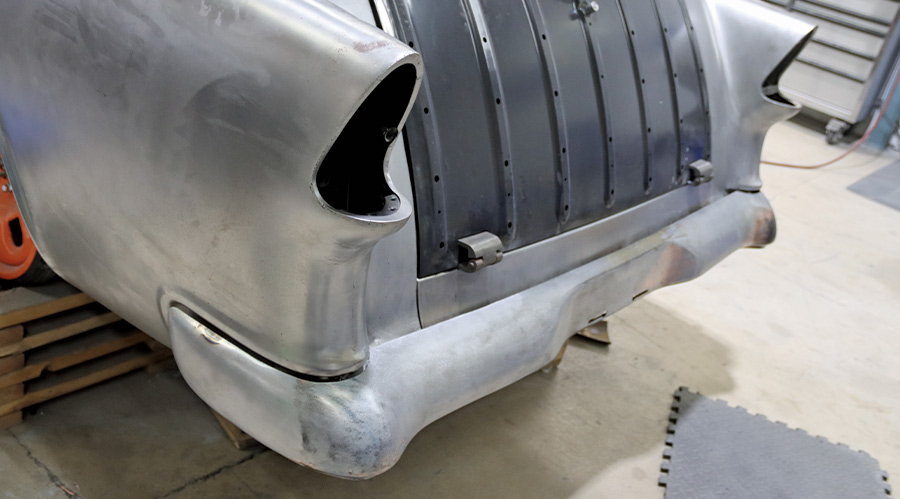
With the body mounted on an Art Morrison Enterprises chassis, MetalWorks’ Dave Williams turned his attention to making subtle but effective changes to the front and rear bumpers. The “California” front bumper was moved closer to the body with custom mounting brackets and the original boltholes were filled. The ends of the bumper that wrap around the front fenders were then cut and modified to precisely match the shape of the wheel opening. In the rear, the original three-piece bumper was smoothed by welding the seams and filling the boltholes. The bumper was moved closer to the body and the ends were recontoured to fit the quarter-panel indentations exactly.

While the changes made to both bumpers are simple in concept, in terms of the end results, they are dramatic—which is the perfect way to make a good thing better.

A Tri-Five Myth Explained
Tri-Five Chevrolets came with two types of front bumpers, three-piece and one-piece style, often called a “California” bumper. Ironically it was often hard to tell the difference on an original car due to the fact the seams where the three-piece bumpers were joined were hidden by the bumper guards. But that meant for those who wanted to eliminate the bumper guards for a cleaner look, a one-piece bumper was the one to have.

Over the years there have been a number of theories put forth to explain why GM went to the trouble of making two different styles for the same cars. Some said it was due to a difference in suppliers, others said it was because the multi-piece bumpers were cheaper to ship, while there were those who believed it had to do with rust forming where the sections bolted together. To find out the real reason we turned to an acknowledged expert on the subject, Christopher Sondles, founder and president of the American Tri-Five Association.

According to Sondles the reason for one-piece bumpers was simple enough—it was a state requirement. California mandated that front bumpers had to be made in one piece; multiple-piece construction wasn’t allowed. When you think about it, the “California” bumper requirement could be the only known example of a state law that automotive enthusiasts are thankful for.

front bumper of a '55 Chevy Nomad
2. Williams started with a one-piece “California” front bumper. It has been tucked tighter to the gravel pan, and the mounting boltholes have been eliminated.
ends of the repositioned bumper have been modified to precisely fit the wheel opening
3. Here, the ends of the repositioned bumper have been modified to precisely fit the wheel opening.
bumper ends marked for cutting
4. With the bumper moved closer to the body, the bumper ends were marked for cutting.
ends of a three-piece bumper cut off and reshaped
5. The ends of a three-piece bumper were cut off and reshaped (right) to fit the contour of the wheel opening.
modified bumper extension cut to length
6. Satisfied with the shape of the modified bumper extension, it was cut to length (note the mark).
bumper test fit
7. A test-fit verified the length of the extension and the angle of the reshaped end.
bumper end tacked on the fit with the wheelwell
8. With the bumper end tacked on the fit with the wheelwell it was deemed a perfect match.
pieces welded together
9. Satisfied with the shape of the extension, Williams fired up the welder and joined the pieces together.
After welding and grinding, the bumper looks like it came this way from the factory.
10. After welding and grinding, the bumper looks like it came this way from the factory.
reinforcements shaped to fit inside the bumper
11. With the factory bolts eliminated, Williams shaped reinforcements to fit inside the bumper.
new frame brackets bolt to studs in the reinforcements
12. New frame brackets bolt to studs in the reinforcements. The custom brackets tuck the bumper tighter to the body.
finished tucked and extended bumper
13. The finished tucked and extended bumper is one of those subtle modifications that will set this car apart from the rest.
recontoured bumper
14. In the rear, the bumper was moved closer to the body and recontoured to fit tighter to the fenders. The ends were cut off so they could be shortened to fit properly.
trimmed ends of bumpers
15. The ends of the bumpers were trimmed to fit closely to the recesses in the quarter-panels.
bumpers being welded back in place
16. Satisfied with the fit, Williams welded the bumper ends back in place.
rear bumpers smoothed
17. As in the front, the rear bumpers have been smoothed by filling the original boltholes and adding hidden attachment points.
bumpers ground smooth using an abrasive disc
18. After the welding was finished, the bumpers were ground smooth with an abrasive disc.
closeup of the bumper
19. The finished joints are impossible to detect, a testament to Williams’ metalworking capabilities.
closeup of the bumper and quarter-panel recess
20. Here the perfect match between the bumper and quarter-panel recess can be seen. It was never like this from the factory.
view of the new bumper
21. By moving the bumper closer to the body the gap between it and the body is reduced dramatically and the fit around the ends of the fenders is now tighter as well.
view of the rear bumper
22. There were no “California” one-piece rear bumpers, so Williams welded the original three pieces together.
SOURCE