ACP department heading TECH
InTheGarageMedia.com
Tubular control arms are a simple and affordable install for any classic Chevy, and our 1964 Chevelle is ready for an upgrade
1. Tubular control arms are a simple and affordable install for any classic Chevy, and our 1964 Chevelle is ready for an upgrade.
Maintain Control
Upgrading an Early Chevelle With Tubular Control Arms
BY Tommy Lee ByrdImages by The Author
W

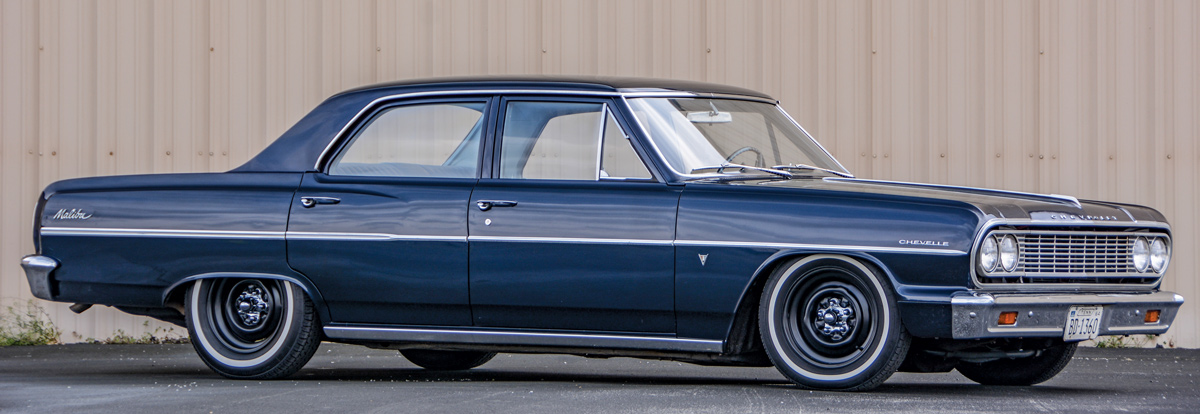
hen you hold onto a car for a decade or so and drive it several thousand miles a year, components will wear out. During the early stages of our 1964 Chevelle project we went through the front suspension, brakes, and steering system to bring it up to par, while also lowering the stance. Since then, we’ve put about 40,000 worryfree miles on the car. Recently, we noticed an intense squeak that couldn’t be resolved and started seeing some irregular wear on the tires. We wanted to tear into it before things got any worse, and it was a perfect time to upgrade the suspension and ride quality on our trusty crew cab Chevelle.

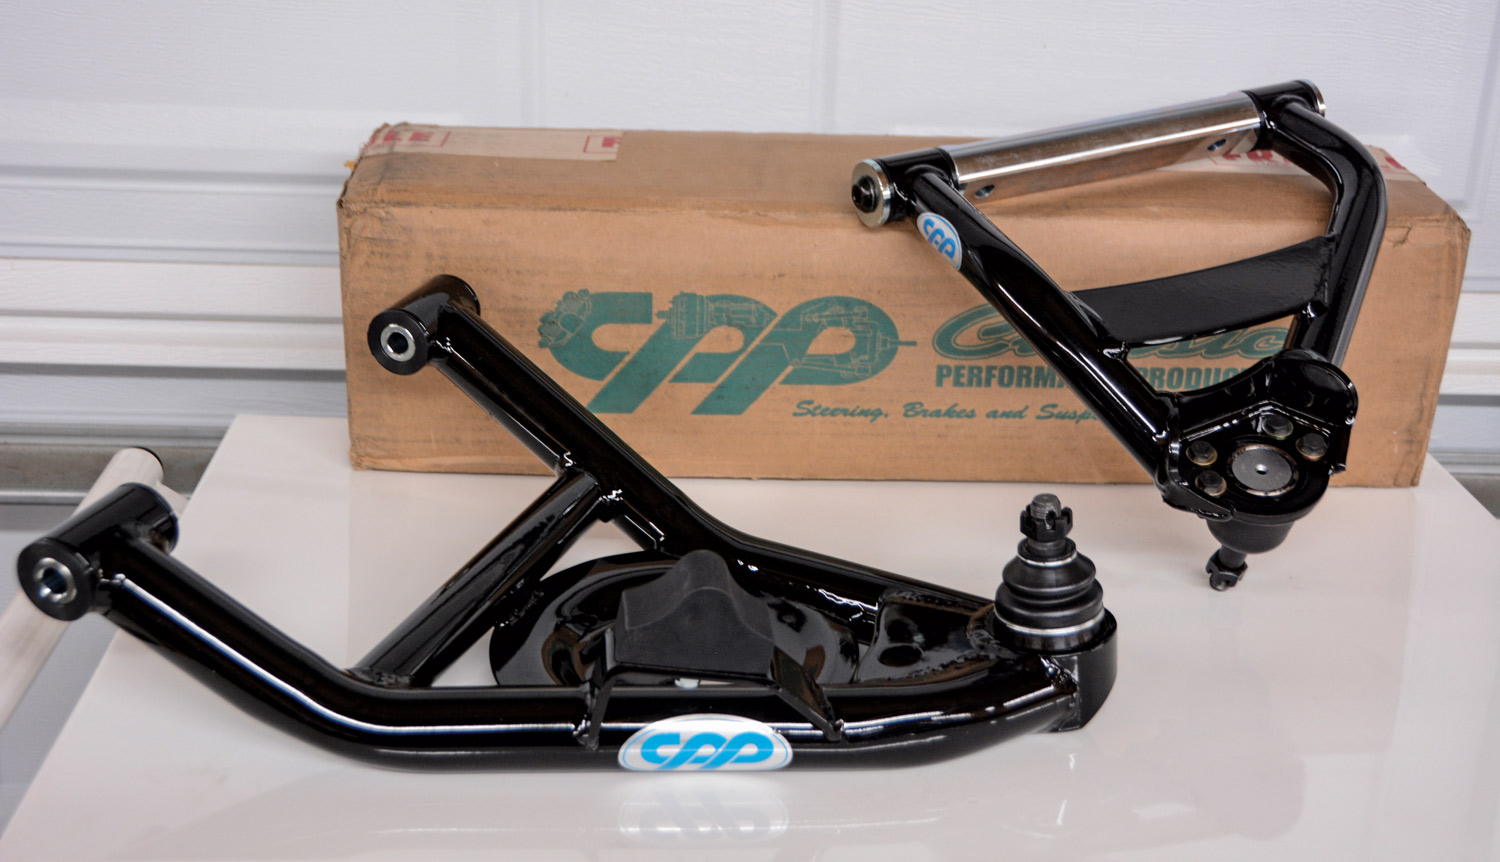
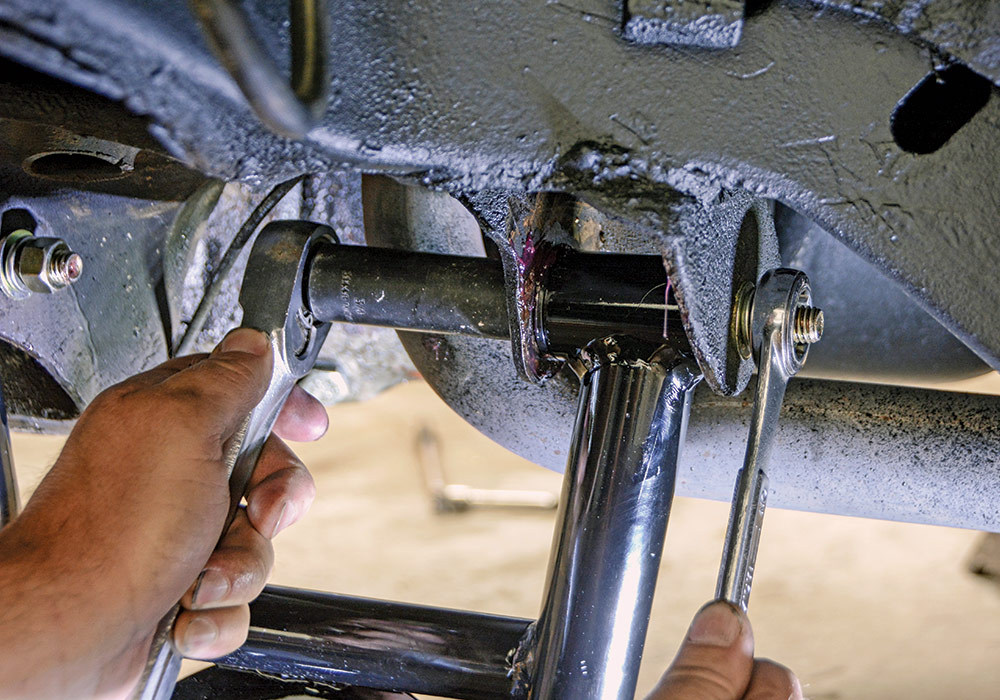
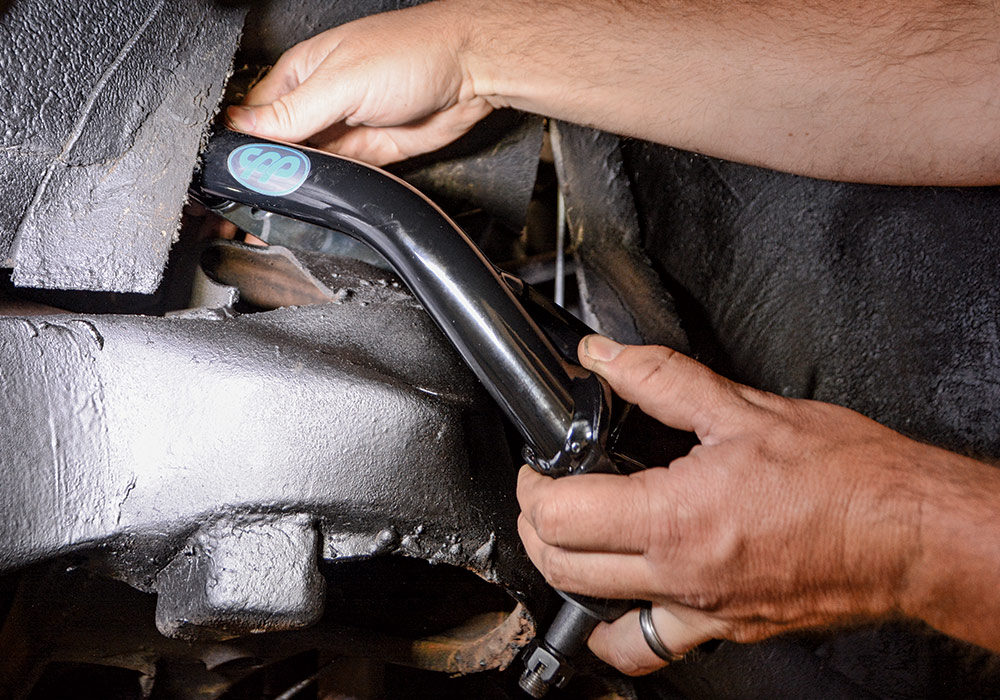
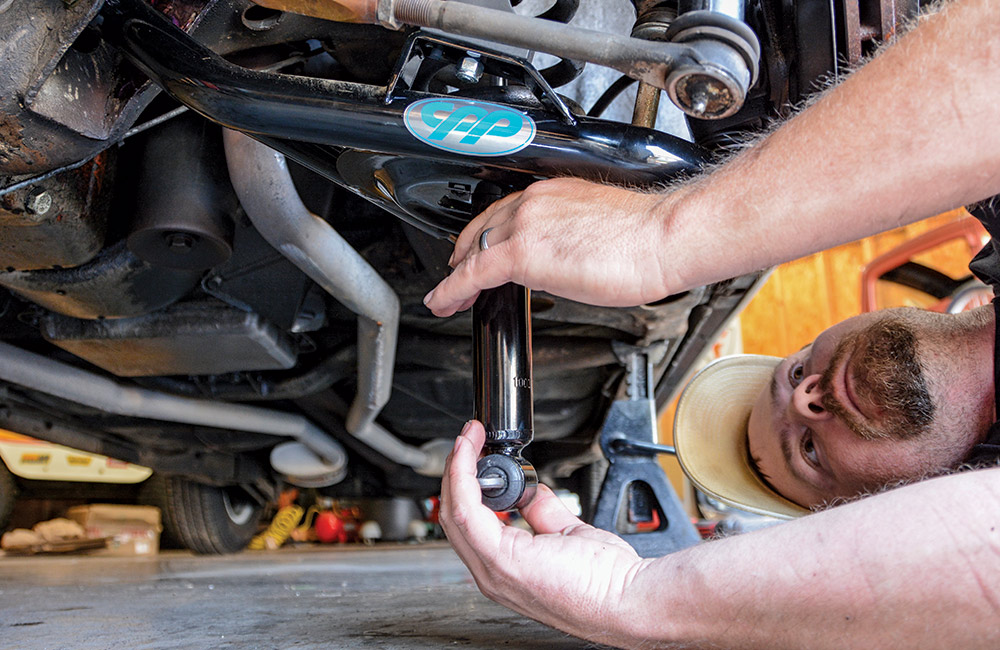
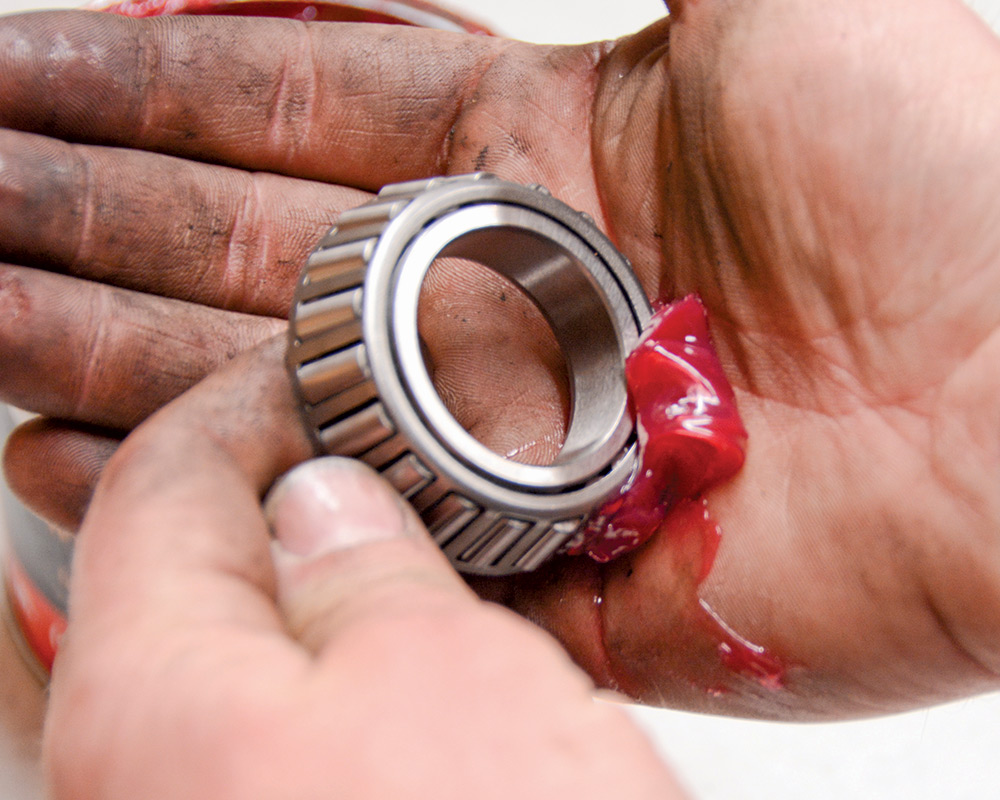
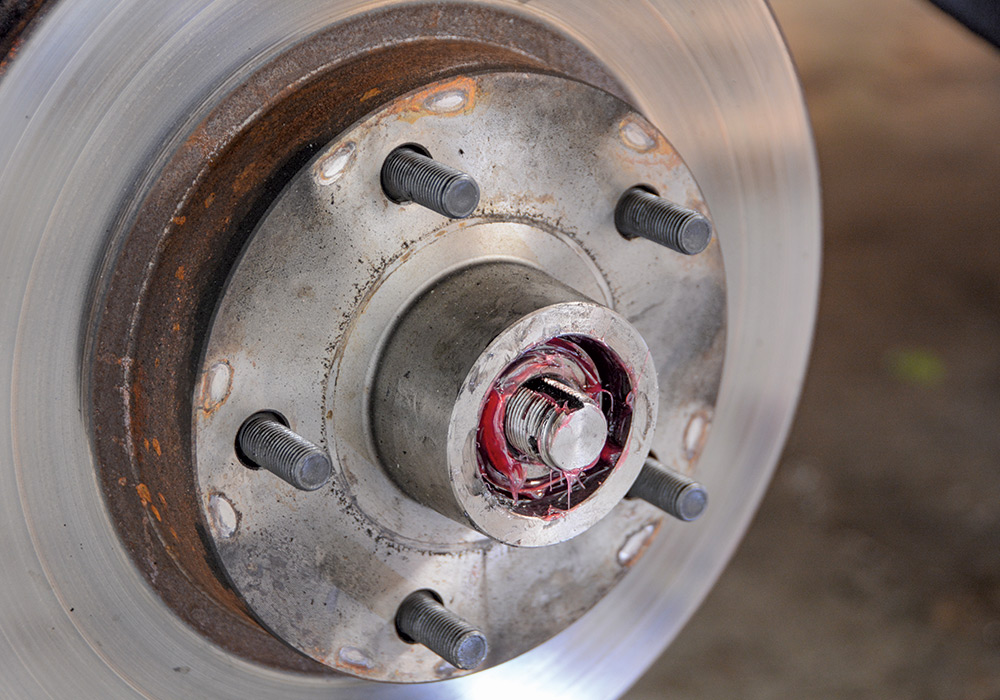
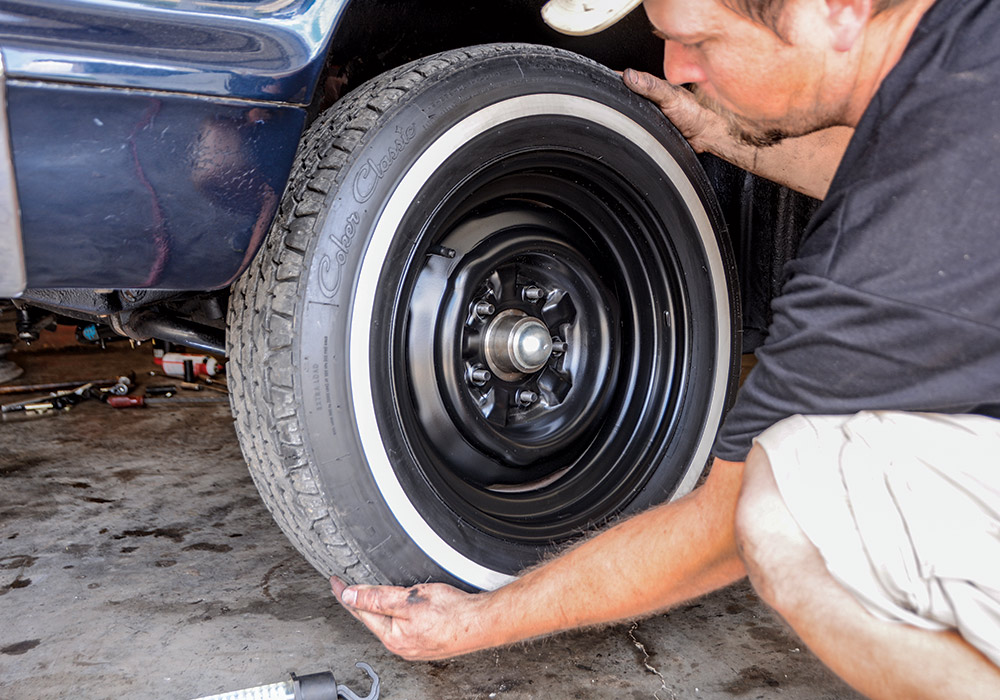
Classic Performance Products (CPP) got the call as our first round of upgrades consisted of CPP components, which seemed like a natural fit. Many of the “phase one” replacement parts were still usable, but we knew that a tubular control arm upgrade would benefit the car. Old, stamped steel control arms flex and bend, and the original-style bushings just don’t last very long, so we wanted a long-term solution that would give us a good combination of strength and comfort. We opted for CPP’s complete Chevelle tubular control arm kit (PN 6472TCA-ULK-B), which consists of upper and lower control arms and the necessary hardware to install them. The control arms come preassembled with billet cross shafts, new ball joints, and bushings already installed. We also used a set of CPP shocks (PN CPP-1000) to give us a smooth ride. Because of the irregular tire wear, it was also a good time for fresh rubber, so we snagged a set of new Coker Classic Star Series tires from Coker Tire.

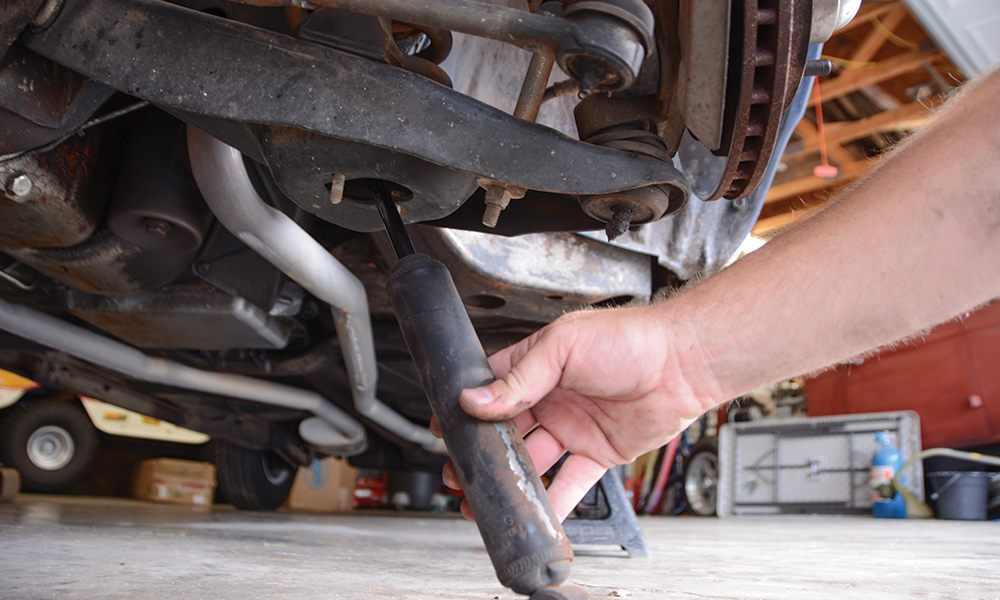
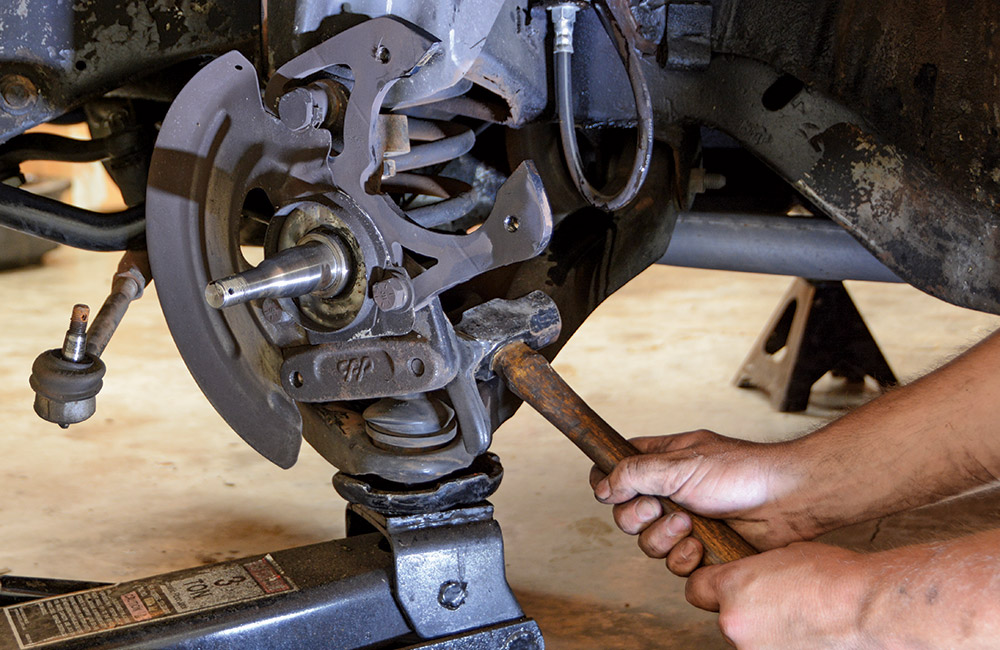
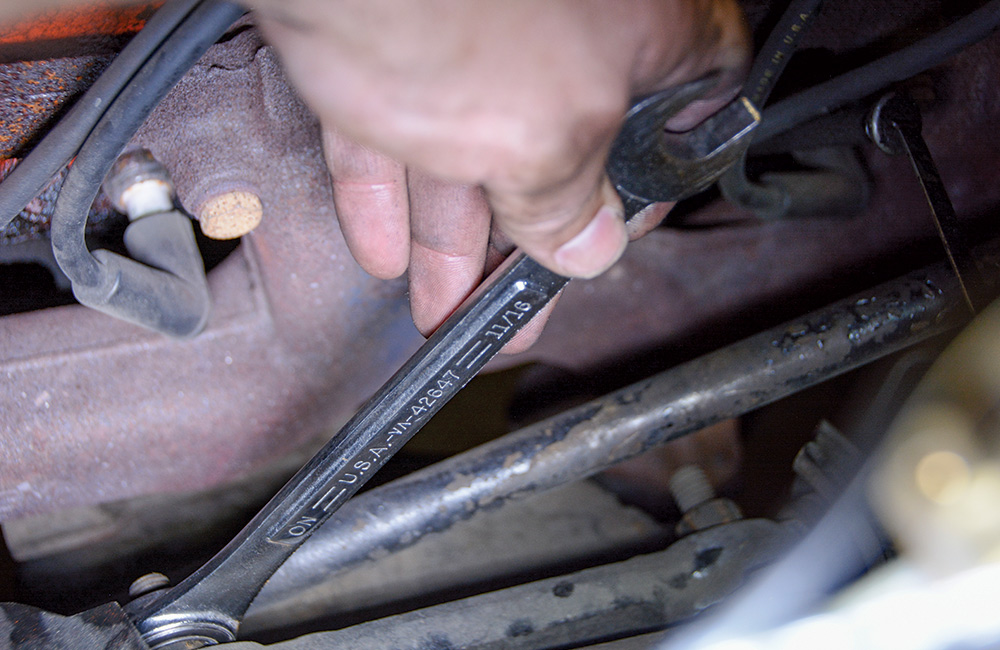
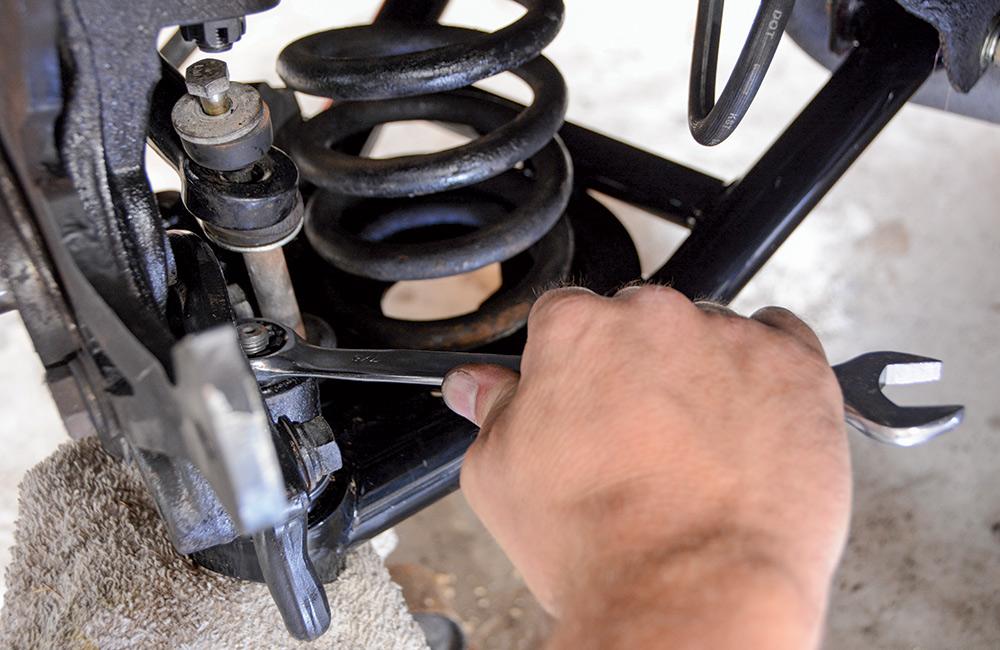
We spent a couple weekends on the control arm swap, as it spiraled into cleaning, painting, and refreshing a few other areas under the car. Simple hand tools were used throughout the project and we handled it with a floor jack and a couple of jackstands. We enlisted the help of a tire shop for the tire swap and then had the suspension aligned after it was buttoned up, but everything else was a relatively simple at-home project. The result is a smooth-riding Chevelle that’s ready for many more miles on the road.

Several years ago we went through the front suspension, steering system, and brakes on our 1964 Chevelle
2. Several years ago we went through the front suspension, steering system, and brakes on our 1964 Chevelle. After about 40,000 miles, it was time for another round of upgrades.
The 10-year-old parts store shocks were the first thing to hit the trash can
3. The 10-year-old parts store shocks were the first thing to hit the trash. We noticed a decrease in ride quality; cheap shocks rarely last more than a few years.
CPP disc brake conversion is holding up nicely. It is possible to change control arms without taking the brakes apart
4. Though the rotors are showing some surface rust, the CPP disc brake conversion is holding up nicely. It is possible to change control arms without taking the brakes apart, but this gives us a chance to replace the wheel bearings.
The CPP sway bar is one of the most effective upgrades on our relatively mild Chevelle build
5. The CPP sway bar is one of the most effective upgrades on our relatively mild Chevelle build. We need to disconnect it from the lower control arm to proceed to the next step.
After wiggling the cotter pin out of position, we used a 78-inch wrench to loosen the lower ball joint
6. After wiggling the cotter pin out of position, we used a 7/8-inch wrench to loosen the lower ball joint. We like to leave the nut in place for extra safety when breaking the ball joint loose. We also separate the tie-rod end from the spindle.
Our mini sledgehammer is the perfect tool for breaking the ball joints and tie rods loose, but stubborn cases require a ball joint separator
7. Our mini sledgehammer is the perfect tool for breaking the ball joints and tie rods loose, but stubborn cases require a ball joint separator. We strike the meaty area of the spindle where it attaches to the ball joint.
A floor jack is used to control the spring as the ball joint is loosened from the spindle
8. A floor jack is used to control the spring as the ball joint is loosened from the spindle. We slowly lower the jack and remove the spring when it no longer has tension.
With the spring removed, we can concentrate on the upper ball joint. The nut is 34-inch, and once again we do not completely remove it
9. With the spring removed, we can concentrate on the upper ball joint. The nut is 3/4 inch, and once again we do not completely remove it. The mini sledge does its job again to break the ball joint loose.
A pair of 1116-inch nuts hold the upper control arm in place
10. A pair of 11/16-inch nuts hold the upper control arm in place. These nuts are relatively easy to access from inside the engine bay, but the challenge comes with removing the control arm, as there is not enough clearance for the cross shaft to clear the studs.
The upper control arm studs are splined and fit tightly into the bracket on the frame
11. The upper control arm studs are splined and fit tightly into the bracket on the frame. If you plan to replace the upper control arm studs, you can carefully shake the studs loose with an impact, as the studs have a hex head. That’s how we handled it and then removed the control arm easily.
With a 34-inch wrench and 34-inch socket, we remove the two bolts holding the control arm in place
12. The lower control arms are straightforward, as they feature two pass-through bolts and accompanying nuts per side. With a 3/4-inch wrench and 3/4-inch socket, we remove the two bolts holding the control arm in place.
After removing the two bolts, we wiggle the control arm out of its pockets and start the cleaning process
13. After removing the two bolts, we wiggle the control arm out of its pockets and start the cleaning process. We scrape the grease and old undercoating in preparation for paint.
A putty knife, wire brush, and a combination of chassis black spray paint and rubberized undercoating gave our wheelwell a fresh look
14. Because this car is a driver, we didn’t go to great lengths to beautify the underside. A putty knife, wire brush, and a combination of chassis black spray paint and rubberized undercoating gave our wheelwell a fresh look.
There are many tubular control arms on the market, but we stayed with CPP, as the car already has several CPP components in place
15. There are many tubular control arms on the market, but we stayed with CPP, as the car already has several CPP components in place. The 6472TCA-ULK-B kit features upper and lower control arms ready to bolt in and go.
The arms are manufactured with 1 12-inch 0.120-inch wall DOM tubing, which is TIG-welded for a high-quality piece
16. CPP’s tubular lower control arms use self-lubricating duraline bushings, which are built to last. The arms are manufactured with 11/2-inch 0.120-inch wall DOM tubing, which is TIG-welded for a high-quality piece.
We smeared a small amount of grease on the bushings and pockets to aid with installation
17. The lower control arms come out of the box ready to install. We smeared a small amount of grease on the bushings and pockets to aid with installation.
The CPP control arm kit comes with all new hardware, so once we had the lower arms aligned, we slid the new bolts into place
18. The CPP control arm kit comes with all new hardware, so once we had the lower arms aligned, we slid the new bolts into place. We didn’t completely tighten the nuts, as we’ll handle that when the car is at ride height to prevent any binding.
The CPP upper control arms feature billet 4130 chromoly cross shafts and a special bushing design for maximum performance and longevity
19. The CPP upper control arms feature billet 4130 chromoly cross shafts and a special bushing design for maximum performance and longevity. The arms are built with 11/4-inch 0.120-inch wall DOM tubing.
Fitment of the upper control arms is just like the originals. We position it and then install the new studs and nuts
20. Fitment of the upper control arms is just like the originals. We position it and then install the new studs and nuts.
We reused the alignment shims that were in our previous combination, but we know that a frontend alignment will be necessary to get it dialed in
21. We reused the alignment shims that were in our previous combination, but we know that a frontend alignment will be necessary to get it dialed in. We tighten the 11/16-inch nuts, seating the new studs in the process.
CPP’s control arms come with the ball joints preinstalled, but we need to install the supplied grease fittings
22. CPP’s control arms come with the ball joints preinstalled, but we need to install the supplied grease fittings. Now is a good time to fill those ball joints with grease.
reusing the old coil springs, which were cut many years ago to lower the car
23. We’re reusing the old coil springs, which were cut many years ago to lower the car. If you’re using stock-length coils, you’ll likely need a spring compressor to get the spring to seat properly in the upper and lower perches.
A floor jack is used to raise the lower control arm and compress the spring
24. A floor jack is used to raise the lower control arm and compress the spring. Now, we can install the spindle on the lower ball joint. It’s best to also loosely install the sway bar endlinks during this time.
The CPP kit comes with new castle nuts and cotter pins for the ball joints
25. The CPP kit comes with new castle nuts and cotter pins for the ball joints. We use a 7/8-inch wrench to tighten the nuts and align the holes for cotter pin installation.
Next, we fit the upper ball joint into the spindle and install the new castle nut
26. Next, we fit the upper ball joint into the spindle and install the new castle nut. We tighten it with a 3/4-inch socket on our 1/2-inch ratchet and then slide a new cotter pin in place.
This would be a good time for new tie-rod ends, but ours checked out fine so we reinstalled them
27. This would be a good time for new tie-rod ends, but ours checked out fine so we reinstalled them.
These CPP-1000 nitrogen shocks are several steps above the quality of the standard parts store equipment
28. CPP offers coilover conversion systems for all sorts of cars, but we kept it simple with old-school springs and CPP’s shocks. These CPP-1000 nitrogen shocks are several steps above the quality of the standard parts store equipment.
The lower portion of the shock bolts to the control arm with bolts and nuts, and the upper features a standard stud and nut configuration
29. The lower portion of the shock bolts to the control arm with bolts and nuts, and the upper features a standard stud and nut configuration. We use a 5/8-inch wrench to put the right amount of squeeze on the new bushings.
The bearings are cheap, so if the front end is apart it makes sense to replace the bearings
30. Although often neglected, wheel bearing maintenance is important for any classic car that gets driven often. The bearings are cheap, so if the front end is apart it makes sense to replace the bearings.
reinstalled the CPP rotors and caliper and attached the brake hose to the caliper
31. It would’ve been a good time for a brake upgrade, but we’ll save that for another day. We reinstalled the CPP rotors and caliper and attached the brake hose to the caliper. Once both sides were complete we bled the brakes.
We used the new Coker Classic Star Series radial tires, going with a 1960’s mild custom look with the narrow whitewalls
32. The final part of the Chevelle’s upgrade was a new set of tires. We used the new Coker Classic Star Series radial tires, going with a 1960’s mild custom look with the narrow whitewalls. Sizing of 165R15 and 205/75R15 with 15×5 and 15×6 steel wheels give us the desired stance.
With the car back on the ground, we took it to the alignment shop and enjoyed a smooth ride
33. With the car back on the ground, we took it to the alignment shop and enjoyed a smooth ride. The hunkered-down stance looks cool with the narrow whitewalls and Spider Caps; and it’s ready for more miles on the highway with upgraded underpinnings.
SOURCES