ACP department heading TECH
InTheGarageMedia.com
1. Our time capsule 1964 Chevelle has been sitting for years; other than the wheels and tires, few things have changed since it was new. Jason Scudellari was in charge of getting it back on the road.
ON THE ROAD AGAIN
MAKING A GARAGE-BOUND CHEVELLE A RELIABLE DRIVER
BY ACP STAFF
T

here’s nothing more rewarding than bringing a cool car out of mothballs and putting it back on the road. Ironically, one of the temptations that we enthusiasts have to fight off is the urge to tear such a garage queen apart and rebuild it from the ground up. That often ends up with the car sitting for an even longer period of time in project jail. A better option is to make that rediscovered gem reliable so it can be driven and enjoyed first, then make updates as time and your budget allows.

Like most cars that have been sitting for an extended period, time had not been particularly kind to the 1964 Chevelle shown here. A number of critical components have deteriorated over the years and will have to be replaced to ensure reliability. Typically, those parts are starting, ignition, and cooling system related. Fortunately, installing any of those items isn’t difficult to do and they are readily available from Duralast.

Unlike many over-the-counter replacement brands, Duralast parts meet or exceed OEM specifications. That means you can count on them to fit and perform as they should, and for extra peace of mind all Duralast parts are warrantied. Duralast’s vast array of components can be found at duralastparts.com as well as autozone.com and autozonepro.com.

One of the first things we inspected was the cooling system. While the radiator was sound, it needed to be thoroughly flushed and as expected all the hoses, thermostat, and radiator cap were due for replacement. It was no surprise that the battery was also junk, however, even after a Duralast replacement was installed, the original starter still wasn’t up to the task of spinning the small-block. A new Duralast mini starter cured that problem and we were rewarded with the sound of the engine turning over with a twist of the key.

Next, we turned our attention to the ignition system. It’s a sure bet any car sitting unused can benefit from a complete tune-up. Sometime in the Chevelle’s history an electronic ignition conversion replaced the points and condenser, so that would remain. However, the distributor cap and rotor along with the old and brittle spark plug wires and a questionable-looking coil were tossed out and replaced with new Duralast components to bring the ignition system back to like-new condition. To make sure the electrical system would have all the juice needed and the battery will always be fully charged, a new alternator and drivebelt were added to the list of Duralast parts used.

Finally, new fuel, air, and oil filters were put in place, fresh coolant was added, and the engine was topped with oil. With affordable, quality parts from Duralast, along with some time and TLC, our 1964 Chevelle is out of the garage and back on the road again. That’s where it belongs.
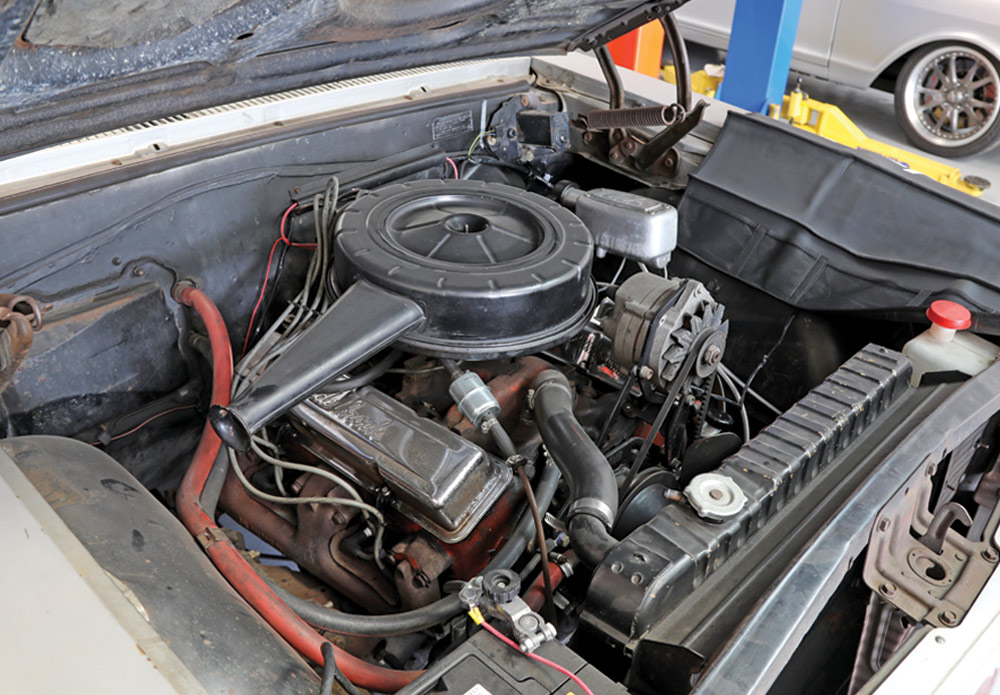
view under Chevelle hood of a 195hp, two-barrel-equipped 283
2. Under the hood of our Chevelle is a 195hp, two-barrel–equipped 283. Original other than the rocker covers, power steering system, and a few brackets to relocate the alternator, it’s original right down to the often-discarded factory air cleaner. With the replacement parts from Duralast it will become a reliable driver once more.
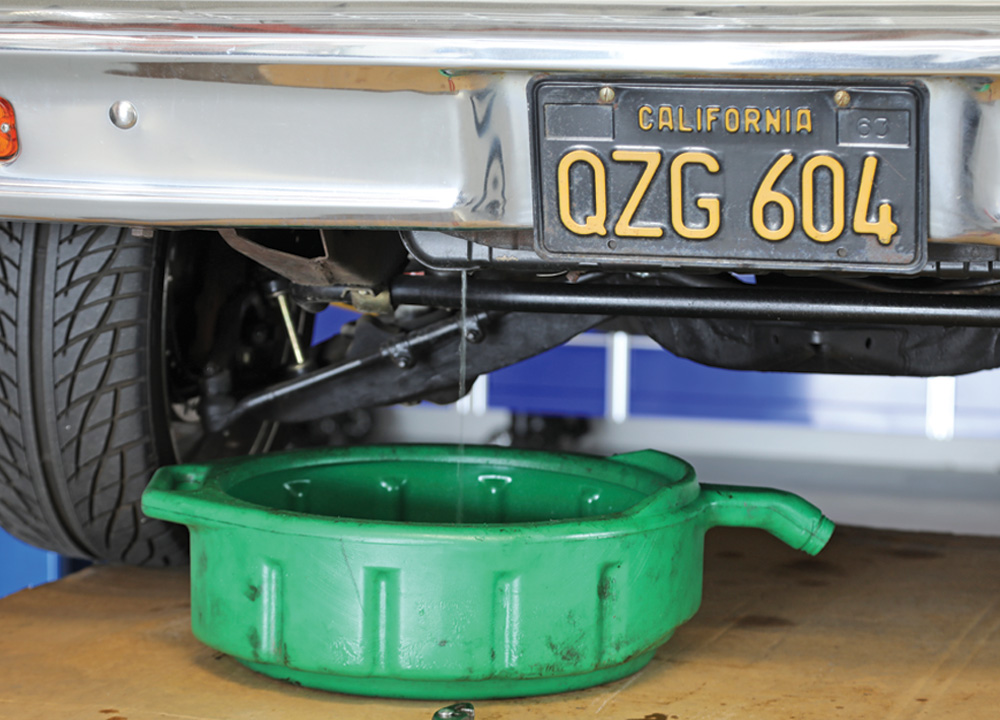
Coolant draining into container under Chevelle
3. Scudellari began the Chevelle’s recuperation process by draining the coolant. Be aware if you’re doing this at home and have pets as most coolants are toxic so clean up any spills.
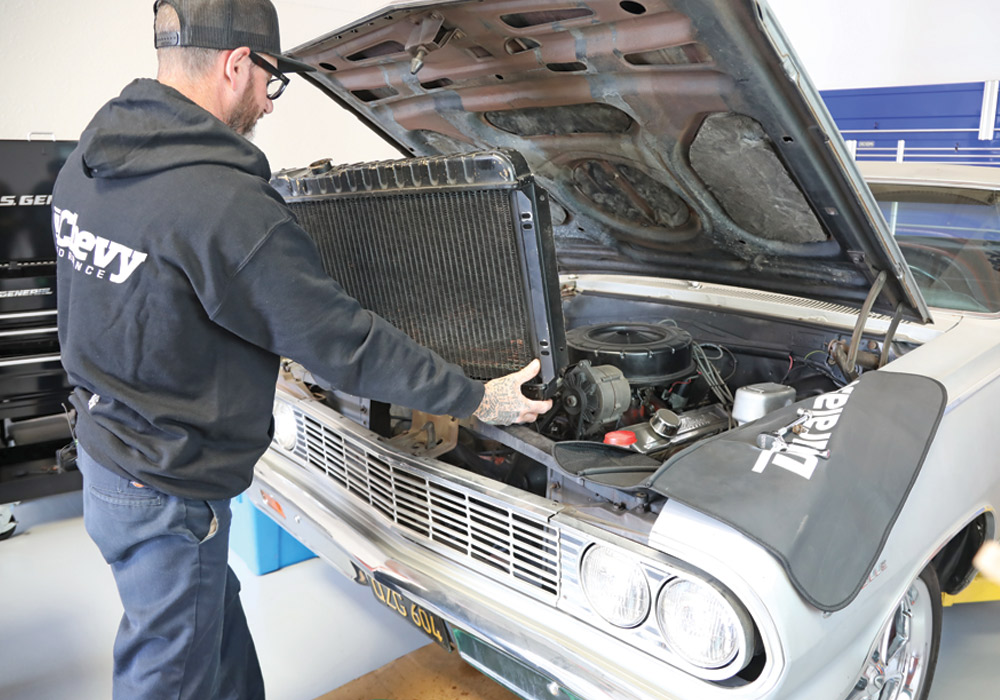
upon inspection, the radiator was found to be usable but in need of a complete flush
4. Upon inspection, the radiator was found to be usable but in need of a complete flush. For those projects in need of a replacement, Duralast offers a line of new radiators.
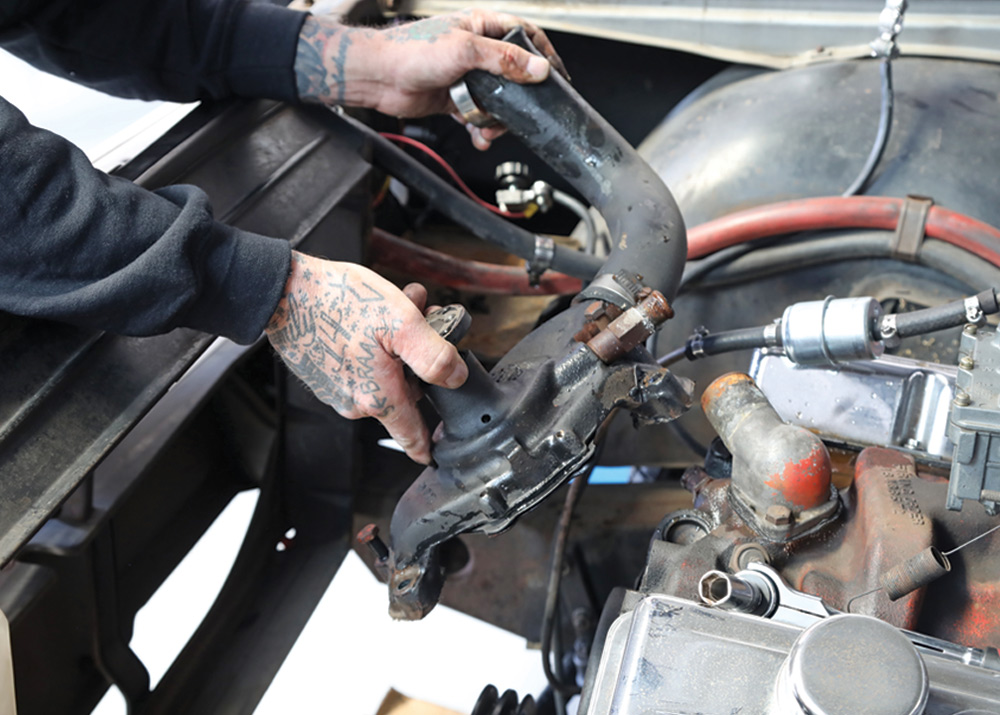
as the water pump bearings felt rough, it was replaced to prevent future issues
5. As the water pump bearings felt rough, it was replaced to prevent future issues. Note the fitting for the heater hose. It will have to be removed and installed in the new pump.
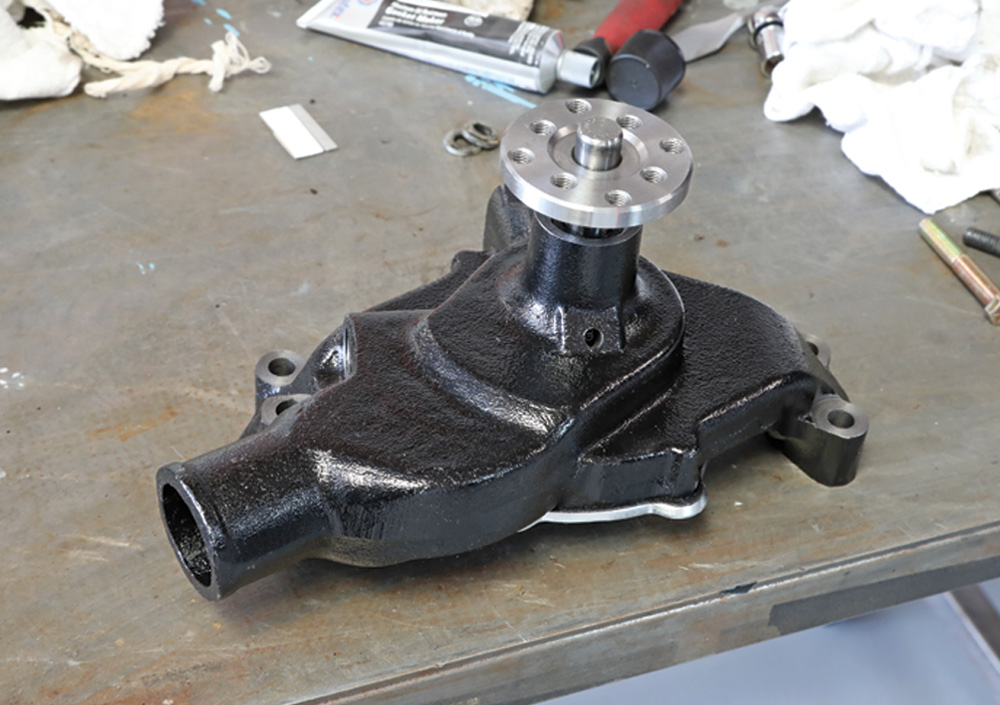
view of all new Duralast water pump

6. The Duralast water pump is all new not rebuilt. These pumps come black coated—so there is no need to paint prior to installation—have a dual bolt pattern that allows them to be used with a standard fan or a clutch type, and come with a limited lifetime warranty.
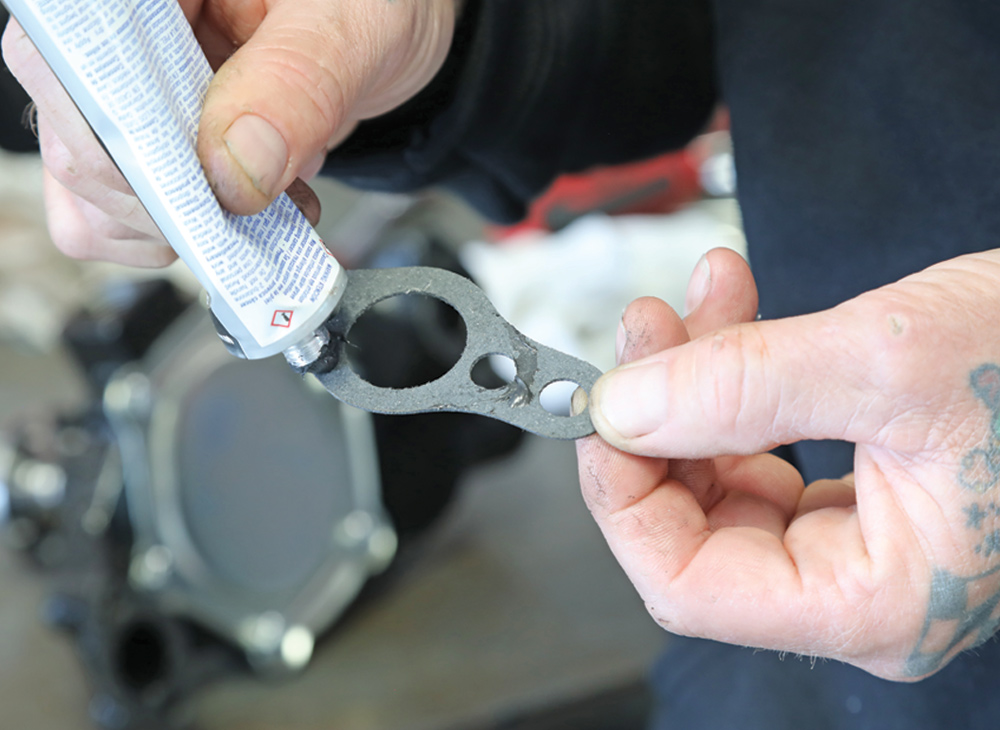
mechanic applies sealer to both sides of the gasket
7. To prevent any leaks, Scudellari applied sealer to both sides of the gasket. Note the extra hole at the bottom of the gasket (on the right). It aligns with the thermostat bypass hole found on the right head only.
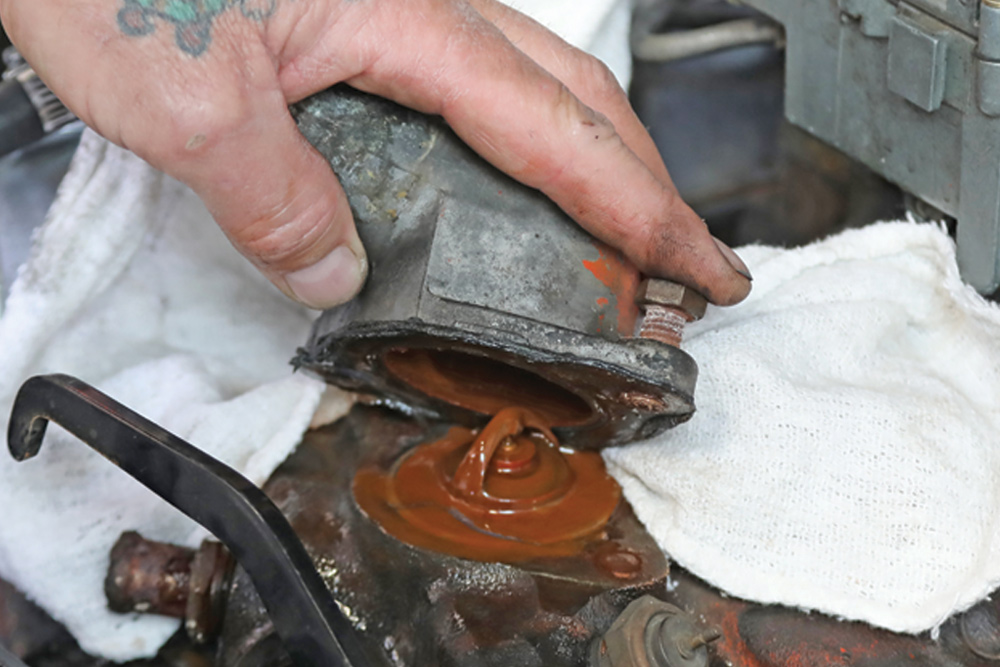
thermostat housing removed to reveal a large amount of rust
8. Pulling the thermostat housing revealed why it’s always wise to flush the cooling system of an engine that’s been sitting.
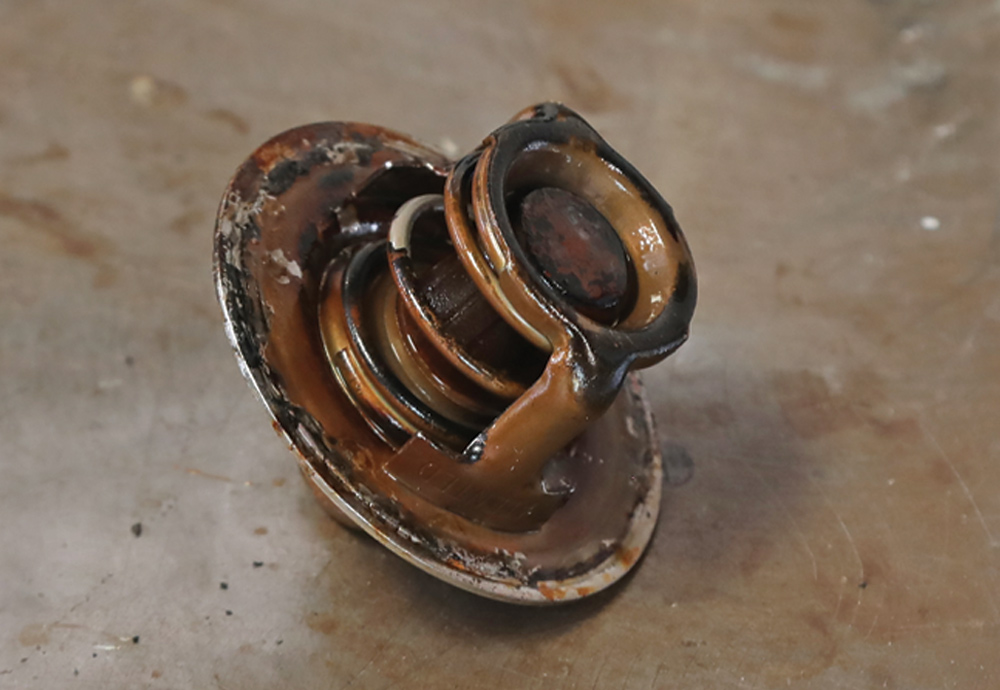
view of a crud-encrusted thermostat
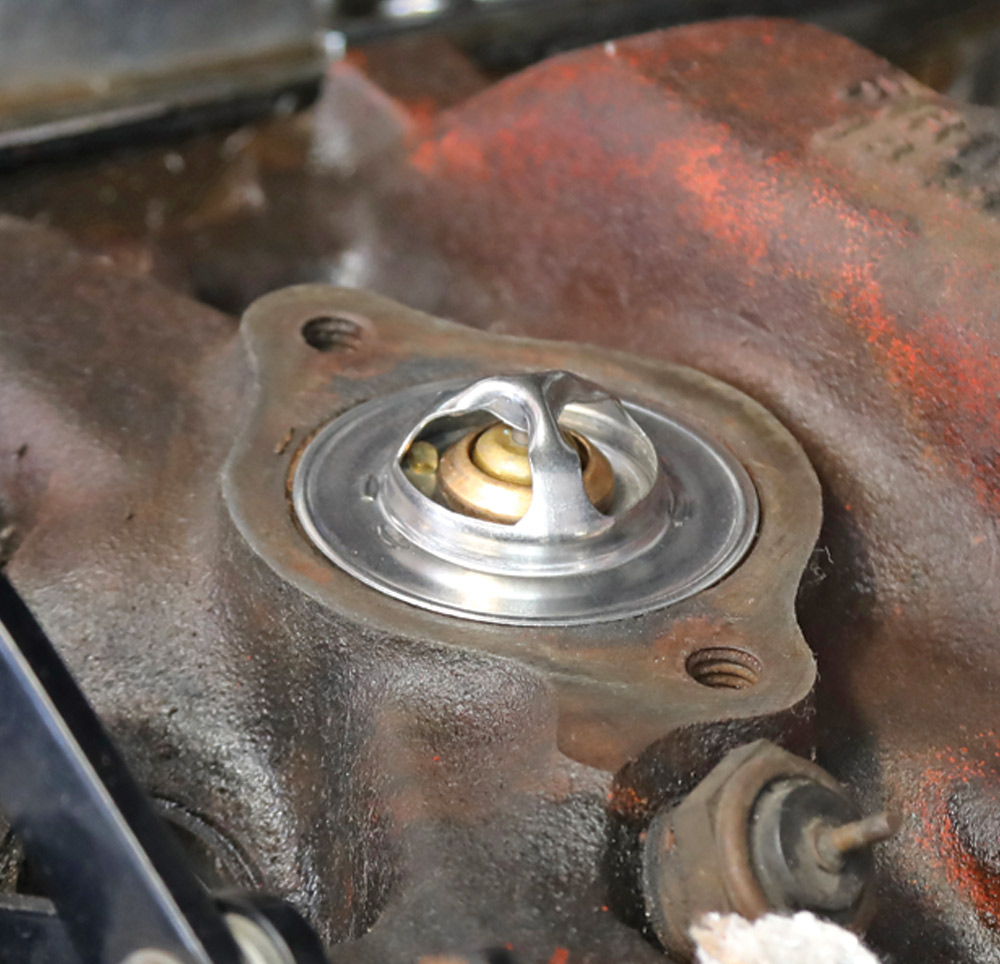
9. A crud-encrusted thermostat like this is likely to cause overheating problems. This is the bottom of the thermostat that goes into the intake manifold.
new 180 degree Duralast thermostat installed
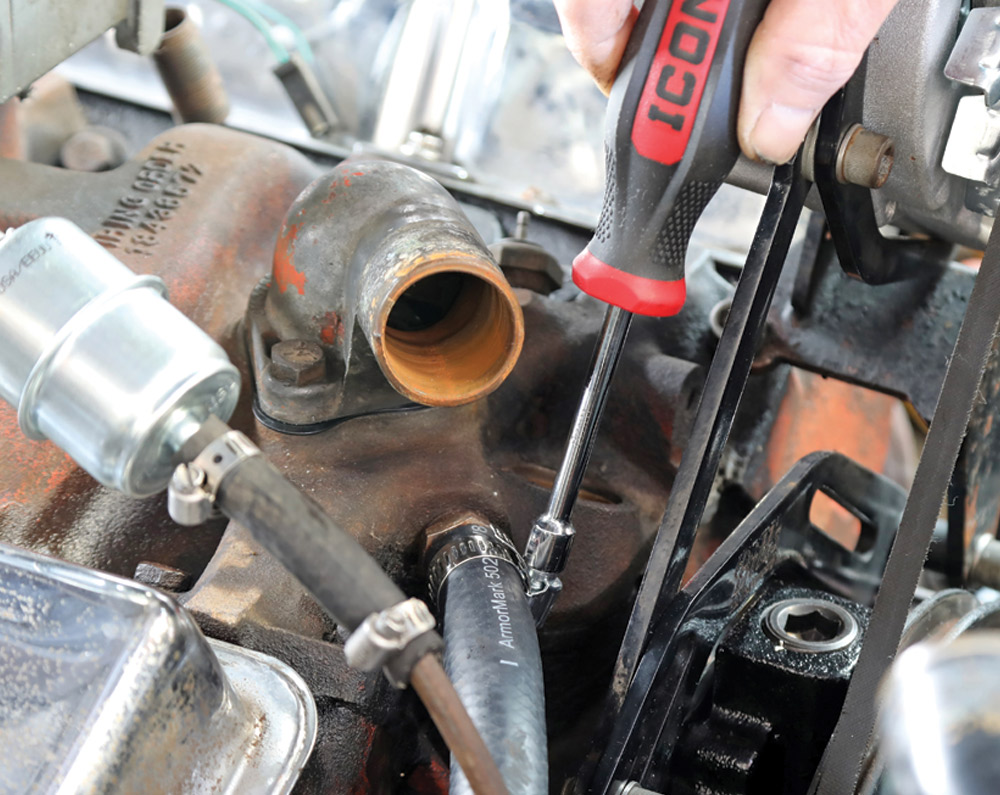
10. After thoroughly cleaning the gasket surface, the new 180-degree Duralast thermostat was put in place with the spring and temperature sensing bulb into the coolant passage.
mechanic holds a Fel-Pro thermostat gasket
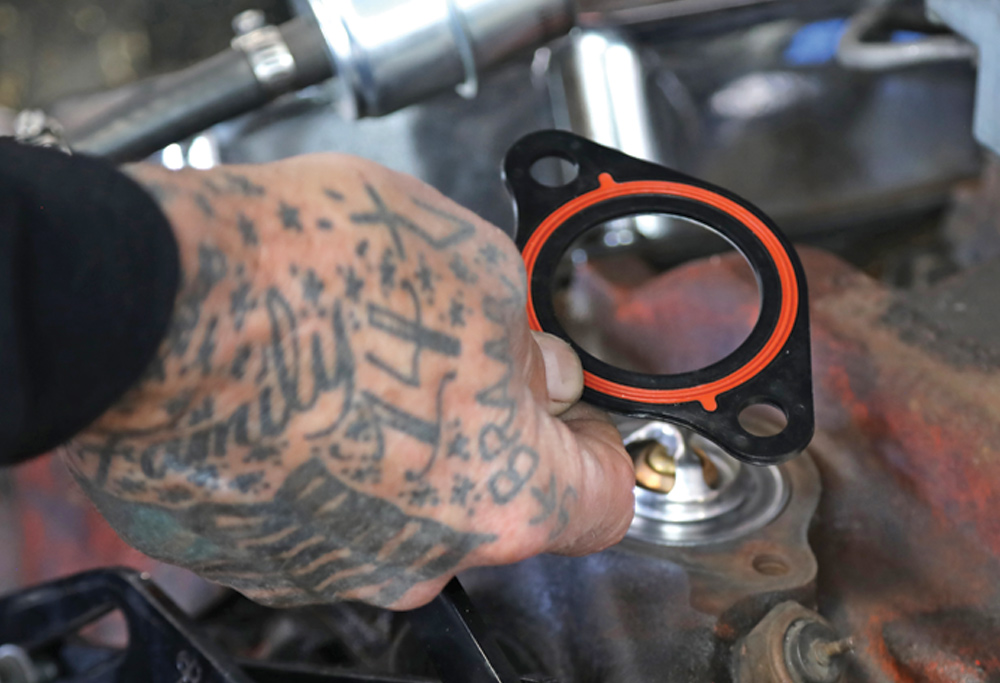
11. The Fel-Pro thermostat gasket from AutoZone includes silicone sealing beads to prevent leaks. Never overtighten a thermostat housing as it will warp, which will cause a leak.
stack of AC Delco plug boxes
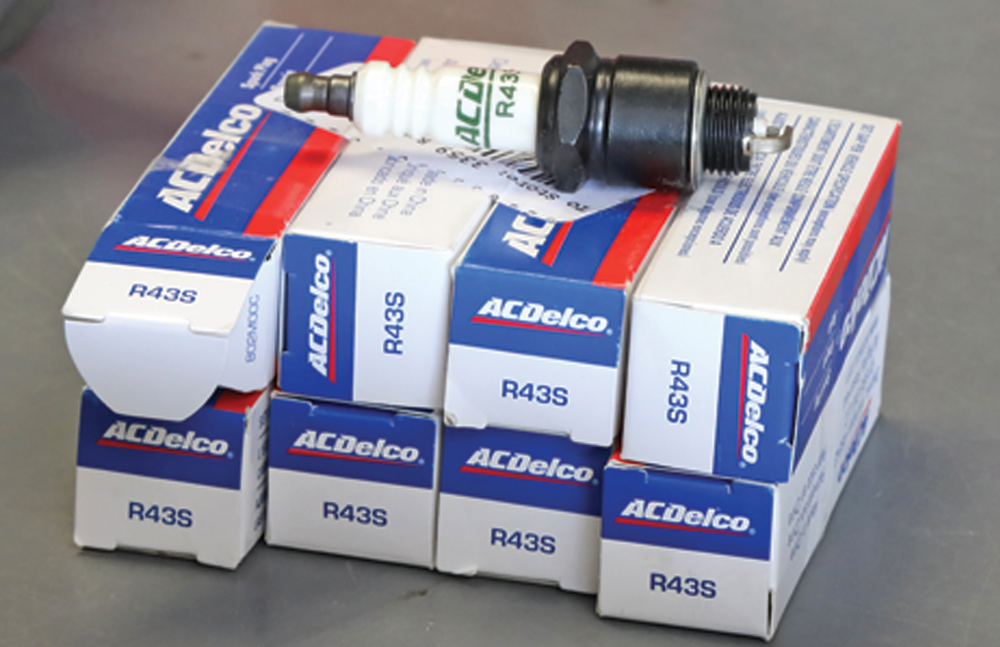
12. New spark plugs are a worthwhile investment and are part of a complete tune-up. These AC Delco plugs have copper center electrode and extended tips to help prevent fouling.
mechanic adjusts the specs of spark plug gap
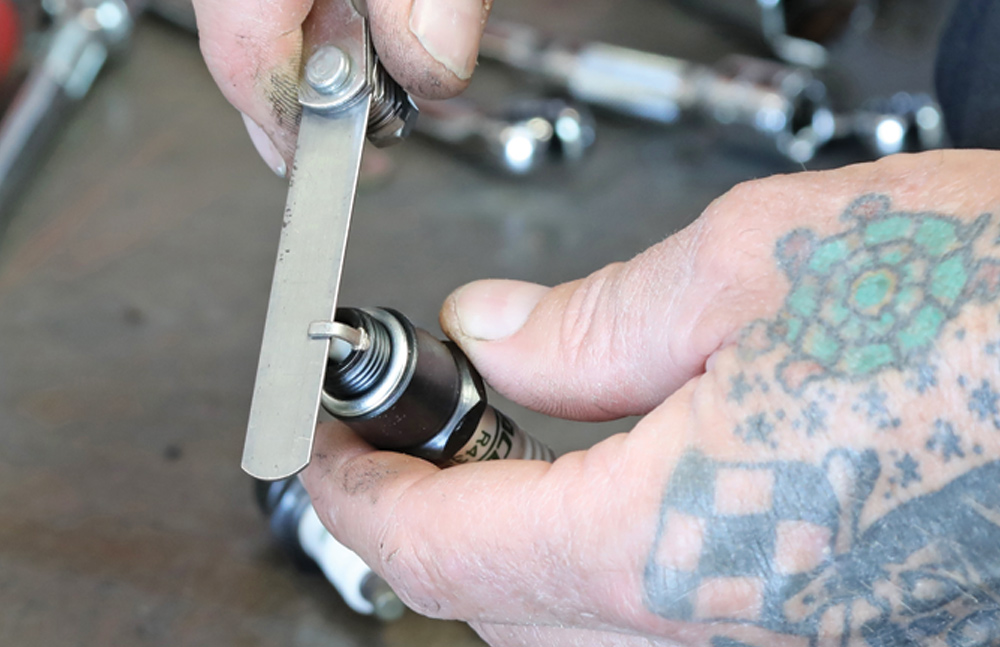
13. While the spark plug gaps may be close out of the box, it’s always a good idea to double-check that they’re adjusted to specs. You never know when a box may have been dropped, which can cause gap issues.
mechanic replaces distributor cap and rotor with new Duralast components
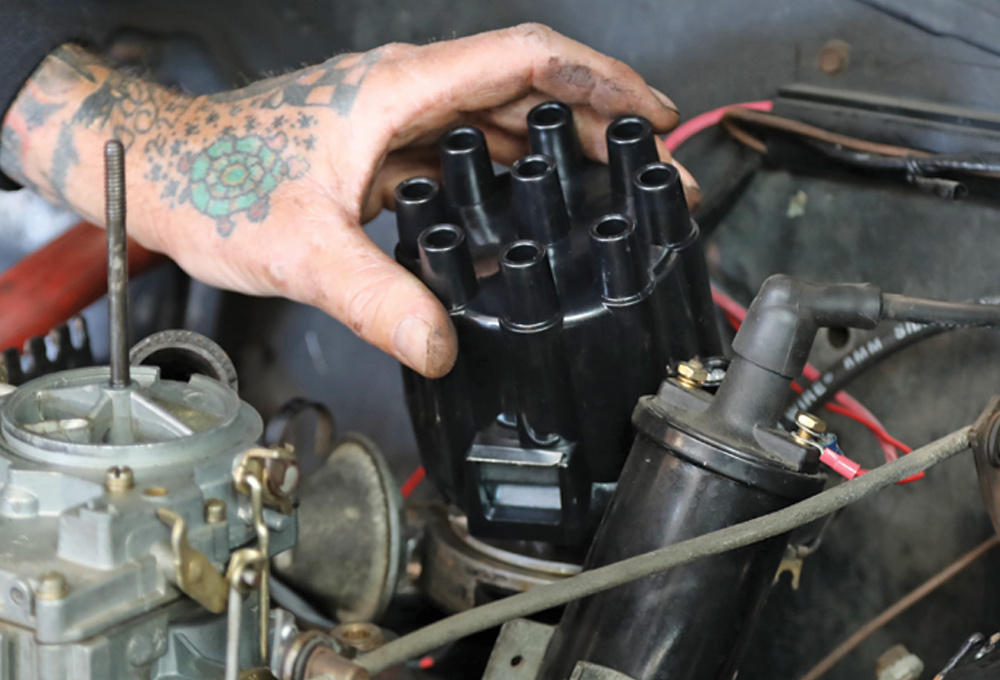
14. To eliminate any misfires due to a bad distributor cap and rotor, both were replaced with new Duralast components. Note the “window” in the cap to provide access when adjusting the points. In this case an electronic conversion was installed sometime in the past.
Duralast suppressor ignition wire set
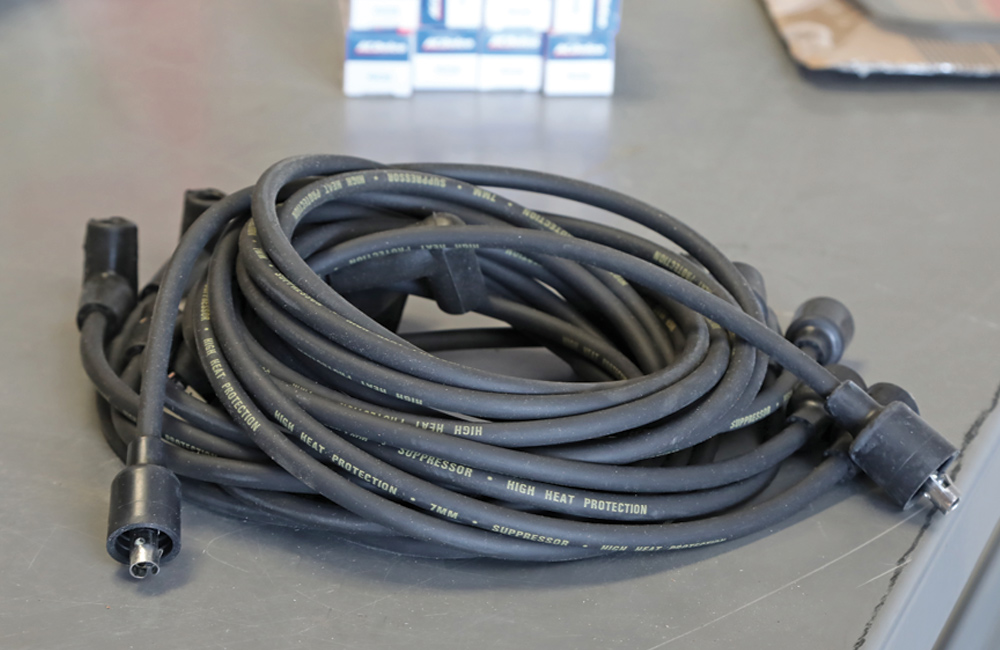
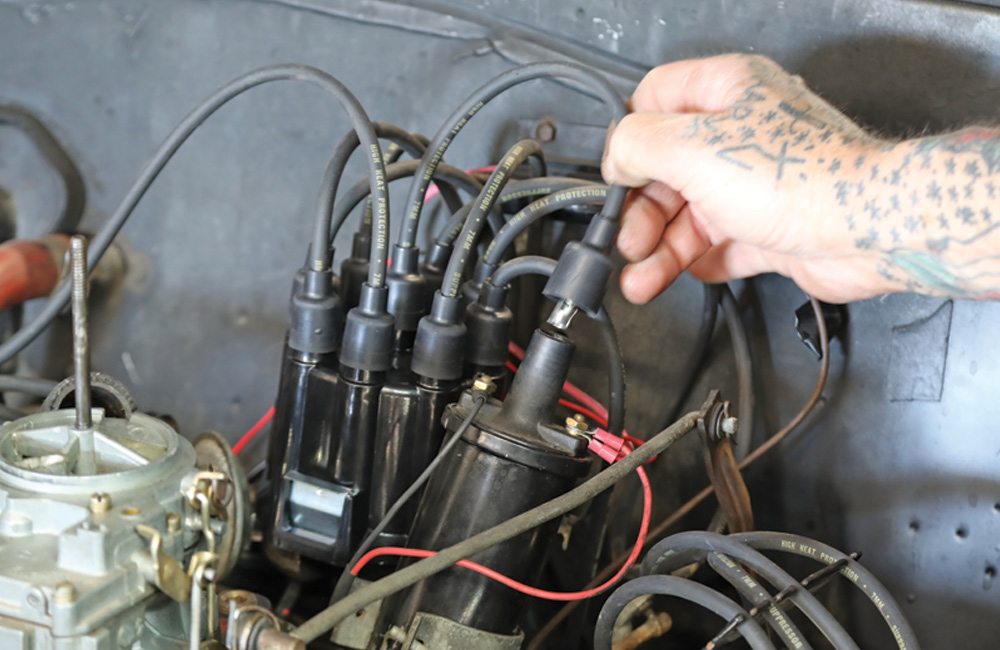
15. To simplify installation and save time, the Duralast suppressor ignition wire set came with the terminals installed. The spark plug boots have silicone grease inside to make removing them later easier.
mechanic replaces original with Duralast coil
16. A new Duralast coil would replace the original. The wire from the ignition switch goes to the plus terminal (+), the wire leading to the distributor goes on the minus (-).
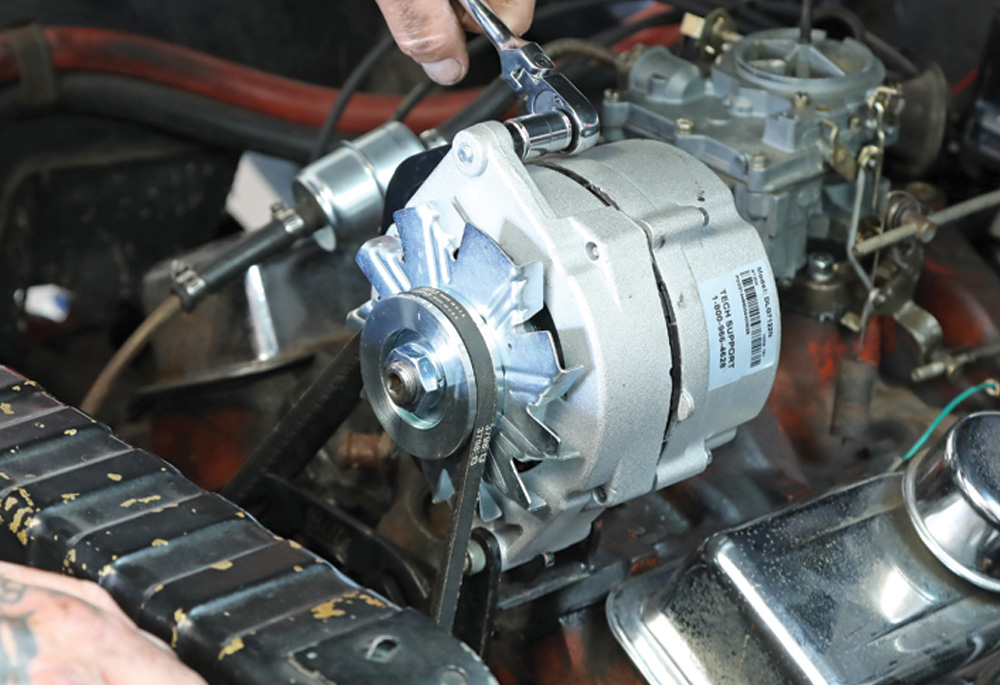
newly installed Duralast Gold alternator
17. Duralast Gold alternators are new, not remanufactured, and come with a one-year warranty. A new drivebelt was installed along with the alternator.
heater hoses
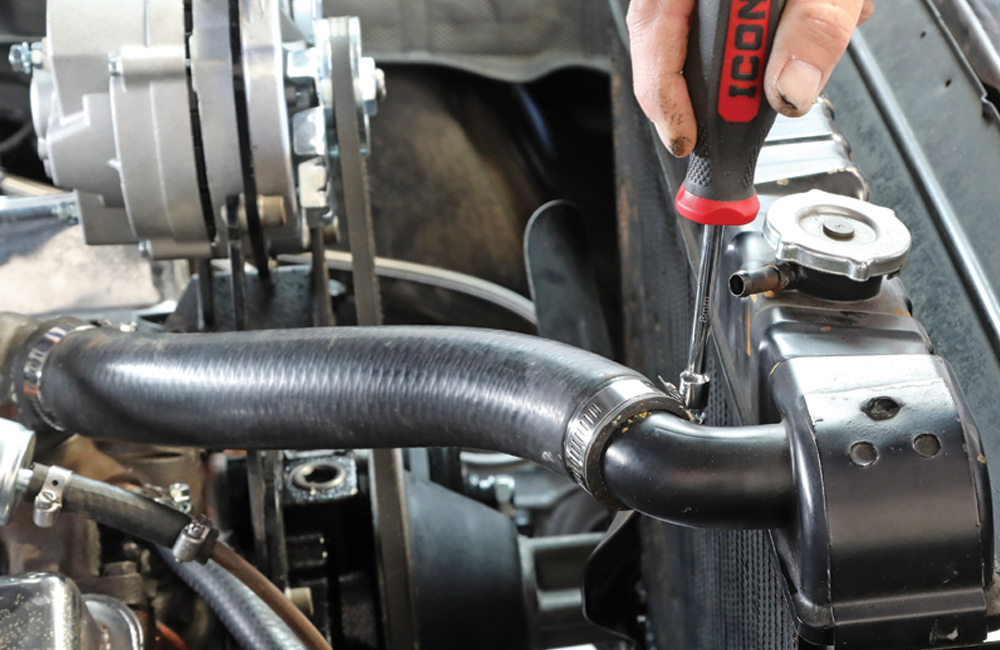
18. The original heater hoses were suspect and as they are part of the cooling system, both were replaced along with all the rusty original hose clamps.
view of newly installed OEM-style molded radiator hoses and new stainless steel clamp
19. Radiator hoses have a service life, those on the Chevelle’s had gone well past that point. Rather than the typical flex-type replacement hoses, we opted for OEM-style molded hoses and new stainless steel clamps.
Group 25 Duralast battery with 550 cold cranking amps
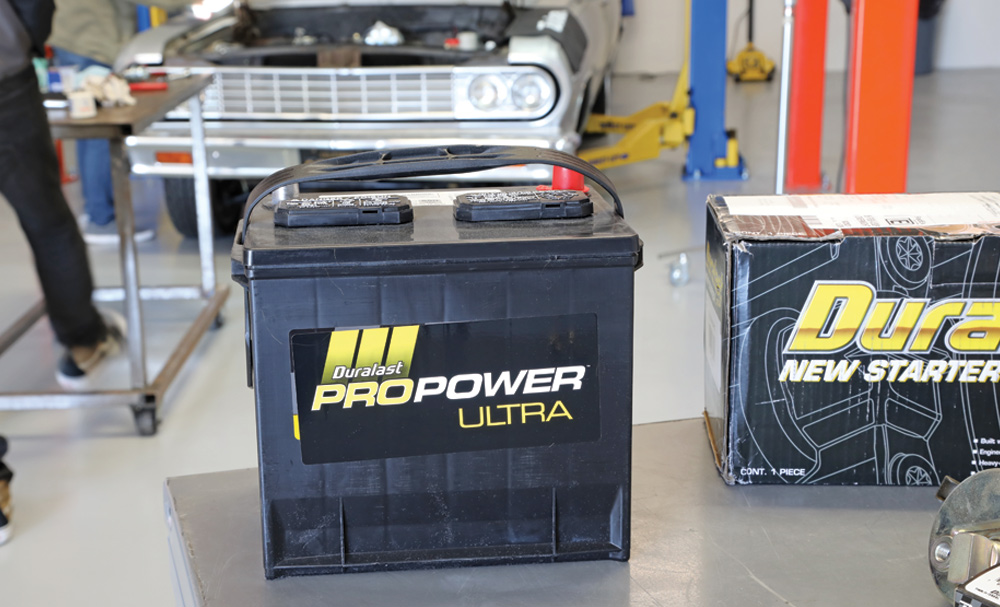
20. For cranking power, we opted for a Group 25 Duralast battery with 550 cold cranking amps (685 cranking amps) and 100 reserve minutes.
 a new, compact Duralast Gold high-torque starter
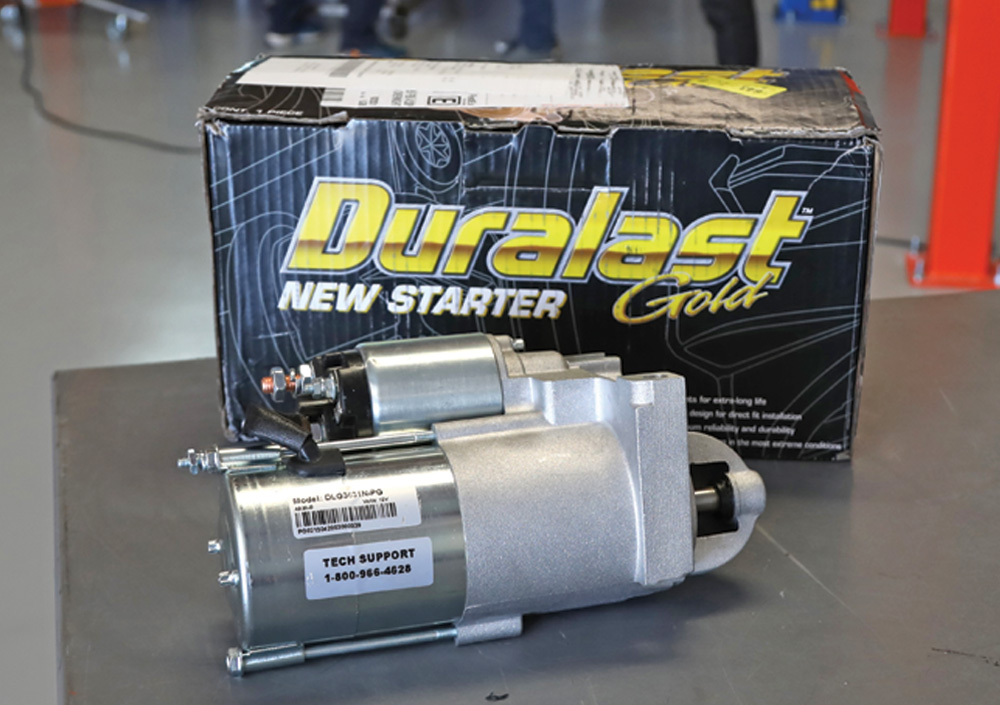
21. A new, compact (a quarter the size of a regular starter) Duralast Gold high-torque starter replaced the original. It came complete with a new solenoid and a limited lifetime warranty.
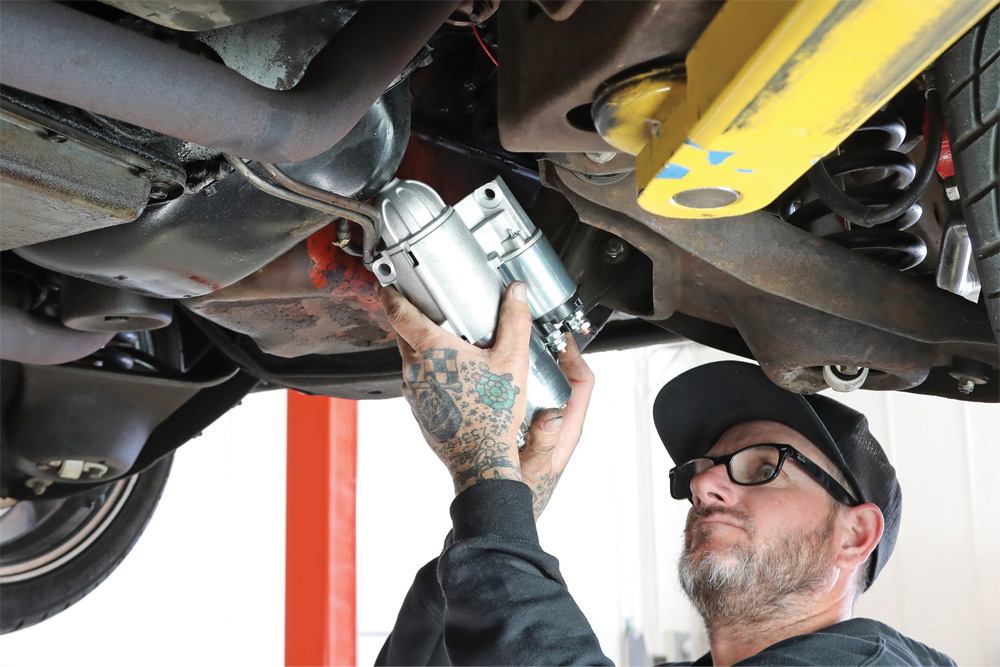
mechanic works beneath raised car to reach bolt locations
22. The bolt locations on Chevrolet starters vary with the application. In this case, the holes are straight across, and one long and one short bolt are required. The proper starter bolts were included.
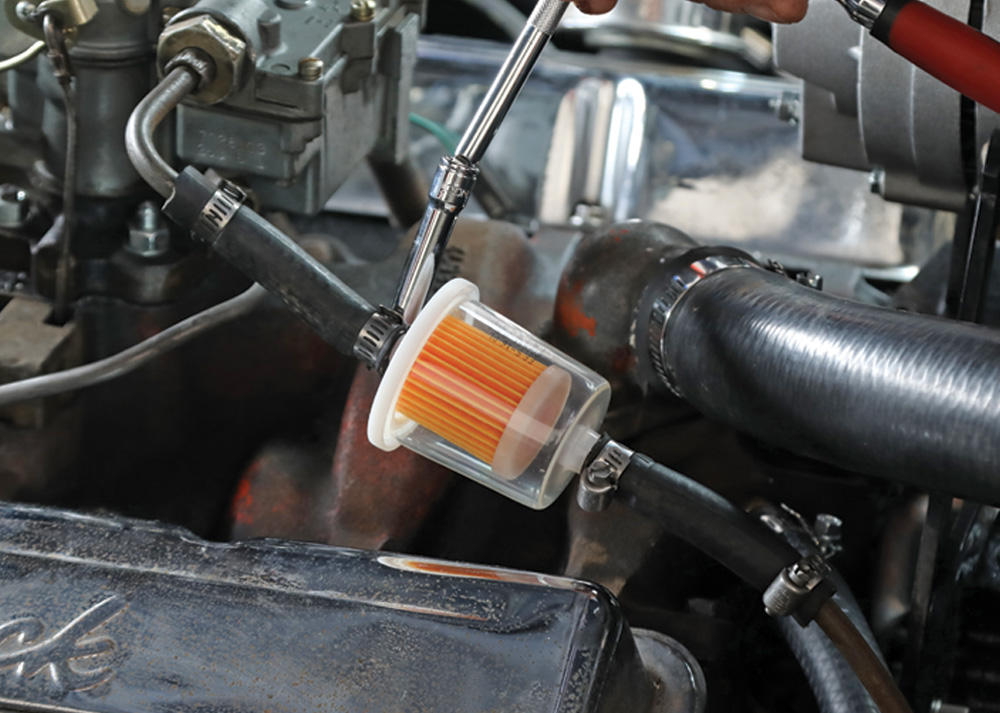
view of newly installed fuel filter
23. It goes without saying that 23. the fuel filter should be changed, and it may be necessary to change it more than once. Using a clear filter will show when that needs to be done.
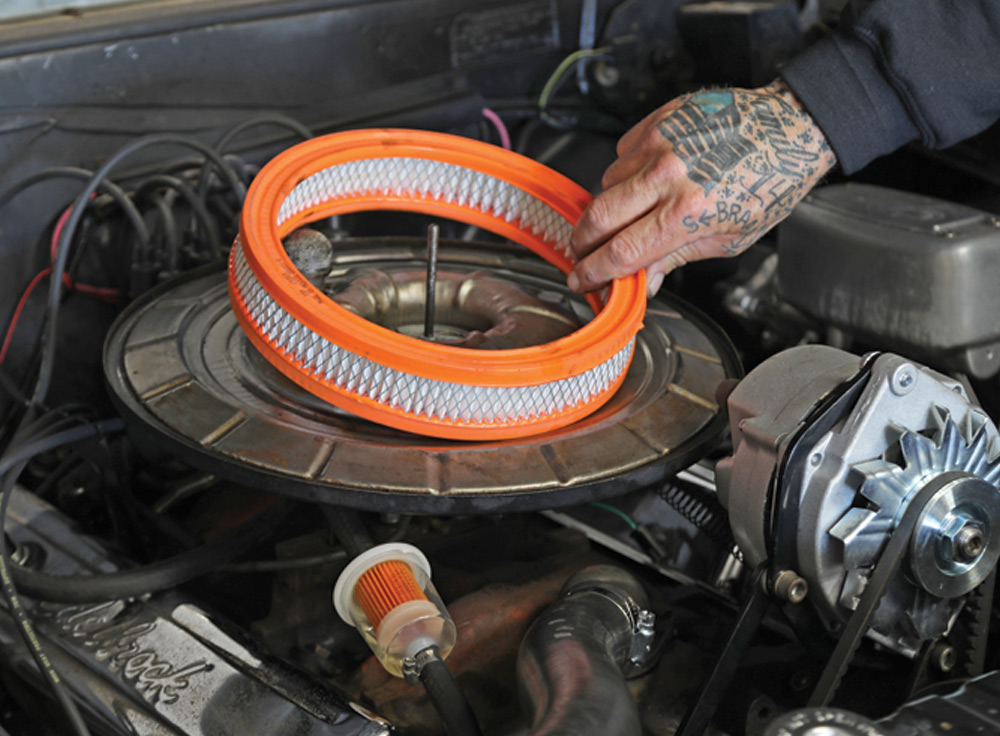
mechanic installs fresh air cleaner element
24. A fresh air cleaner element was also installed—even the little Rochester two-barrel needs a supply of clean air.
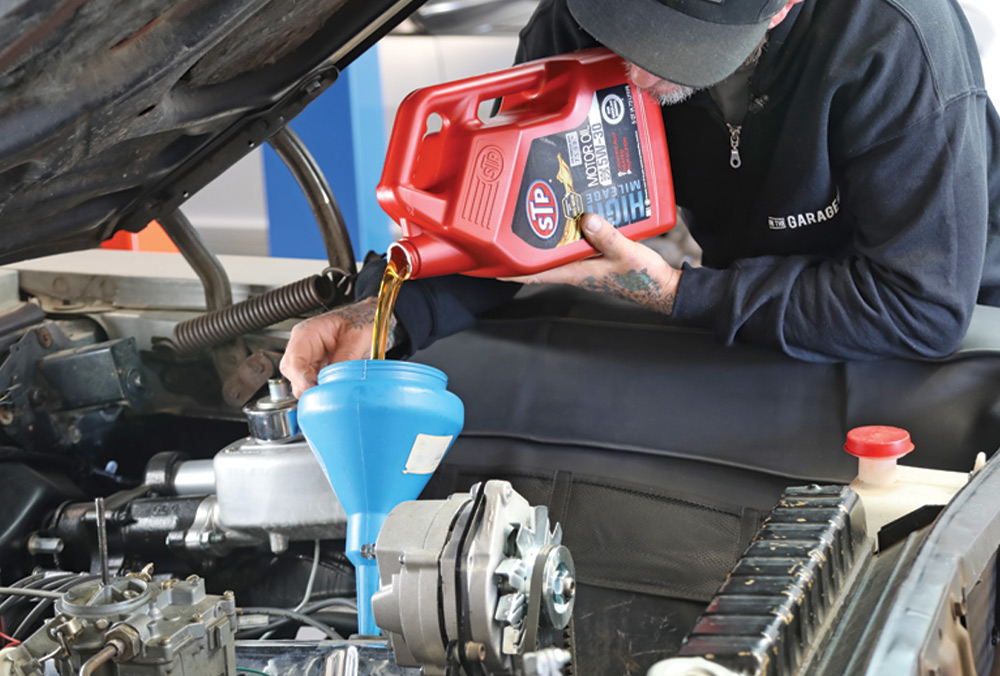
mechanic fills crankcase with 5W-30 oil
25. After installing a new filter, Scudellari filled the crankcase with 5W-30 oil. The OEM filter uses a canister and replaceable element, although converting to a spin-on is easy to do and commonly done.
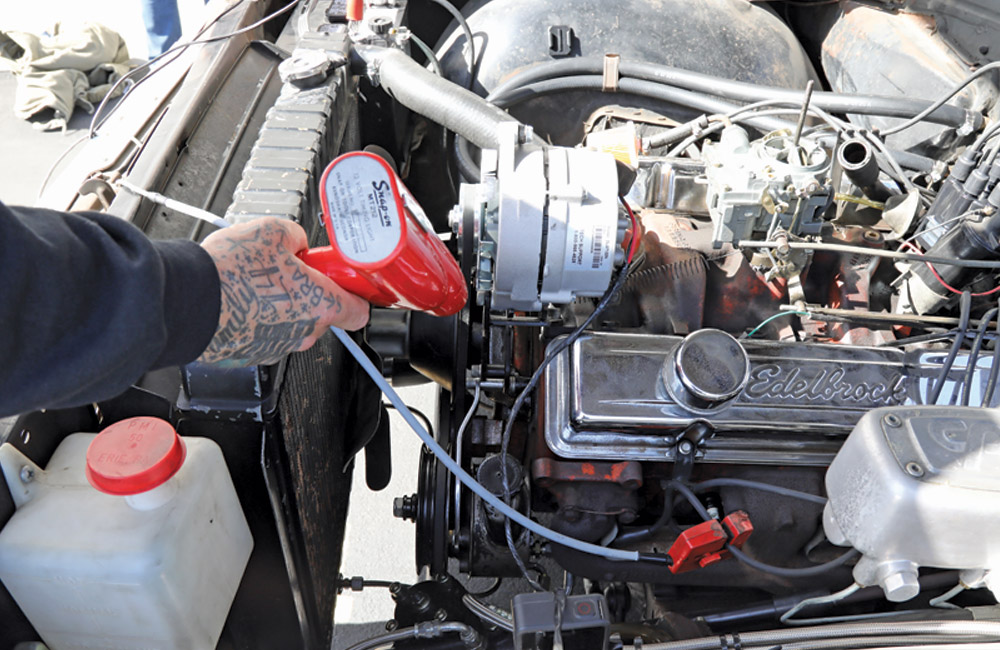
mechanic sets the ignition timing
26. The final step in the tune-up process was setting the ignition timing. This should be done with the vacuum advance disconnected. Original specifications call for initial timing to be set at 4 degrees before top dead center. With today’s gas, more initial timing is usually required.
Duralast Tech Center box
SOURCE
Duralast
(800) 284-7491
duralastparts.com