ACP department heading TECH
InTheGarageMedia.com
Better ECU title
Installing a Terminator X in an LS-Swapped Third-Gen Camaro
A black car at the starting line on a track
Better ECU title
Installing a Terminator X in an LS-Swapped Third-Gen Camaro
By Joe Rode Photography by Joel Rode
W

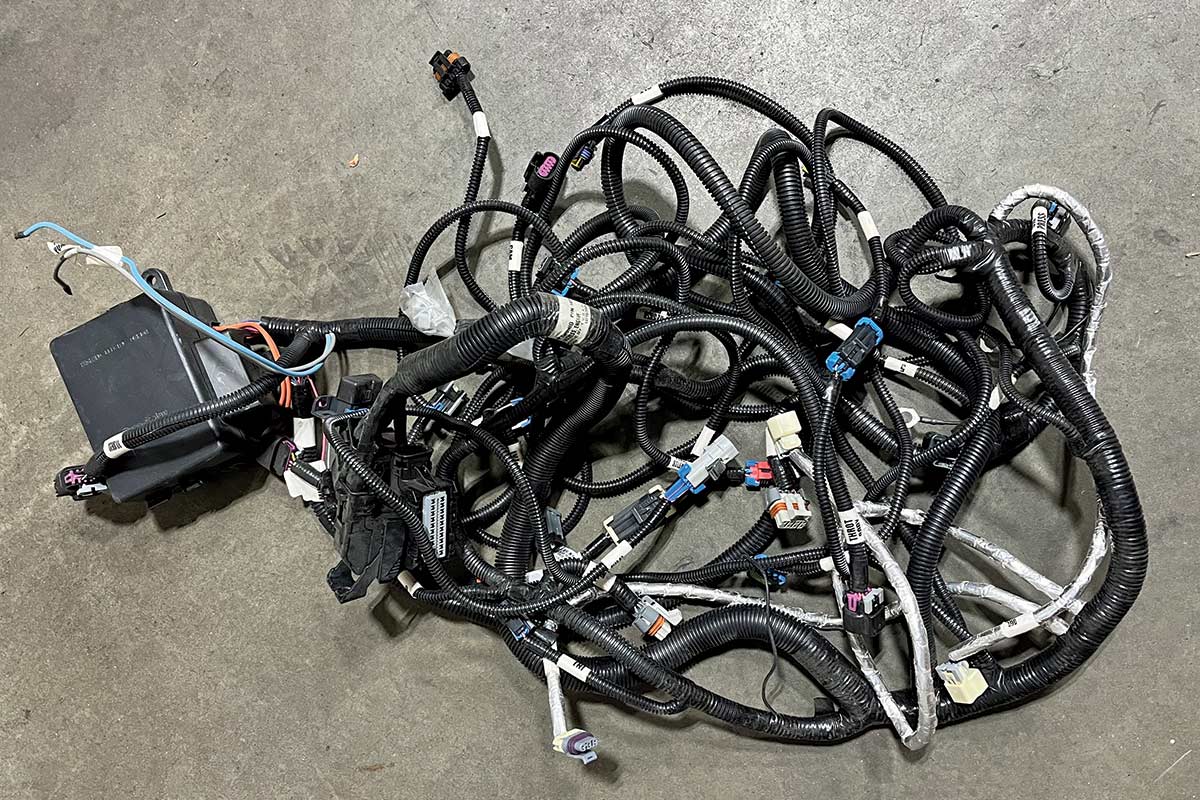
hen Chevrolet Performance introduced its Connect & Cruise engine packages, it was a game-changer for those hot rodders looking to do an easier LS swap. The kits, which include a GM-brand, pre-programmed engine control unit (ECU) and ready-made wire harness, deemed it no longer necessary to spend time and resources chasing down the parts needed to outfit your new crate bullet with an engine management system. While not the end-all solution, at minimum, the included engine tune is adequate for a quick and uncomplicated start-up and a short drive to a local tuner and his chassis dyno. Armed with a computer and with the vehicle running under load, an experienced tuner can modify the GM program for optimal performance and driveability.

It’s as easy as 1-2-3.

However, if you are more than the average hot rodder looking for power greater than 430 hp, or plan on using the car for something other than the typical drive to the local cars and coffee, the GM system may not be the best choice for you.

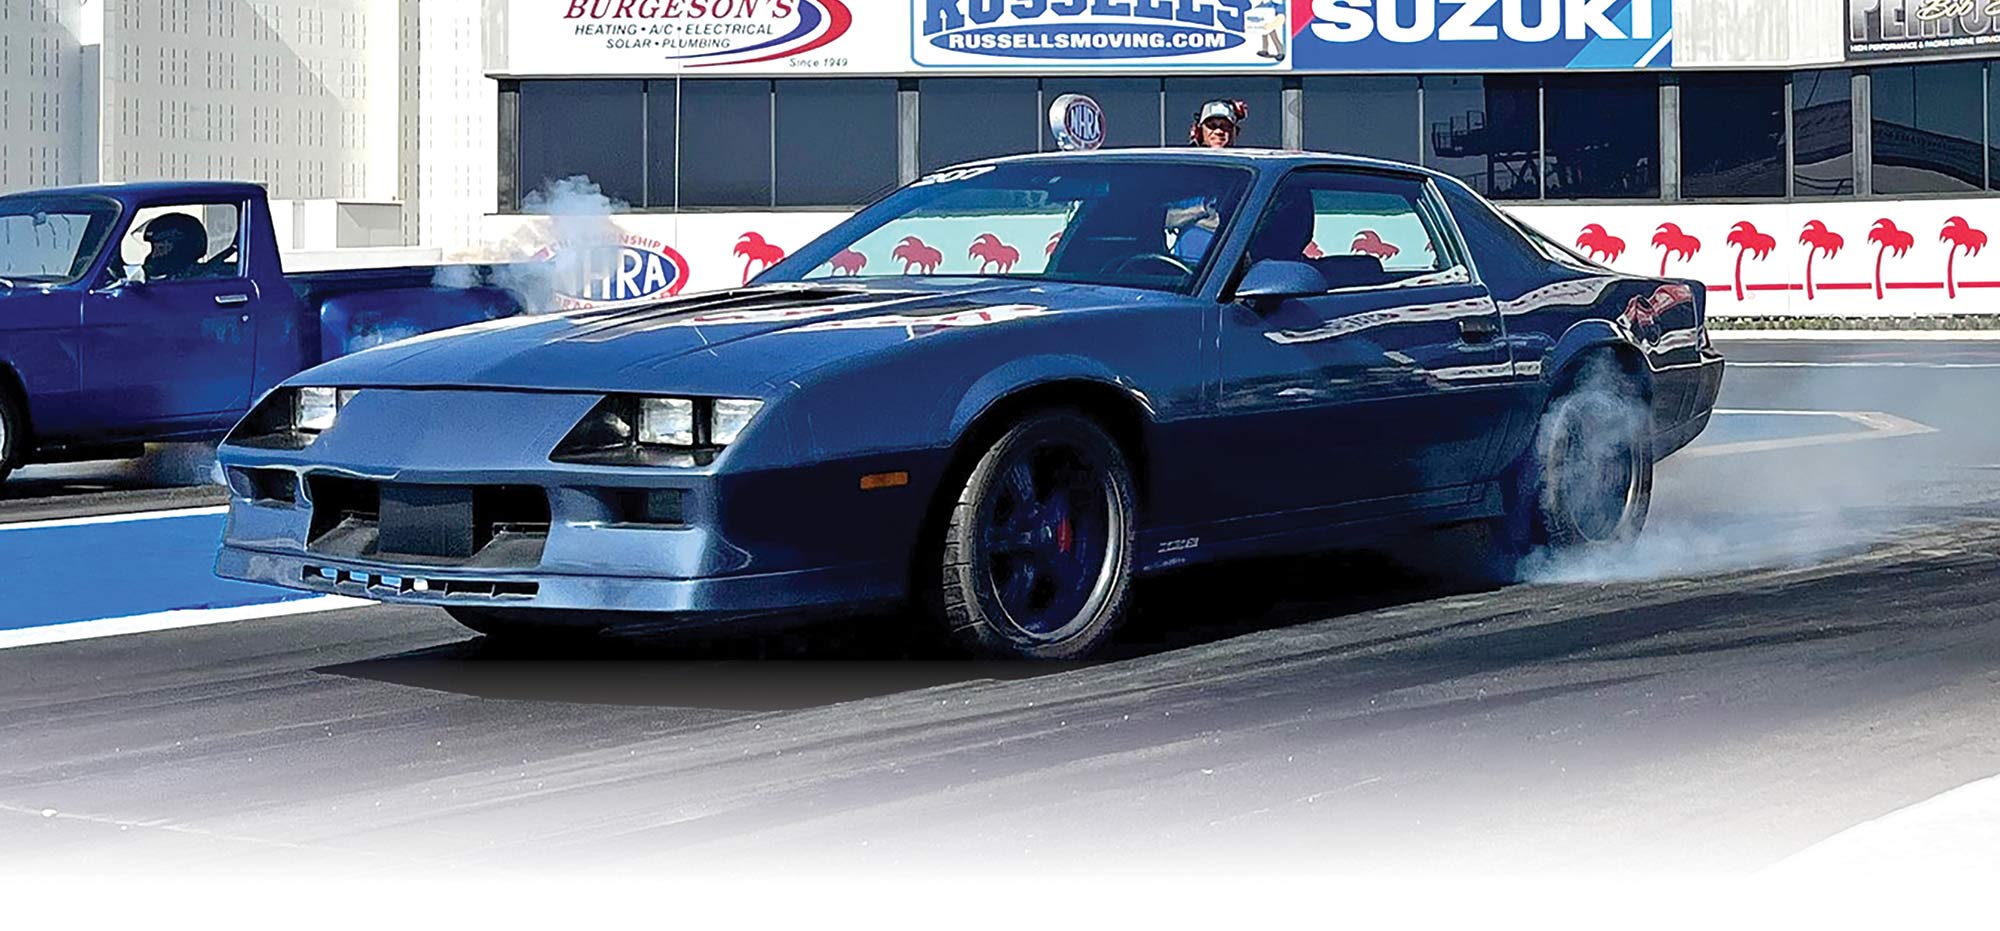
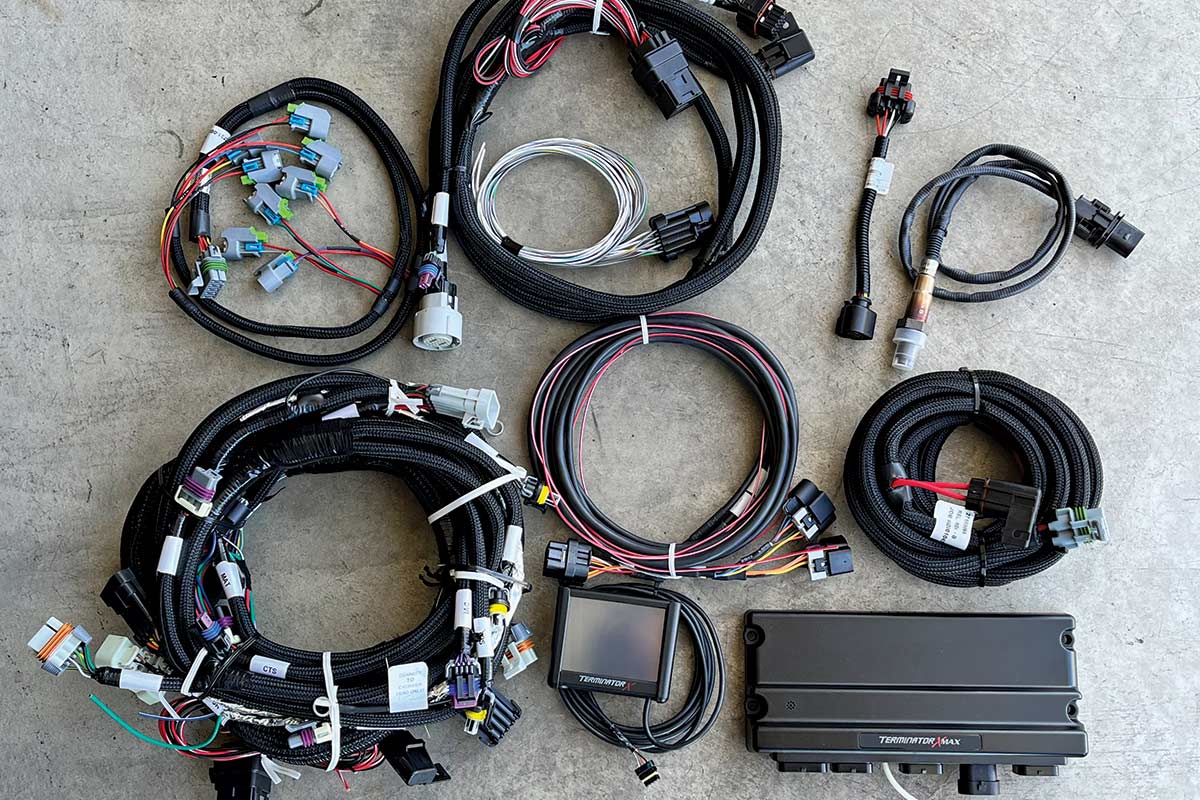
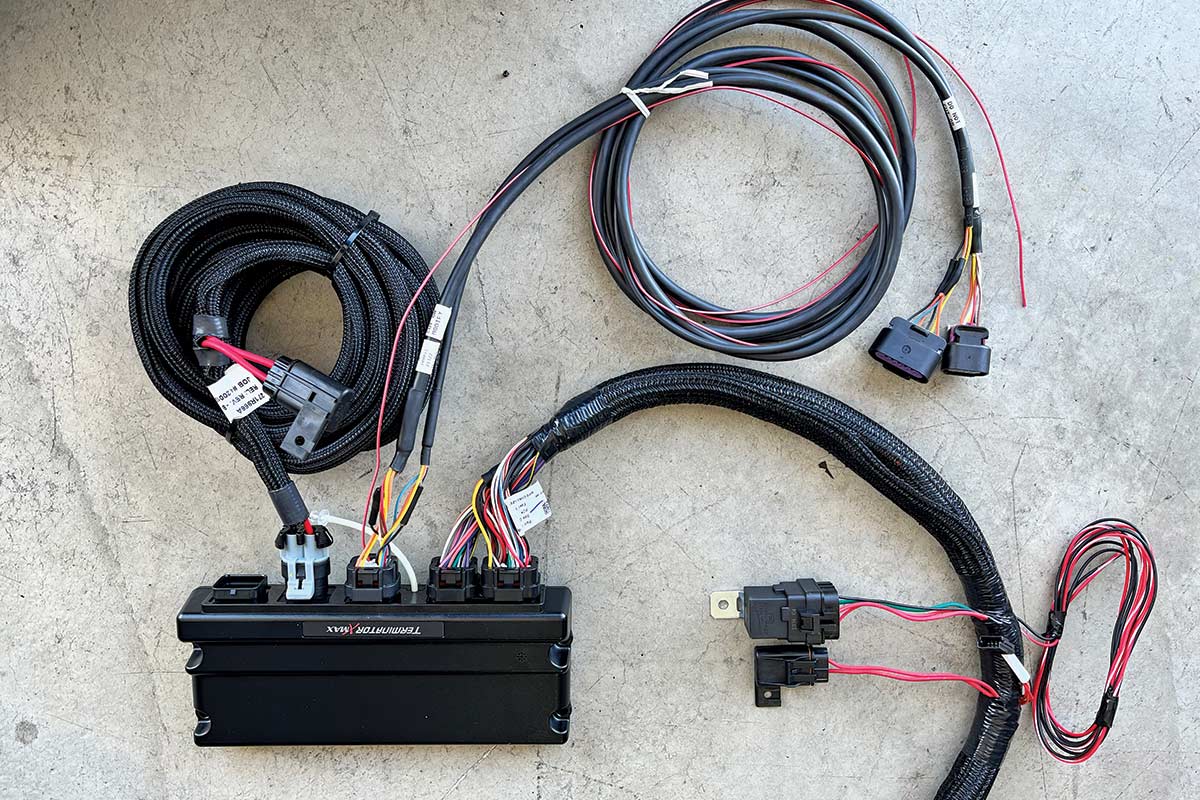
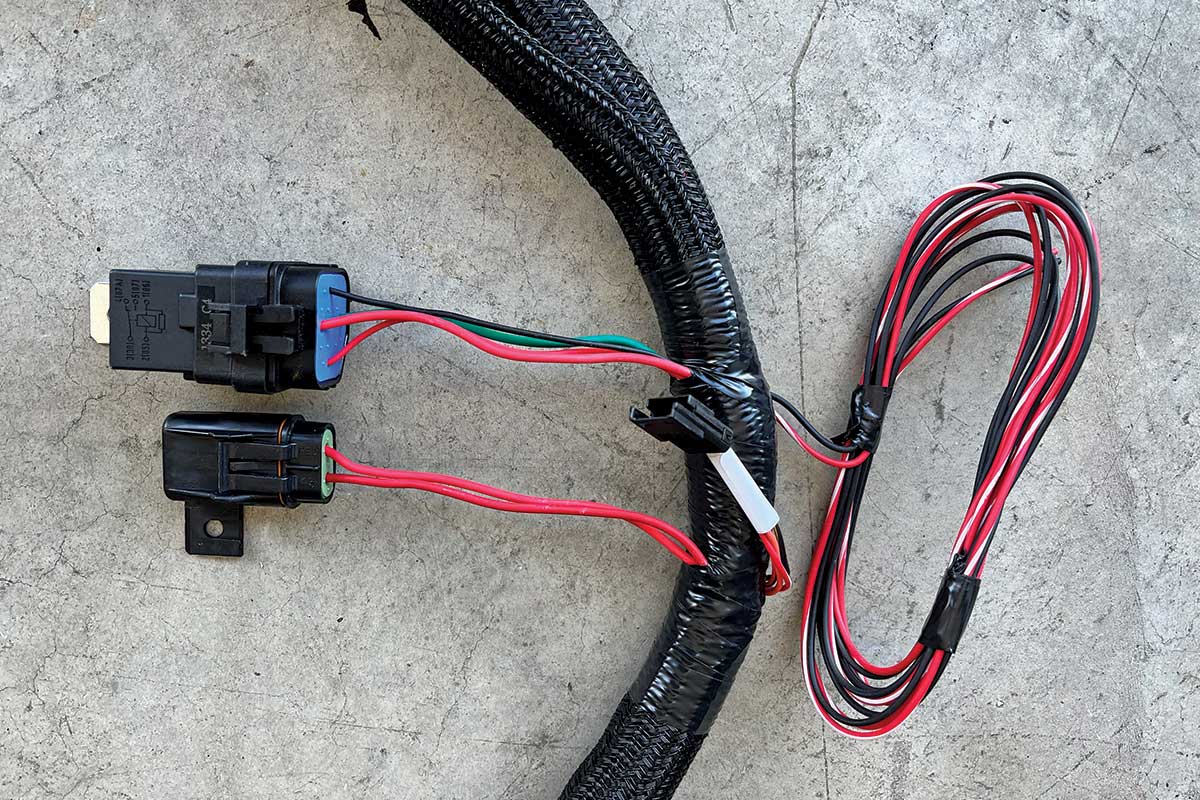
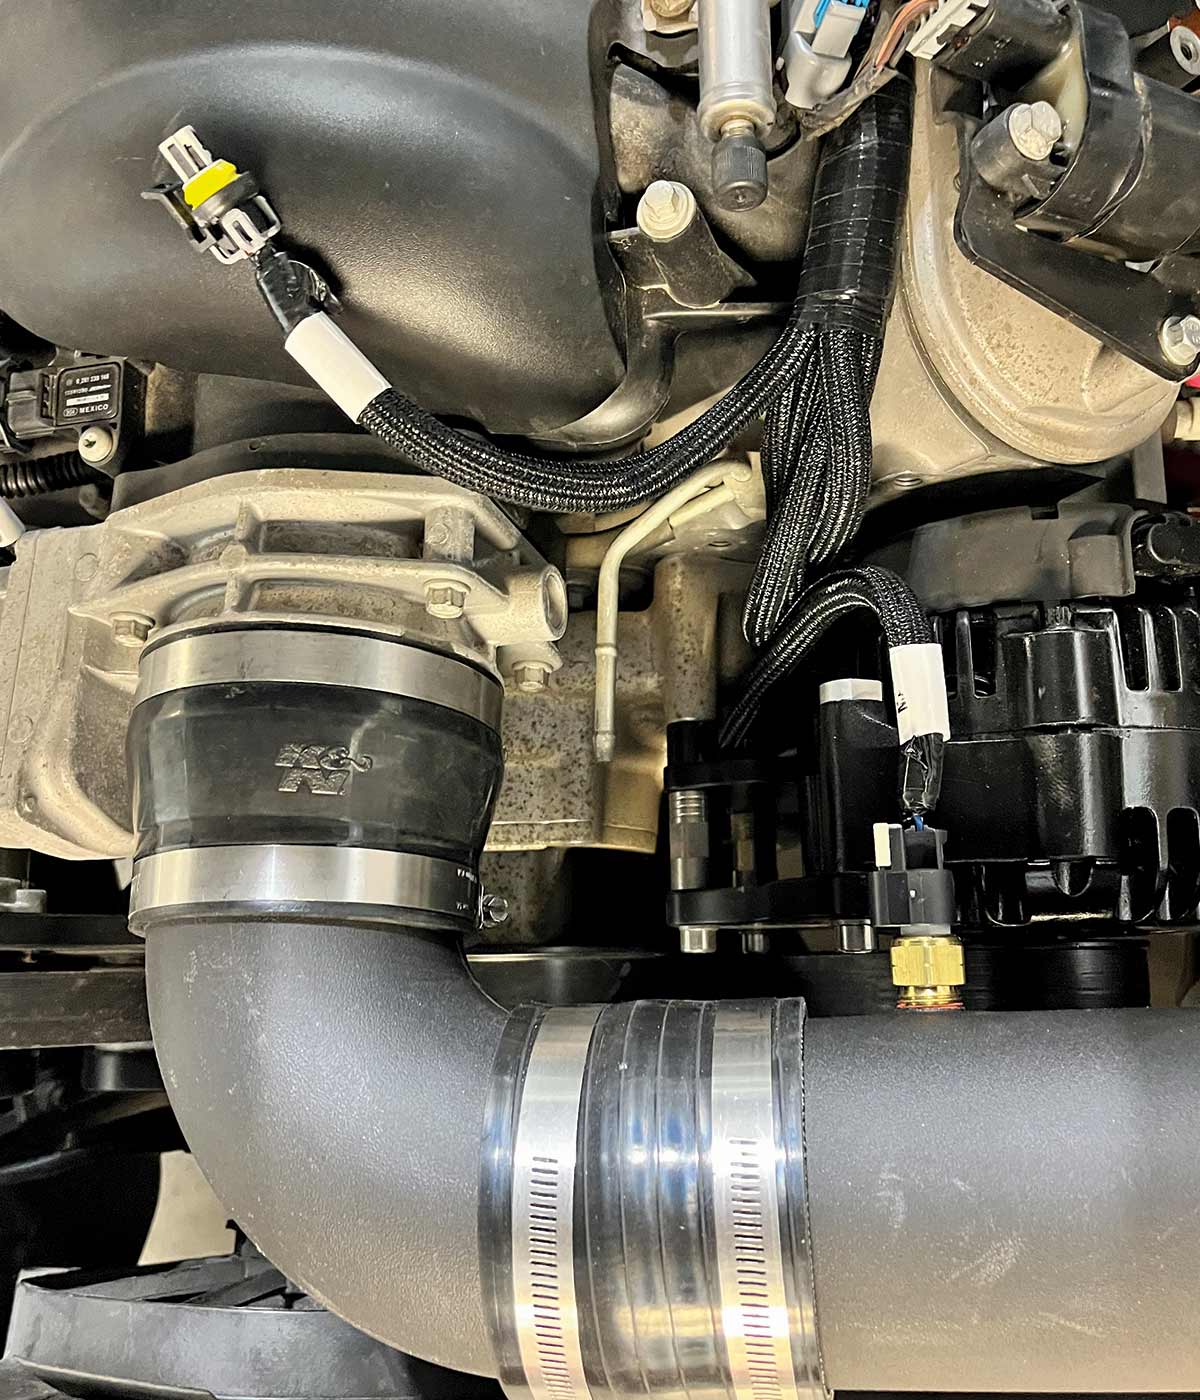
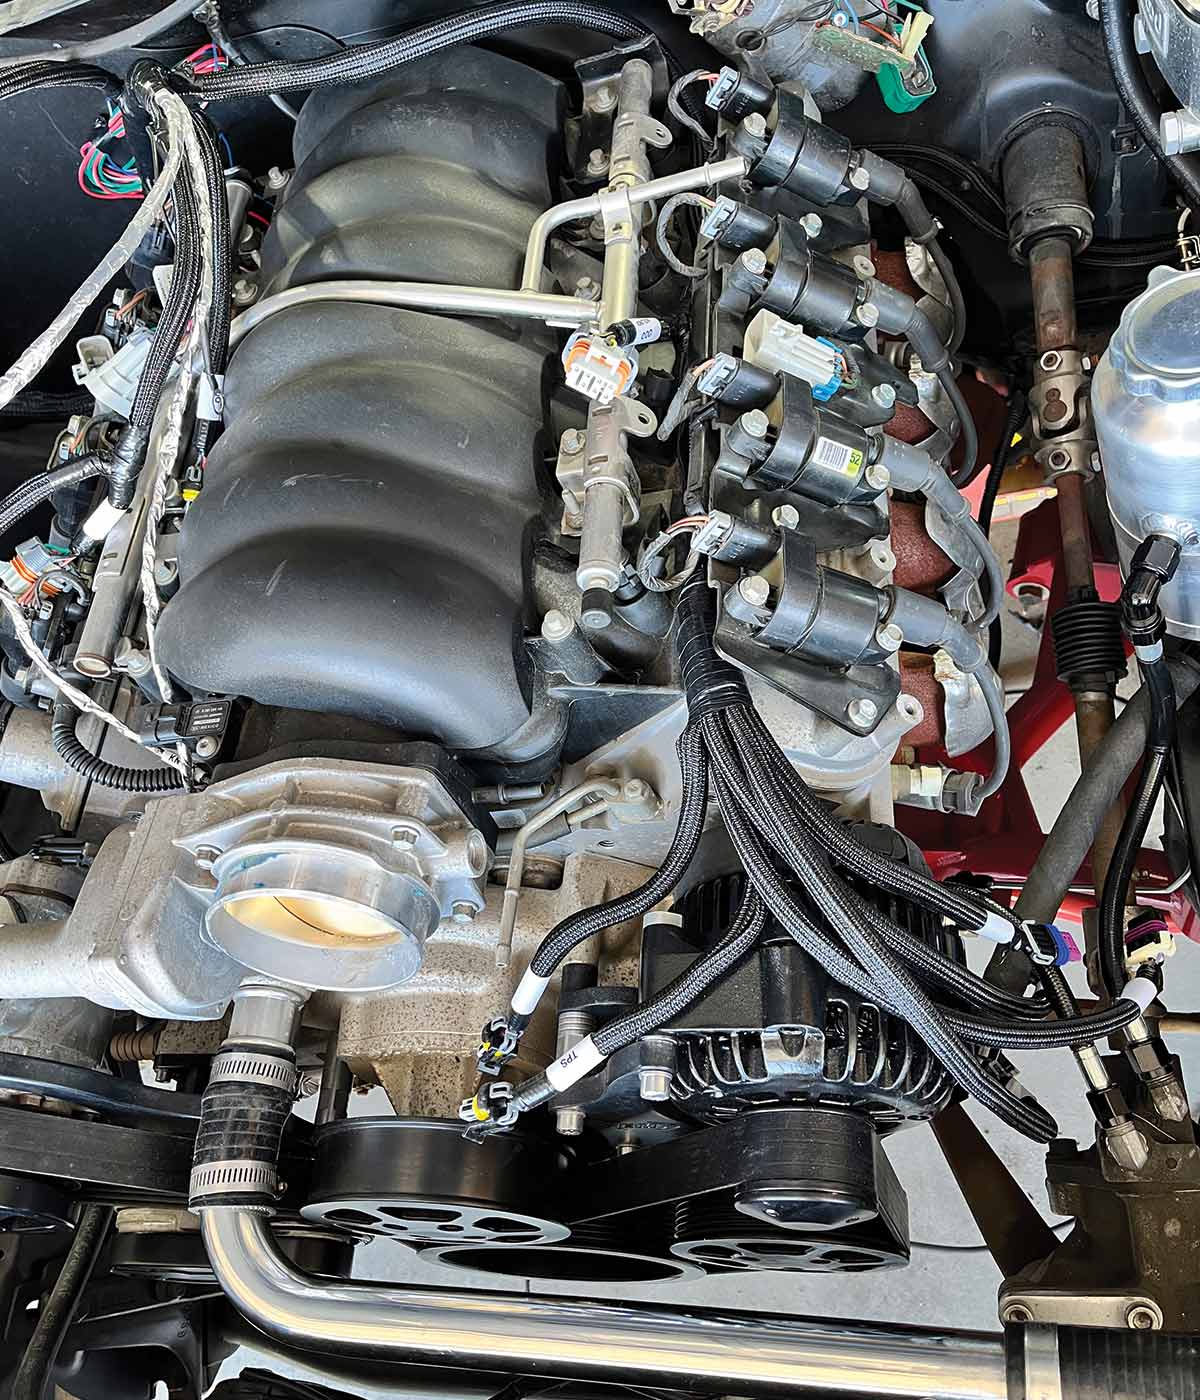
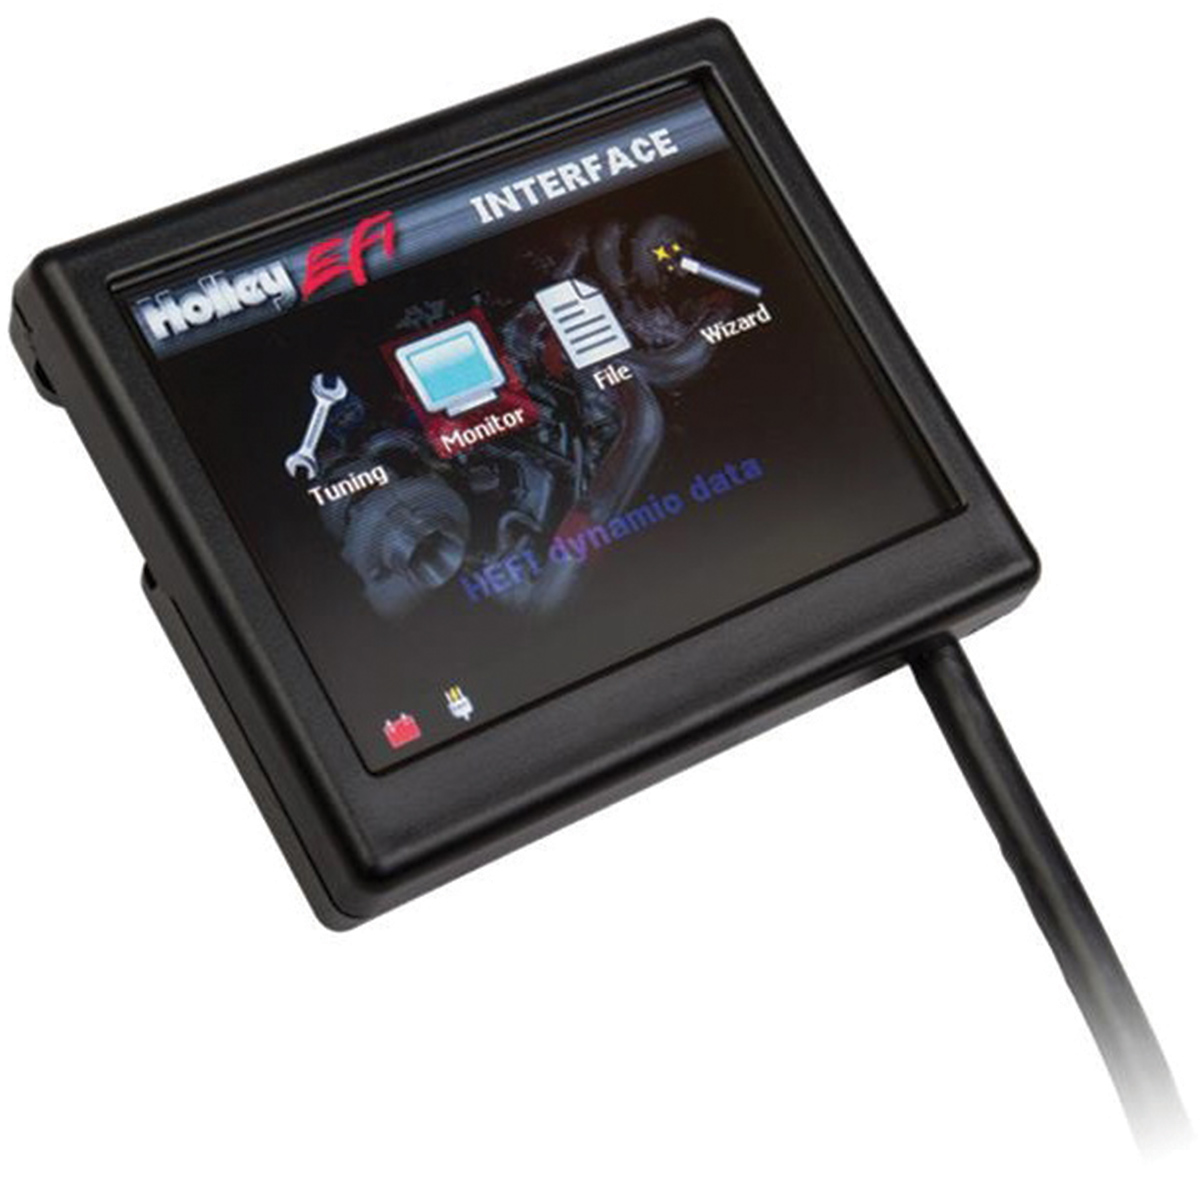
When Joel Rode recently purchased a third-gen Camaro “basket case,” complete with a new, never-run LS3 Chevrolet Performance crate engine, he knew that the first modification he was going to do to the engine was to replace the GM engine management system with a Holley Terminator X system. Despite the fact that the car came with all of the parts he needed, and he is an experienced mechanic who has the necessary hardware, software, and know-how to modify the GM ECU, Rode still felt that, in the long run, the options available with the Holley system, as well as the ease of use provided by the integral touch screen and its programming capabilities, made it a better value. On top of all of that, Holley’s continual self-learning and self-tuning puts it over the top in comparison.

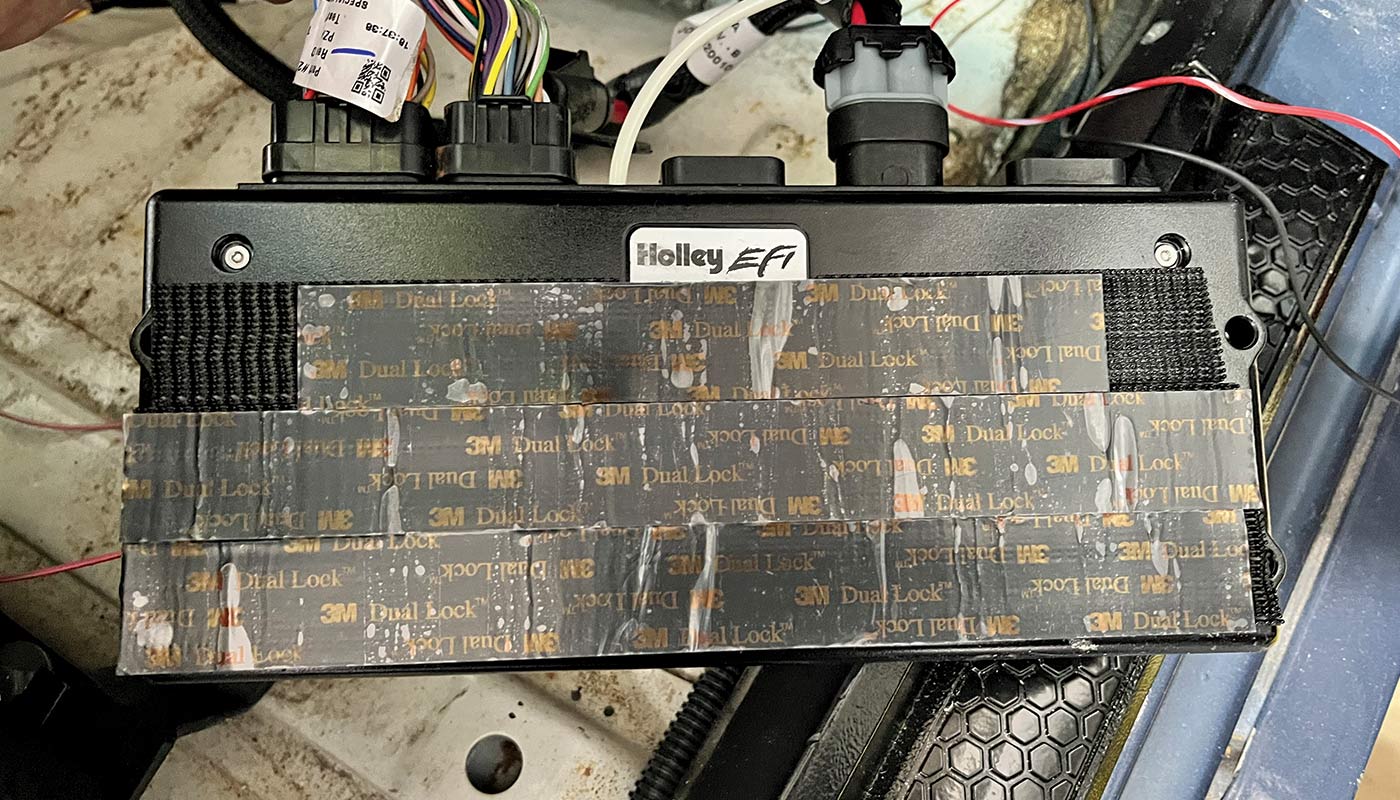
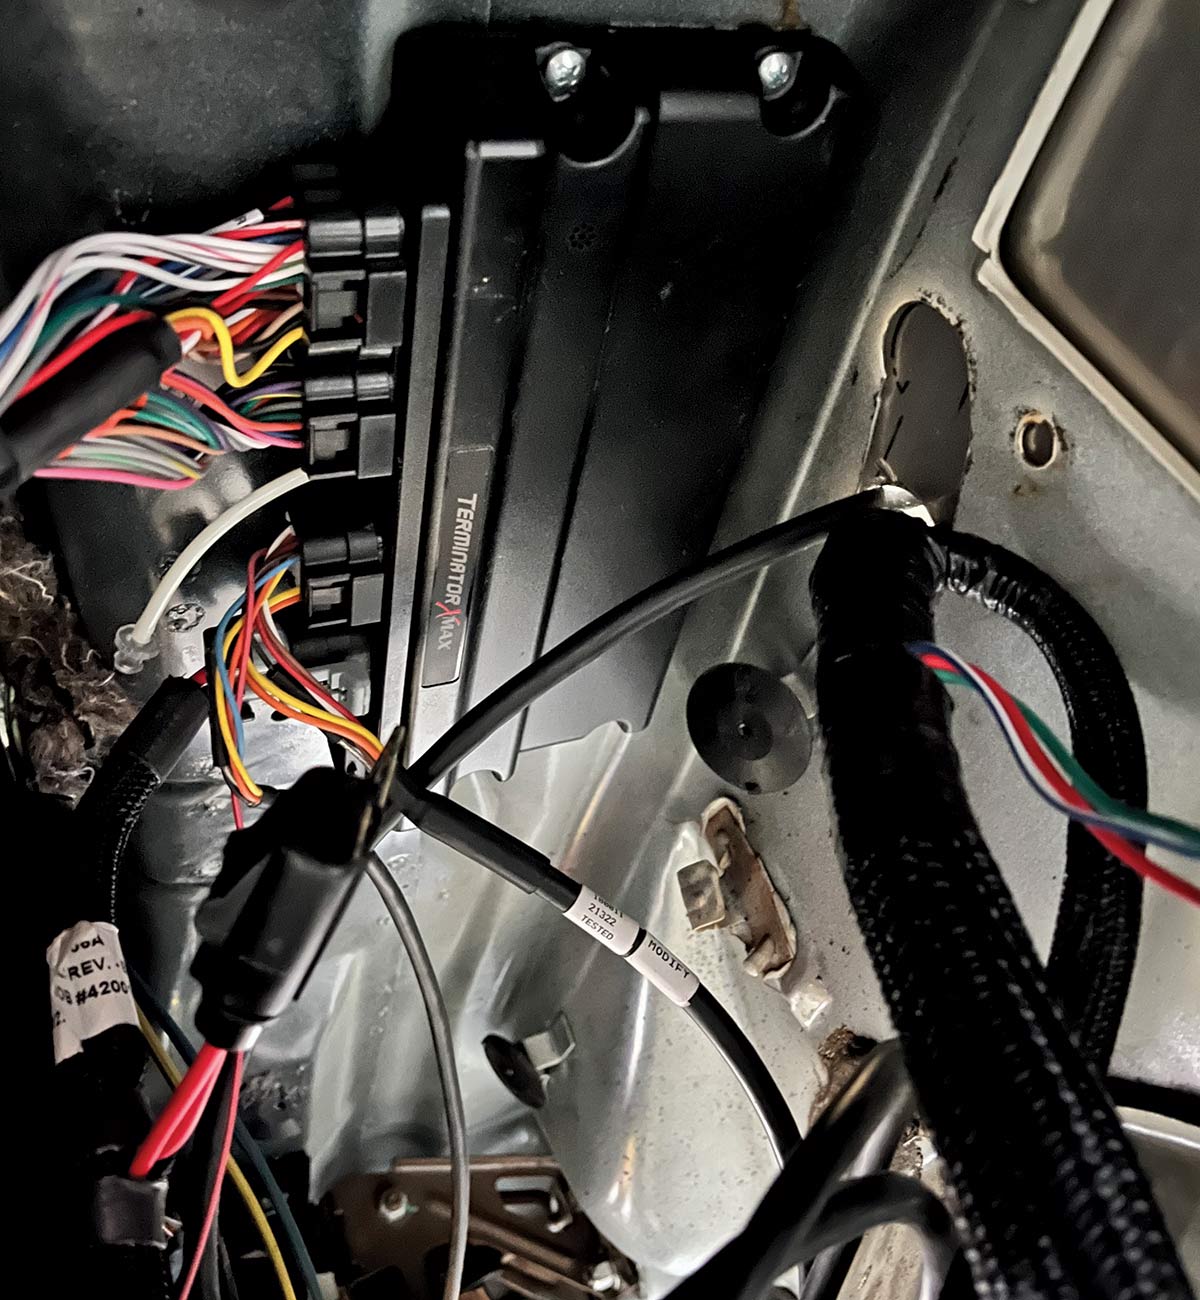
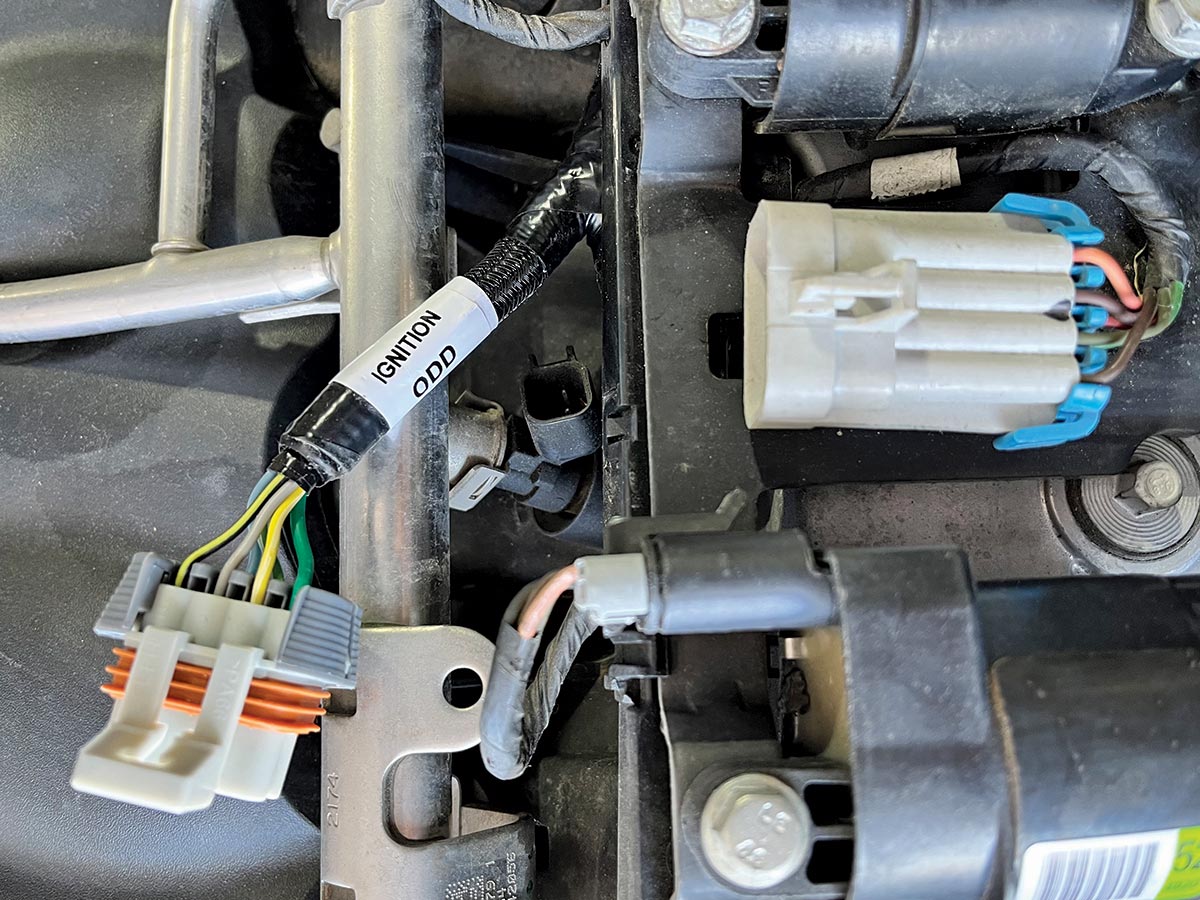
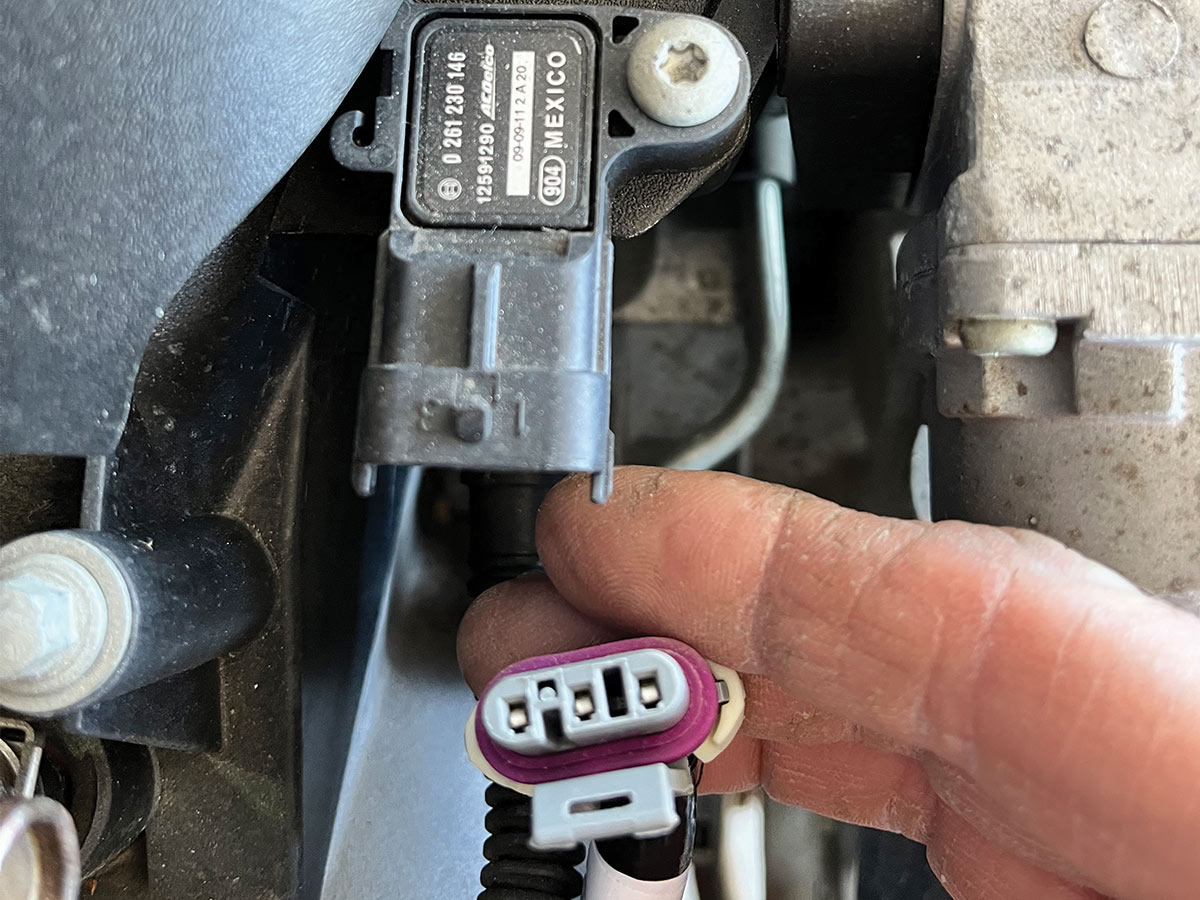
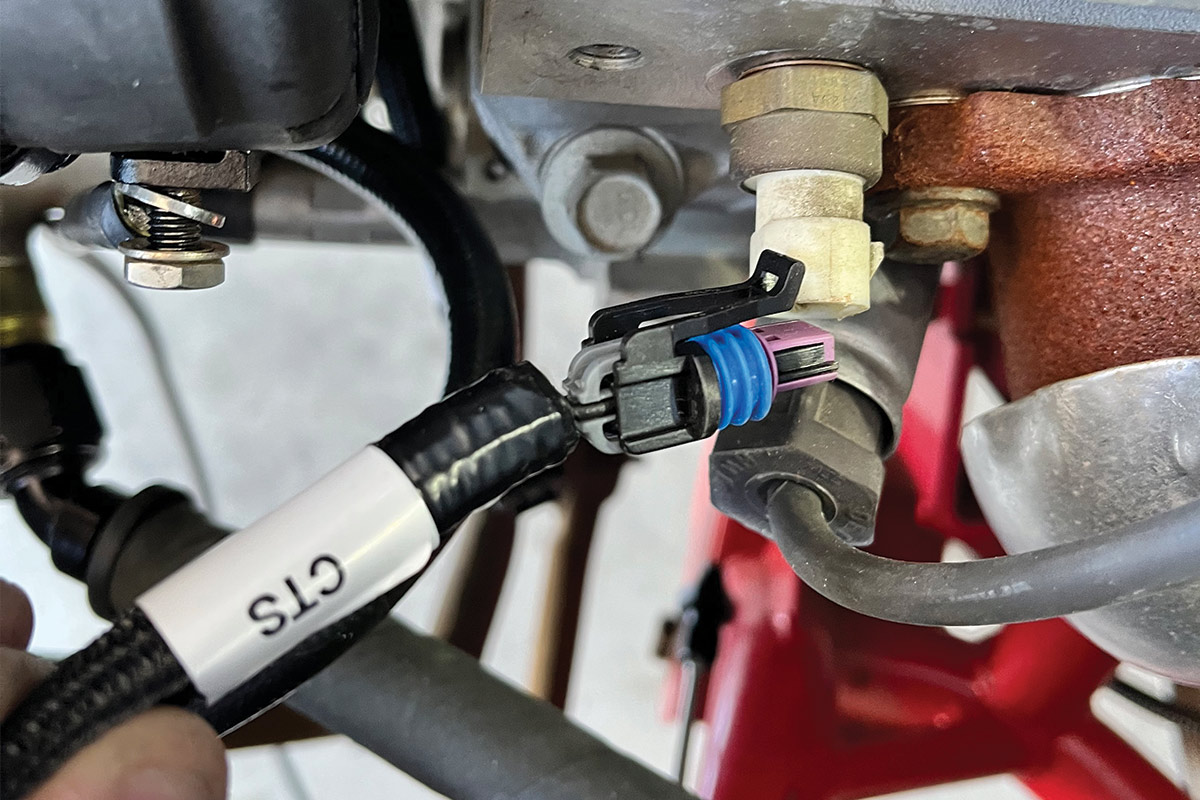
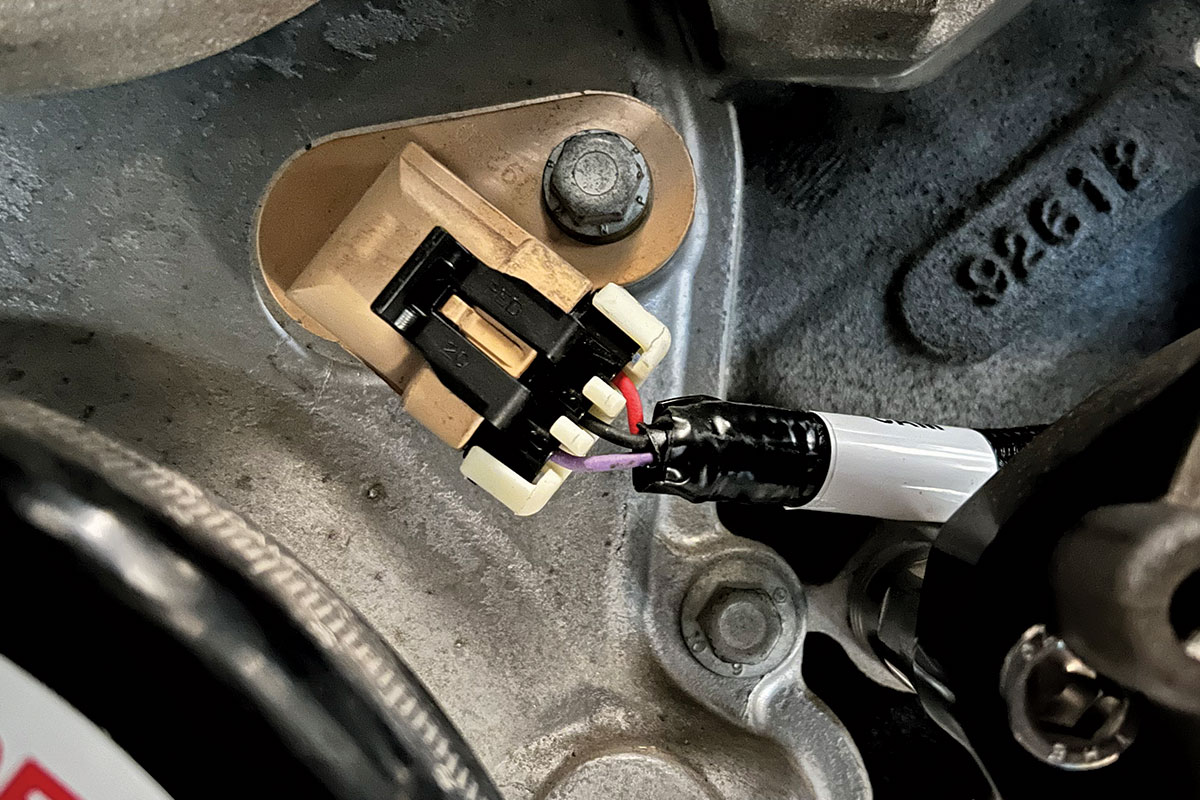
We followed along with Rode’s installation to show you just how easy it is. Through the process, we’ll explain some of the many features of the Holley system.

A jumble of black cords on the ground
Cords neatly curled up on the ground
1-2. Right out of the box you can quickly see the difference in the system’s construction compared to the stock GM harness (left). The Holley is more tightly packaged, with a thin woven cloth protective sheathing and compact ECU.
A curled up cord and a small black box on the ground
3. Since our Camaro was equipped with a Dakota Digital dash, we utilized one of the company’s BIM-series modules, which collects and decodes information provided by the Holley Terminator and supplies it to the electronic dash. Besides basic gauge functions, the module (with additional sensors) can provide additional readings like air/fuel ratio, intake/manifold temp, boost, and fuel pressure.
Wrapped up cords that are connected to a small black box
4. The Holley system offers many add-ons and provides simple, plug-in harnesses, giving the kit lots of optionality. Shown here is the ECU with the power wires and drive-by-wire harness. The blank port on the ECU, to the left, is for an electronic automatic transmission harness. Joel Rode’s Camaro is equipped with a manual six-speed but when installing these kits, he always buys the unit with the automatic transmission function for the cost savings and simplicity should the owner (or future owner) ever want to ditch the manual trans.
Close up of a black tube tucked
5. It’s always best to determine where you will mount your ECU before starting the installation. Rode chose to locate the unit inside the car to keep it hidden and out of the hot engine bay. Because the plugs on the ECU side of the harnesses are bigger, it is better to pull the wires from the inside of the car into the engine compartment, which requires a smaller hole through the firewall.
A circular firewall seal against a white background
6. Rode’s firewall seal of choice is one of these universal pieces from Seals-It.
Velcro tape on the back of the ECU
7. Being an experienced mechanic, Rode builds everything knowing that someday the parts will need to be replaced, repaired, or accessed for some reason, hence the double-sided tape/Velcro installation method for the ECU. The Holley unit has the ability to display trouble lights, which would require removal of the ECU to access.
Black box with wires connected to it, installed inside the car
8. The final resting place for the Holley ECU is under the Camaro’s dash on the bottom side of the cowl.
Wires in a black sheath, wrapped up and laying on the ground
9. Pictured is the automatic transmission control harness.
Fuel pump and relay leads laying on the ground
10. Shown here are the leads for the fuel pump and relay.
Bunch of wires coiled up and laying on the ground
11. Pictured are the auxiliary input and output harnesses. These provide power output for an A/C “kick-up,” which increases engine rpm when your A/C is engaged, two electric fans, and two additional outputs that can be used for things like a boost controller, line lock, or two-step nitrous controller.
Wires in a black sheath, wrapped up and laying on the ground
12. The Holley Terminator includes a high-quality, Bosch LSU 4.9 wideband O2 sensor and necessary harness for the accurate air/fuel readings and precise tuning control.
Wires in a black sheath, wrapped up and laying on the ground
13. The Holley kit includes these injector harnesses. You will need to positively identify what style of injectors your engine is equipped with (Multec 2, EV1, or EV6) before ordering the kit.
Close up of a fuel pressure sensor with a white label that says fuel
14. The Holley harness has a provision for a fuel pressure sensor, which is not a feature on a stock harness. The sensor allows you to monitor higher fuel pressures and requires purchasing a Holley (PN 554-102 0-100) psi pressure sensor.
Close up of an injector harness connector
15. This injector harness connects each bank of coils to the main harness. There are designated driver side (labeled ODD) and passenger side (labeled EVEN) harnesses.
Close up of a hand holding a Gen 3 MAP sensor toward the camera
16. Our Gen 3 engine was equipped with an early style Gen 3 MAP sensor, which the Holley harness accommodated. Later model Gen 4 sensors require an additional adapter from Holley (PN 558-416).
Close up of a connector labeled CTS
17. Here’s the included connector for the temp sensor that works with the factory sensor (not included with the kit).
Close up of a plug with wires coming out of it
18. The Holley harness includes a plug that connects directly into the LS3 cam sensor while a stock harness requires an additional adapter.
Close up of a Knock Sensor connection with wires coming out of it
19. Rode’s late model LS3 had the Knock Sensor located on the side of the block. Earlier models will have a knock sensor located in the center valley of the engine. While the system includes the harnesses for either, knock sensors are NOT enabled in Terminator X base calibrations but may be configured by using Terminator X software. Many tuners recommend leaving the knock sensors out of the system as they can be overly sensitive and drivetrain noise could fool the ECU into thinking that the engine is experiencing detonation.
A bolt and some washers on a black background
20. To ensure the flawless operation of the Holley system, it is necessary to have good ground connections. The harness’ two grounds must be attached separately to an unpainted surface on the back of each cylinder head to be completely effective and prevent the engine from running poorly.
Oil pressure sensor on a white background
21. On the left is our factory Oil Pressure Sensor. Unfortunately, this is one of several different factory oil pressure sensors that do not work with the plug in the Holley harness. Fortunately, our Dakota Digital dash included a compatible sensor and adapter (right). If you run into this issue, you can purchase a Holley (PN 554-102 0-100) psi oil pressure transducer.
Close up of an Intake Air Sensor connection with wires coming out of it
22. The Holley Terminator requires the installation of an Intake Air Temp (IAT) sensor in the intake tube, located as close to the throttle body as possible. As its name implies, the IAT monitors the intake air temperature and allows the ECU to adjust accordingly. The IAT is not included in the kit but is readily available. We purchased one at NAPA Auto Parts (PN ECH TS5100) for $30. We drilled and taped our air intake tube for the installation.
Close up of an idle air control valve and a throttle position sensor in an engine
23. If your engine is equipped with a cable-operated throttle body, you will also need to purchase and install an idle air control (IAC) valve and a throttle position sensor (TPS). The harness comes with the necessary leads for both.
An overview picture of all the connections and wires that were installed near the engine
24. The wiring for Rode’s LS3-powered third-gen Camaro swap is complete. Now, onto the final step of calibration.
A thin plastic box with the words, Holley Interface on it and a cord coming out of the bottom
25. The included handheld controller plugs directly into the main harness and is used to build an initial, custom calibration for the system and can be used for tuning changes in the future. Before beginning the process, it is highly recommended that you read through the setup process in the instructions. When using the calibration wizard, you will be asked to input many things about your car and engine, including size, cylinders, camshaft specs, and so on. Making a list before we started this would have really helped to speed up this step. Once we completed the setup, the engine started in about three cranks and we haven’t touched it since. On street tires, with zero traction, the Camaro has a best quarter-mile pass of 13.06 at 114 mph. Besides drag slicks, Rode plans to add 100 shot of nitrous, which will be easy given the accommodations provided by the Holley Terminator system.
SOURCES