ACP department heading TECH
InTheGarageMedia.com
G-Body G-Machine
We Improve Suspension Responsiveness and Adjustability With Bolt-On Coilovers From Aldan American
BY Jesse Kiser Photography by The Author
S

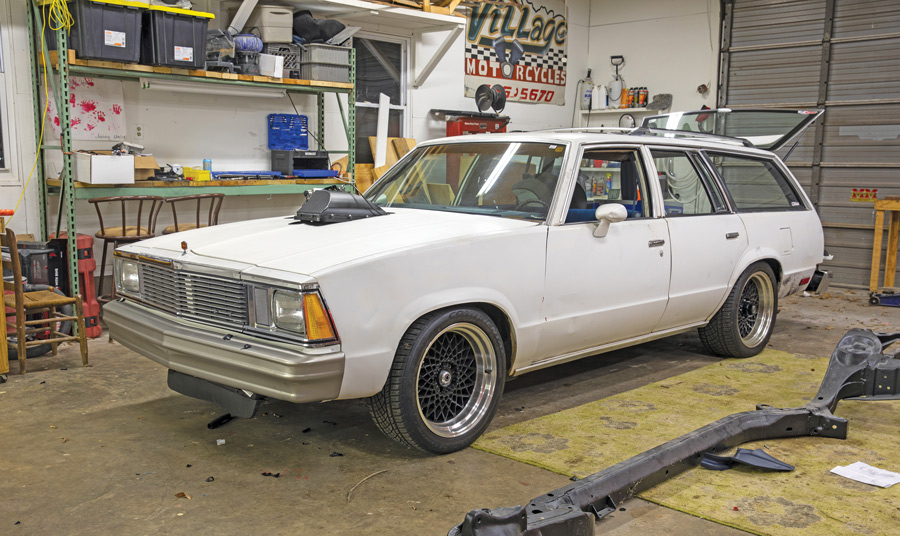
ince its completion, our ’82 Malibu Wagon hasn’t experienced a significant breakdown … yet. A fun, reliable street cruiser, it wasn’t until our first autocross at UMI Motorsports Park that we discovered its performance shortcomings. We spun out in clouds of smoke, murdered some cones, and went home with a lackluster finish. The combination of the wagon’s parts—750-rwhp LS1, built 4L80E, Strange Engineering 9-inch, and UMI Stage 3.5 tubular suspension—is unrealized. Our wagon has untapped potential. Luckily, that’s what an East Coast winter is for: more projects.

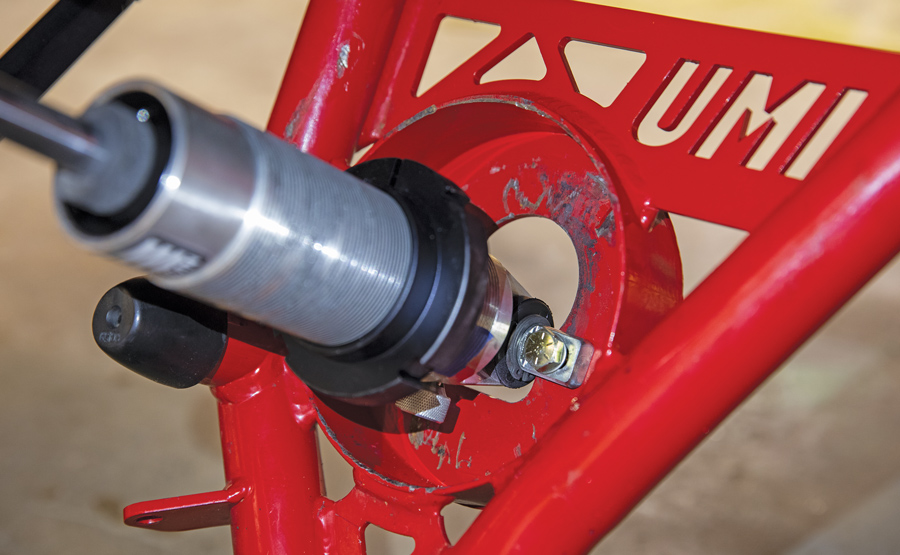
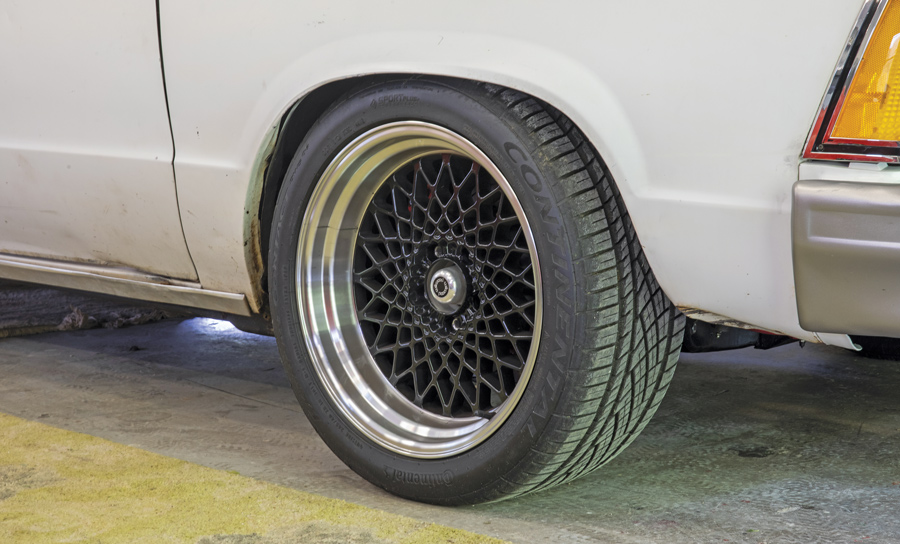
The wagon is a family hauler, burnout monster, and great street car, but we want to turn up the heat: A T56 six-speed manual swap so we’re always in the right gear, a Holley Terminator X for better tuning, and Aldan coilovers for better road response and adjustability. We’re starting with possibly the easiest of them all: coilovers, so we installed Aldan American coilovers on our Chevy G-body.

We discussed coilovers in the Aug. ’21 issue of All Chevy Performance titled “Coilover Basics,” which answered some of our naïve questions about coilover performance and how to shop for them. “More adjustability, from ride height to damping,” Aldan American President Garrett Harmola, says. “Street or track, with an adjustable coilover you can get the stance, ride quality, and performance you’re looking for.” When the spring is mounted on the shock, you can change the ride height without swapping springs, which will help with weight transfer and handling.”

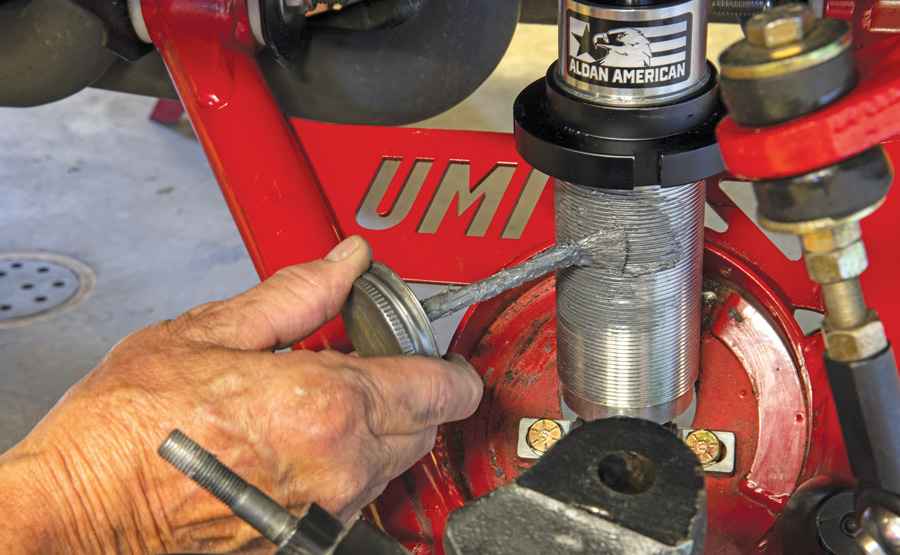
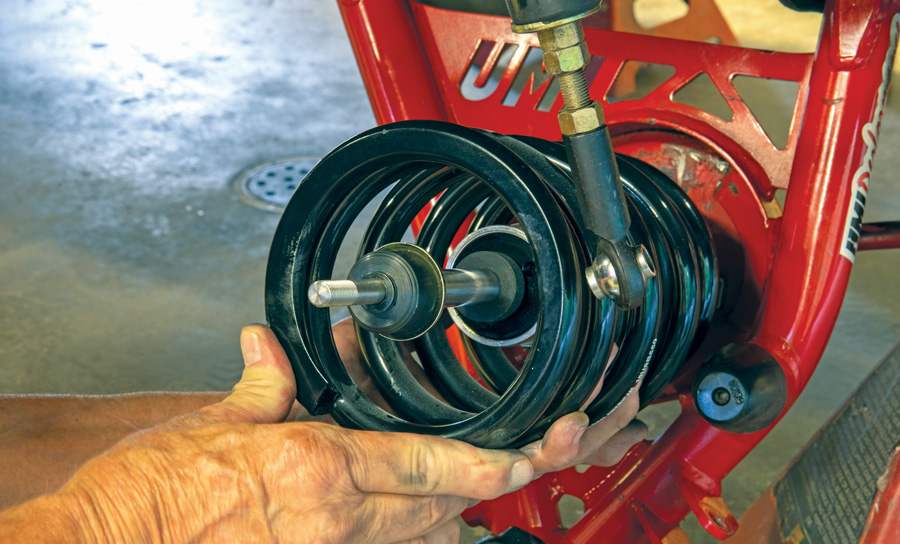
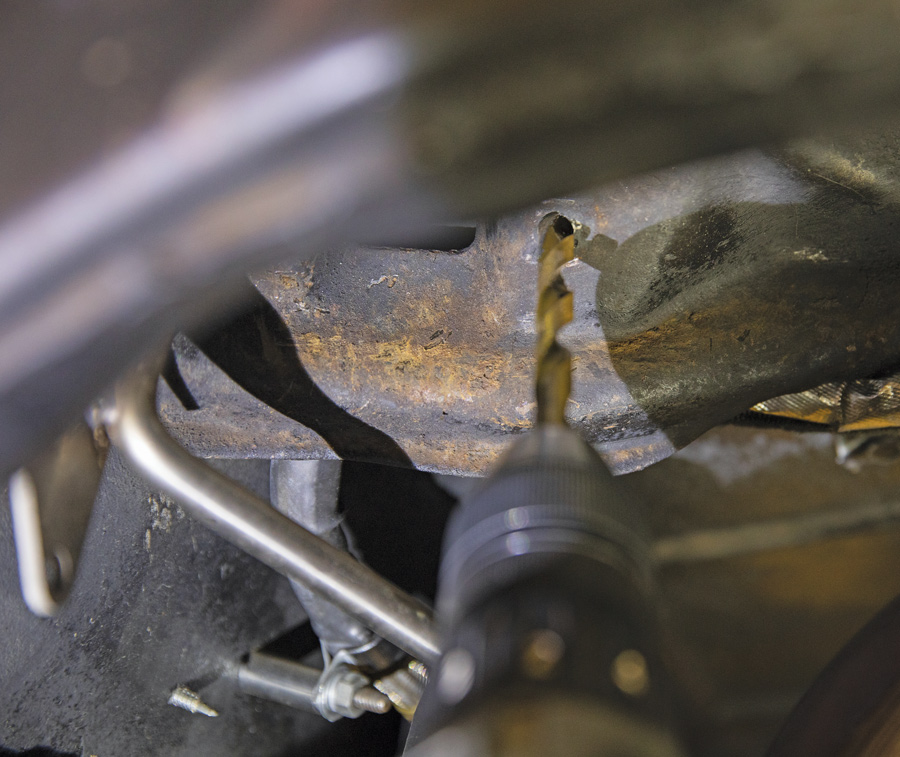
Coilovers are the natural progression, but which ones? A traditional coilover mounts with two rod ends, while bolt-in coilovers are a hybrid with OEM mounting at the top and a single, solid mount at the bottom. A traditional coilover would require cutting the old spring pocket and welding in a new top mount (kits retail for $125-$230) and a new lower coilover-mount control arm (they’re around $750). You can save money by fabricating the necessary components at home, but it’s still more time. According to Harmola, the performance differences are minimal, with the significant drawback being limited options for hybrid springs. A standard coilover has an id of 2½ inches on both the top and bottom of the spring, meaning there are a wide range of offerings throughout the industry with this universal spring.

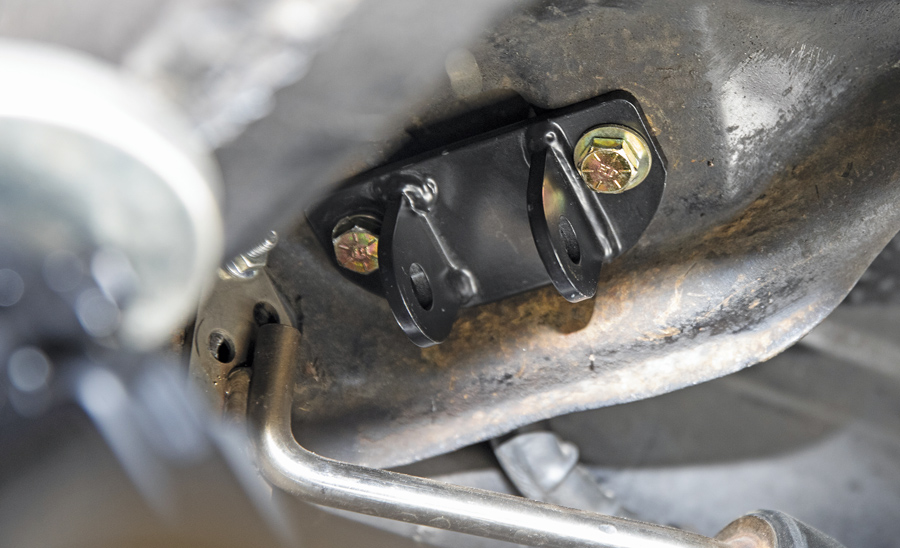
“At the top, it’s the same as running a lowering spring or OEM spring, and the lower mount is supporting the spring load. The upper part is just seating the spring,” Harmola says. “You can hammer a Chevelle on stock suspension and you’ll get body roll, but those springs and shocks are going to stay seated, and this design is seated in the same spot.”

G-Body Coilovers Installation
After some rough measurements, Aldan suggested their G-body coilover kit (PN 300107) with 550-pound front springs and 220-pound rear with a 2-inch front drop and 3-inch rear drop. You can find spring-rate calculators online to help you determine the ideal spring rate, but with our limited options we leaned on Aldan’s suggestion. Finding the perfect spring rate is an essential foundation to the rest of the car’s suspension settings, “Once you have that, you’re 95 percent there. A track car may swap springs on race day, but not a street car. Then you can dial in the shocks. Get that stuff right out of the gate and you won’t have to change it for a long time,” Harmola says. 

But, before ordering, we also want to check coilover length. “We get calls from customers saying they have a certain wheel package and we try to make a single part number solution, but with different tires, control arms, and more, we need a ride height measurement to get it exact,” Harmola says. 

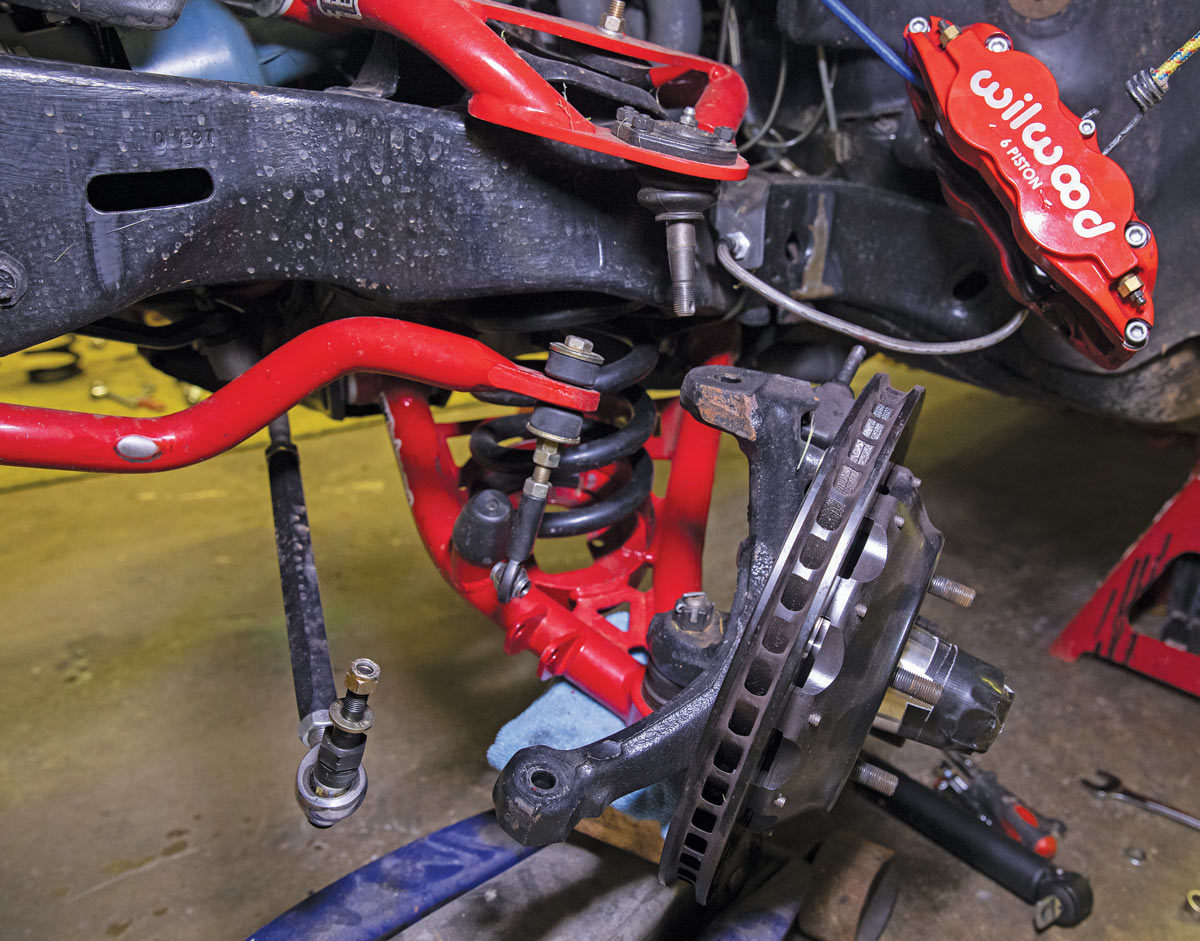
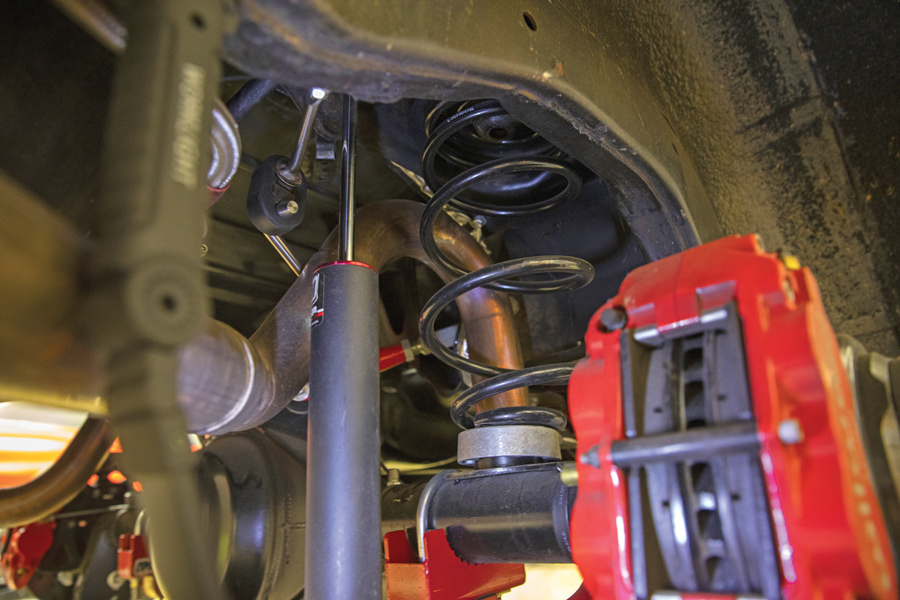
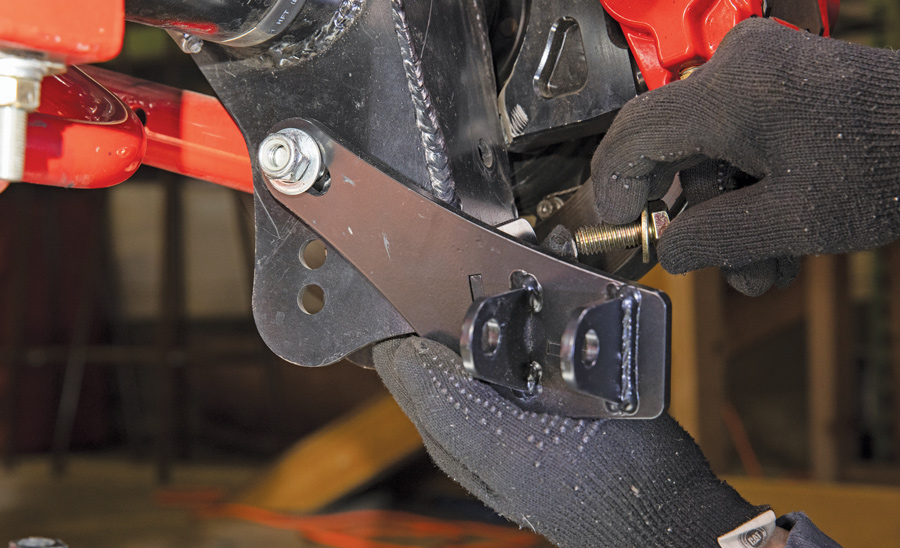
We begin by removing the old springs and shocks in the front, then, using a jack at the crossmember, brought the lower control arm level with the ground. Most lower control arms aren’t straight, though, so focus on the imaginary line from the lower control arm mount (on the frame) and the lower ball joint. After relaying the measurements to Aldan, we are right in the optimum length for their G-body kit.

Now Drive
With our settings at a good starting point, all that’s left is to drive it. The springs carry the car, while the shocks maintain the rebound, or how the car bounces. It’s recommended to find a stretch of road with a dip. Drive the road and slowly adjust the front rebound until all bounce is eliminated. Then repeat the process for the rear.

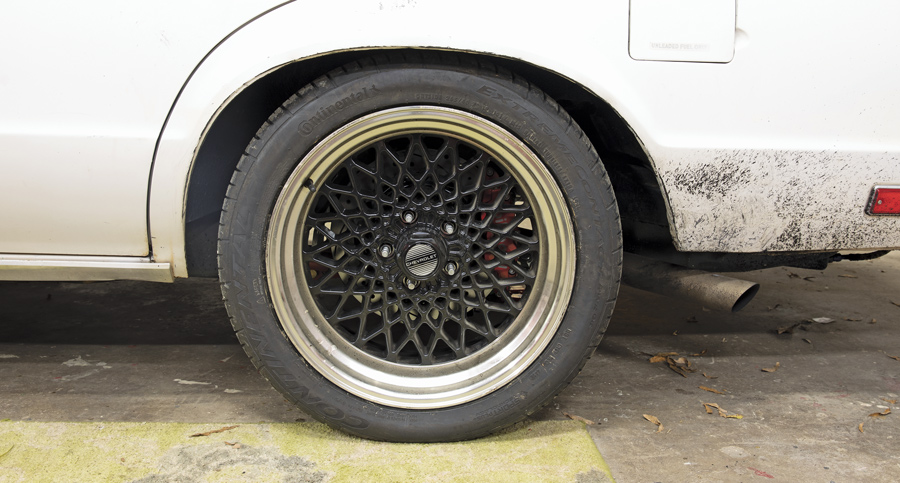
After that we plan to borrow scales to weigh the car and adjust preload/ride height until we find the optimum mix of weight transfer and stance. We’re toying with the idea of adding 2-inch drop spindles as well. According to Harmola, dropped spindles can work but you run the risk of going too low and wearing out components or breaking something, so be careful.

With coilovers finished, we’ll revisit the project for more upgrades soon.

We remove the Wilwood caliper and snap the upper ball joint loose of the top control arm by taping the factory block with a hammer
1. We remove the Wilwood caliper and snap the upper ball joint loose of the top control arm by taping the factory block with a hammer. We’re leaving the bottom ball joint in place. We unbolt and remove the UMI shock. These have served us well as a comfortable street package that provides adequate auto crossing performance. The UMI 2-inch lower springs are removed using a spring compressor.
Factory control arms will require drilling out two ³/8-inch holes for the newly supplied Aldan hardware.
2. Factory control arms will require drilling out two ⅜-inch holes for the newly supplied Aldan hardware. We bolt the coilover to the control arm. The lower mount sits on top of the control arm to direct forces down onto the control arm.
We add antiseize to the threads on the body to help preload adjustments once the spring is in place.
3. We add antiseize to the threads on the body to help preload adjustments once the spring is in place. We run the preload adjustment ring until it barely puts pressure on the spring after it is seated. “Once you get those heavy springs out, you get a modern, cold wound spring with modern tech,” Aldan American President Garrett Hermola says. “These springs are almost two-thirds the weight of the old spring, so you’re dropping a lot of unsprung weight, too.”
The top of the coilover mounts into the factory shock mount in the same way, with two isolator bushings.
4. The top of the coilover mounts into the factory shock mount in the same way, with two isolator bushings. Once the top mount is bolted in, we set about 1 inch of preload with the spanner wrench. This is a good starting point.
Rear tire
5. Our previous springs were 2-inch lower springs, and we were happy with the ride height, so we adjusted preload with the spanner wrench until we achieved the same height as before.
The rear ride height suspension
6. The rear ride height has been an issue in our project. It’s likely from being a wagon, but it always appears too low. We like it slightly higher than the front to give it a muscle car stance. We used a spacer and stock-height aftermarket springs to get the right height.
drilling holes to provide space for the Aldan kit.
7. We removed the spring and unbolted the top shock mount. We drill the holes to the larger ⅜-inch size provided in the Aldan kit.
The top coilover mount is very similar to the previous UMI shock mount.
8. The top coilover mount is very similar to the previous UMI shock mount. The Aldan American coilover top mount uses aluminum spacers on either end to keep it centered in the mount.
The lower mounts fit firmly on the Strange 9-inch.
9. The lower mounts fit firmly on the Strange 9-inch. The multiple lower control arm mounting positions provide different options if we want to raise it up more, but that would require some fabrication. It’s best to leave all hardware loose when installing as the mount and coilover find its perfect positioning. We start with the lower mount and preload set with 1 inch of preload.  
getting the car close to the original ride height.
10. Once back down, we were about ¾ inch lower than before. So, we raised the car back up and added another ¾-inch preload, getting the car close to the original ride height. We added the thrust bearing upgrade, which allows for easier adjusting of the preload.
Finished suspension of the car
11. Now, all that’s left is to drive it. We’ll allow the springs and shocks to settle into place, check tightness on everything, and recheck ride height. We have over 1 inch of preload all around and start with number 1 and number 3 rebound settings on the coilovers.
Aldan American
(310) 834-7478
aldanamerican.com