 Photography by
 or those who love to revitalize vintage vehicles, chances are an electrical system update is going to be on the list of things to do. At one time replacing frayed, broken, and missing sections of a wiring harness or adding additional circuits meant a trip to the parts store for a spool of wire and some crimp connectors. However, if you’ve ever dealt with an old car that had a “rat’s nest” electrical system with a bunch of circuits all made from the same color wire, then you know the problems that can create, particularly when trying to trace a circuit. A better, safer, and much easier-to-install alternative is a complete wiring system like those available from American Autowire (AAW).
AAW was founded in 1987 by Michael Manning and Frank Colonna—a two-man operation that started in Manning’s basement. Today Manning and Colonna, along with Jim Cardona, have 100 employees in a 38,000-square-foot facility manufacturing Universal, Factory Fit Original Reproduction, and Classic Update wiring kits.
As the name implies, the Universal Series of harnesses are for custom applications and are available with a variety of circuits. AAW suggests deciding on a “wish list” of electrical system accessories planned when choosing a wiring harness, always keeping in mind you may want to add some accessories later, so plan accordingly. It’s better to have a circuit that isn’t used right away than need one later and not have it.
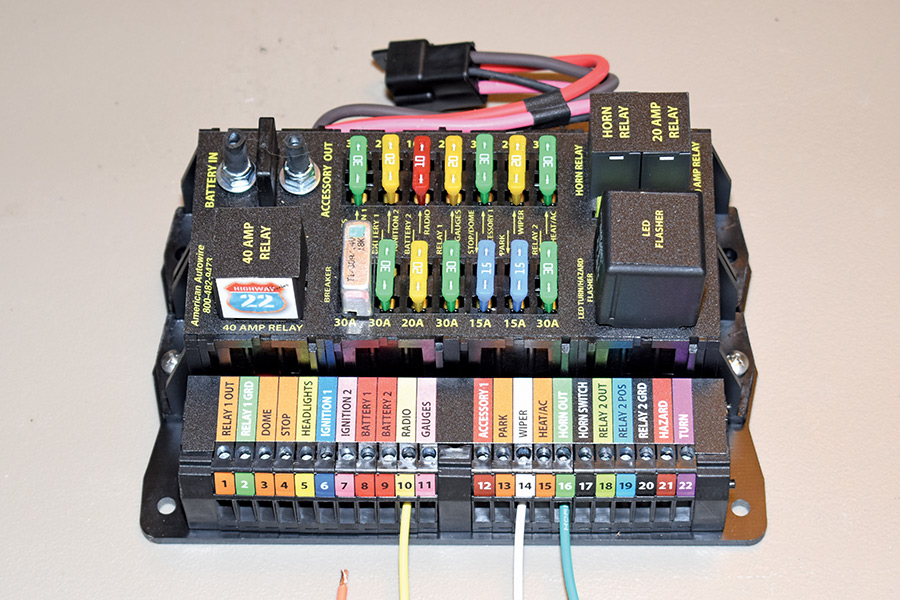
Another consideration when choosing a universal harness is the style of fuse block provided. Some kits have the wires connected to the fuse panel and all the connections are made at the loads or the devices being powered. Other types of panels, such as AAW’s popular Highway 22 Plus and the Highway 15 Plus kits, have the wires terminated at the load that are then cut to length and attached to the fuse block.
For those wanting an original-style wiring harness, AAW offers the Factory Fit series. These harnesses are built according to the latest revision of the original GM engineering blueprints and are a direct plug-and-play replacement for the original wiring found in the vehicle. As Factory Fit describes them, these harnesses are best suited for builds where the customer values originality or has no significant plans to modify the vehicle. Of course, in some situations the entire wiring harness doesn’t need to be replaced. As most vehicles have four major harnesses—engine, front light, dash (which contains the fuse panel), and rear body—AAW offers these individual harnesses that are compatible with stock wiring without making any modifications. You can purchase one harness or all, depending on what’s required.
For restomods, like our ’63 Corvette project that have added electrical demands that the stock wiring harness can’t accommodate, AAW offers the Classic Update series. Intended for modified cars and trucks, each kit includes all the circuits needed to rewire a vehicle from headlight to taillight. These harnesses will also accommodate a variety of add-on items while still including the original switches, heater controls, taillights, parking lights, and factory gauges. Classic Update harnesses include an updated ATC fuse panel and fuses, along with modern GXL wire. Unlike the stock harnesses, the C2 Corvette kit has a fuse panel that is mounted separately from the bulkhead fitting that passes wires through the firewall. As the later-style GM plug assembly used in the kit has a slightly different shape than the original, the hole in the firewall will require some minor trimming; a template is included in the kit for that purpose. Other than that, no modifications to the car were necessary.
The Classic Update system we chose (PN 510612) for ’63-67 Corvettes is typical of the series. As we are adding Vintage Air, dual electric engine cooling fans, a killer stereo, and electronic fuel injection, this harness would supply all the circuits necessary. It also supports a high-current, self-exiting, one-wire alternator. AAW cautions that the use of stock, low-amperage alternators is discouraged as they cannot handle the higher current requirements of most updated systems. As Classic Update kits are engineered to supply the optimum charge to the battery, ammeters are not supported. AAW routes a six-gauge charge wire directly from the alternator output charge terminal to the starter battery terminal. Due to the path of the charge being altered from the stock configuration there is no provision for an ammeter and attempting to hook one up is a disaster waiting to happen. In the ’60s, most stock alternator current outputs were rated at a maximum of about 37-65 amps. Modified cars being built today typically utilize a 100-amp or higher output alternator, which is much more current than most ammeters can handle in normal circumstances. As ammeters aren’t fused, they can short out when exposed to excessive current, which can have disastrous results (up to and including a fire). For that reason most AAW systems (other than some Factory Fit harnesses) were designed to use a voltmeter and no attempt to use an ammeter should be made. We didn’t want to modify the original instrument panel or add an additional gauge, so to maintain its original appearance we had Classic Instruments convert the stock ammeter into a voltmeter.
Unlike the stock wiring harness, the Classic Update harness is not designed to work with a standard, points-type ignition system. The ignition circuit is wired with a full 12V primary ignition feed that is hot in the crank and run positions to accommodate HEI, MSD, other electronic ignition systems, as well as most all computerized fuel injection systems. For those who want to run a points-type system, there are illustrations on the engine connection pages to do so. Primary ignition voltage in the cranking position is handled via a full 12V bypass wire that is routed from the starter “R” terminals to the positive side on the coil. A ballast resistor, which is not included in this kit, will also be required.
Installing any wiring harness takes time and patience. Pay particular attention to ensure all connections are clean and tight to avoid corrosion that can cause unwanted resistance. AAW points out the main cause of most automotive electrical problems is caused by a bad ground. Never rely on just the negative battery cable connected to the engine as the only ground. Ground the engine to the chassis and the body to the chassis (the AAW Corvette kits include a variety of ground wires due to the fiberglass body). Choose the proper AAW kit for your application, invest in a good crimping tool, follow the instructions, and you and all your car will be well connected.


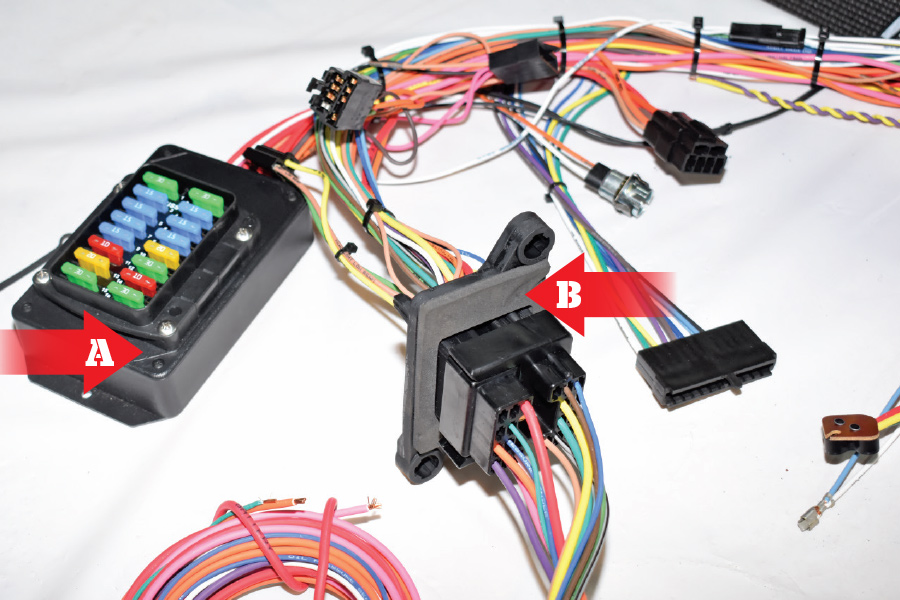
6. The AAW fuse block (A) mounts to the driver side kick panel, the bulkhead fitting (B) connects the fuse block to the engine and front lighting harnesses.


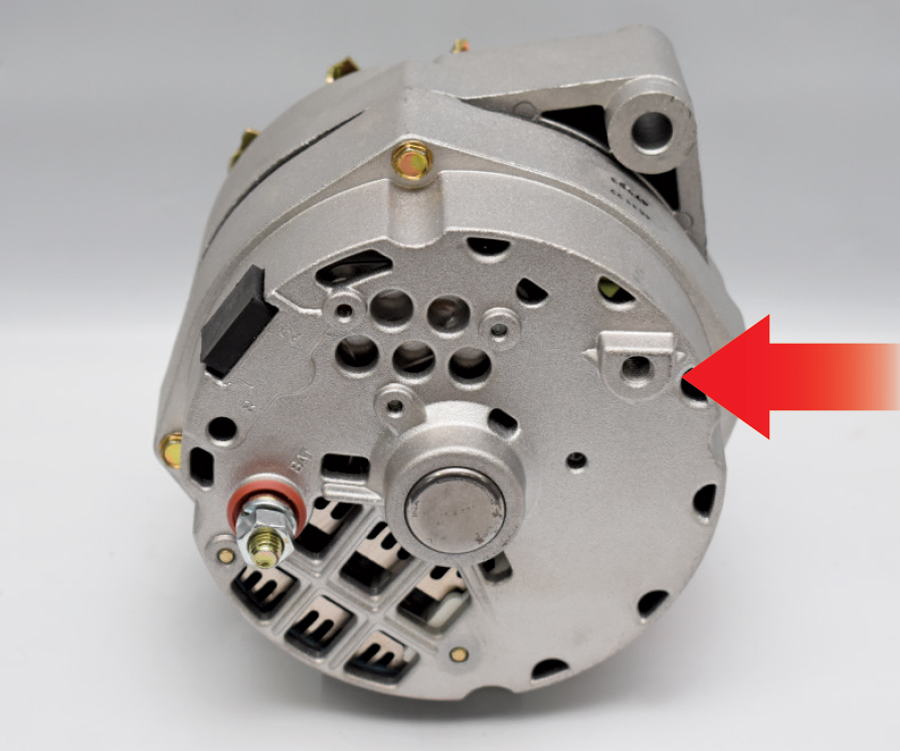
12. Our Powermaster alternator has an optional ground strap or support bracket location (arrow) threaded M8x1.25. Powermaster recommends grounding a wire off the alternator rather than relying on the mounting brackets to do the job.


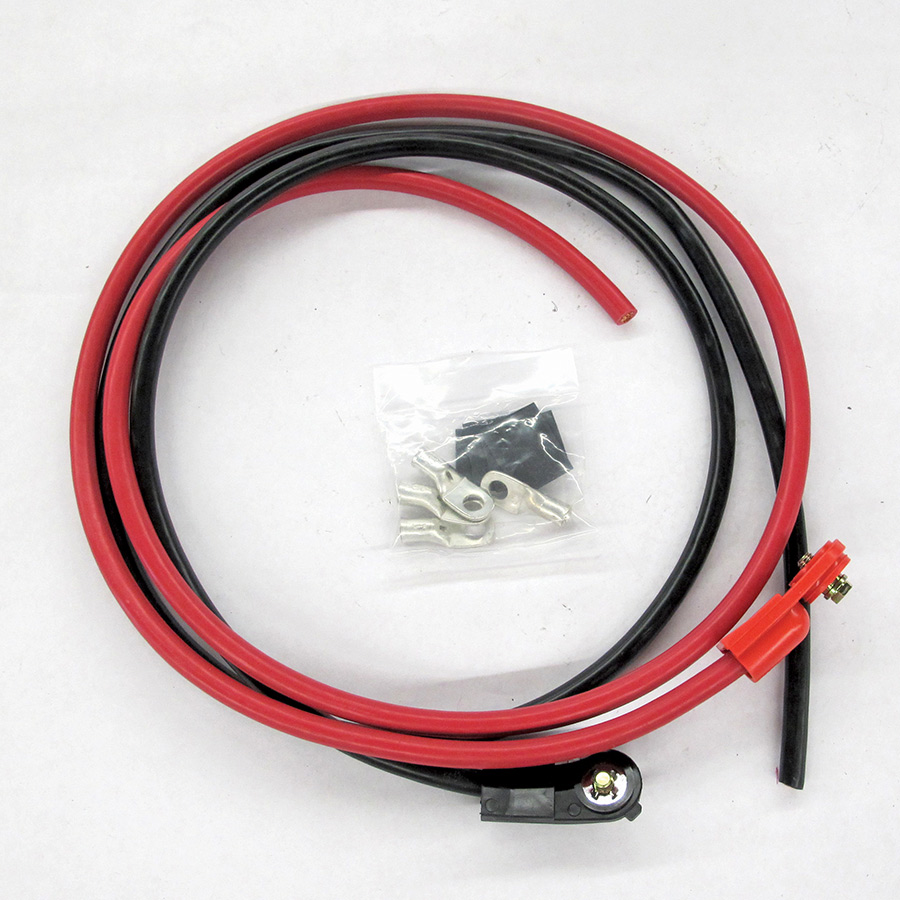


21. With the Classic Update harness and most others, there are terminals that will have to be attached. AAW offers two professional-quality wire crimpers—one for 8- to 12-gauge wire, the other is for 14- to 18-gauge wire (shown). Don’t use a cheap crimping tool or regular pliers.


 SOURCES