ACP department heading TECH
InTheGarageMedia.com
BY All Chevy Performance Staff
’78 Camaro Steel Bumper Conversion Title
Part 1: How to Get a Late Second-Gen Looking Like an Early ’70s Model
T

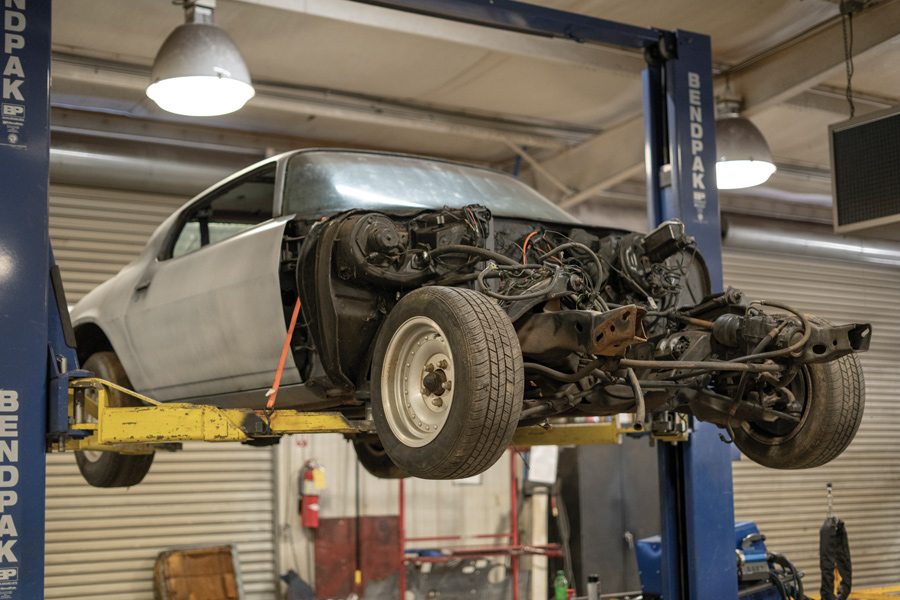
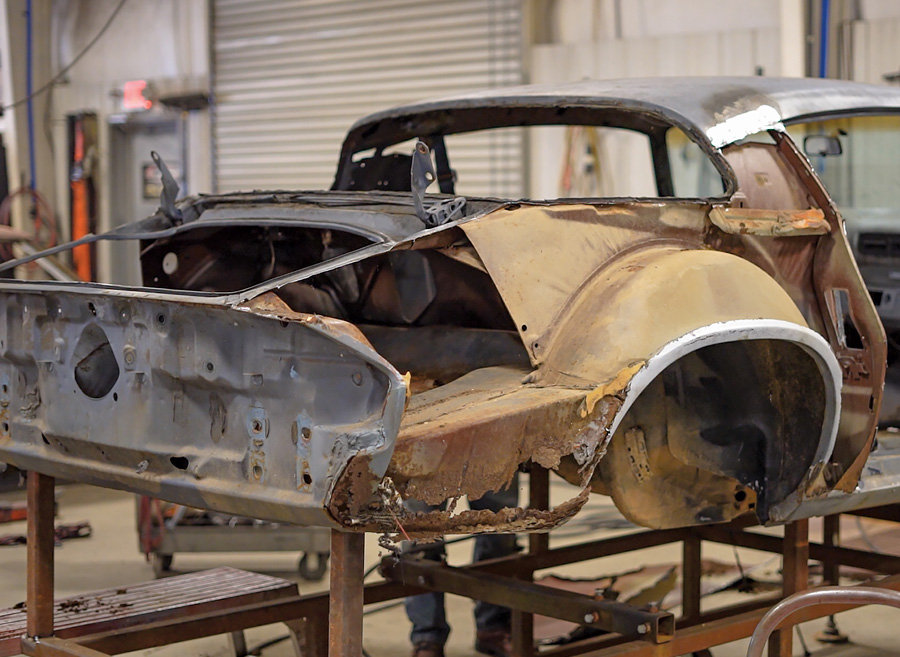
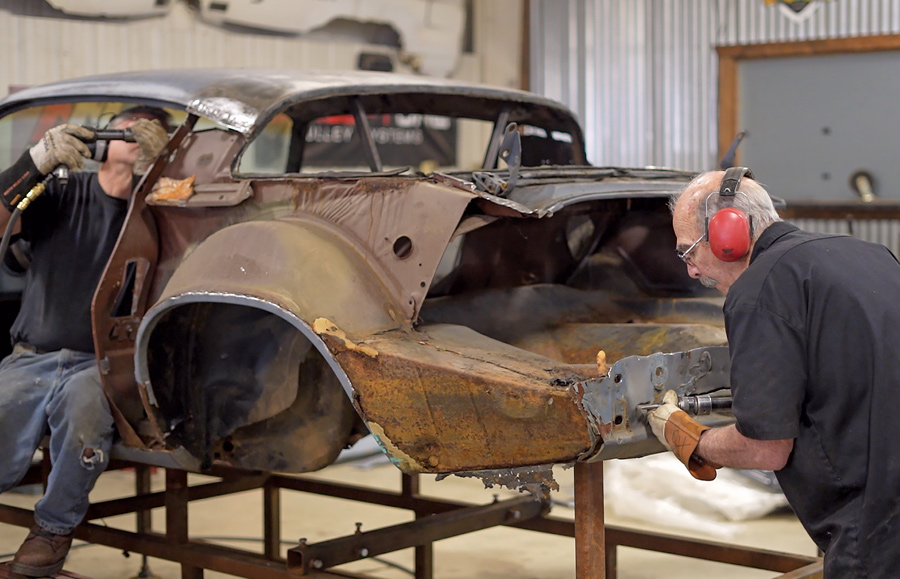
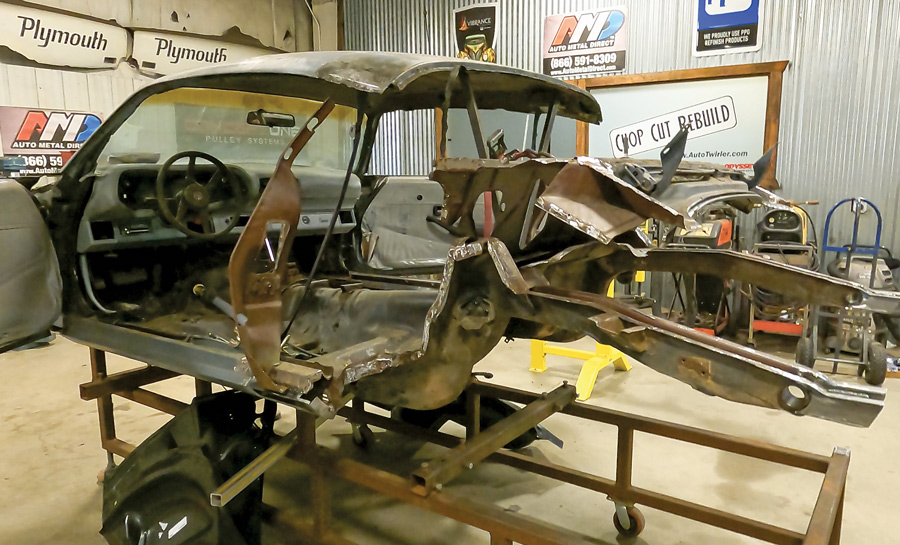
he collector car market continues to grow year after year, making a lot of the cars we know and love harder to obtain. While spit balling one night, The Installation Center owner Craig Hopkins and friend Bill Crabtree were hanging out after a long day’s work and started discussing this very topic. In the background sits a derelict ’78 Chevy Camaro. Hopkins looks at Crabtree and sees the wheels turning. Hopkins asks, “What’s the scheme?” This is where it gets good. Crabtree suggests, “Why can’t we take that old Camaro and turn it into a steel bumper car?” Hopkins, with his vast experience, immediately knew that this had to be done. Why not? The ’74-81 Camaro is vastly more available than that of the ’70-73 cars. Anyone who has restored an early second-gen Camaro knows that the entry point on one of these cars continues to climb. Crabtree continues, “If we can swap the front and rear and turn that car into an earlier version, that opens a whole realm of cars available at a considerable cost reduction.”

After a good night’s sleep, Hopkins can’t get the idea out of his head. So, he immediately contacts the guys at Auto Metal Direct (AMD); after all, AMD is the go-to place for all his restoration parts and body panel needs. He lets them know the idea and checks to see what they have available to tackle this project. AMD has it all—the panels, the glass, the trim, the lights, bezels, grille—everything needed to make it happen. Hopkins immediately places his order and away we go.

Hopkins then contacted us here at All Chevy Performance magazine to see if it was something our readers would want to see. Heck yeah! This is right up our alley. So, we are starting this multi-part process with some of the basics. This is going to be an involved project, but if you follow along in the next few issues we are confident that you too can do this at home, or at least bring the idea to your favorite hot rod shop to handle the process.

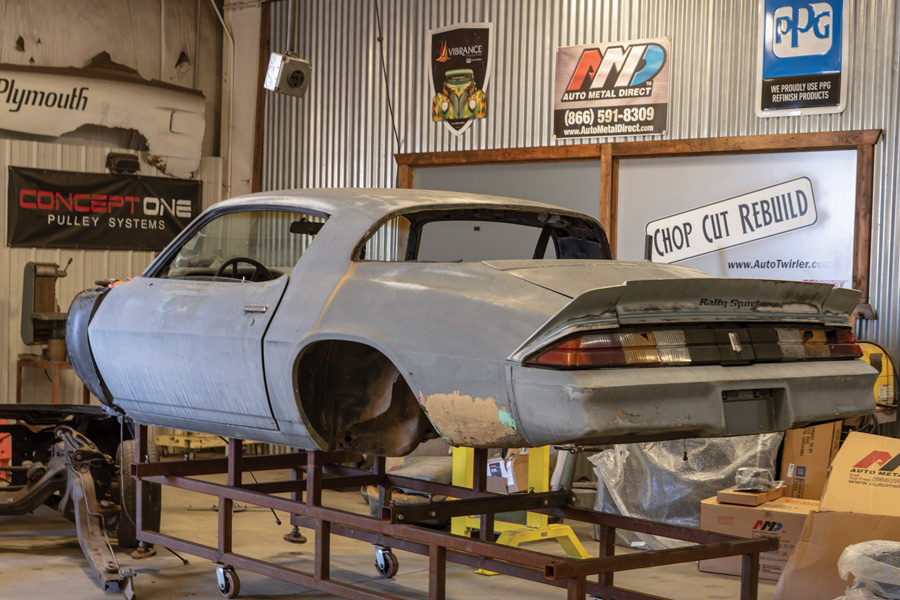
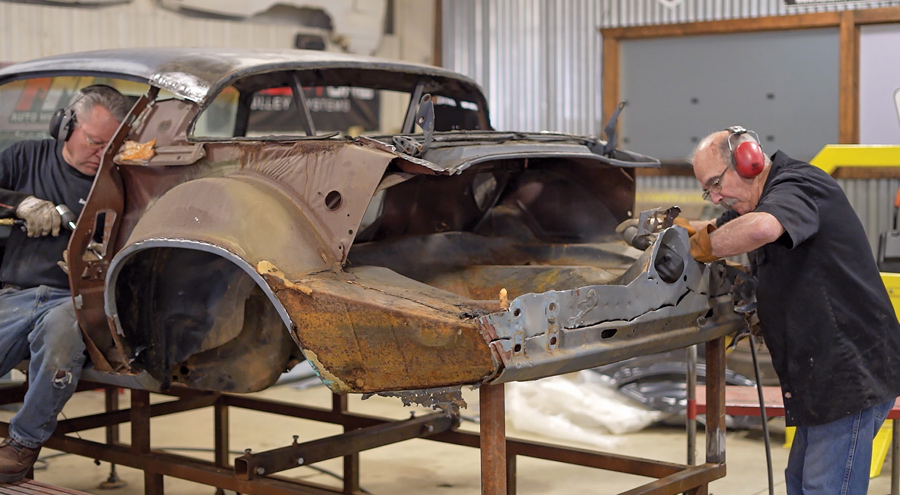
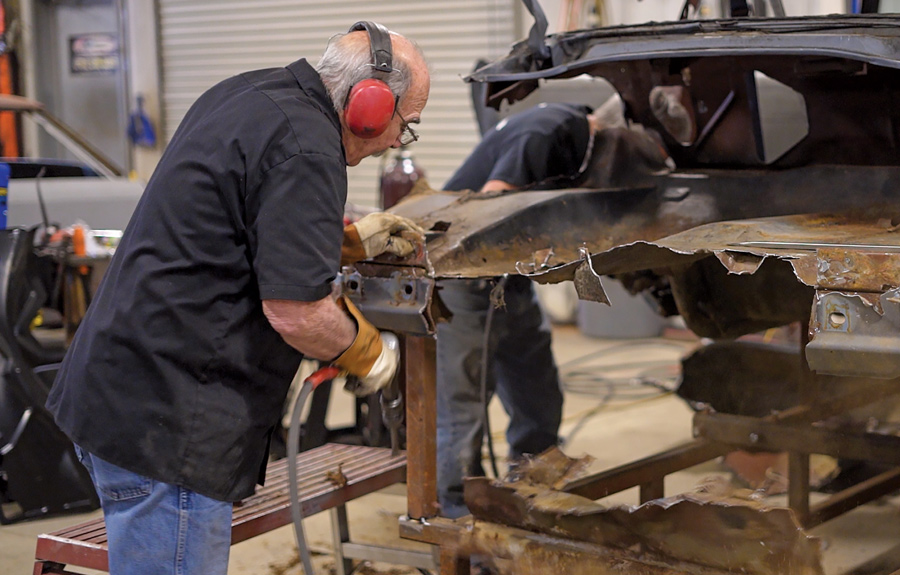
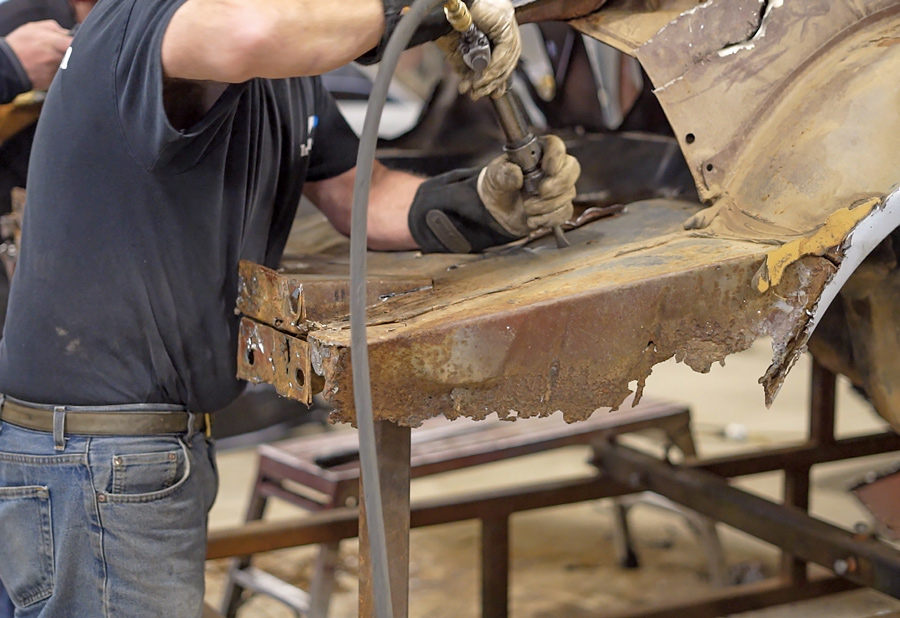
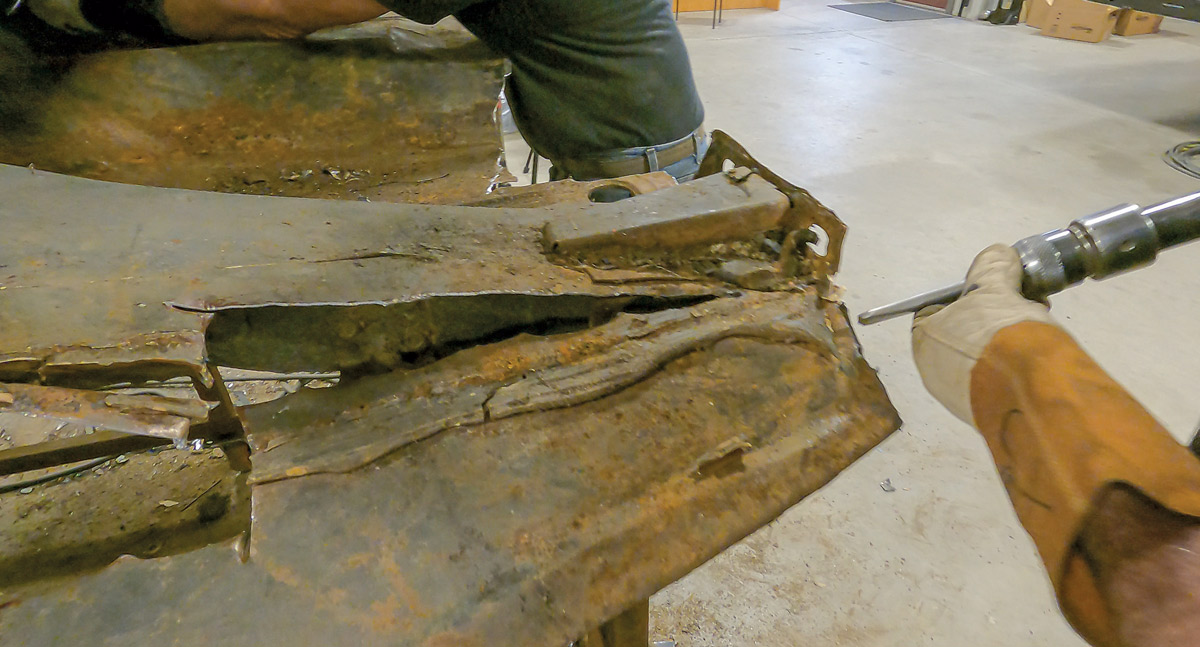
Let’s dive in and get started. We take you to The Installation Center in Cleveland, Georgia, where Hopkins will show us the ins and outs of how to make a later second-gen Camaro look like the more desirable early second-gen (’70-73) Camaro.

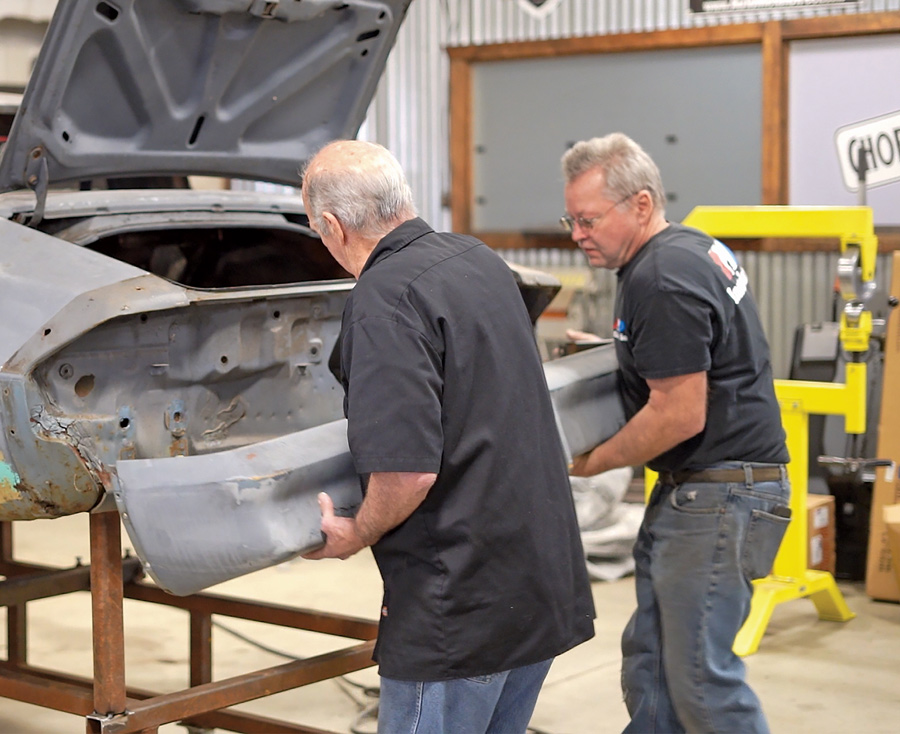
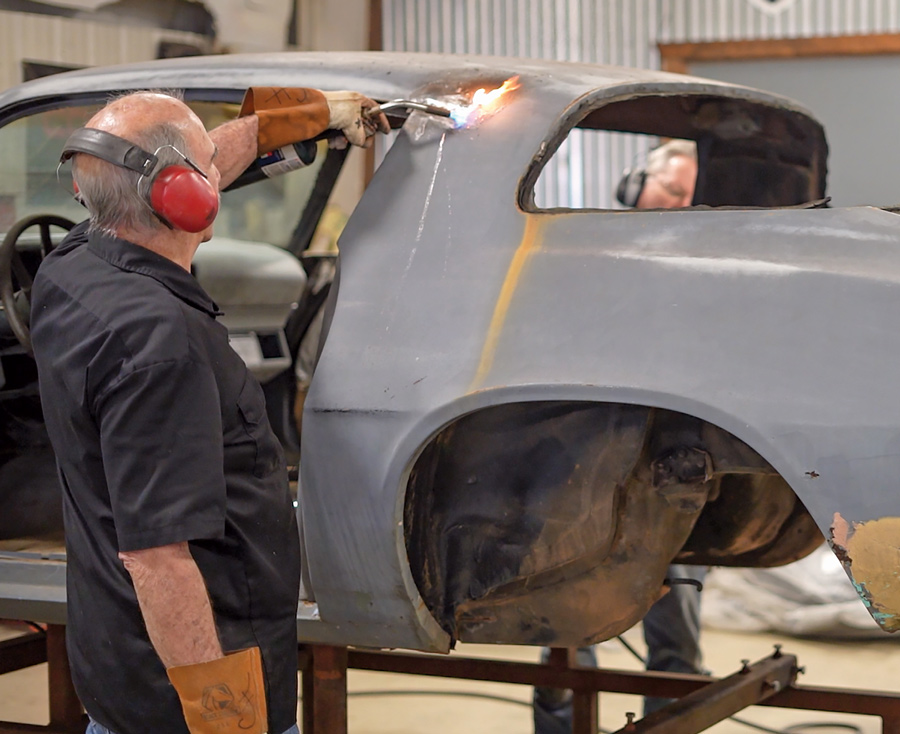
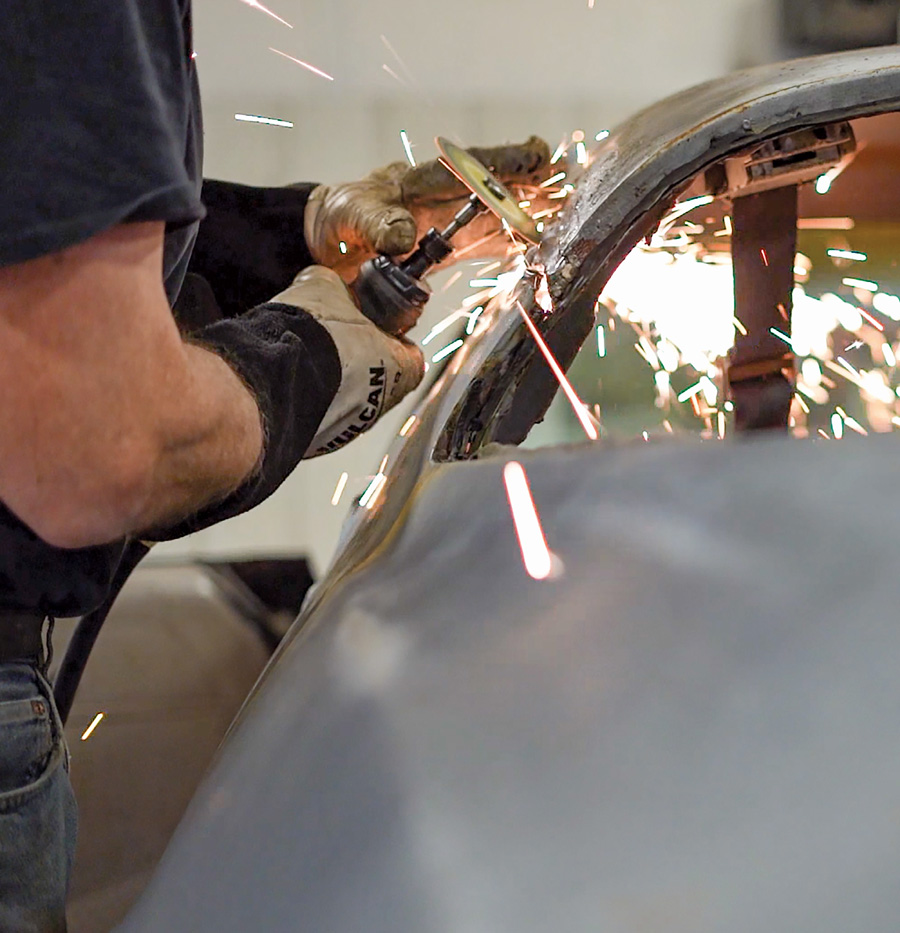
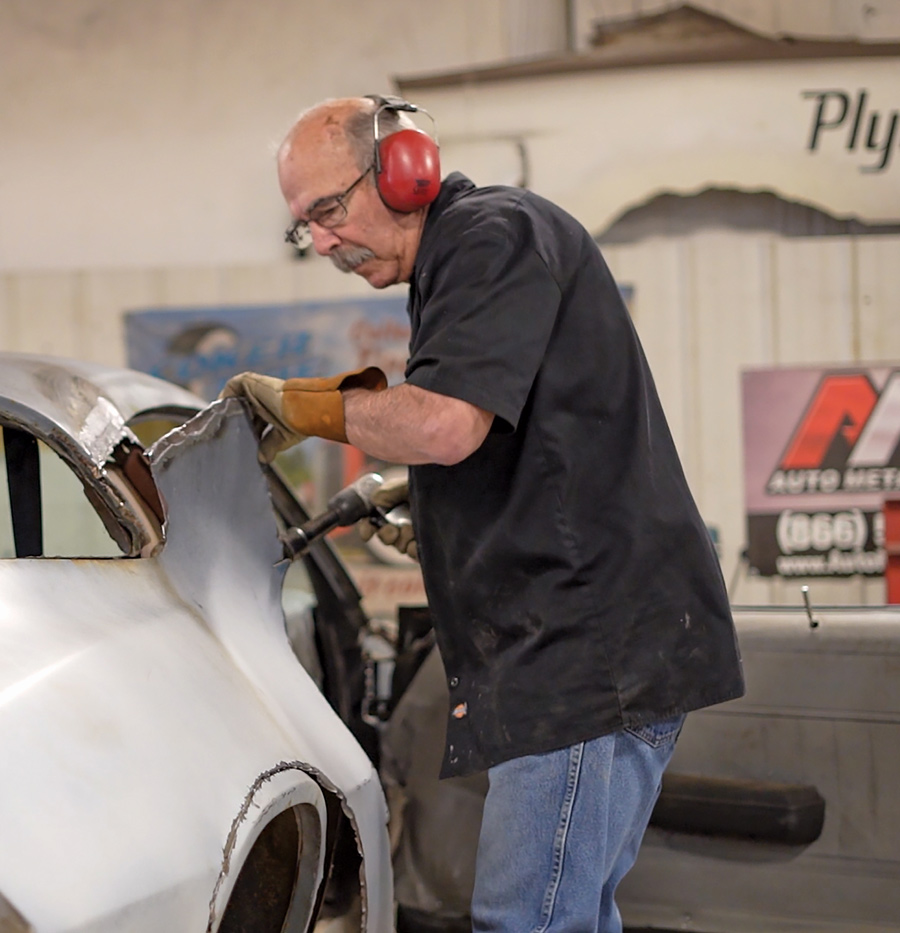
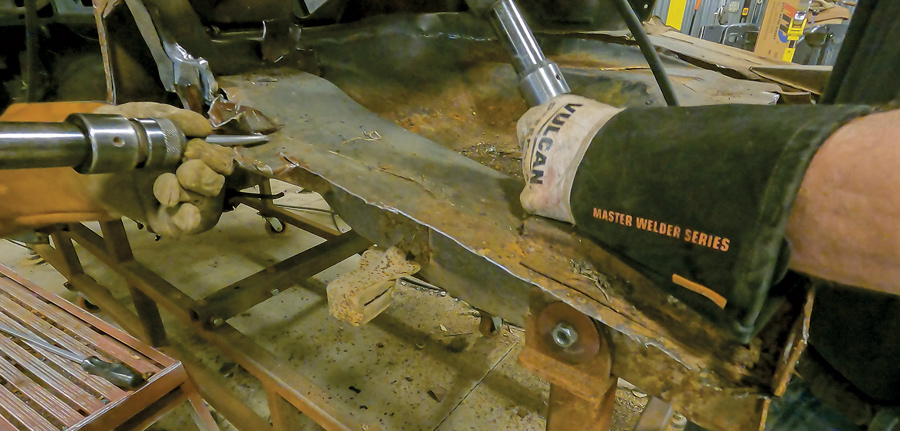
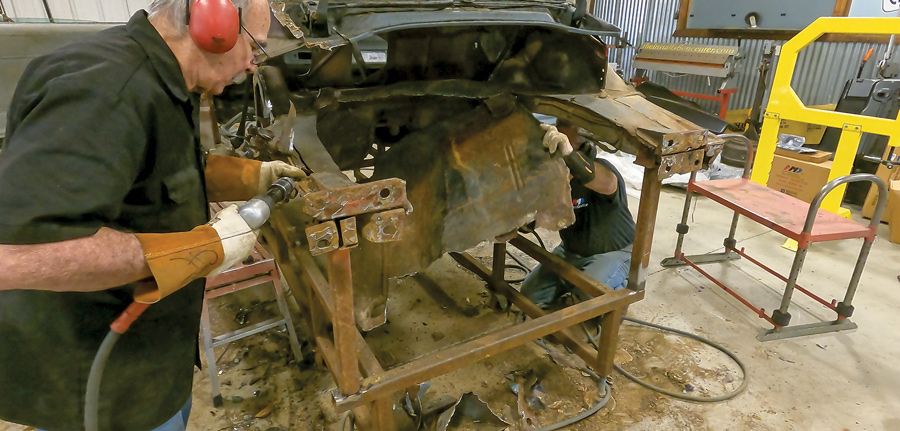
In this article, we are going to cover the basics of car prep and teardown. Here we go!

Car lifted in the air
1. First step is to get the front end off the car. It is mostly bolt on components, so no need to show you disassembly. Here is where we are going to pull the suspension and front end to prep prior to going onto the table.
car on the table
2. With our car on the table, we will begin disassembly of the rear of the car. The Installation Center focuses on this work and has the tables ready to go to make this process turnkey. If you are doing this at home, get the car stripped and level to achieve the same results.
removing the rear bumper
3. Deconstruction begins with removal of the taillights, rear spoiler, rear bumper, and decklid. Get all the glass, gaskets, wiring, and interior out of the way. Getting down to the metal is the goal. We are removing most of the back end of this car so crossbraces can be installed to maintain structural integrity.
 melting the lead joints with a blow torch
4. With everything cleared out, Hopkins starts with removing the quarter-panels. He prefers melting the lead joints and using a wire brush. This cuts down on the harmful side effects when working with this material.
A cut-off wheel is used just below the seam to retain the roof
5. We are going to reuse the roof skin and most of the roof structure. A cut-off wheel is used just below the seam to retain the roof.
The air chisel is used to get the rest of the quarter-panels loose
6. The air chisel is used to get the rest of the quarter-panels loose. A quick pass around the perimeter makes this process go by faster.
most of the quarter-panel removed
7. With most of the quarter-panel removed, you can see what we will be removing next. We will be retaining the doorjamb, rocker panel, package tray, and rear framerails. The rest has got to go.
Hopkins and Crabtree tag team the panel removal
8. Hopkins and Wesley Kennedy tag team the removal. Take careful consideration at this step, you don’t want to remove any material that you are going to keep.
Hopkins assesses the detail removal to keep the package tray intact
9. Hopkins assesses the detail removal to keep the package tray intact. A little time spent here can save you time and money by not removing anything still needed.
Meticulous removal of the rear panels continue; you want to save those rear framerails
10. Meticulous removal of the rear panels continue; you want to save those rear framerails.
With careful planning, Hopkins knows where to cut larger sections without worry of overstepping
11. With careful planning, Hopkins knows where to cut larger sections without worry of overstepping.
Crabtree is just as particular as Hopkins; he gets the wheelhouses removed with the framerail ready for final cleanup
12. Kennedy is just as particular as Hopkins; he gets the wheelhouses removed with the framerail ready for final cleanup.
Hopkins uses the air chisel to peel back the layers on the framerail
13. Hopkins uses the air chisel to peel back the layers on the framerail. Control is key when using this tool. It can be very effective when done with patience.
Crabtree moves to the other side and starts removing the trunk floor at the inside of the framerail.
14. Kennedy moves to the other side and starts removing the trunk floor at the inside of the framerail.
The air chisel makes quick work of the trunk floor.
15. The air chisel makes quick work of the trunk floor. Also, note the straps retaining the package tray, these are used to keep it from collapsing once the other wheelhouse is removed.
Remove the trunk floor extensions on the outside of the framerail.
16. Remove the trunk floor extensions on the outside of the framerail.
Crabtree peels back the metal attached to the framerail as Hopkins preps the bumper bracket reinforcement for removal.
17. Kennedy peels back the metal attached to the framerail as Hopkins preps the bumper bracket reinforcement for removal.
Crabtree moves back to the passenger side as Hopkins removes the bumper reinforcement.
18. Kennedy moves back to the passenger side as Hopkins removes the bumper reinforcement.
Car with all the panels removed
19. With all the panels removed, you can see there isn’t a whole lot left. Framerails, roof, package tray, rockers, and doorjambs are still intact and ready for primer. Don’t worry, rebuild will be a breeze. Stay tuned, we will cover it all right here in the next issue of All Chevy Performance.
Auto Metal Direct
(833) 404-4777
autometaldirect.com
The Installation Center
(706) 348-6653
amdinstallation.com