ACP department heading TECH
InTheGarageMedia.com
Man holding steering wheel
Power Struggle
We Install a CPP Power Steering Conversion Kit on an Early Chevelle
By Tommy Lee Byrd 
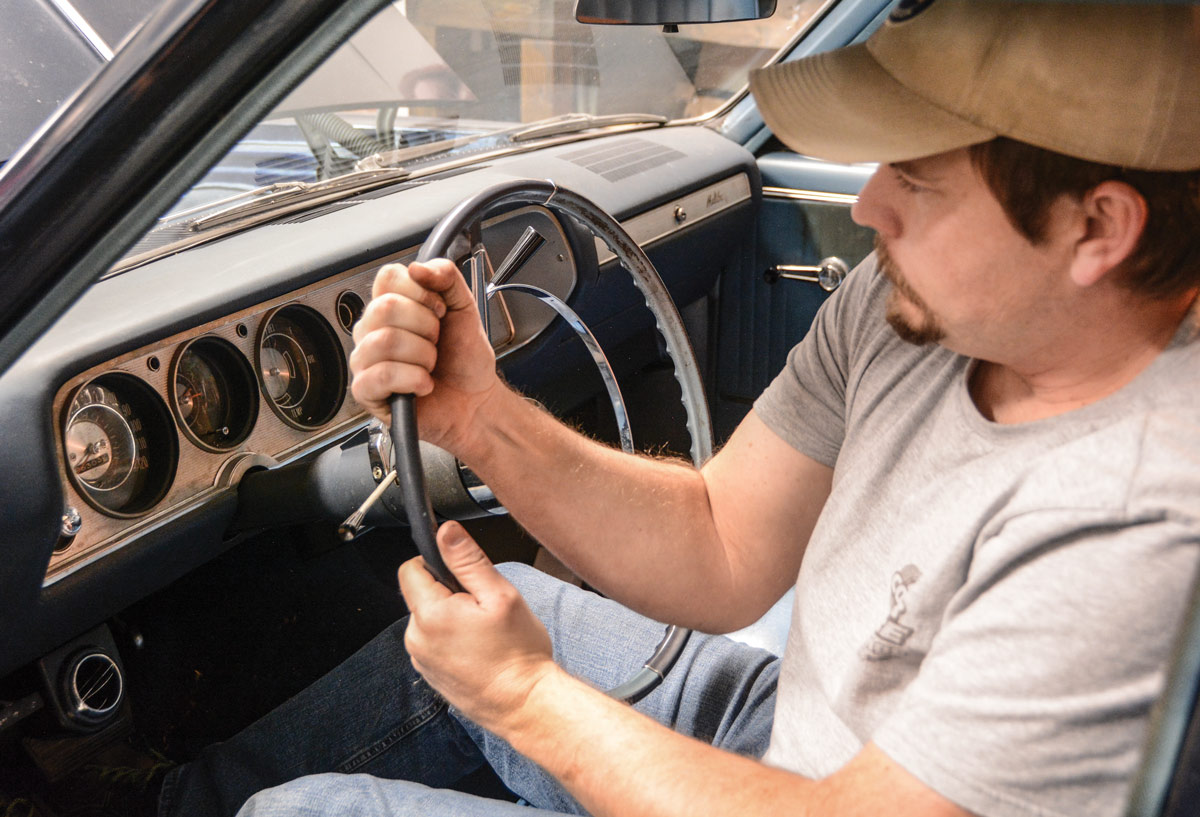
Photography by The Author
H

orsepower and comfort don’t exactly go hand-in-hand. In order to make more horsepower, you sometimes have to sacrifice comfort, and to be more comfortable, you may have to sacrifice a little horsepower. In our younger days, those comfort sacrifices included stripping all of the seemingly unnecessary accessories off the front of the engine—it just seemed like the right thing to do. The air conditioning and power steering system often went to the scrap pile in an effort to save weight and take some drag off the engine. But there’s a time in every car guy’s life that he needs a little more comfort.

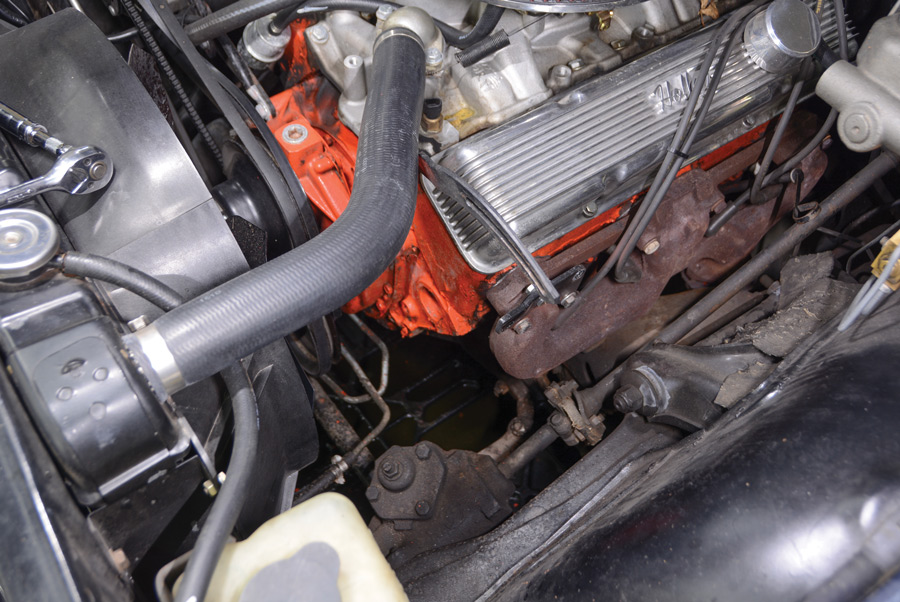
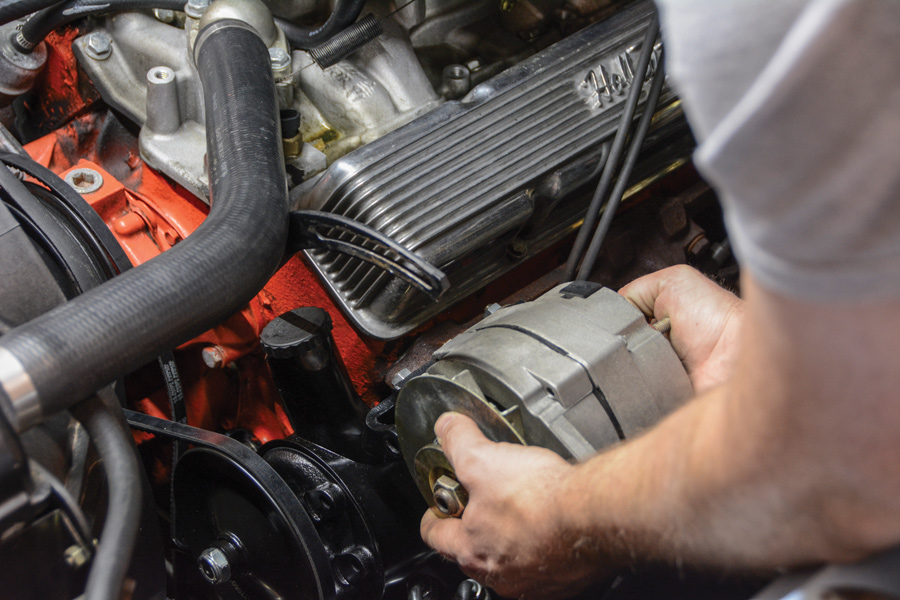
That’s the point we’ve reached with this 1964 Chevelle. It’s a cool cruiser with a mostly original 283ci small-block, but we’ve been fighting the original manual steering system for years. When simple tasks like backing out of the garage and navigating a tight parking spot at the local burger joint become a chore, you know it’s time to make a change. We’re finally doing something about it with a Power Steering Conversion Kit from Classic Performance Products (CPP).

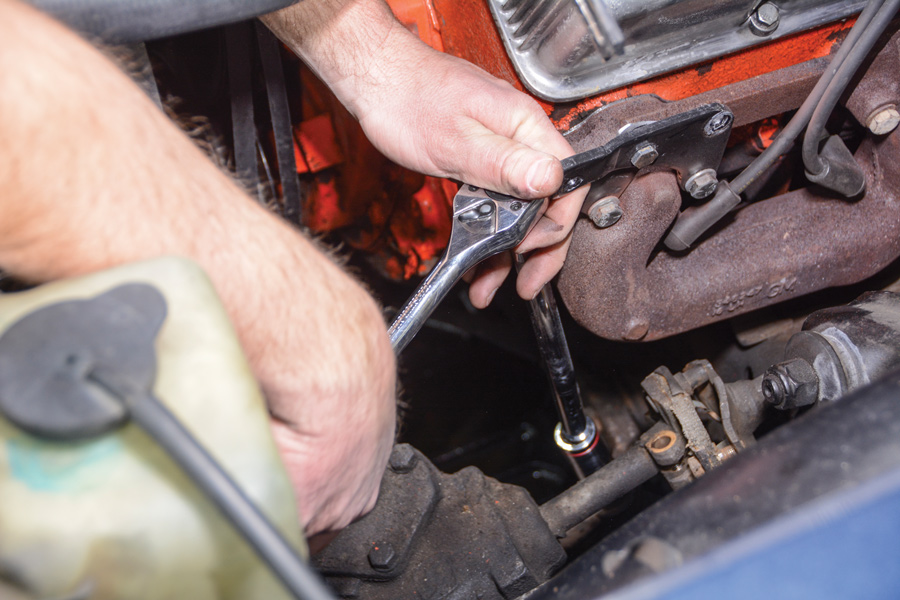
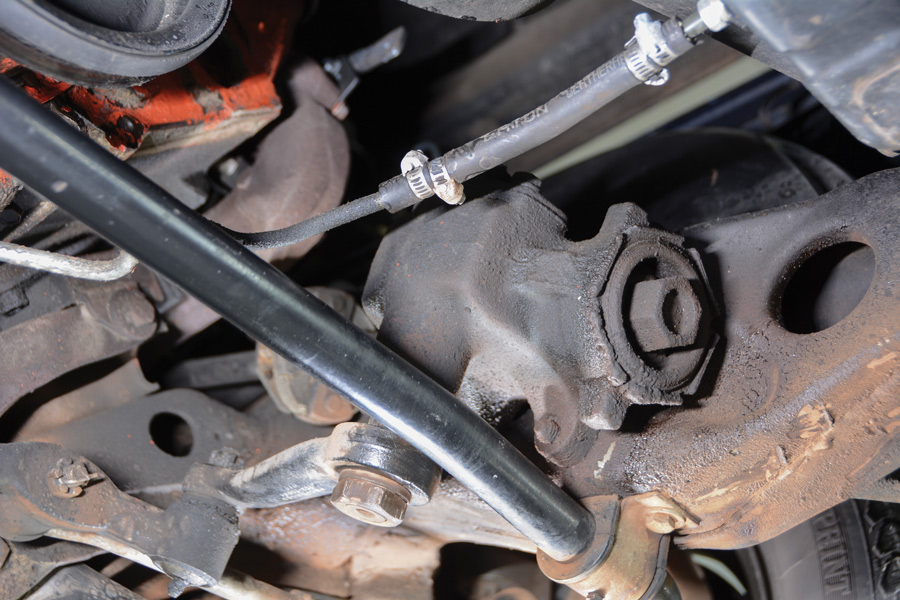
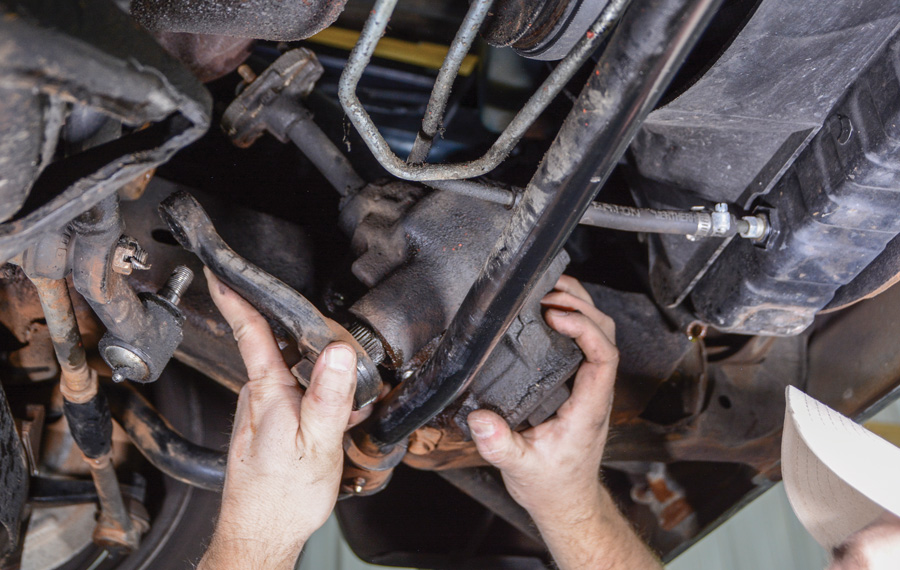
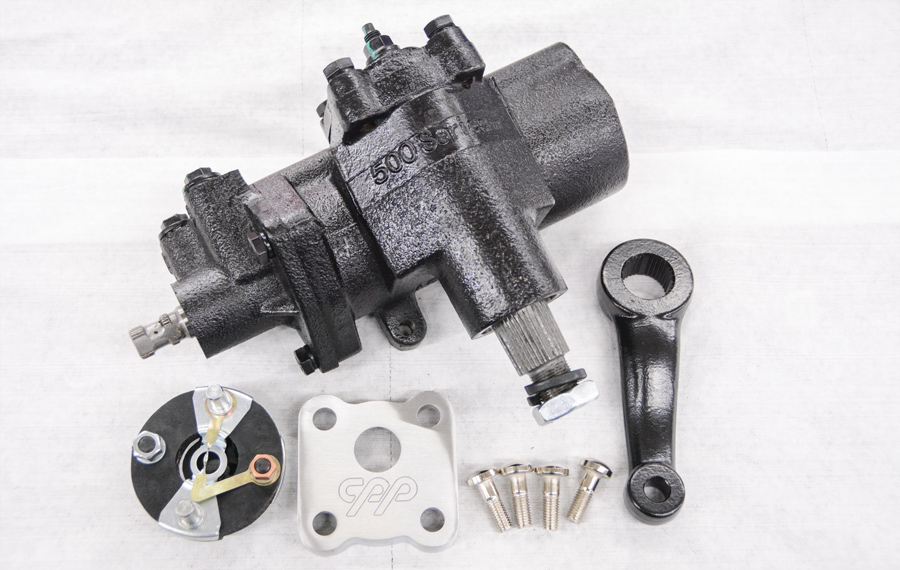
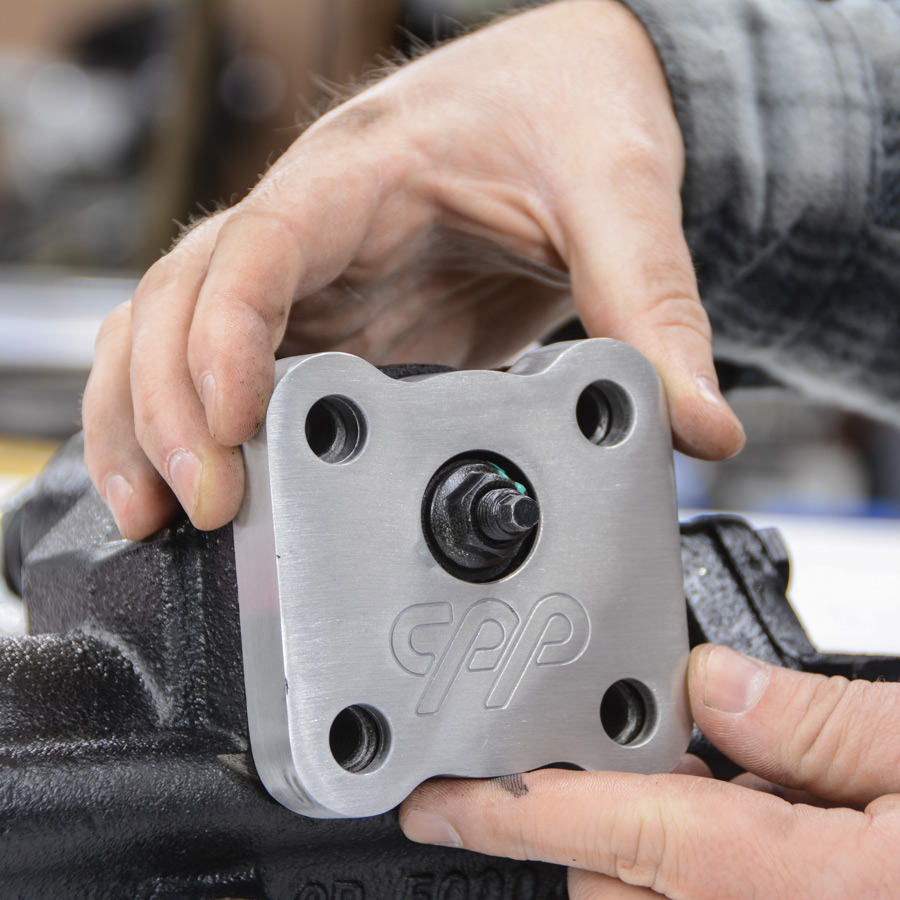
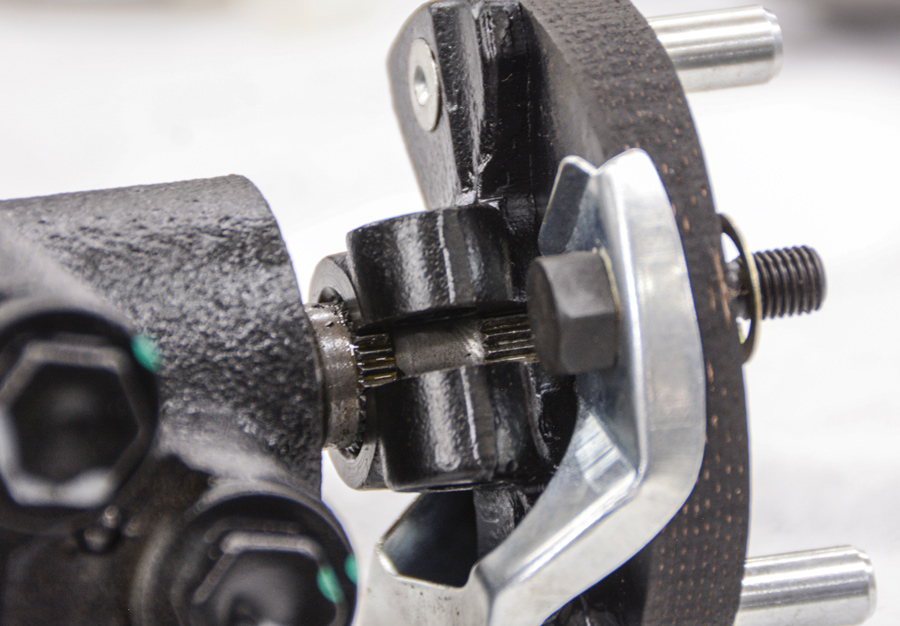
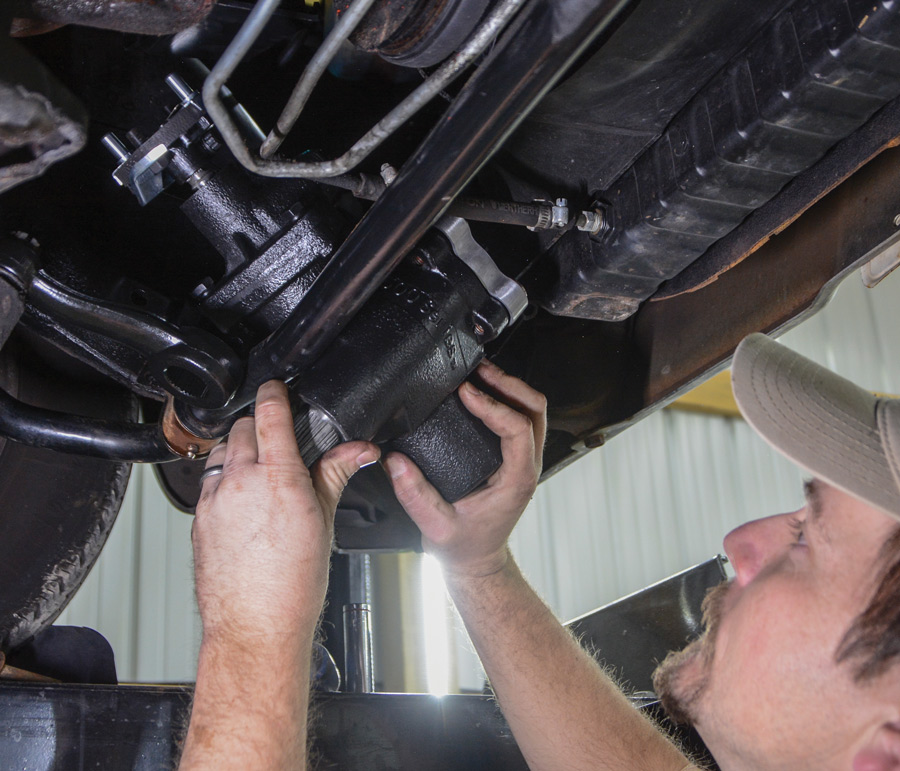
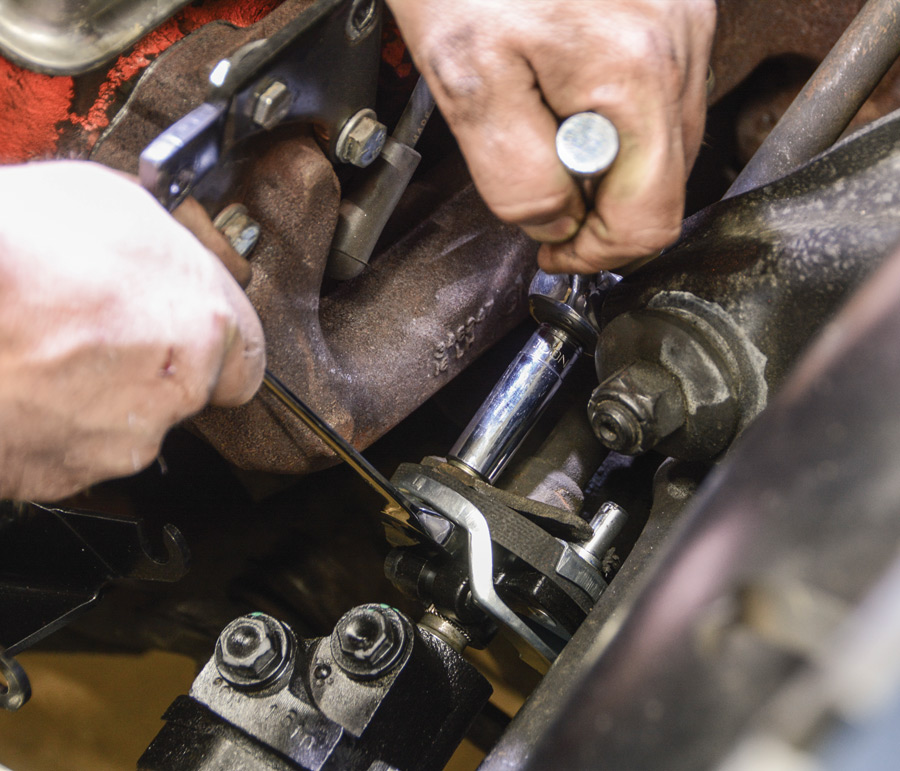
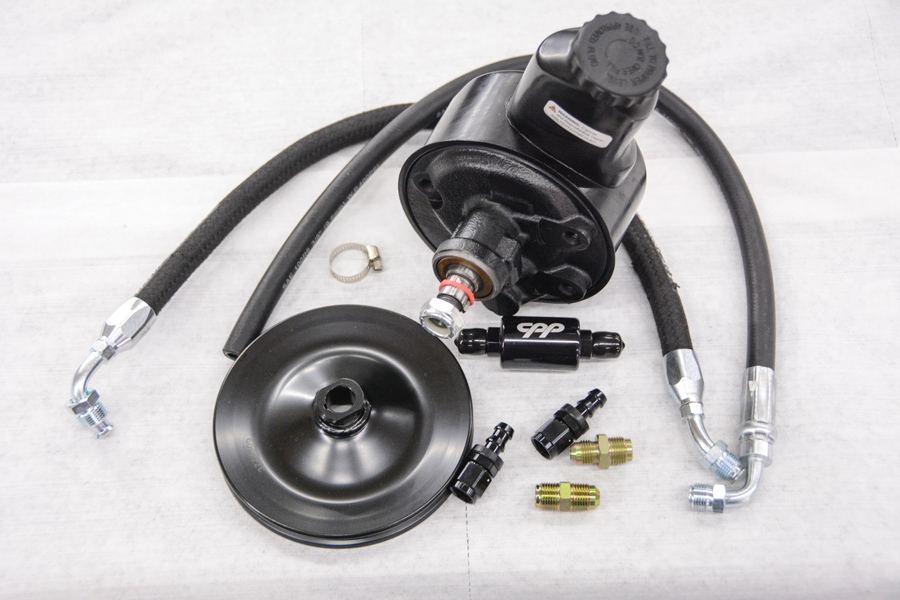
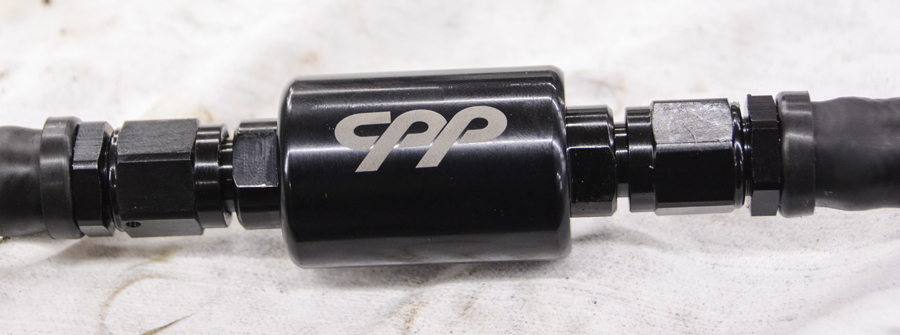
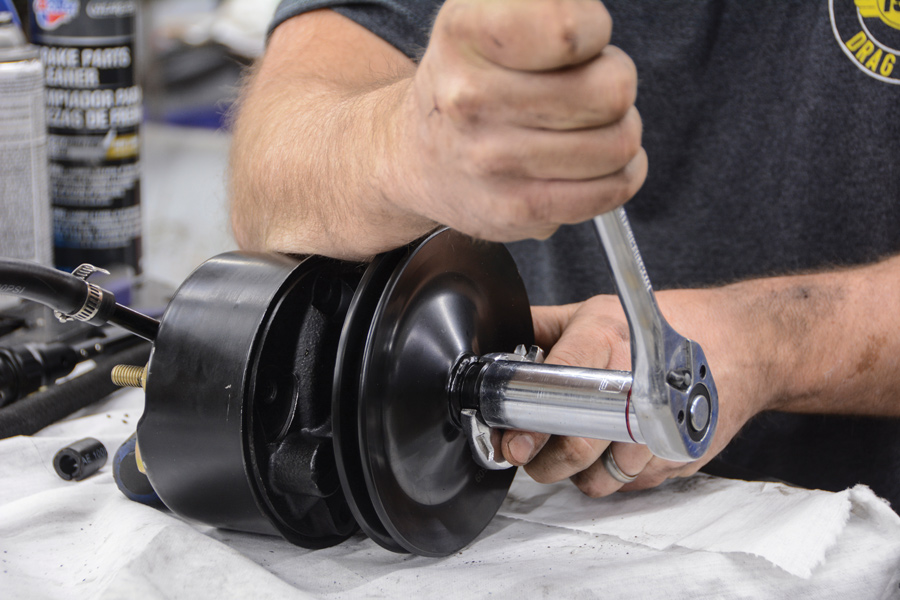
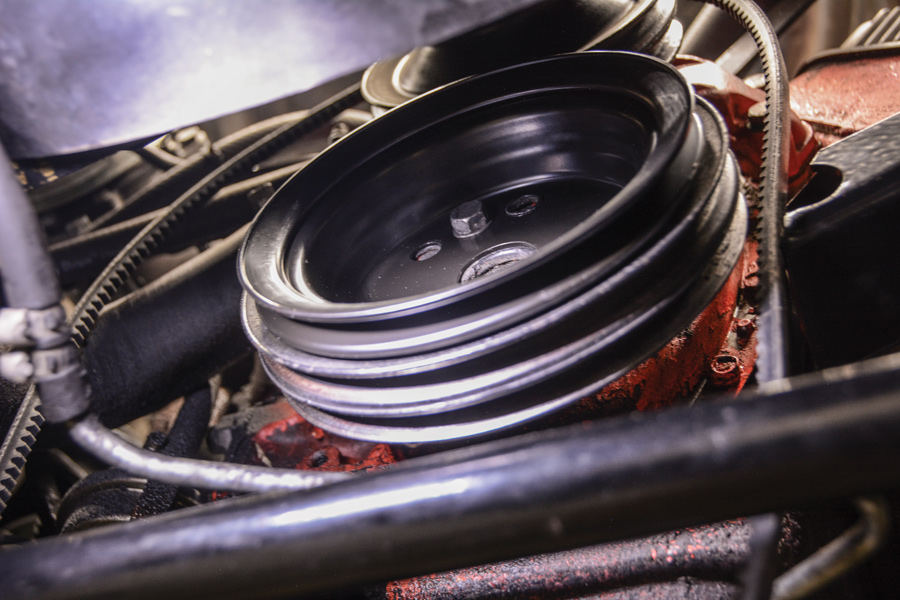
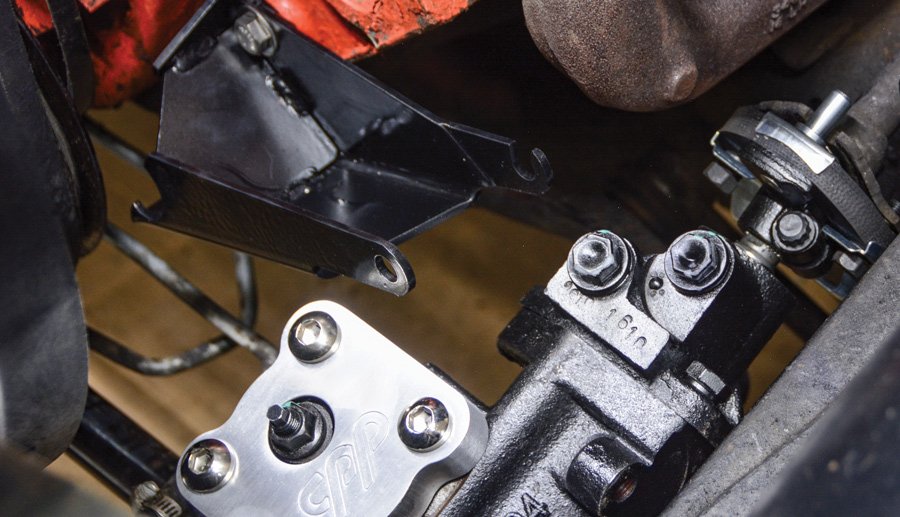
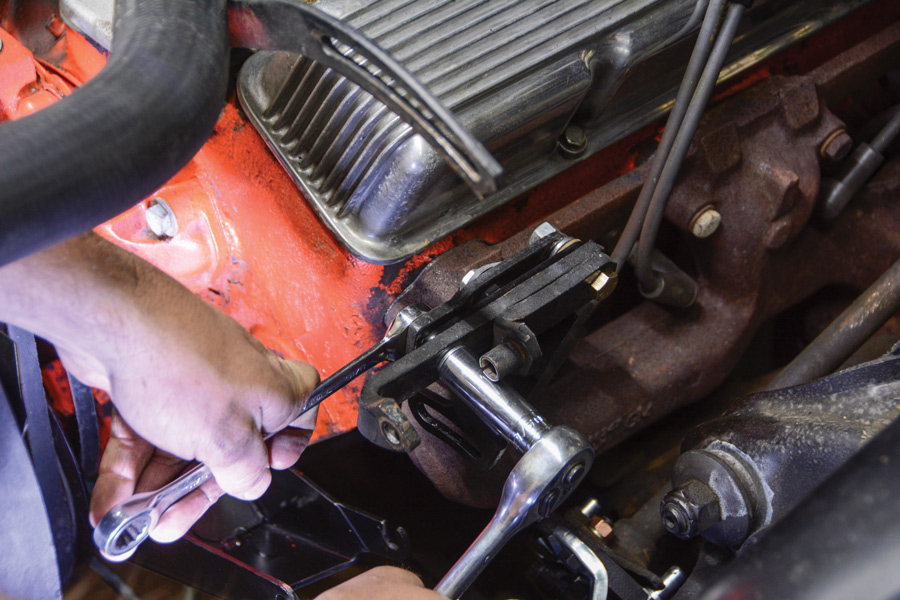
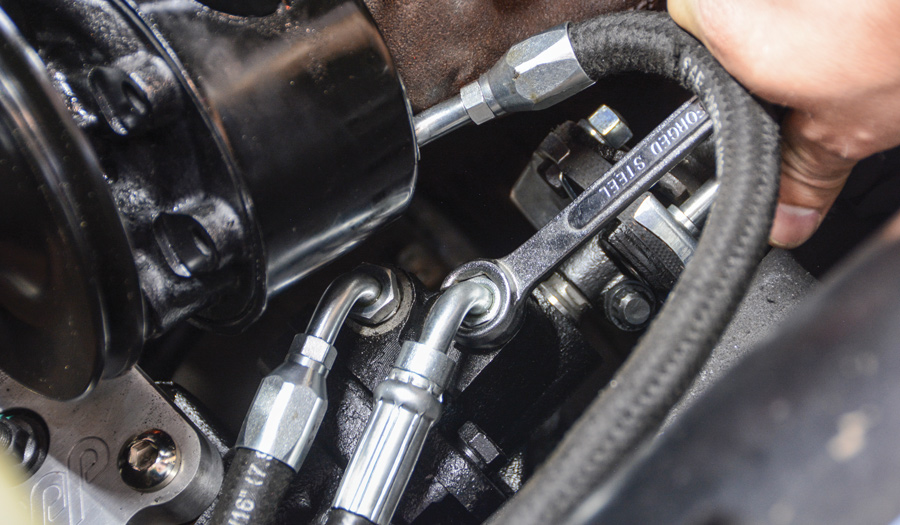
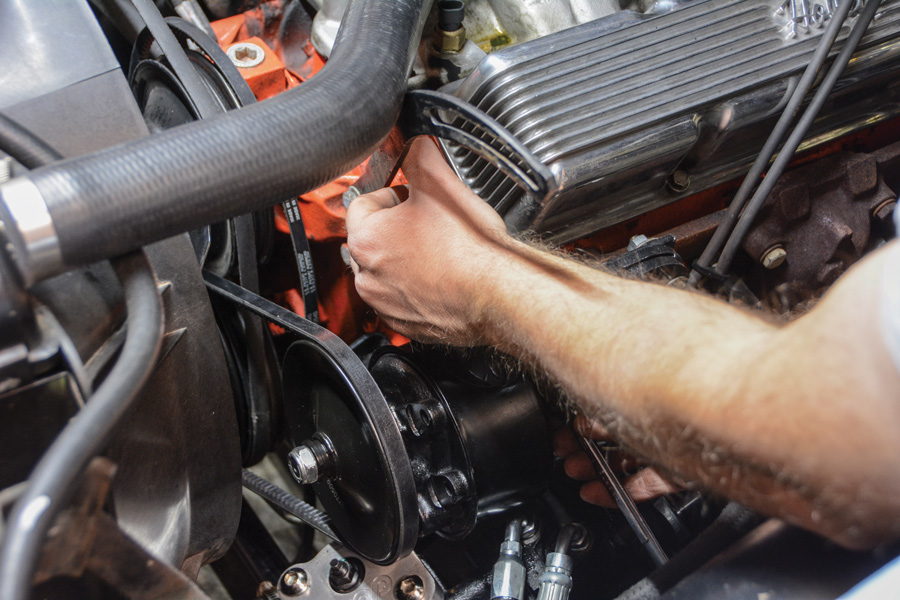
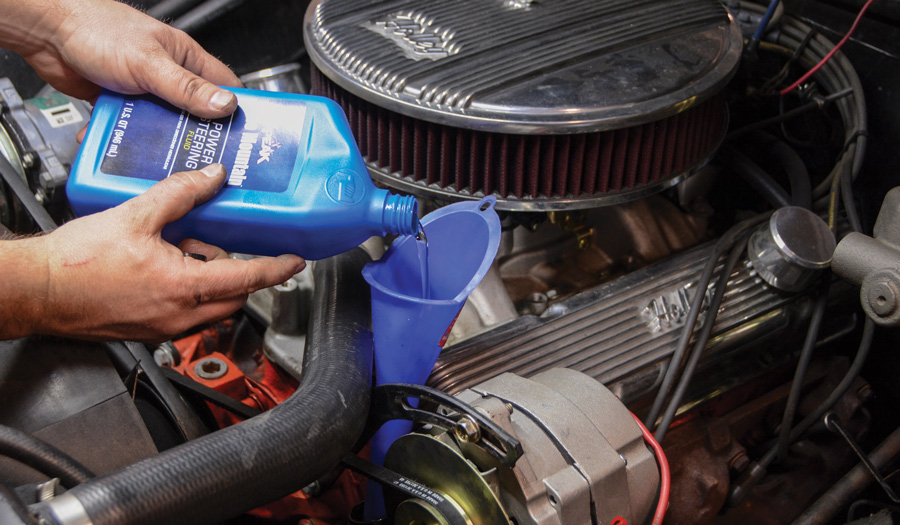
The kit (PN CPP6467PSK) is a direct bolt-on system that includes a new 500 Series steering box, steering coupler, power steering pump, and hoses. In order to adapt the kit to our original 283ci engine, we ordered the 6468PSBK-SB bracket kit, as our engine does not have accessory holes in the heads. The guys at CPP helped us determine which pulleys we’d need to make it work. A CP38809 power steering pump pulley and a CP38812 add-on crankshaft pulley did the trick. We were also advised to pick up a power steering filter, so we grabbed a PSFF-K to make sure the new box would have a long service life.

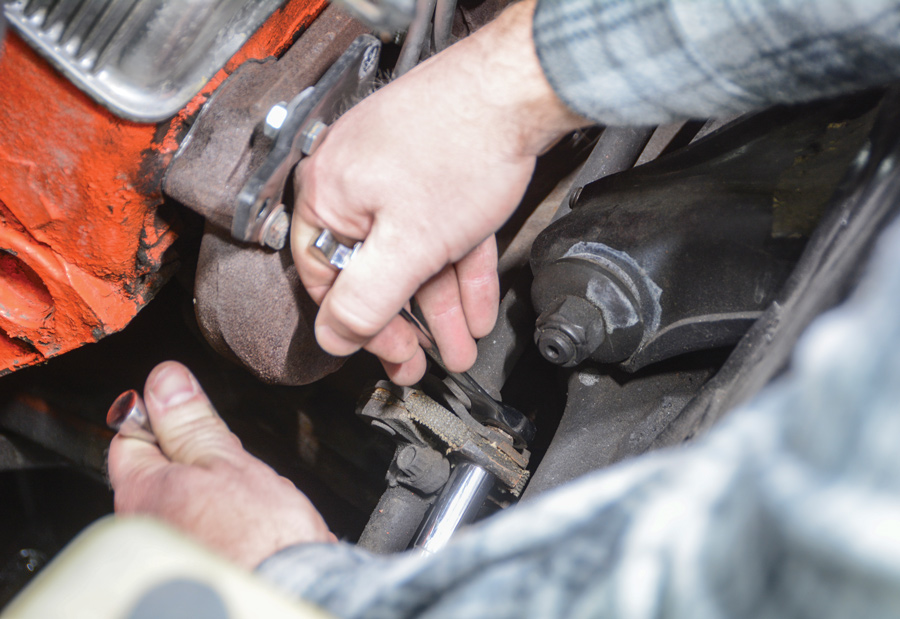
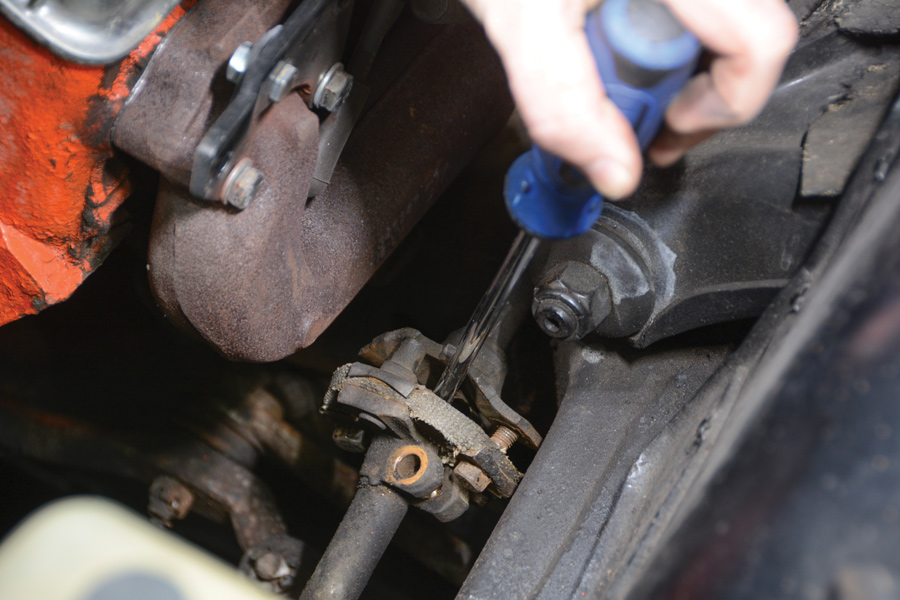
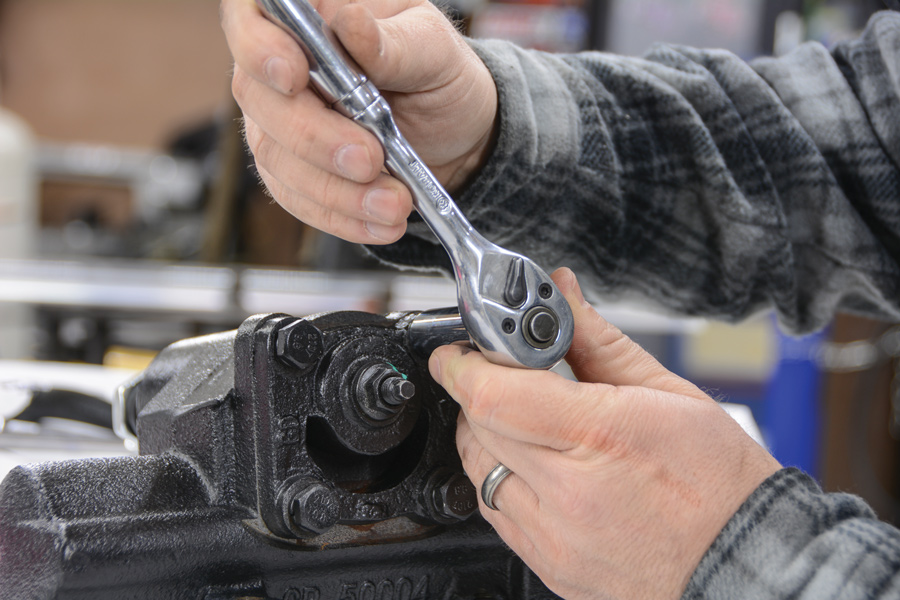
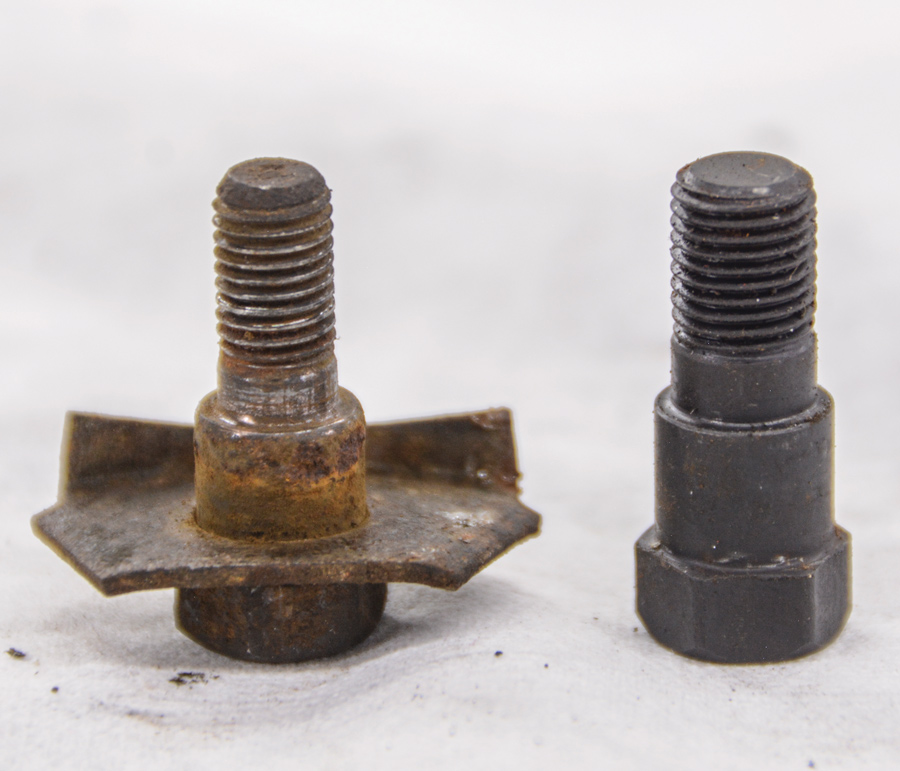
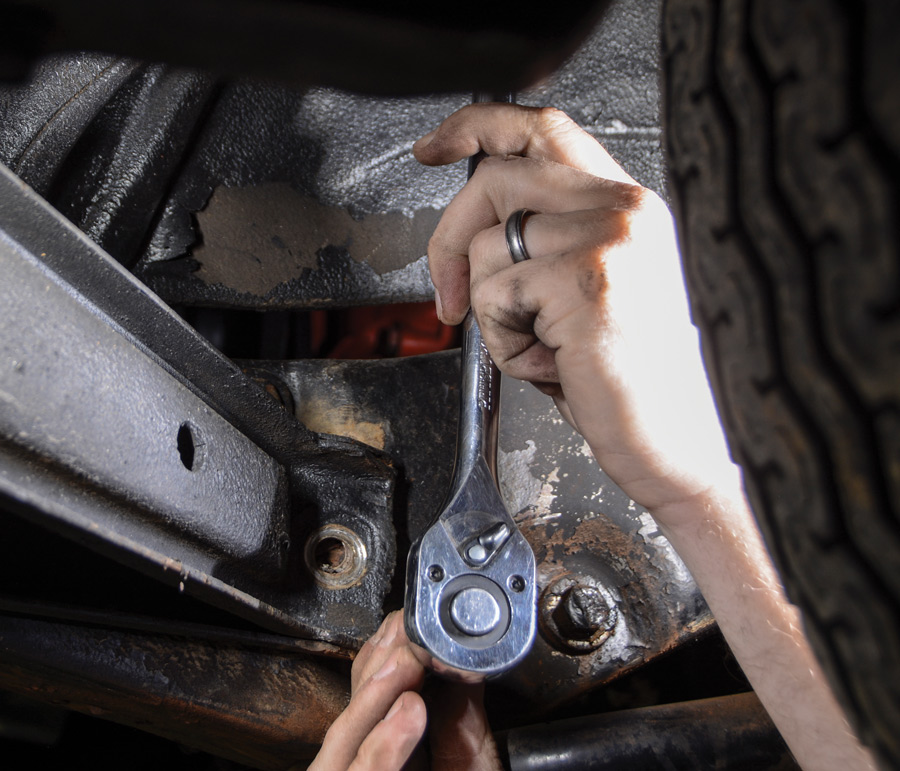
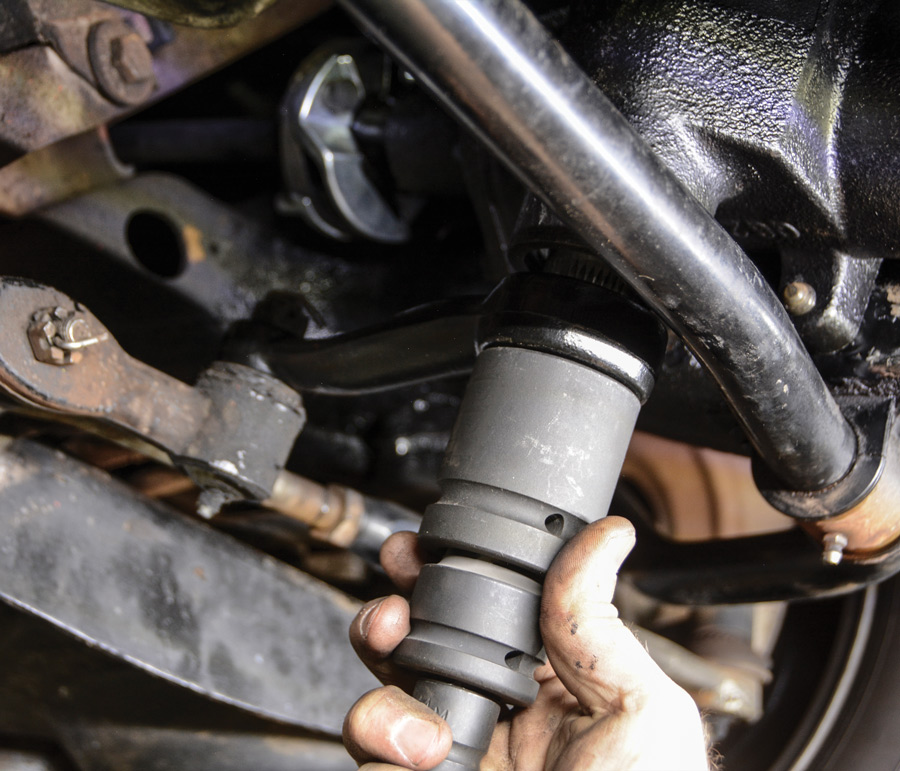
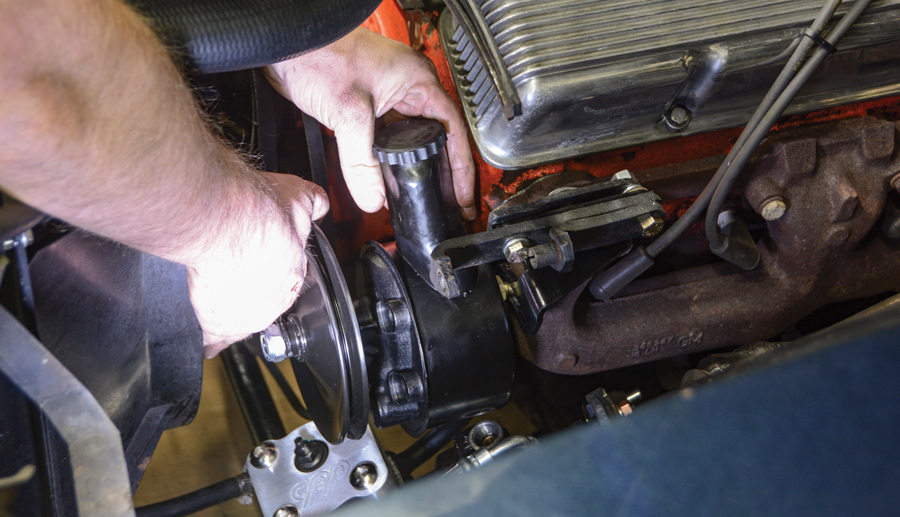
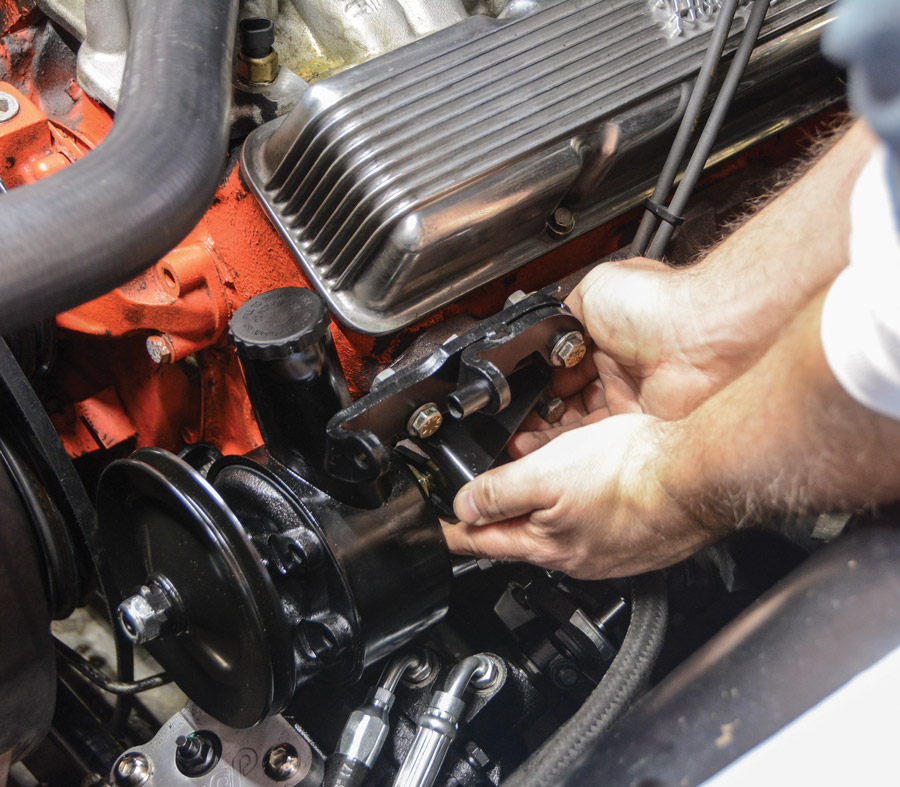
The install took the better part of the weekend and did require the use of a couple specialty tools, most notably a 1 5/16-inch socket. Overall, the kit worked well and we’re extremely happy with the new quick-ratio box and the power-assist. It’s a night-and-day difference in comfort, and we’re ready to get back on the road.

Close look inside the engine bay
1. Our starting point is a 1964 Chevelle with its original 283ci small-block. The manual steering setup works fine at speed but puts up a major fight when we’re backing into a parking spot at our local cruise night. We start the process by removing the alternator.
accessing the steering coupler
2. With the alternator out of the way, we can easily access the steering coupler (also known as rag joint) nuts. There are two nuts and bolts, so you may need to turn the steering wheel a little to access the opposite side. Be sure to return the steering wheel to the straight position.
seperating the coupler from the steering shaft with a large screwdriver
3. Once the nuts are removed, the coupler can be separated from the steering shaft with a large screwdriver or pry bar. It’s best to get this coupler separated now instead of after the box is hanging loose.
removing the cotter pin and loosening the 3/4-inch castle nut that attaches the pitman arm to the centerlink
4. Before we move to the bottom side of the car, we remove the cotter pin and loosen the 3/4-inch castle nut that attaches the pitman arm to the centerlink. We did not completely remove the nut just yet.
using a four-post lift for easy access to the steering box
5. We used a four-post lift for easy access to the steering box, but these steps can easily be accomplished with the car on jackstands. We evaluate the steering box mounting hardware and give it a quick shot of penetrating oil to make for easy removal.
Empty bolt hole
6. Two of the three steering box mounting bolts are easy to access. The third bolt, which is in the upper position, can only be accessed by loosening and lowering the bumper bracket. These bolts pass all the way through the framerail.
removing the pitman arm
7. After the bolts are loosened (but not removed), we gave the pitman arm a few blows with a hammer to break it loose from its tapered seat. Some cases may require the use of a pitman arm puller. Then, the whole box, coupler, and pitman arm are removed.
500 Series power steering box from Classic Performance Products
8. We’re replacing our original manual steering box with a 500 Series power steering box from Classic Performance Products (CPP). This is part of the CPP6467PSK conversion kit, which is a direct bolt-on system for 1964-1967 Chevelles. The kit comes with additional parts, such as a factory-style pump and hoses.
removing the four original bolts
9. Before we start installing parts, we need to dress up the 500 Series box. We start by removing the four original bolts, but we do not need to remove the original plate.
brushed aluminum cover
10. The brushed aluminum cover simply bolts over the top of the original plate, using new button-head fasteners. It’s a simple way to give our CPP 500 Series steering box a little extra style.
3/4-30 steering coupler
11. This is the 3/4-30 steering coupler, which comes with the CPP kit. After removing the bolt from the coupler, we can slide it directly over the splines. It has a flat spot in the splines to ensure proper alignment. Also notice the gap in the splines—this is where the bolt passes through to lock the coupler in place.
Old and new bolt side by side
12. A quick note about the new CPP coupler. It uses larger bolts than the original. You have two options—you can either reuse your original bolts or drill out the original steering shaft flange to accept the larger bolts. The original bolts were crusty and had some thread damage, so we opted to enlarge the holes in the flange for the new hardware.
lifting the assembly into place
13. We spun the steering box lock-to-lock to find the center point and then lifted the assembly into place. Notice that we already have the new pitman arm loosely hanging on the centerlink. This is a great time for a helping hand to align the steering box with the coupler, pitman arm, and mounting holes simultaneously.
bolting the steering box into place
14. After getting the coupler and pitman arm seated, we can bolt the steering box into place, using the original bolts. If you feel your original bolts are not up to the task, new ones are available through vendors like Original Parts Group or National Parts Depot.
Using a socket on a shaft
15. Power steering boxes feature a larger shaft than manual boxes, so we utilized the new pitman arm that came with the CPP kit (PN 6872PA-P if ordered separately). The new box came with a new lock washer and nut, which measures 1 5/16 inch. Many parts stores will loan (or sell) you a socket to fit, since the average toolbox doesn’t contain a size that big.
tightening the new hardware on the supplied steering coupler
16. On the top side, we tighten the new hardware on the supplied steering coupler. Again, you may need to turn the steering wheel for easy access to the two nuts.
factory-style pump and premade hoses
17. Now we can dive into the installation of the new power steering pump. The CPP6467PSK kit comes with this factory-style pump and premade hoses. Separate items added to our order included the CP38809 keyway-style pulley and the PSFF-K power steering filter.
power steering fluid filter
18. CPP suggests using a power steering fluid filter as it collects debris before it gets to the steering box. The PSFF-K filter kit includes the necessary fittings. Since this is on the low-pressure side, it features a push-lock–style fitting and standard rubber hose.
sliding the pulley over the shaft and then tighten the supplied nut
19. The power steering pump includes a halfmoon key that fits in the shaft and pulley. After ensuring proper alignment, we slide the pulley over the shaft and then tighten the supplied nut.
an extra pulley to our engine
20. In order to send power to the pump, we had to add an extra pulley to our engine. CPP offers a CP38812 pulley, which bolts onto our existing double-row crankshaft pulley, giving us a third row without throwing off any of our other belt routing.
CPP power steering pump bracket kit
21. Since our early small-block does not have accessory boltholes in the cylinder heads, we used the CPP power steering pump bracket kit (PN 6468PSBK-SB). The lower mount bolts to the two existing boltholes in the front of the block. We used a pick tool to dig out years of gunk and then used a thread chaser to clean the threads before mounting the bracket.
seeing how the upper mount aligns with our existing alternator bracket
22. With the lower bracket in place, we can mock up the power steering pump and see how the upper mount aligns with our existing alternator bracket. The pump fits properly, but we noticed some interference with the alternator.
removing the original alternator bracket and replace it with a factory-style bracket that is designed for use with power steering
23. The alternator interference is a simple fix. We can remove the original alternator bracket and replace it with a factory-style bracket that is designed for use with power steering.
tightening bolts on the alternator
24. Mock-up round two involves the correct alternator bracket, which positions the alternator slightly higher than the original bracket. This bracket is available through several vendors but we went with the C-2317-2D unit from National Parts Depot.
tightening the fittings
25. With successful bracket swapping results, we’re ready to button up this install. We can now tighten the fittings and route the hoses to our liking. Notice the tight clearances between the pump and pressure line fitting.
Adjusting power steering belt
26. For our application, the proper power steering belt measures 41.5 inches (PN 15415 from the local parts store), but yours may vary depending on the bracket configuration. A quick tip, the last three digits of the part number for most V-belts indicate the diameter. For example, the 15415 measures 41.5 inches, whereas a 15420 measures 42 inches. Most parts stores offer V-belts in 1/2-inch increments.
installing the alternator
27. Now, we can finally install the alternator. For the slightly higher alternator location, we moved the upper adjustment bracket to the water pump instead of the intake manifold. This solved an interference problem with the upper radiator hose.
adding fluid to the new power steering pump
28. After installing the alternator belt and checking for clearance (it’s a tight fit), we add fluid to the new power steering pump. After adding a few ounces we let it sit for a few minutes and checked for leaks. Then, we jacked up the front of the car and slowly turn the steering wheel lock-to-lock without the engine running.
Front left wheel of the Chevelle turned
29. We added fluid, as it slowly sends fluid into the box as you cycle it. Once the fluid level remains steady, we started the engine. Then we slowly cycle the box again. If the pump growls, you may have air in the system. Turn the engine off and let it sit for a few minutes. Once the steering system operates smoothly, it’s time for a testdrive!
SOURCE
Classic Performance Products
(800) 522-5004
classicperform.com