

ACP department heading TECH
InTheGarageMedia.com
Simplicity Isn’t As Simple As It Looks
Fabricating a bumper center section from steel.
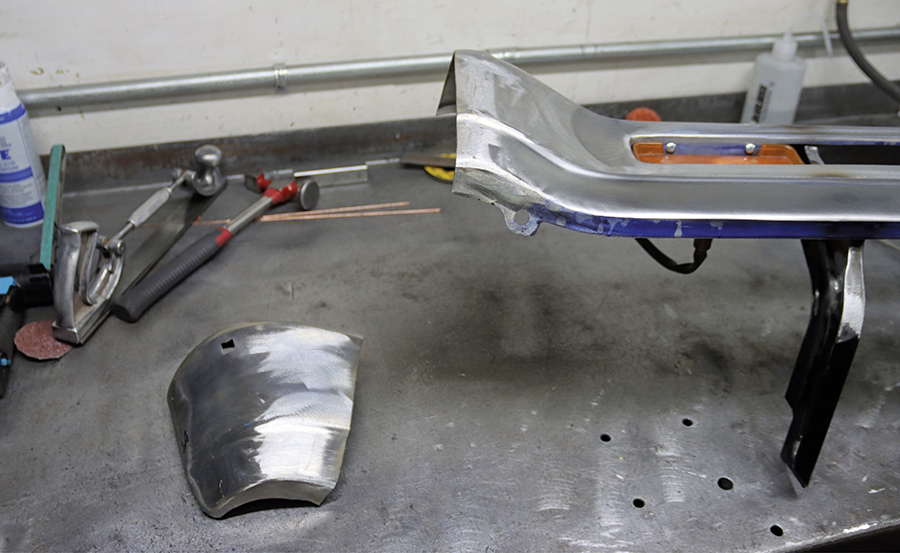
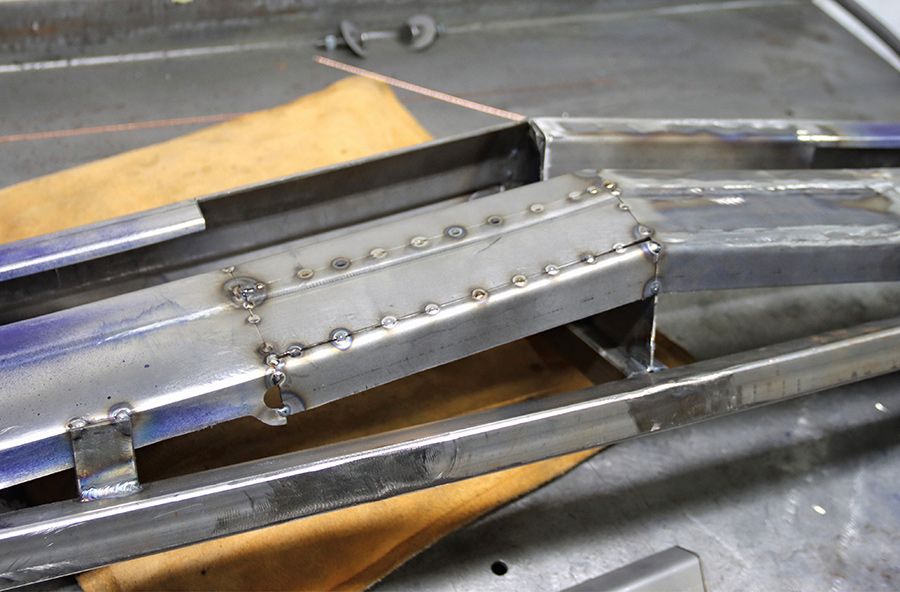
1. MetalWorks’ Dayton Eitner made a long list of modifications to a 1967 Nova front bumper, including making a new centersection from 14-gauge steel.
Building A Better Second-Gen Nova Bumper
BY RON CERIDONO IMAGES BY CHADLY JOHNSON
T

here are a variety of opinions when it comes to personalizing a car. For some, it often seems the goal is to make a change for change’s sake. The problem with that is change with no purpose is often counterproductive and makes the result less appealing than the original form. The trick to making any car look better is to improve the fit and finish of individual components and simplify them, if possible. That’s exactly what Dayton Eitner of MetalWorks in Eugene, Oregon, did to this second-gen Chevy Nova.

Eitner was tasked with what would seem like a simple chore: clean up the front bumper, make it fit better, and give it a “cleaner” look. The process began simply enough. The first to go were the bumper bolts. The holes were filled and studs were added to the back side, a pretty standard customizer’s trick.

With the boltholes filled, the bumper brackets were modified to bring it closer to the body and also lower it ever so slightly so it would match the accent line in the fenders. Next, Eitner cut the bumper in the center then reshaped it to fit the shape and the peak of the grille precisely, then welded it back together. The ends of the bumper were cut off and reattached to tuck them closer to the body and align their peaks with the peaks in the fenders.

At this point, most would think the goal of cleaning up the Nova’s nose was accomplished, but there was more to come. In stock form the turn signal/parking lights in the long horizontal slots in the bottom of the bumper looked like afterthoughts; it’s like they were stuck there because there was no other place to put them. The solution was to create individual openings for the light assemblies to make them look as though they belonged.

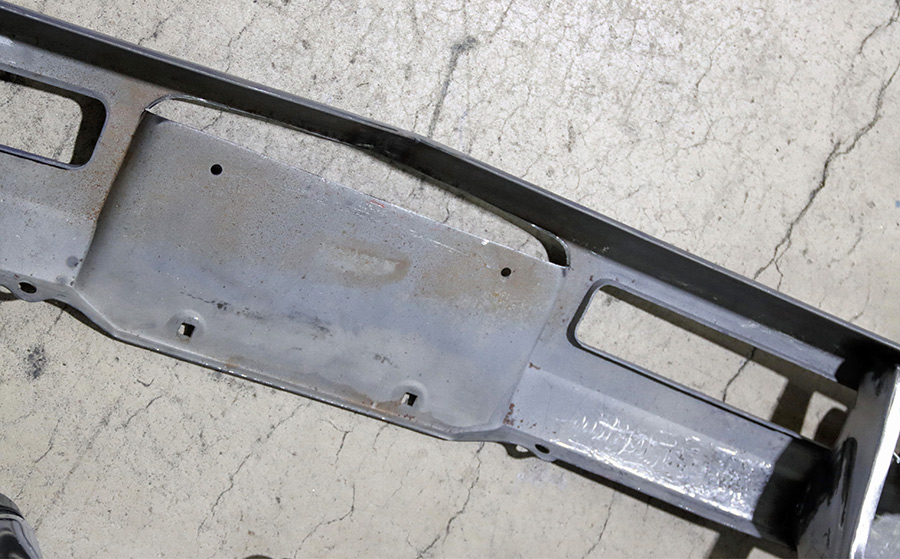
The final modification of the Nova’s bumper was the most challenging. The customer wanted the license plate recess in the center of the bumper removed and smoothed. Eitner built a fixture to hold the bumper and maintain its shape, then the recess was removed and a new centersection was fabricated and welded in place. With all the modifications made, the bumper was metal-finished to perfection in preparation for chrome plating.

The end result of Eitner’s efforts are so subtle and look so right it’s hard to recognize the amount of effort involved. There’s no question all the work was worth it, but it just goes to show simplicity can be deceptive. It’s not always as simple as it looks.

Nova front grille and bumper during mockup.
2. Often, the best modifications are so seamlessly integrated that they’re nearly invisible—but that’s exactly the point, isn’t it?
Nova front end before bumper modifications began.
3. This is what Eitner started out with (minus the turn signal/parking lights). While it’s hard to tell in photographs, the bumper did not fit the body very closely in stock form.
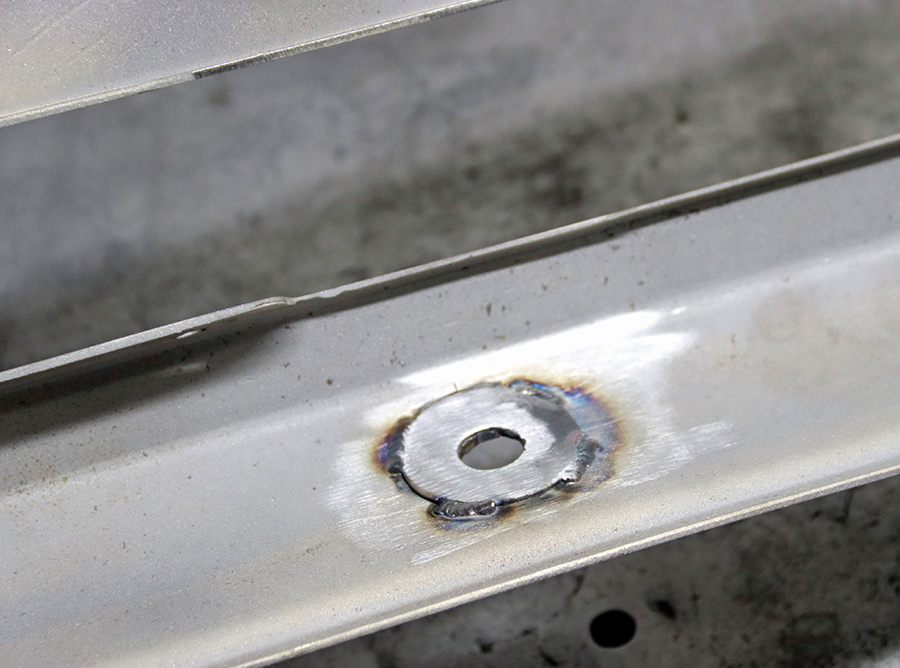
Filling factory bumper bolt holes with washers.
4. To smooth the bumpers, the factory bolts were eliminated. The holes were filled and reinforced with washers.
Mounting studs welded to the bumper interior.
5. The bumper will now attach to the brackets with studs welded to the reinforcements.
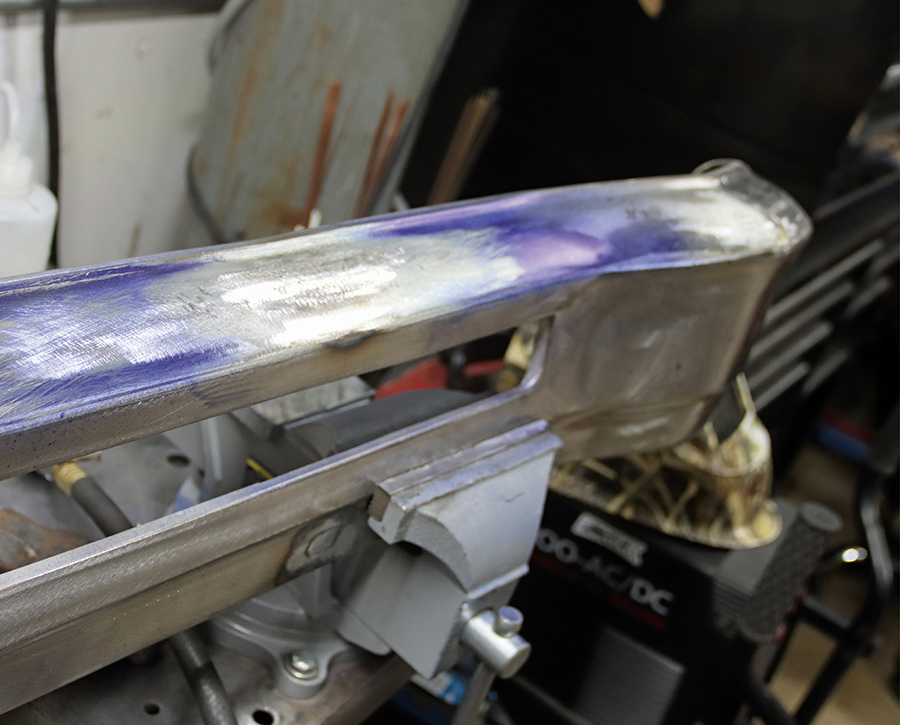
Bumper surface ground smooth after stud welding.
6. With the mounting studs welded in place and the original boltholes filled, the bumper was ground smooth.
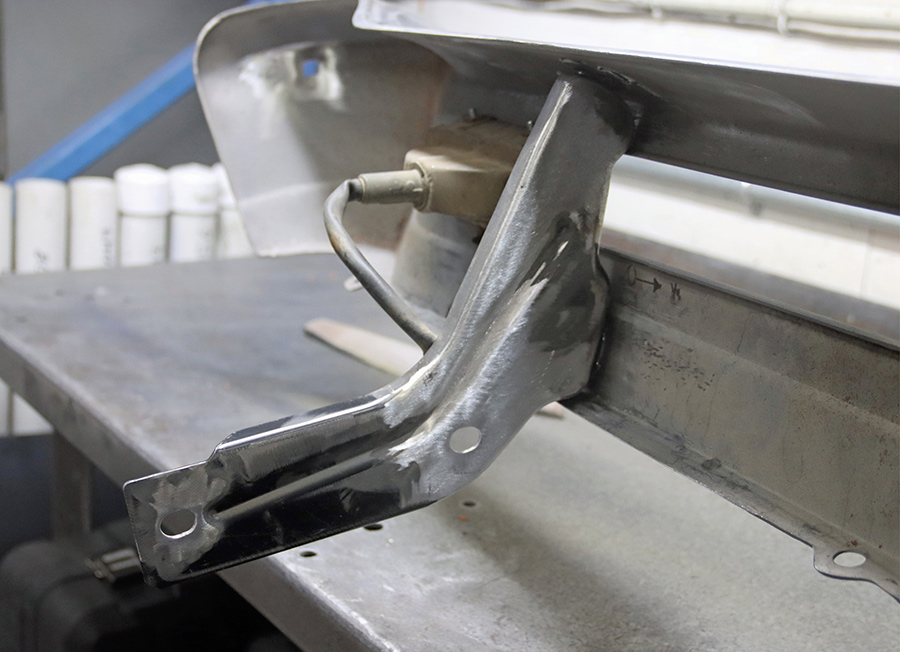
Modification of original bumper mounting brackets.
7. To move the bumper closer to the body and drop it down slightly, Eitner modified the original bumper brackets.
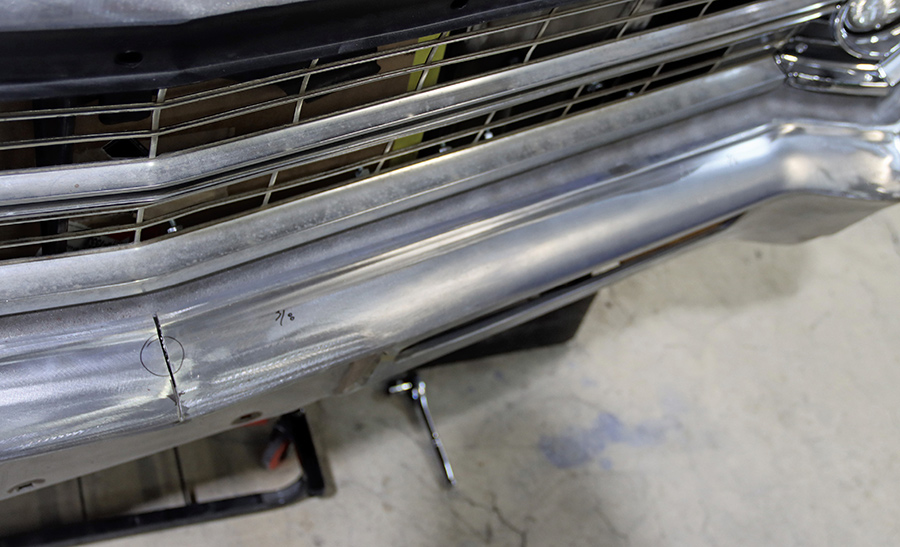
 Marking the center of the bumper for cutting.
8. In stock form the bumper did not fit the shape of the grille very well, so a cut was made in the center.
Reshaping the bumper center to match grille.
9. The bumper was reshaped to match the grille perfectly.
Trimming bumper ends to tuck closer.
10. To tuck the bumper closer to the fenders, the ends were cut off and trimmed.
Profile view of tucked bumper end alignment.
11. The reattached bumper ends fit closer to the body and now match the contour at the bottom of the fender.
Front view of aligned bumper and bezels.
12. With the ends of the bumpers attached, the peaks of the bumpers now match the peaks in the headlight bezels and fenders.
Stock turn signal light in bumper opening.
13. In stock form, the turn signal/parking lights just hang in the openings on each side of the bumper. The plan was to refine the installation with individualized openings.
Making a cardboard template for light opening.
14. Eitner began by making a template that followed the shape of the lower portion of the bumper.
Metal pieces bent for the light opening.
15. Individual pieces of flat stock were bent at a 90-degree angle then formed to follow the template.
Welding new light pocket pieces to bumper.
16. The two formed pieces were welded together, then welded to the bumper to create a new opening for the turn signal/parking light assembly.
Tubing sections prepared for opening inner edges.
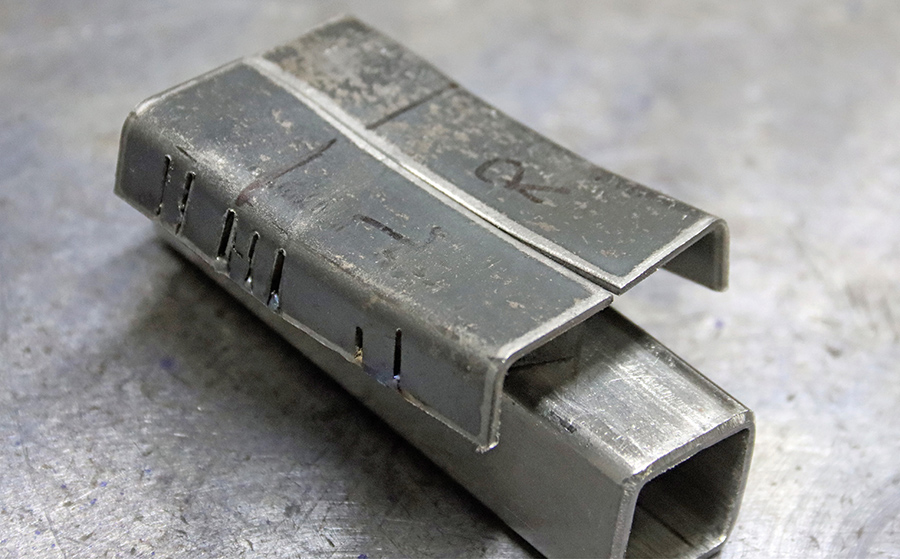
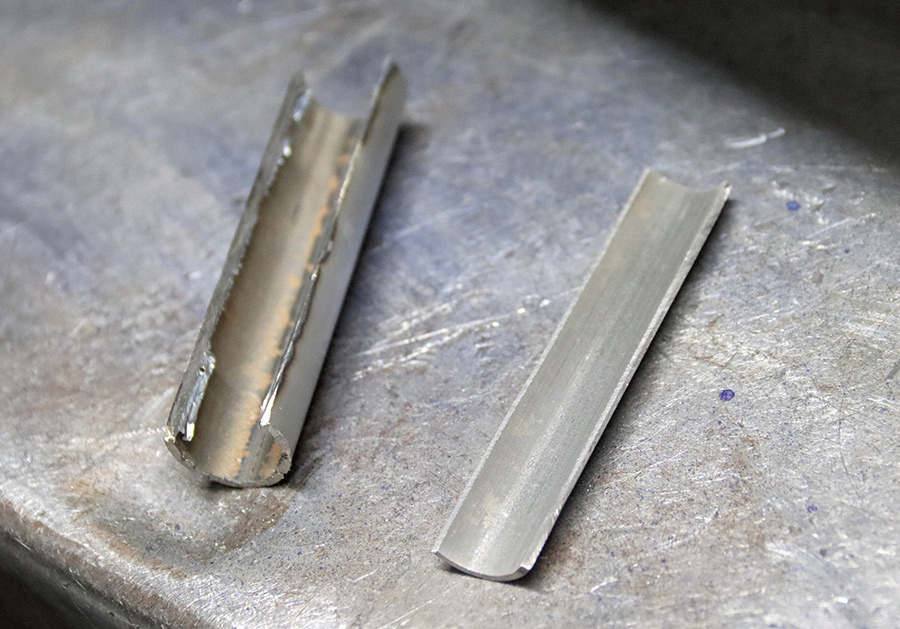
17. Eitner used pieces cut from tubing to finish off the inside edges of the newly formed opening.
Welding tubing corners into light opening.
18. The tubing “corners” were welded in place, giving the openings a finished, factory look.
Final light opening with lens installed.
19. All finished with the light in place it looks like the factory did it—and they should have.
Original license plate recess on bumper rear.
20. Viewed from the back, this is the recess in the bumper for the license plate—it will be removed.
Bumper secured in fixture for center removal.
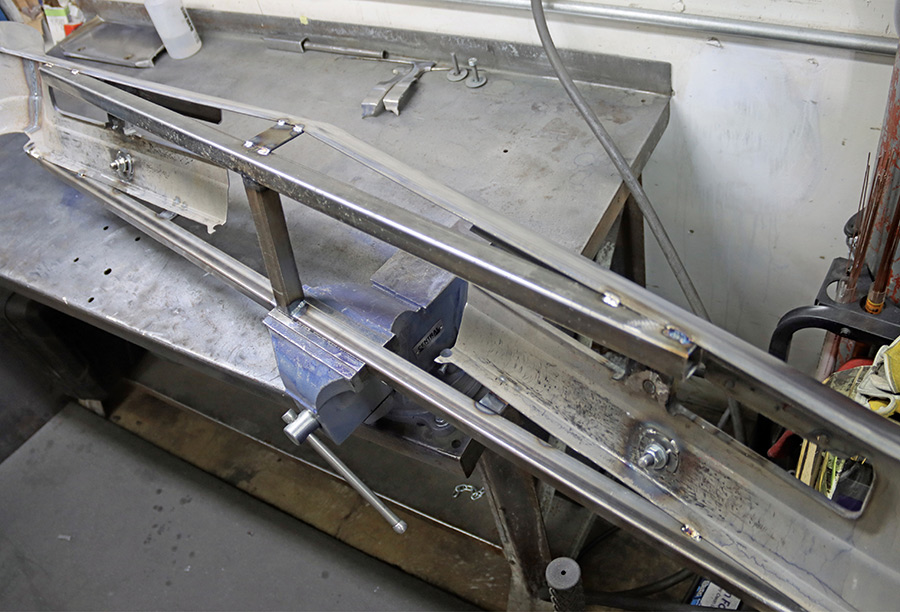
21. To maintain its shape the bumper was bolted to a fixture before the center section was cut out.
Custom dies for replicating bumper character lines.
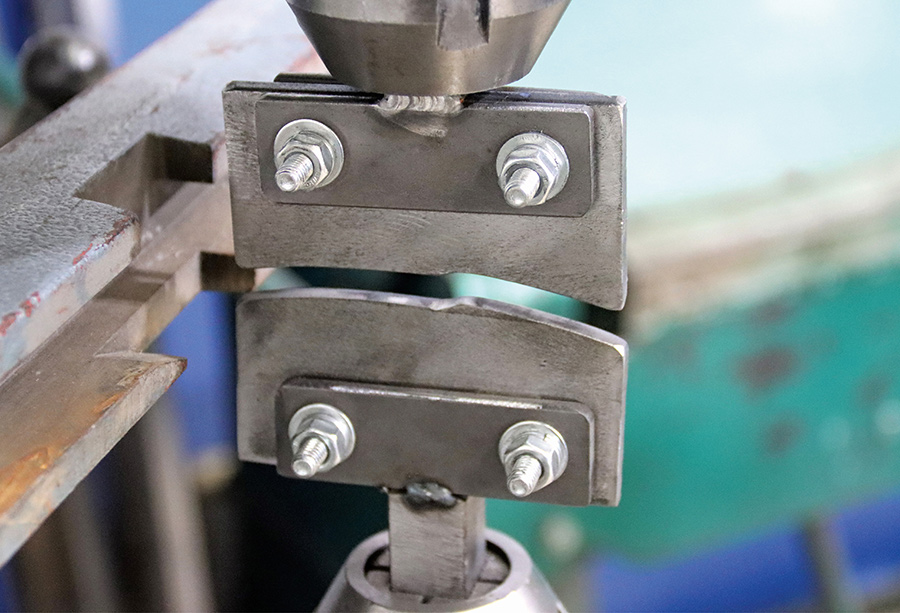
22. The bottom of the Nova’s bumper had several character lines stamped into it. Eitner made a set of dies for a Pullmax machine to duplicate the shape in the replacement section.
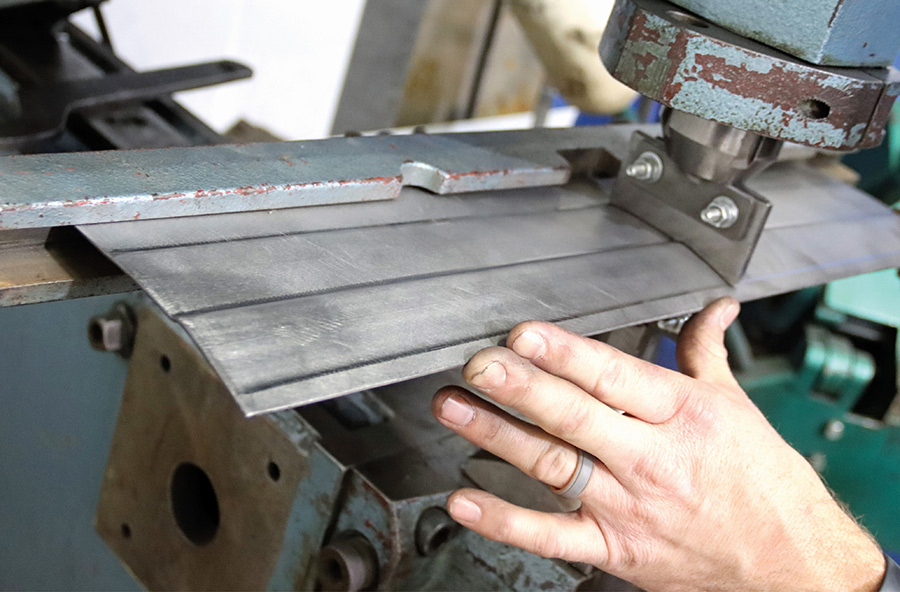
Stamping lines into the new center panel.
23. A piece of 14-gauge sheetmetal was used to fabricate the bumper’s new center section. The stamped character lines in the new panel match those in the bumper perfectly.
New center panel sections before final welding.
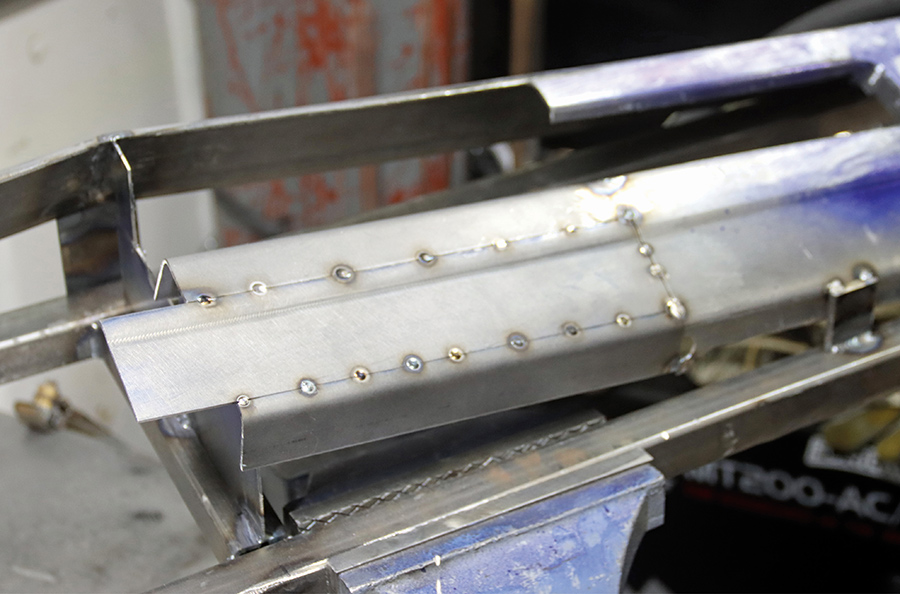
24. The left and right sides of the replacement panel were done individually. Note the upper part of the original opening also required filling.
Filling the license plate recess area.
25. Here, the lower portion of the license recess has been filled along with half of the upper portion.
Sanding the welded center section smooth.
26. With all the welding done, the bumper was ground smooth leaving no traces of the modifications made. A true testament to Eitner’s craftsmanship.
Finished metalwork on modified Nova front bumper.
27. Here’s the finished bumper ready for shipping to the chromeplaters.
In The Garage Media
METALWORKS CLASSIC AUTO RESTORATION