 TECH
TECH Photography by The Author
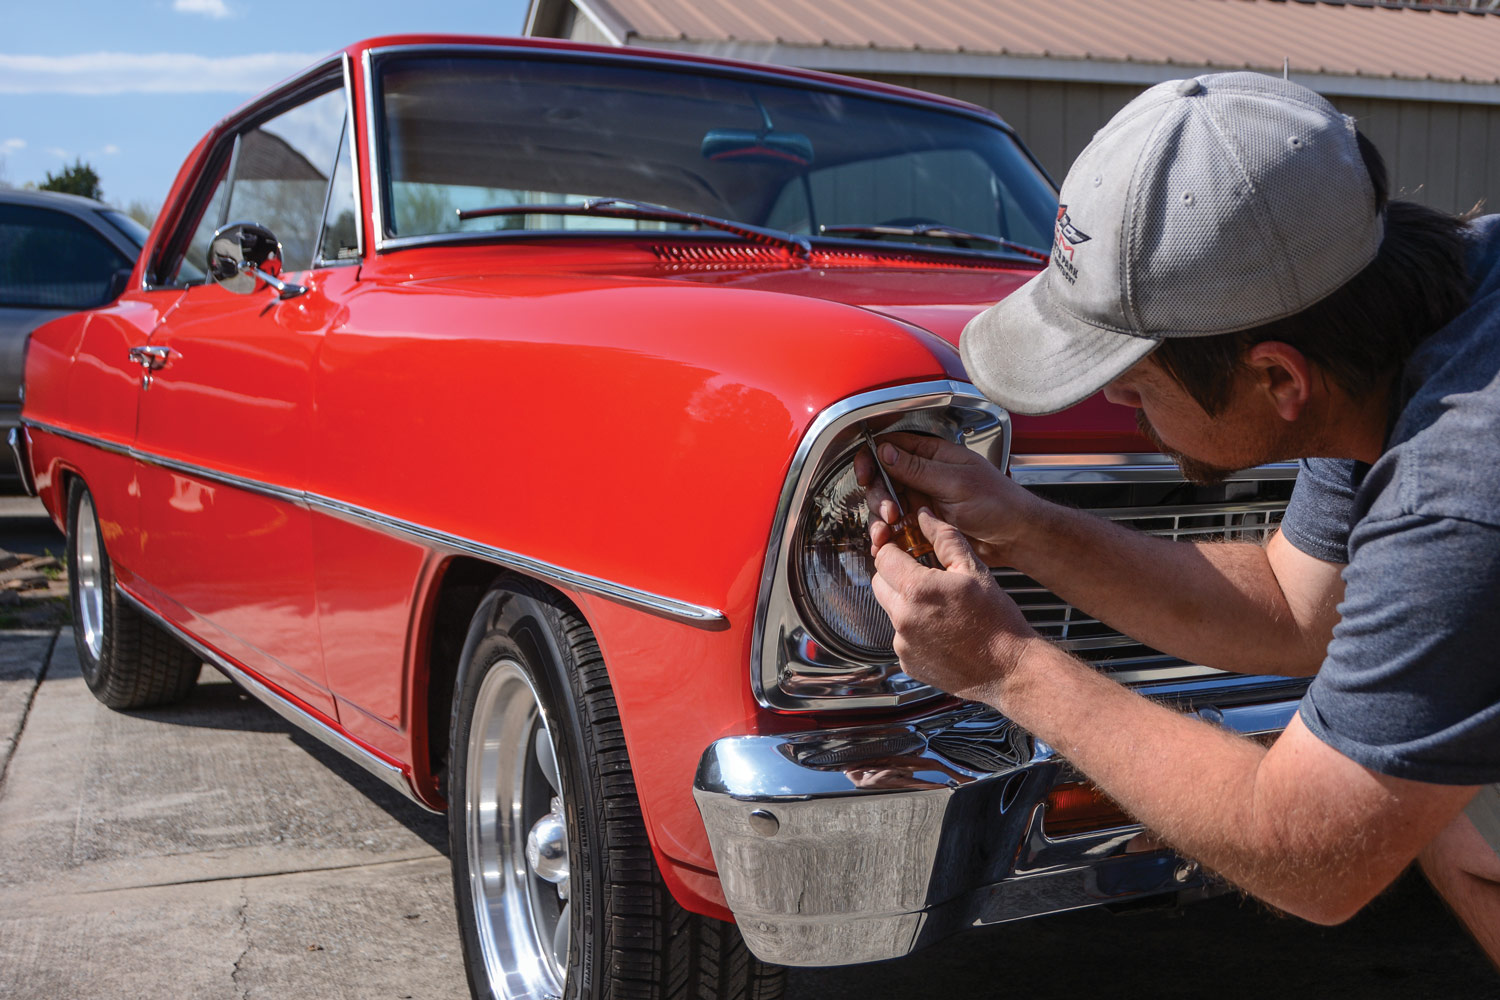
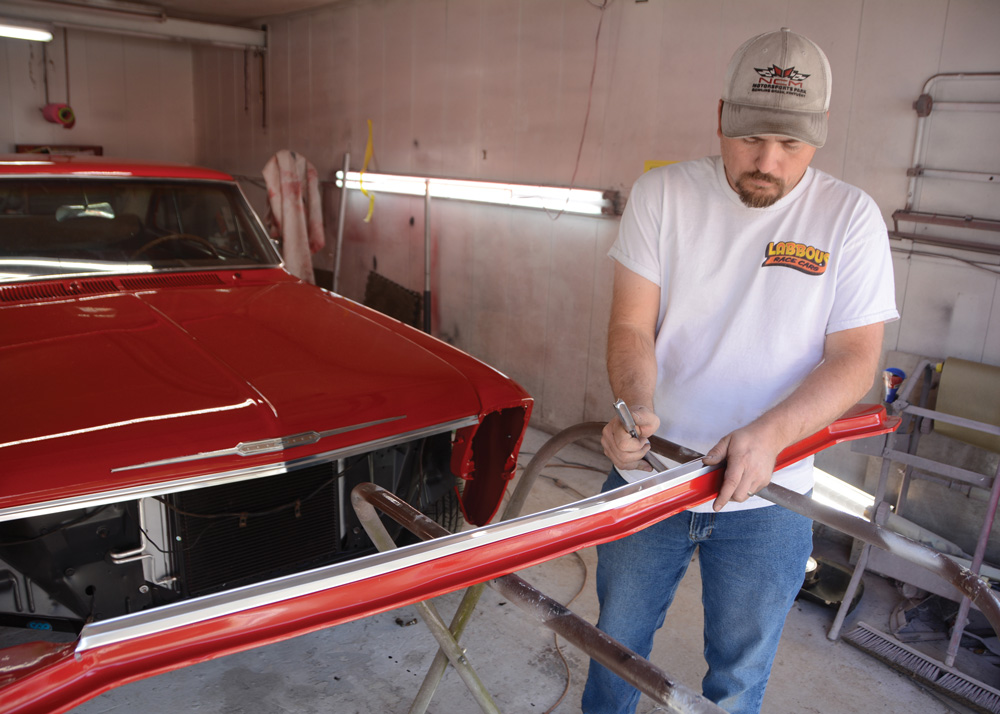
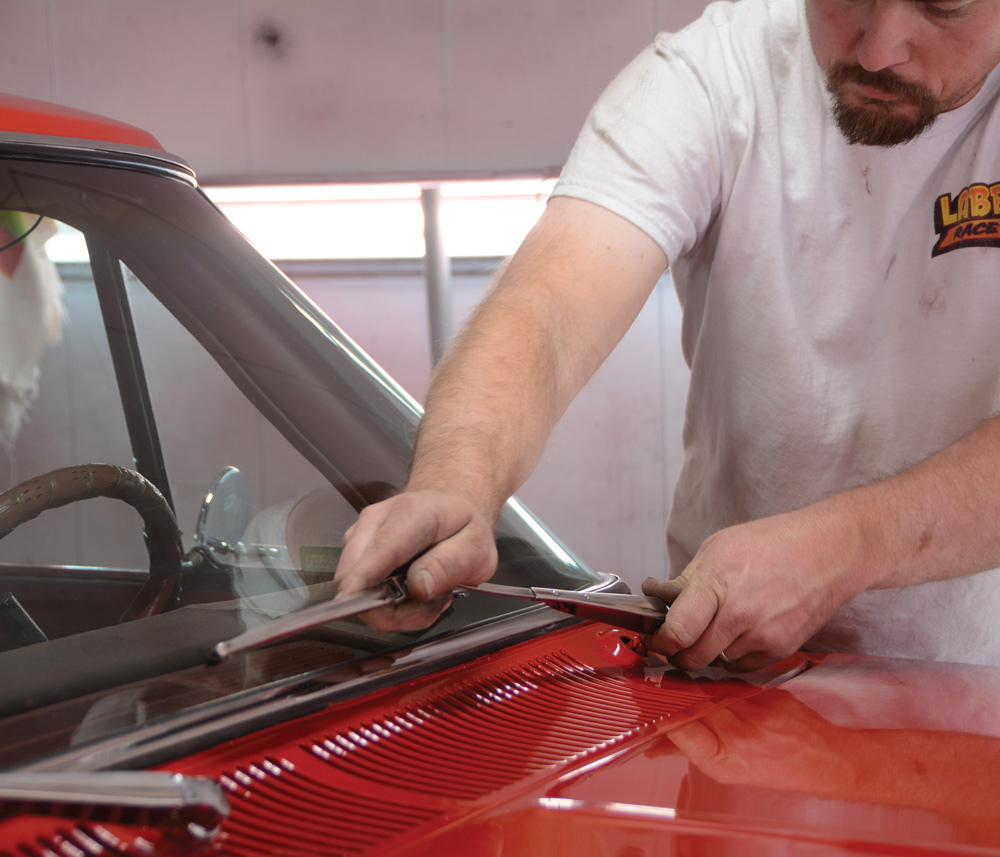
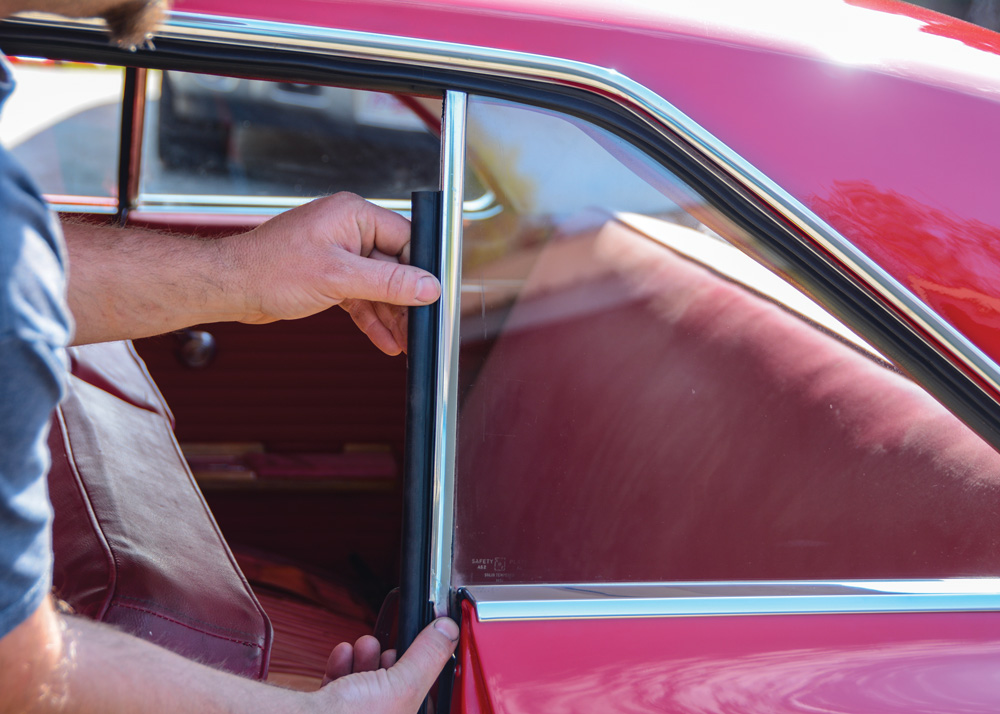
1. Installing the final details on a project car can be strenuous, but it’s rewarding.


here is no such thing as a quick paintjob on a classic car—it always escalates into a big project. Our original intention with this ’66 Nova was a driver-quality paintjob, but as things progressed, we couldn’t just settle for a subpar job. Although not exactly show quality, the bodywork and paint turned out nicely, but we can see how projects stall out at this stage. Some folks give up all together, so it’s common to find cars on the market that are painted but not reassembled. If you’ve ever bought a project that’s disassembled, you know the struggles of finding the right clips, hardware, and brackets to put it all together. Thankfully, Classic Industries has an extensive catalog of parts and pieces for our ’66 Nova, so we made a huge list and started chipping away at the reassembly process.
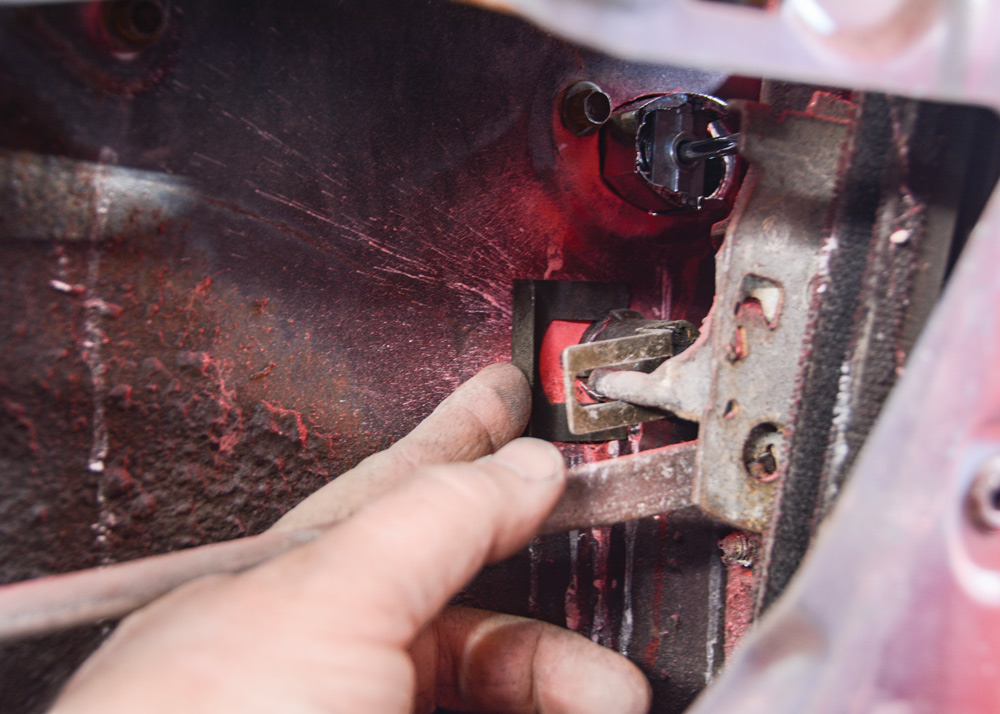
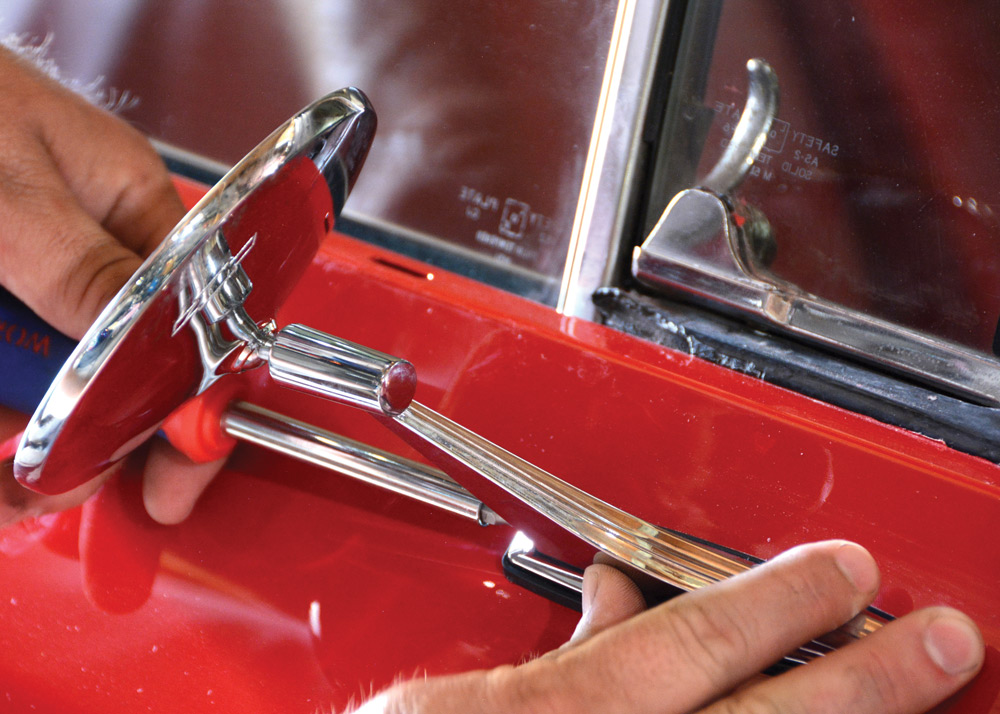
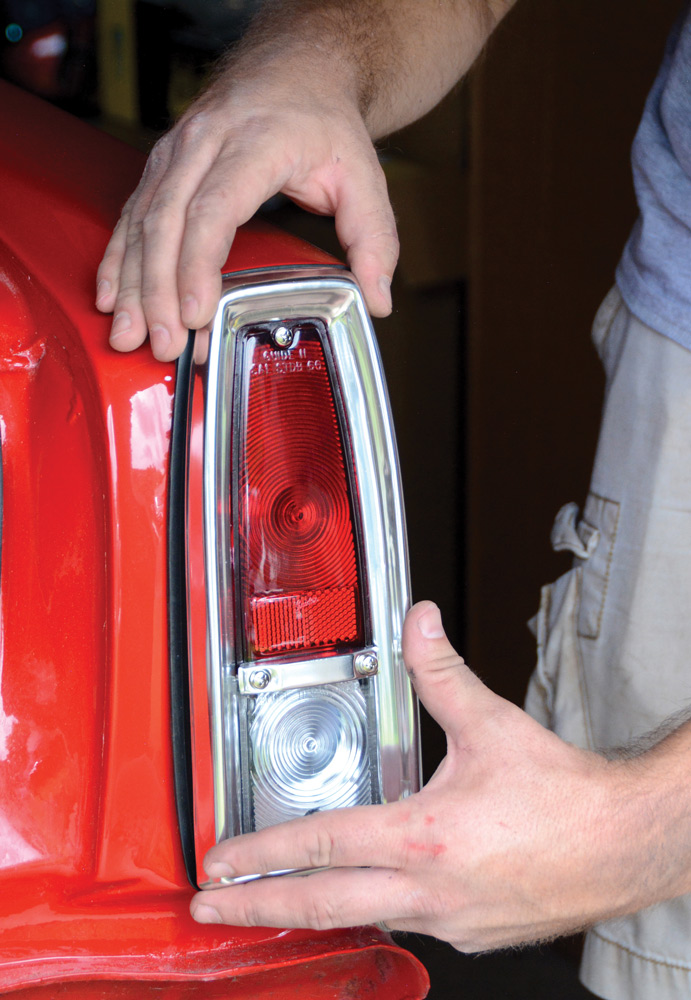
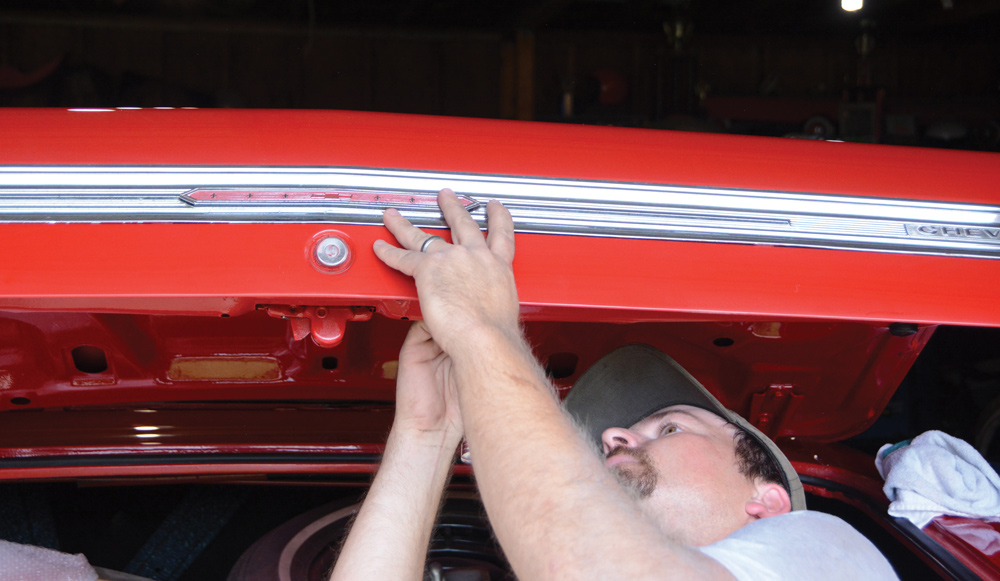
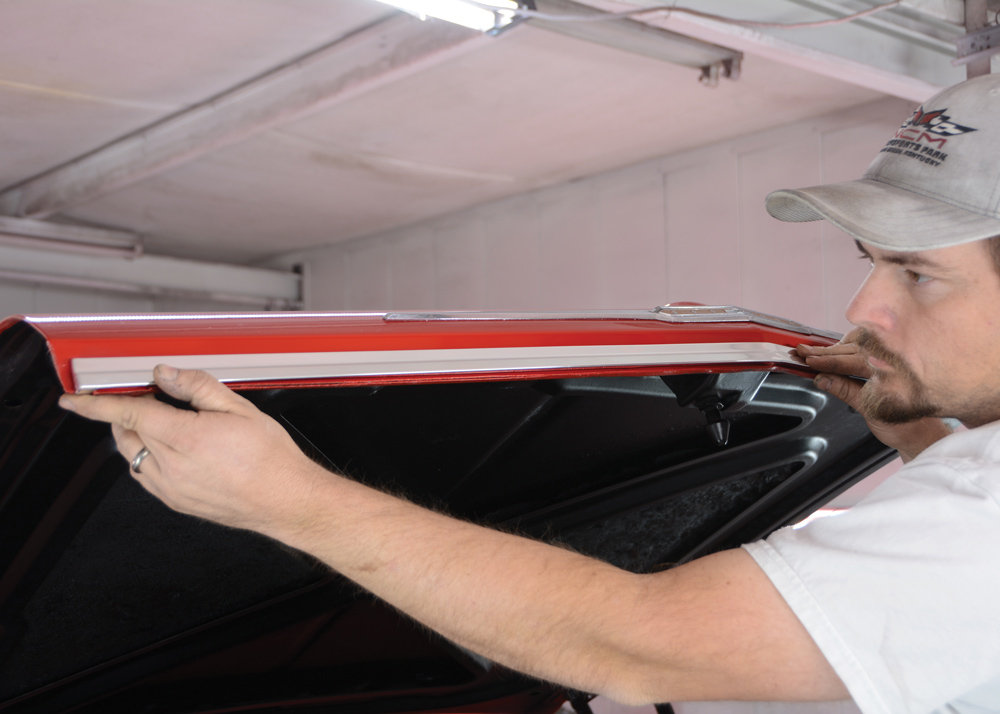
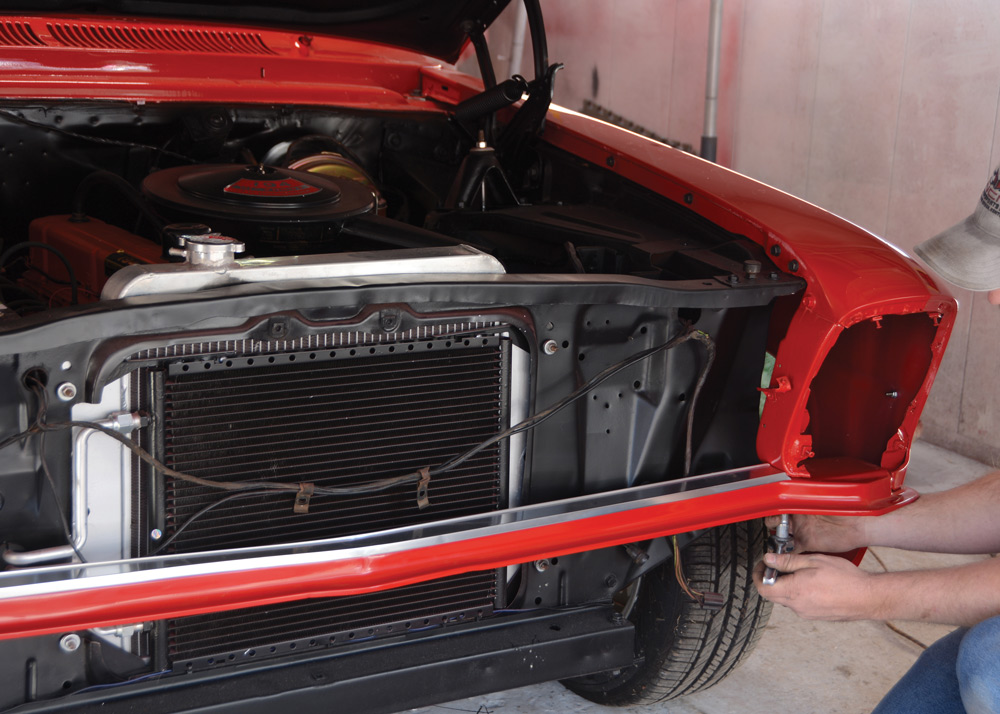
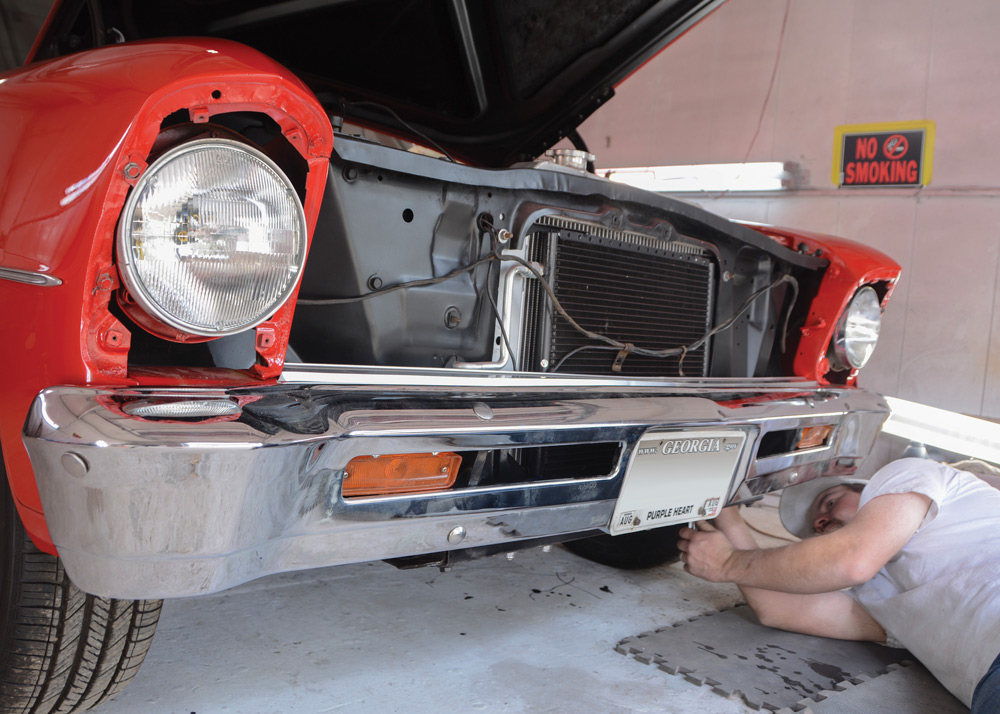
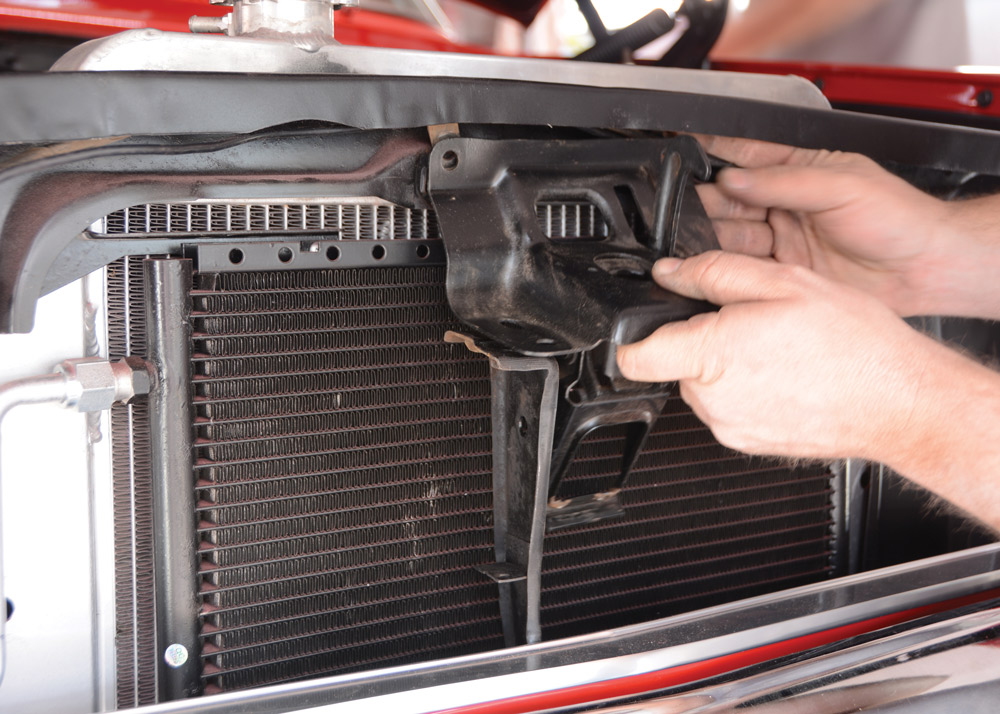
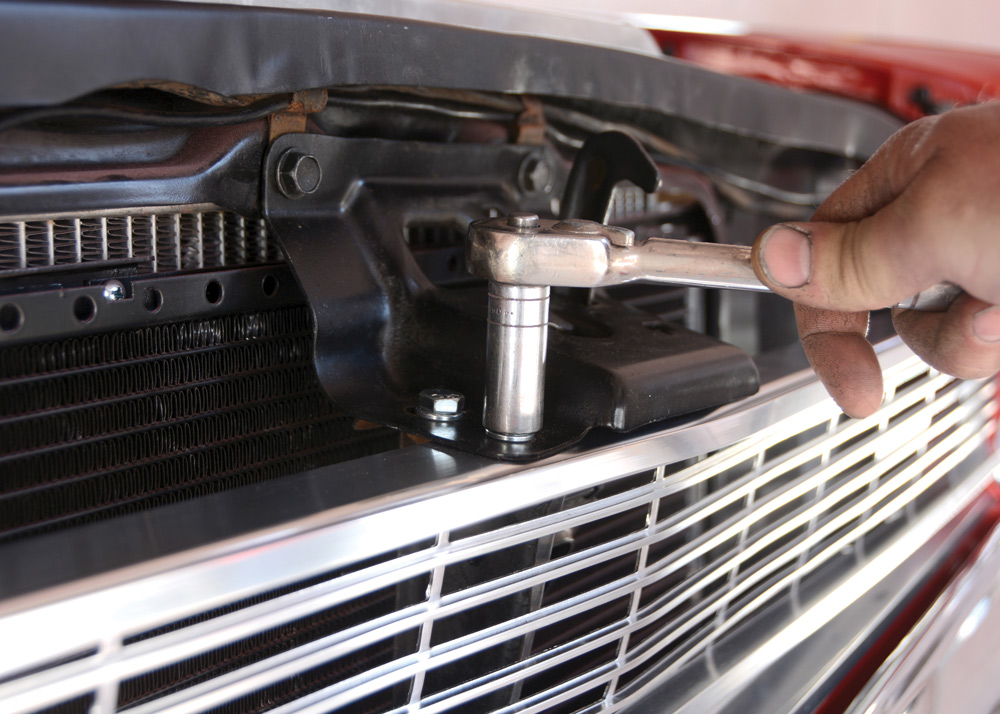
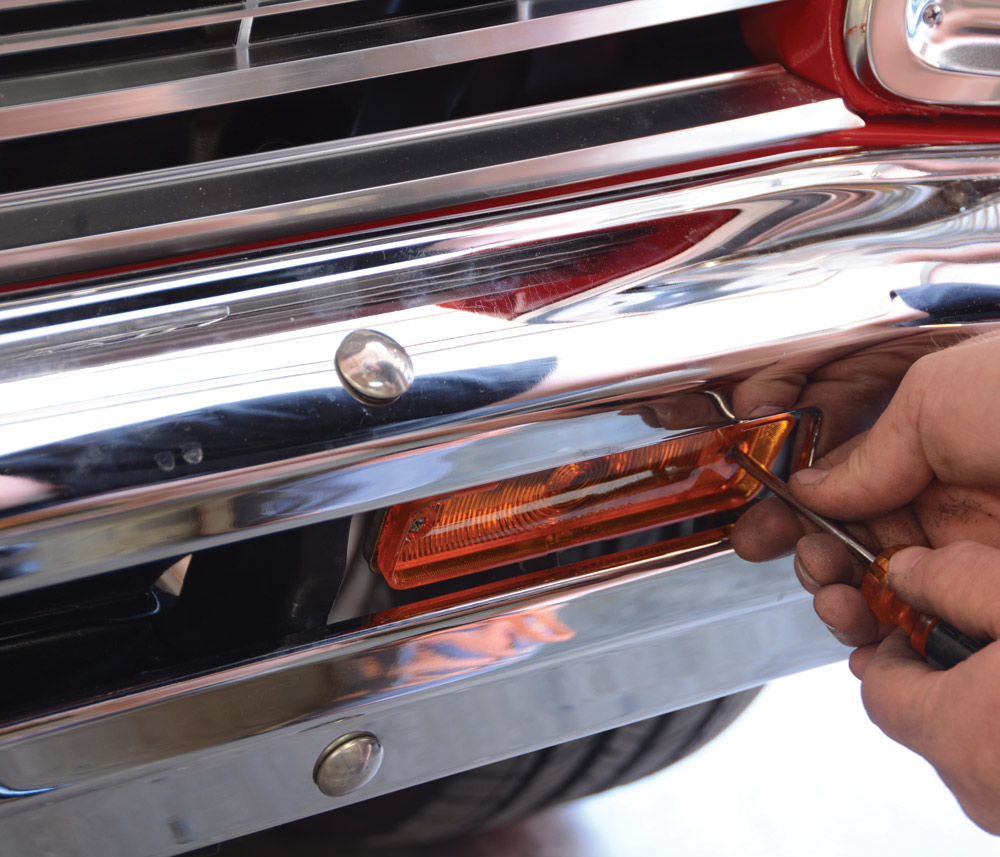
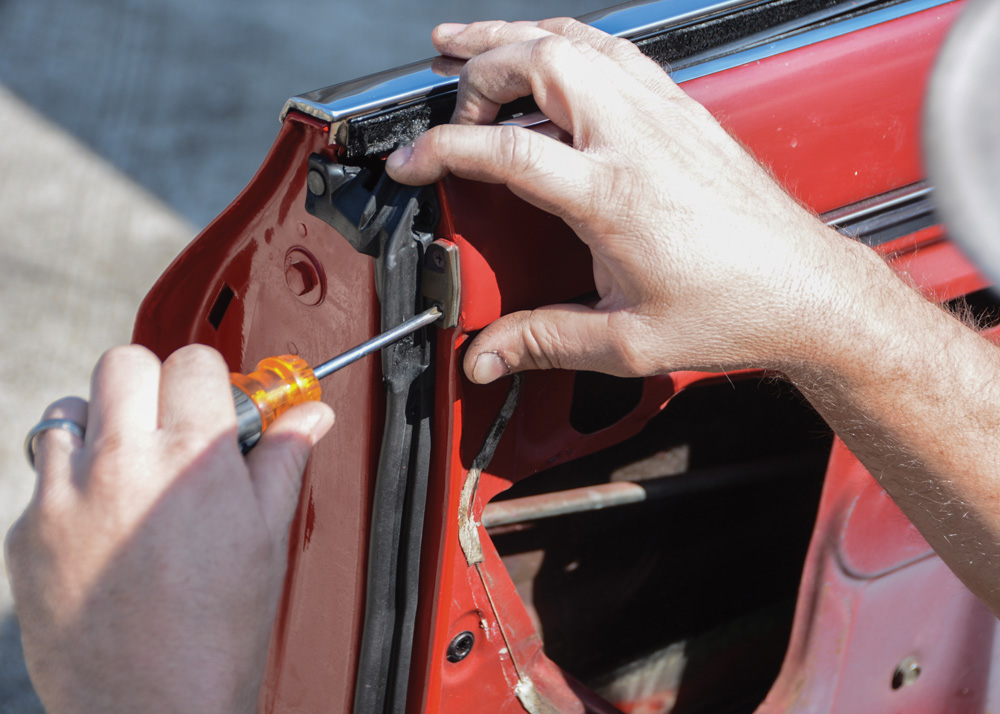
The bumpers, grille, headlights, and taillights were still functional on our project, but there’s no way we could bolt those components onto a fresh paintjob. Along with the big items, we ordered all the necessary clips to hold the trim pieces in place. Then, it was onto final details, like door handles, mirrors, and windshield wipers. There are a few unobtainable pieces on a ’66 Nova, including the body side moldings and trunk trim, so we restored our original parts and installed them with new hardware. Restoring original parts definitely adds to the hours invested, and we spent about a week putting this car back together with our pile of new parts. Many of the items require an extra set of hands for proper alignment and easy installation.
Take a look at our assembly process and how we took a stripped-down ’66 Nova and turned it into a head-turner with beautiful brightwork and final details. Whether you’re taking on someone’s abandoned project or reassembling your own, Classic Industries can help button up your old-school Chevy.

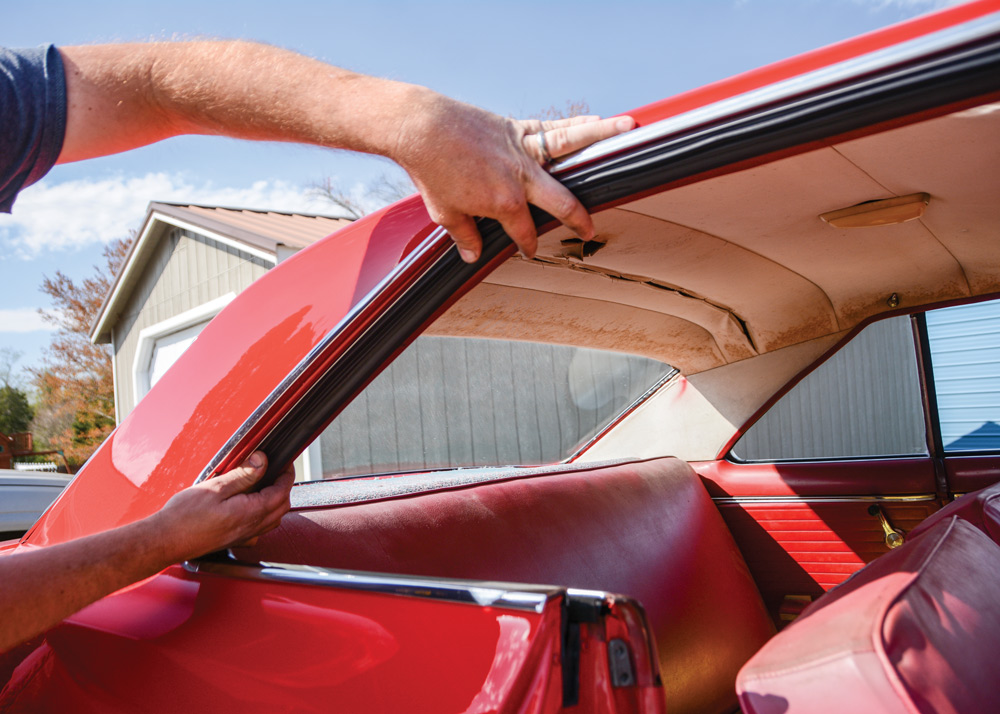
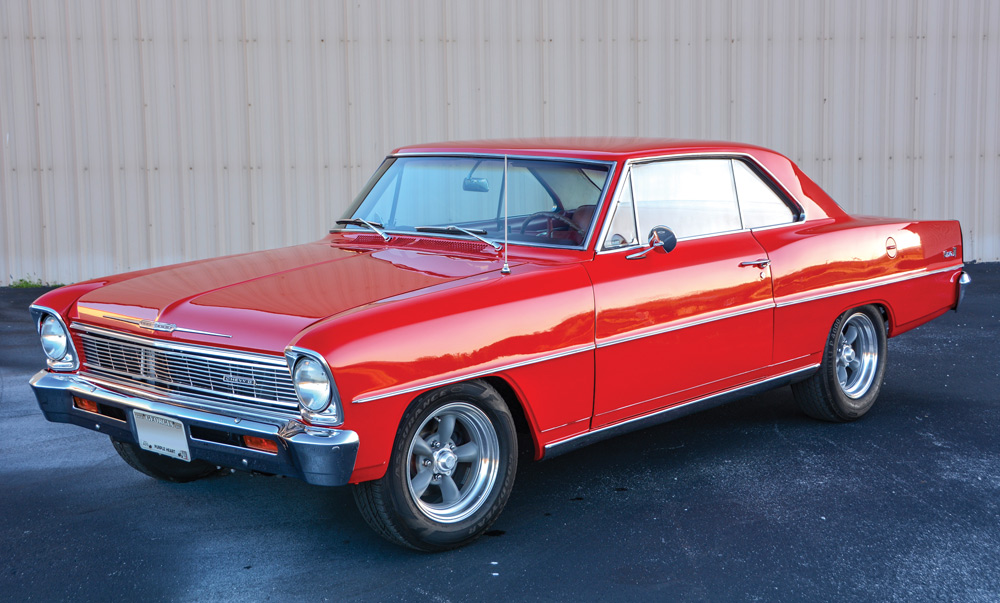
2. Our starting point is a ’66 Nova that has been painted and is ready for final assembly. It’s quite common to buy a project in this state of completion, and we’re showing the steps necessary to make this car ready for the local cruise night.
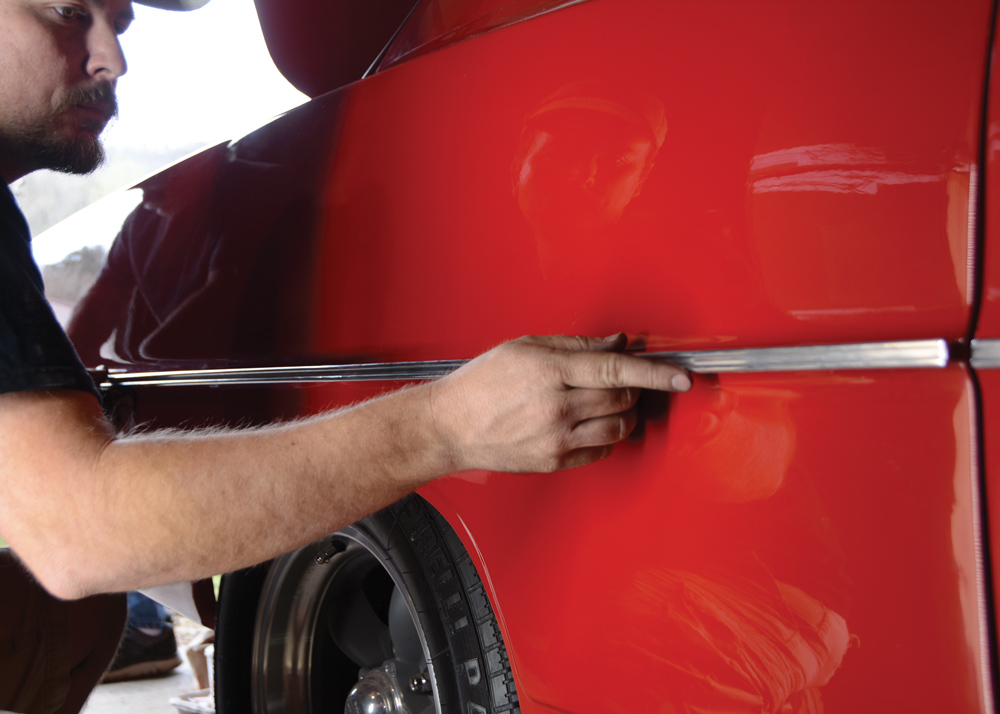
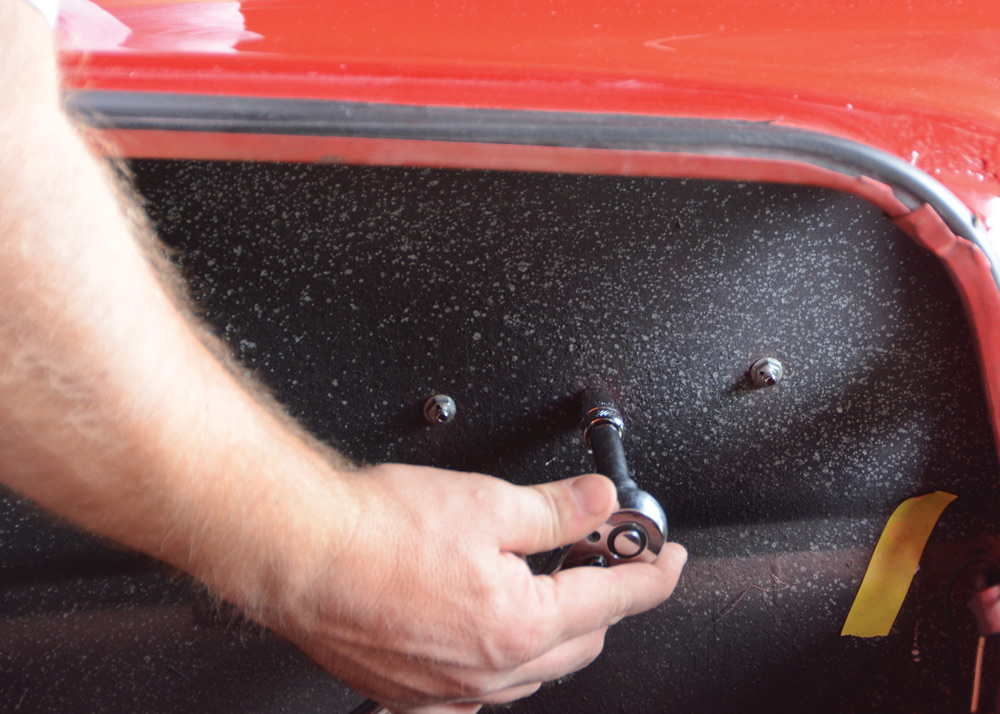
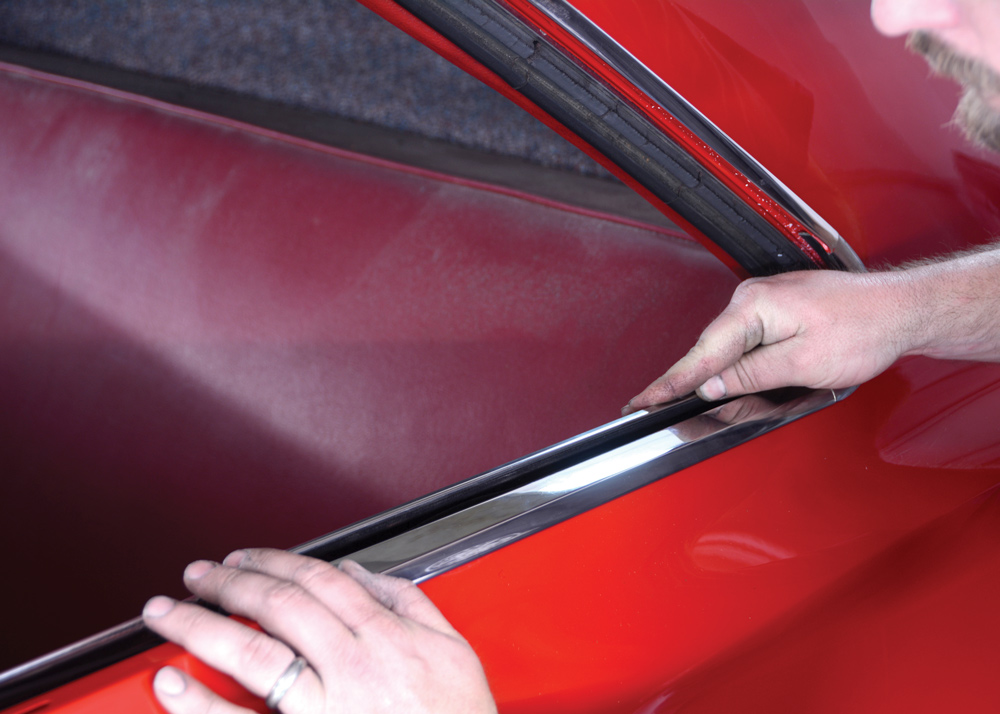
3. In the last issue, you saw us straighten and polish the aluminum body side moldings for the Nova. Those were the first pieces we installed because we were anxious to see the result of our efforts. We used an assortment of mounting clips from Classic Industries.

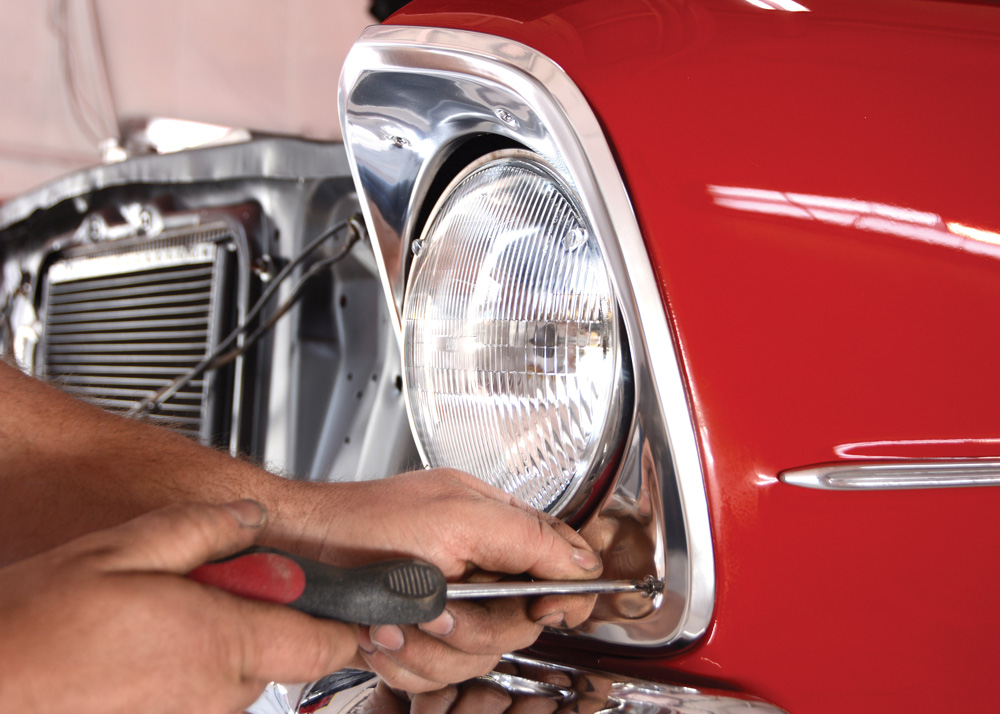
4. Before we start adding emblems, door handles, and mirrors, we buffed the paint that might be hard to access once those items are installed. Light compound and a wool pad are used for larger imperfections, then finished with a foam pad and machine glaze.


 SOURCE