ACP department heading TECH
InTheGarageMedia.com
1. The finished suspension upgrade on Bruce Valley’s Handyman wagon looks great and will no doubt perform even better. Let’s take a look at what went down at the Clampdown Competition headquarters and how we got there.

By Ryan Manson Photography by The Author

Reducing The Wallow Of A Wagon
Brake and Suspension Upgrades Make a Handier Handyman
W

hen Bruce Valley originally dropped off his ’57 Chevy Handyman wagon to the Clampdown Competition headquarters, he had a short list of upgrades in mind—power steering, air conditioning, and an overdrive transmission. As these projects often do, three things led to another and another and another. Pretty soon, that short list took up much of the workshop’s whiteboard. The addition of an A/C compressor and power steering pump meant that a pulley swap and some bracketry was needed at the least. The transmission swap would be simple enough but as the build plan progressed, it became clear that what Bruce really wanted wasn’t simply a couple creature comforts, he wanted a turnkey hot rod that would be reliable and capable of pulling some serious highway miles around the Phoenix area without overheating or overworking itself, or overburdening the owner.

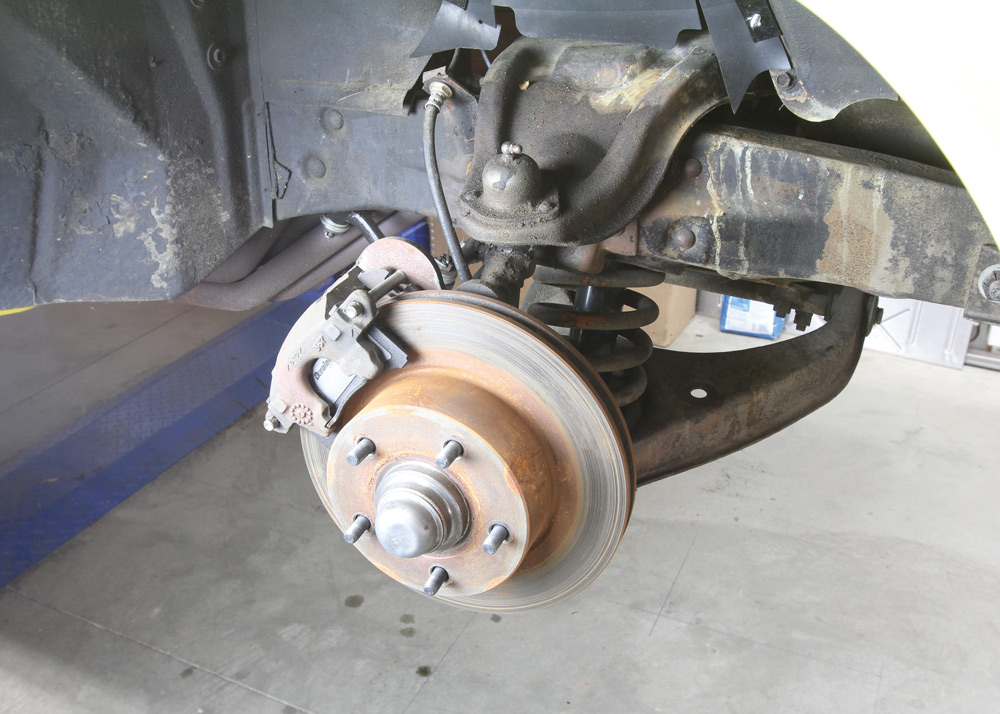
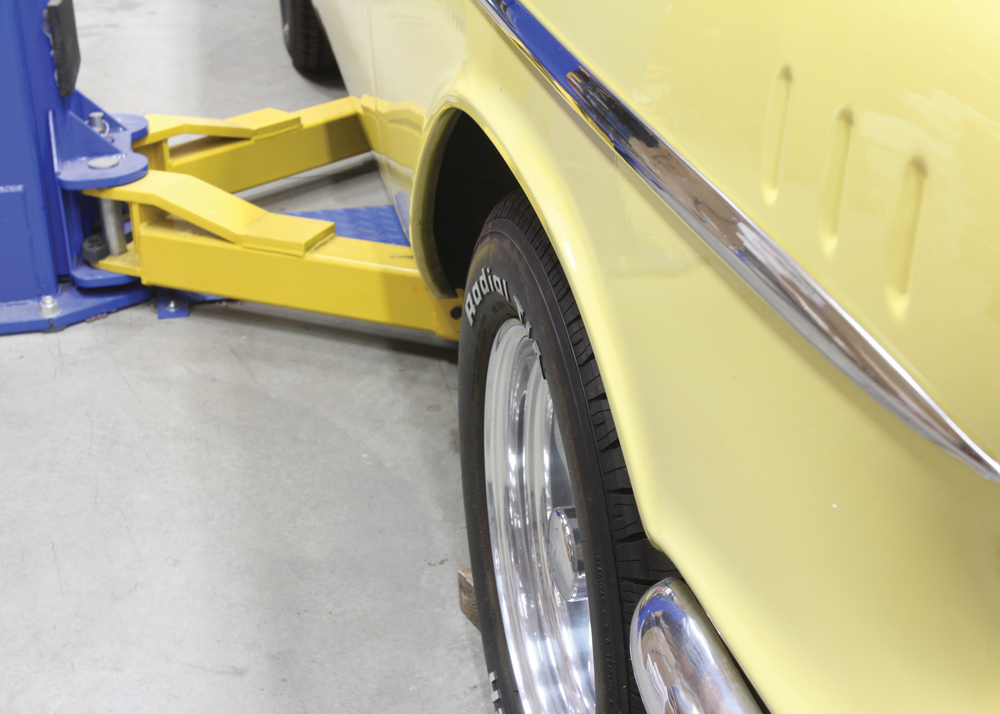
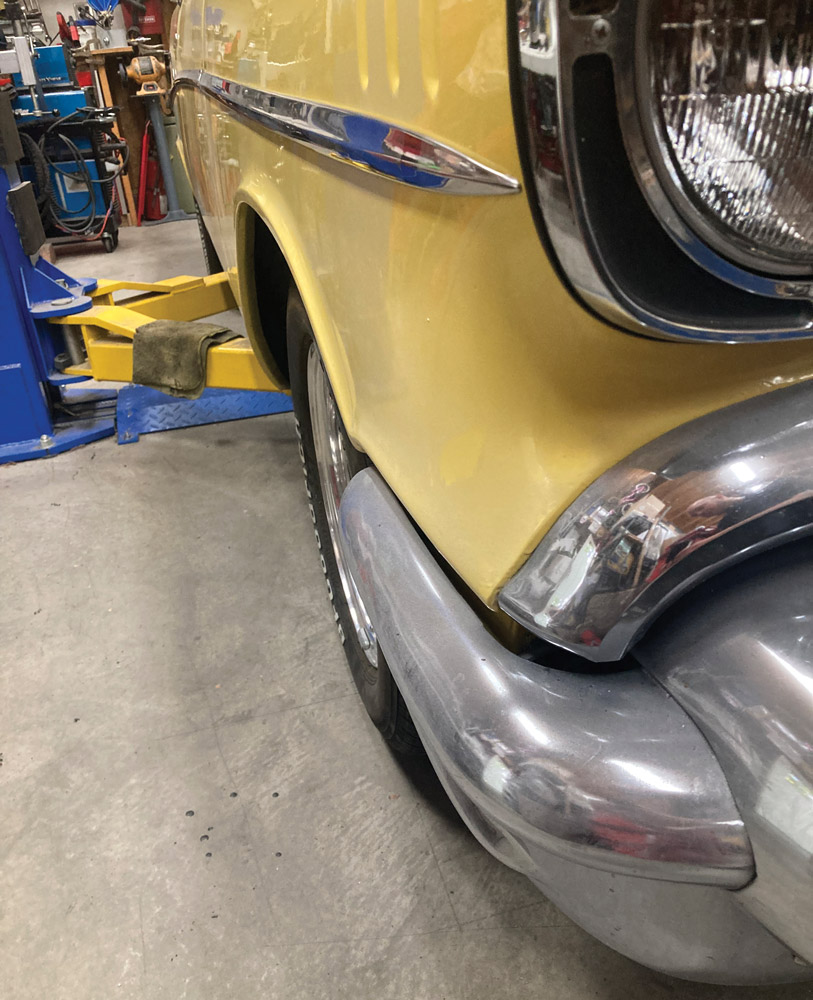
While we were discussing the best course of action to make said upgrades, Valley brought up the fact that the current disc brake kit that was installed some years back pushed the wheels out farther than he preferred and that, if possible, perhaps we could find a more modern kit that would bring the wheels back into spec, allowing the front of the wagon to be lowered slightly without any tire-to-fender clearance issues. As we mentioned earlier, one thing leads to another …

Upgrading the front brakes took a simple phone call to our buddy Mike Hamrick at Wilwood Engineering. Wanting to retain the existing 15-inch wheels, Hamrick set us up with their Classic Series Dynalite kit that includes four-piston calipers, 11.5-inch rotors, and Wilwood’s new Tri-Five ProSpindles. This kit alone would accomplish Valley’s request by bringing the wheel width back to OE spec while also providing the 2-inch drop he desired. But simply adding the brake kit to the existing suspension components would be a bit of a sin, so we decided to give the wagon’s front end a couple more much-needed upgrades.

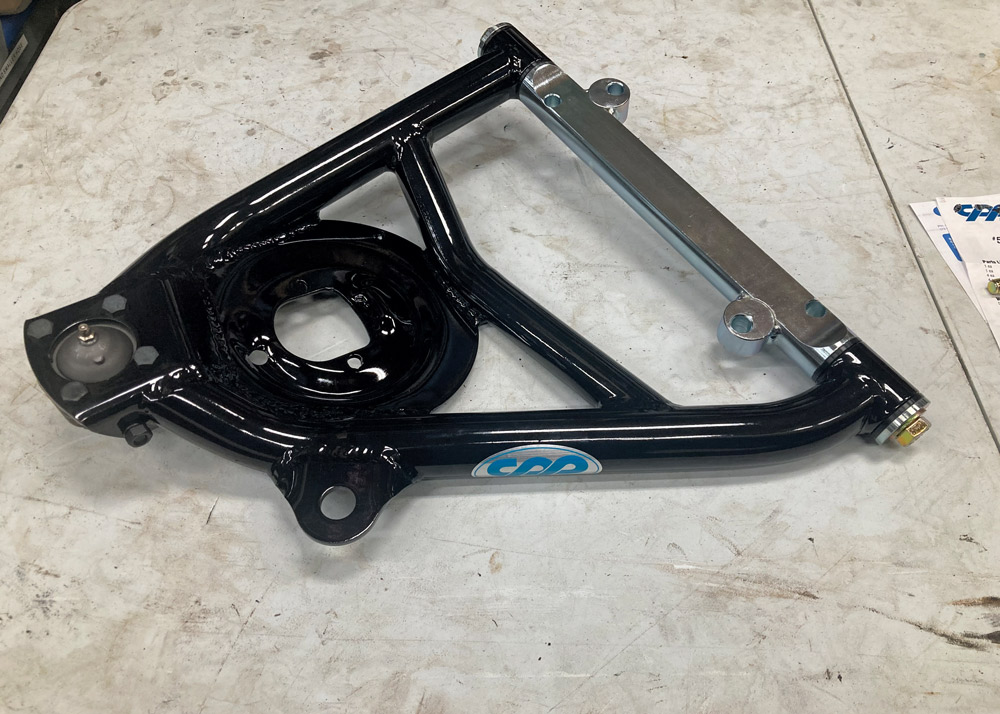
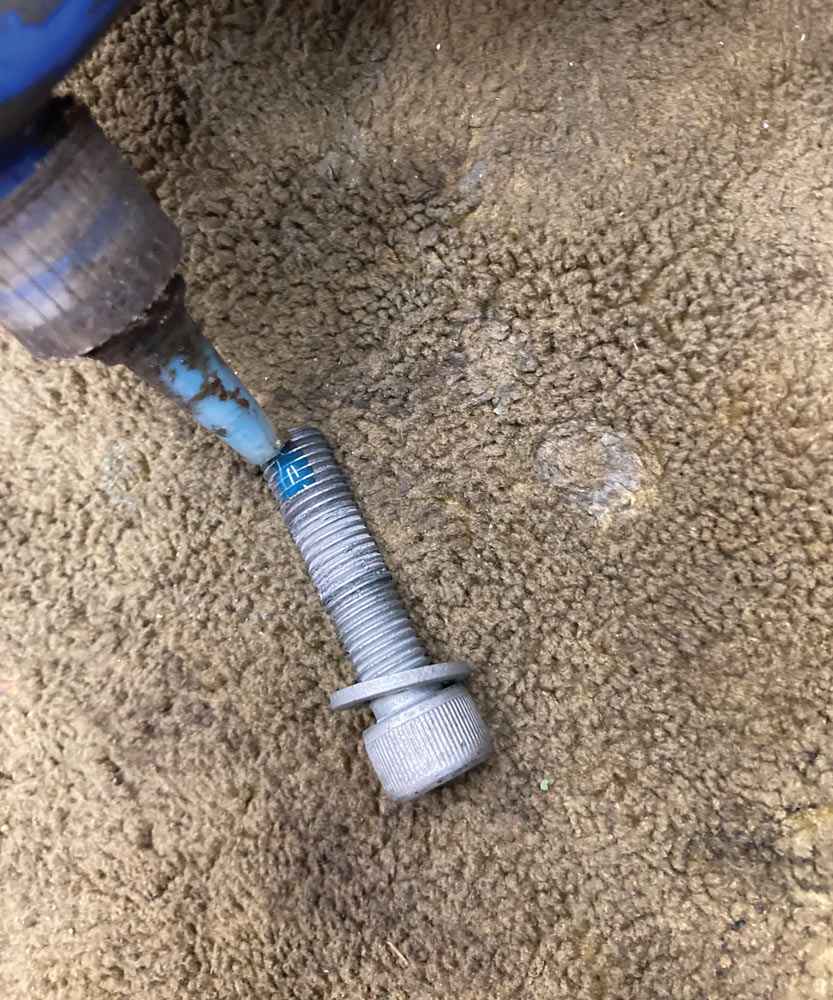
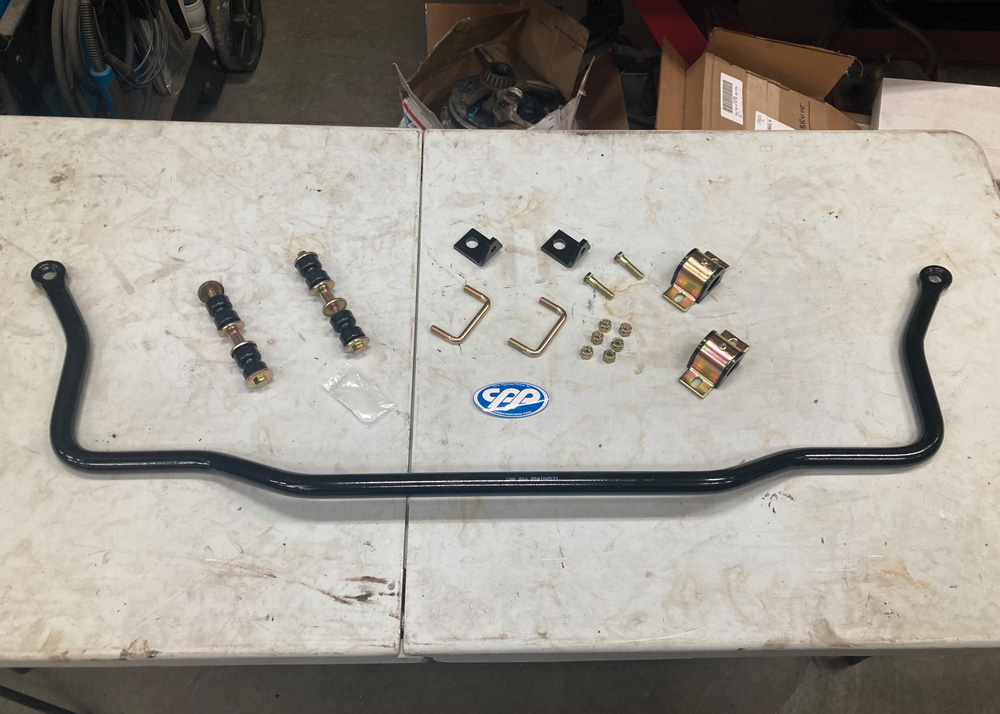
First up, a new pair of tubular control arms from Classic Performance Products (CPP). Designed to provide full wheel travel with minimal friction, the upper control arms are made from 11/4×0.120-inch DOM tubing and allow for 5 degrees of caster. The lower control arms are even beefier, using 11/2-inch DOM tubing with similarly sized pivot barrels and are designed for increased ground clearance. The zinc-plated chromoly cross shafts and sleeves feature an interlocking design that prevents the hardware from working loose under the most stressful conditions. Made from self-lubricating, non-squeak patented plastic, the bushings will outlast and outperform any rubber or urethane bushing. A 1-inch sway bar courtesy of CPP will also be added to the frontend appointments to help reduce body roll and give the big wagon a sportier feel.

Cutting the coils on an older IFS car was pretty standard fare to reduce the altitude an inch or so, with Valley’s Tri-Five being a victim of such modification. The shocks were in need of replacement as well, so it was decided to replace said components but not with stock replacement items. A better option was to keep with the upgrade theme by installing a pair of Aldan American coilover shocks from Summit Racing. Designed as a bolt-in alternative, the Aldan coilover kit works with both stock and aftermarket control arms, like the CPP items we’re using, and replaces both the coil spring and shock with zero chassis modifications. This results in a smoother ride, better handling, and total, tunable control thanks to the single adjustability of the shock itself.

With the LS swap and other upgrades looming, the fact that we took the time to upgrade the front suspension as a whole as opposed to simply upgrading the brakes, instills confidence that the ride, handling, and performance of the brake and suspension system will equal that of the coming powertrain. Four hundred horsepower under the hood is no good if the rest of the components can’t keep up. A car with inadequate braking or one that body rolls and oversteers around every corner is not fun to drive and, besides, performance is in our title!

old brakes<br />
2. The original front suspension was without fault but didn’t conform to 21st century driving desires. Bigger, better brakes and updated components will change that.
wheel and tire fitment
3. One of the driving factors for Bruce wanting to upgrade the brakes was to utilize a kit that would bring the wheel/tire combo back inside to their stock spec. As is, the car is as low as it can go up front without causing tire rub when turning.
suspension removed
4. The entire front suspension was removed in anticipation of the coming upgrades. We then used a bit of elbow grease getting the inner fender area cleaned up before shooting a couple coats of undercoating and satin black paint.
control arm
5. We’ll begin the installation by bolting up a CPP lower control arm. These are designed as stock replacements, so the original coil spring and shock can be used. Note the sway bar mounting tab that comes as standard fare.
control arm installed
6. The CPP lower control arm bolts in the stock location using provided Grade 8 hardware.
brand new polished silver suspension and black spring
7. Upgrading to a coilover shock is easy whether you’re using stock control arms or aftermarket items like we are thanks to Aldan American’s coilover conversion kit, courtesy of Summit Racing. Pictured here is the Phantom Series single-adjustable shock body and powdercoated cold-wound, high-tensile coil spring that comprises of the front coilover shock as well as a complementary TruLine shock absorber for the rear that we’ll be installing a little later in the build.
using drill bit to make holes
8. The one caveat to the coilover upgrade using stock or stock-replacement control arms is the need to drill the lower control arm shock mount boltholes out to ⅜ inch. Other than that, no other modifications are necessary, and the conversion is a true bolt-in.
suspension and control arm installed
9. With the coilover bolted to the lower control arm, the assembly can be raised into the spring pocket section of the frame and the upper shock stud fastened in its perch.
black control arm
The CPP upper control arm also bolts in the stock location with no modifications necessary.<br />
10-11. The CPP upper control arm also bolts in the stock location with no modifications necessary.
ProSpindles
12. Our Wilwood disc brake kit comes with a set of their new ProSpindles for Tri-Five Chevys. The built-in 2-inch drop uses OE ball joints and steering arms and will ensure our wagon sits right without altering the suspension or steering geometry.
ProSpindle installed
13. The ProSpindle is attached first to the lower CPP control arm, then the upper control arm is rotated into place and fastened to the spindle as well.
rotor and caliper by wilwood
14. Iron, 11.5-inch Wilwood rotors, and aluminum four-piston calipers will no doubt be a huge improvement over the previous single-piston items all while clearing a typical 15-inch wheel.
rotor fit tested on
15. With iron rotors, the entire surface is susceptible to rust, save for the contact patch of the rotor itself. These areas should be painted before installation to save the headache of having to do it later.
black wilwood caliper test fitted on rotor

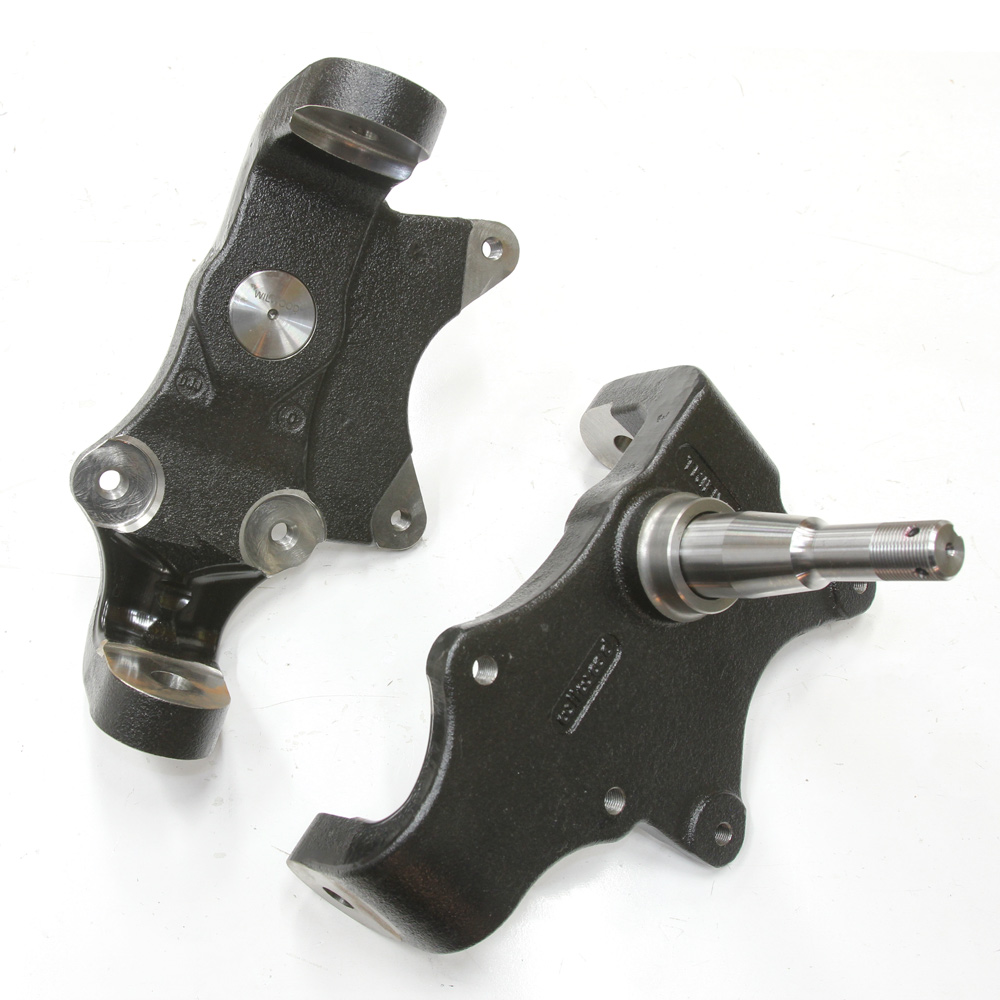
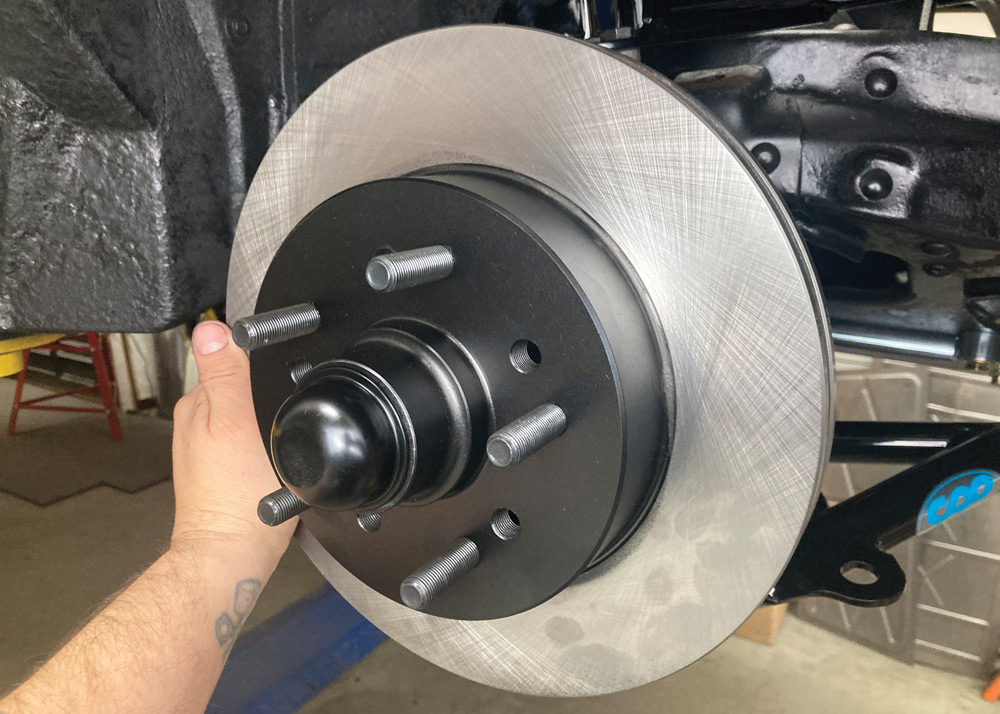
16. The design of Wilwood’s ProSpindle features built-in caliper mounting locations, no brackets necessary!

adding blue loctite to bolt
17. The provided hardware from Wilwood gets a dab of blue threadlocking fluid …
caliper getting torqued
18. … before being installed and torqued to spec.
brakes and suspension installed

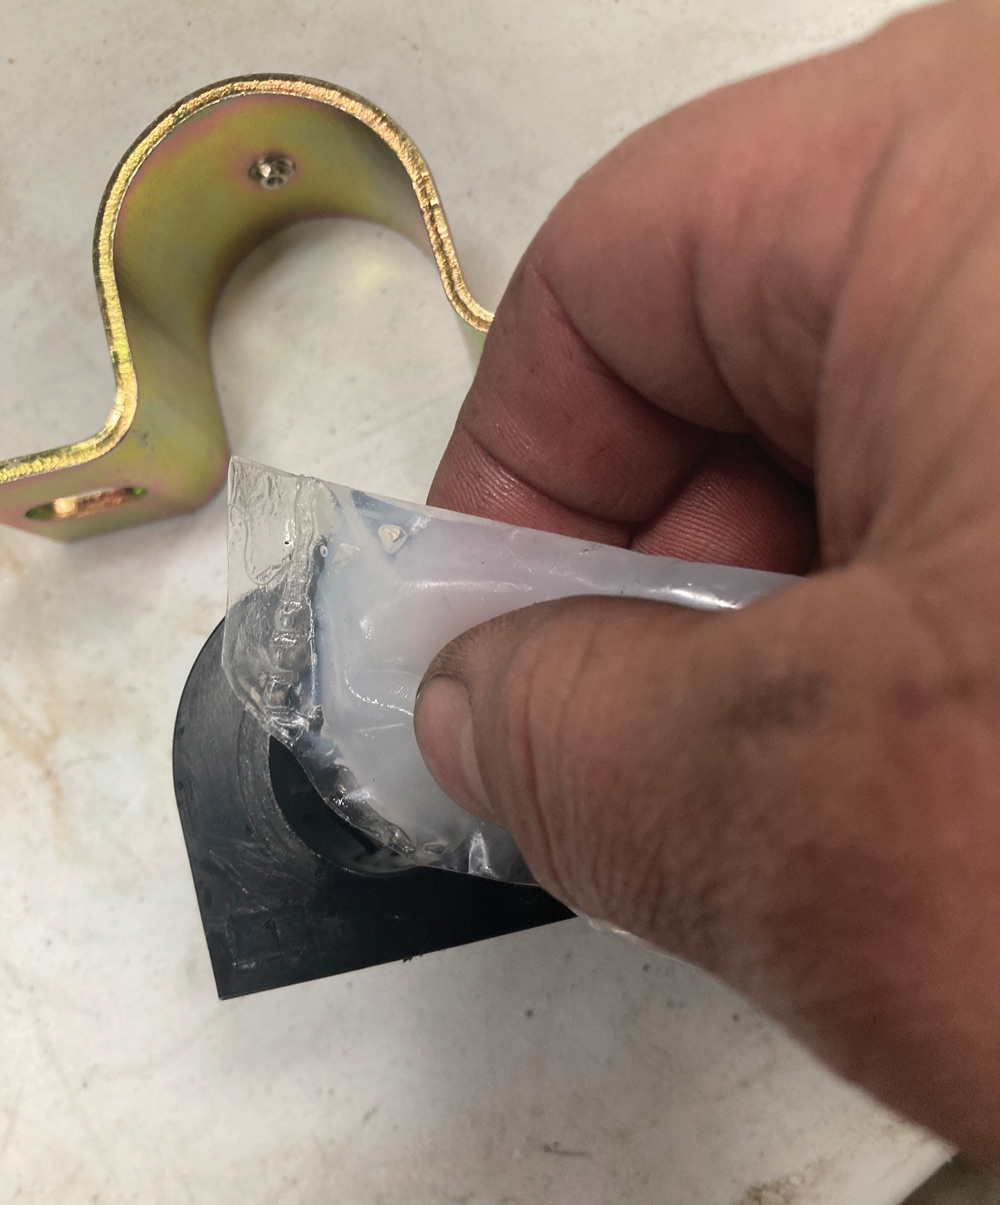
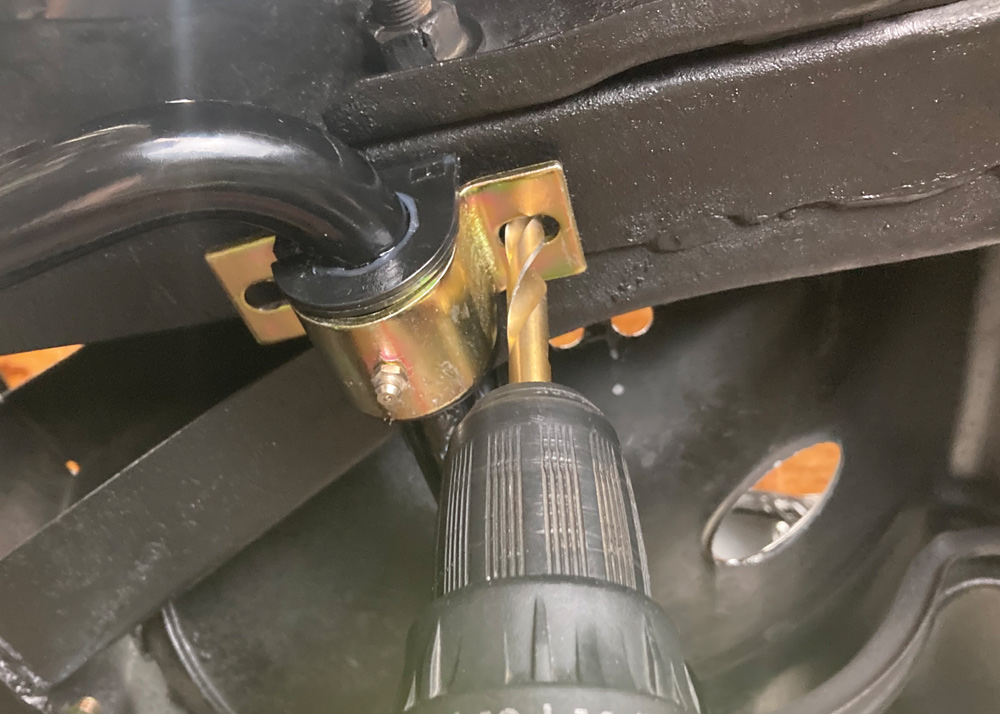
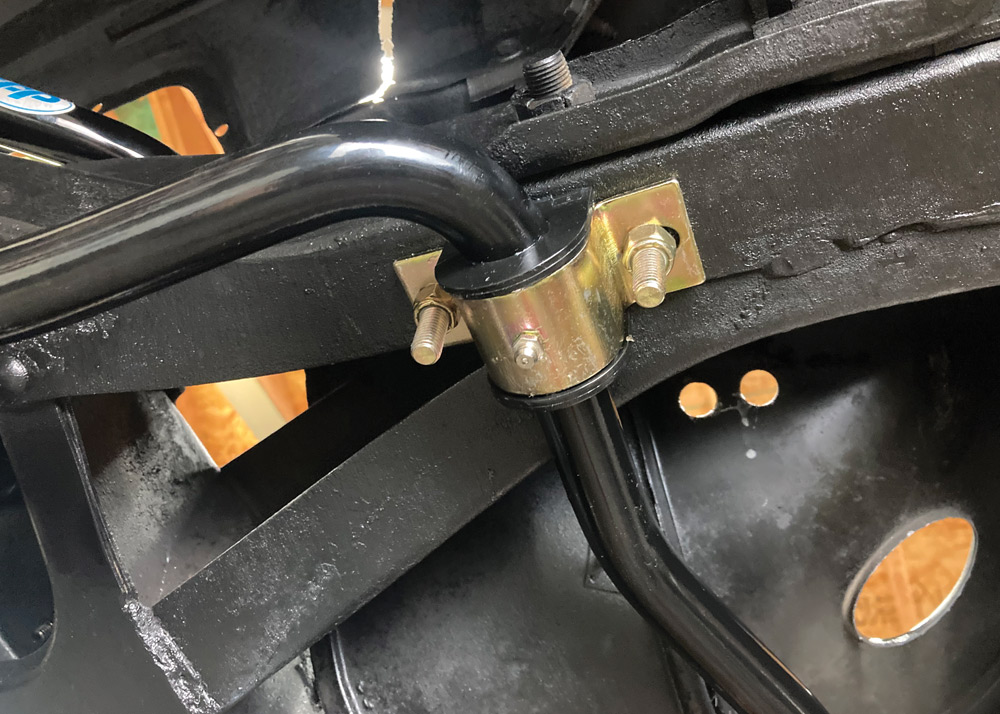
19. With our brake and suspension components installed, it’s time to move onto the sway bar installation.

sway bar and components
20. For that, we’ll be using a 1-inch CPP sway bar, sourced from Summit Racing. The addition of a sway bar is a drastic improvement for vehicles like Valley’s ’57 that didn’t come with one originally.
close up of gold hardware
21. CPP’s sway bar kit comes with a tube of lube to keep the bar from squeaking in the urethane bushings and to allow for proper articulation. A thin layer is applied to each bushing before installation.
sway bar installed
22. The sway bar endlinks are then assembled on the control arms and the sway bar lifted toward the chassis.
using measuring tape to space brackets evenly
23. Next, the bushings and frame mounting brackets are centered under each framerail, and the sway bar itself spaced evenly with the brackets.
drilling brackets
24. A pair of holes are then drilled for each bracket’s mounting U-bolt.
bracket installed
25. The mounting bracket is left loose until the car is on the ground to avoid putting too much tension on the bushings. Tightened at ride height, the bushings are left in a relaxed, zero-tension state, which helps to minimize any binding that might occur.
sway bar fully installed
26. With the sway bar in place, our front end is ready to rock! We’ll trim that extra length of the endlink a little later.
side view of yellow '57 chevy wagon
27. The result of all that work? Not only did we improve all aspects of the Chevy’s brake and suspension system, but we gained an inch of fender-to-tire clearance—the original intent that started us down this slippery slope.
SOURCES
Aldan American
(310) 834-7478
aldanamerican.com
Clampdown Competition
clampdowncomp.com
Classic Performance Products
866) 517-0273
classicperform.com
Summit Racing
(800) 230-3030
summitracing.com
Wilwood Engineering
(805) 388-1188
wilwood.com