![]() TECH
TECH
1. Our ’77 Nova daily driver gets some much-needed attention with a new tank and sending unit from Classic Industries.
Fill’er Up!
Installing a New Gas Tank in a Crusty Nova
By TOMMY LEE BYRD  Photography by The Author
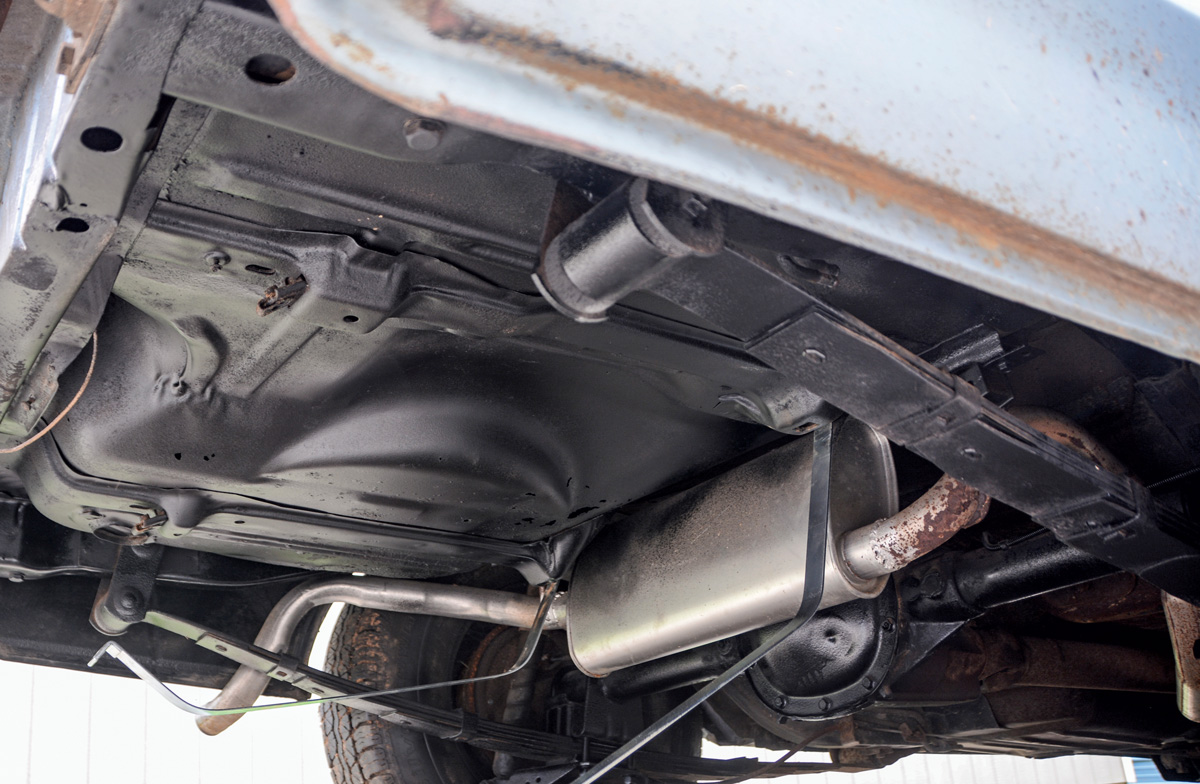
f you’ve ever daily driven an old car, then you know about the perpetual repair and maintenance process. The more you drive it, the more issues you’ll uncover, but there comes a point where things settle down and you can just turn the key and go. Our example is a ’77 Chevy Nova, which you’ve seen before on the pages of All Chevy Performance in other tech articles. We addressed the brakes in previous installments and now we’re moving onto the fuel system. The car runs and drives great, but one look under the rear was enough to tell us the fuel system needed some attention.
The rust and crust had accumulated to a great degree, but our initial hope was that the inside of the tank was clean. That hope went away when the car’s fuel gauge suddenly started reading incorrectly due to an issue with the sending unit. After running out of gas on two occasions when the gauge read a quarter tank, we decided it was time to make a call to Classic Industries and get some new parts on the way. A new gas tank (PN FT2007A) would ensure a fresh supply of gas would make its way into our malaise era small-block. We added new straps (PN FT1103B), an anti-squeak rubber set (PN UK915) and a new sending unit (PN 25000309). Four feet of 3/8-inch rubber hose from the local parts store gave us enough material to replace all rubber in the fuel system, and we also picked up a new Wix fuel filter and gas cap while we were there.
We had a couple of options for the type of sending unit: a single line and a dual line, which is used for a return-style system. The return-style system was a relatively new concept in the ’70s and still utilized a mechanical fuel pump. Since we replaced the original fuel pump with a standard single-line mechanical pump for an older application, we went with the single-line sending unit. The dual-line sending unit would be a great drop-in option if you wanted to upgrade to EFI.
It took about three hours to drop the old tank and install the new one. We spent a little extra time with a wire brush and can of undercoating to dress up the ratty underside of the trunk pan and framerails to prevent further rust. Simple hand tools are all that’s needed to complete the job and we handled it in our driveway. After finishing the install, we poured in a few gallons of gas and fired it up to make sure we didn’t have any leaks. We checked for proper gauge operation and drove to the nearest gas station to fill it up. Now, we’re ready to hit the road again with our crusty Nova as it’s becoming more trustworthy with each budget-friendly repair that hits our to-do list.
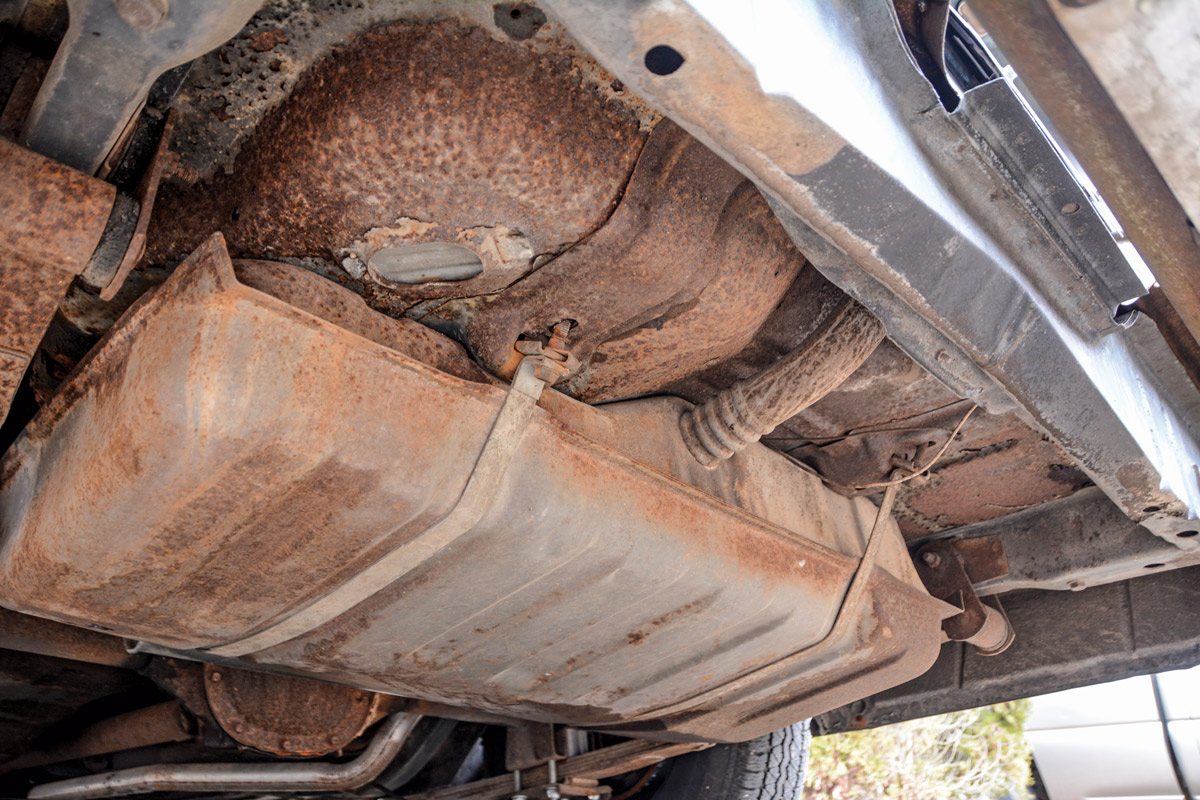
2. This is what 47 years of crust looks like. What started as a faulty fuel gauge snowballed into a fuel delivery revamp.
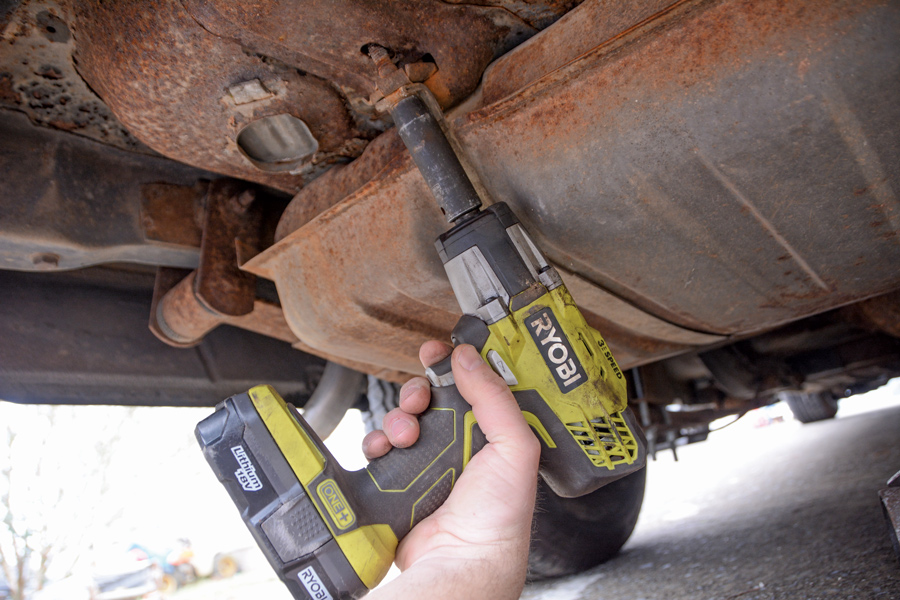
3. We ran the Nova down to about a quarter of a tank (estimated because the gauge didn’t work), but it’s best if it’s close to empty. A cordless impact made quick work of the tank strap bolts.
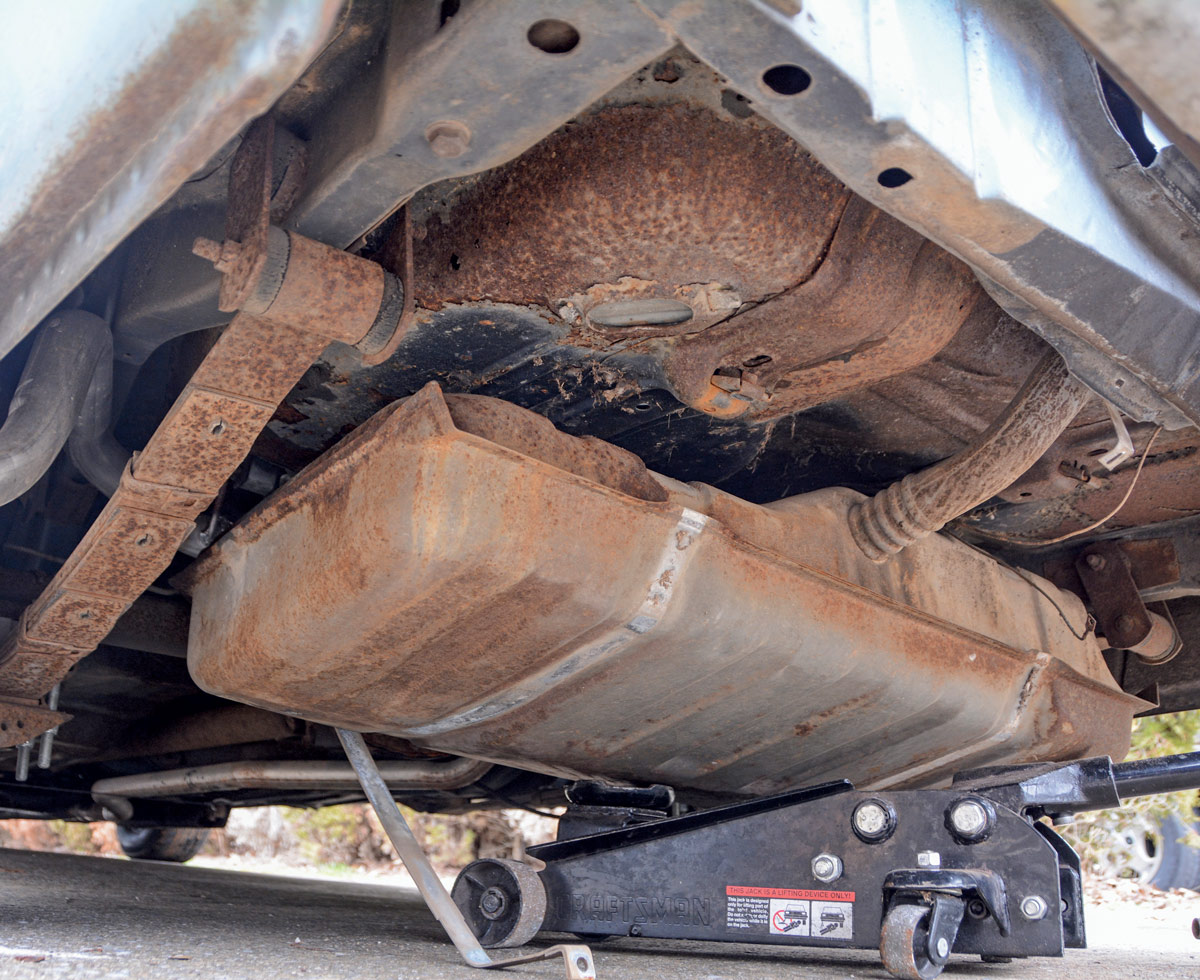
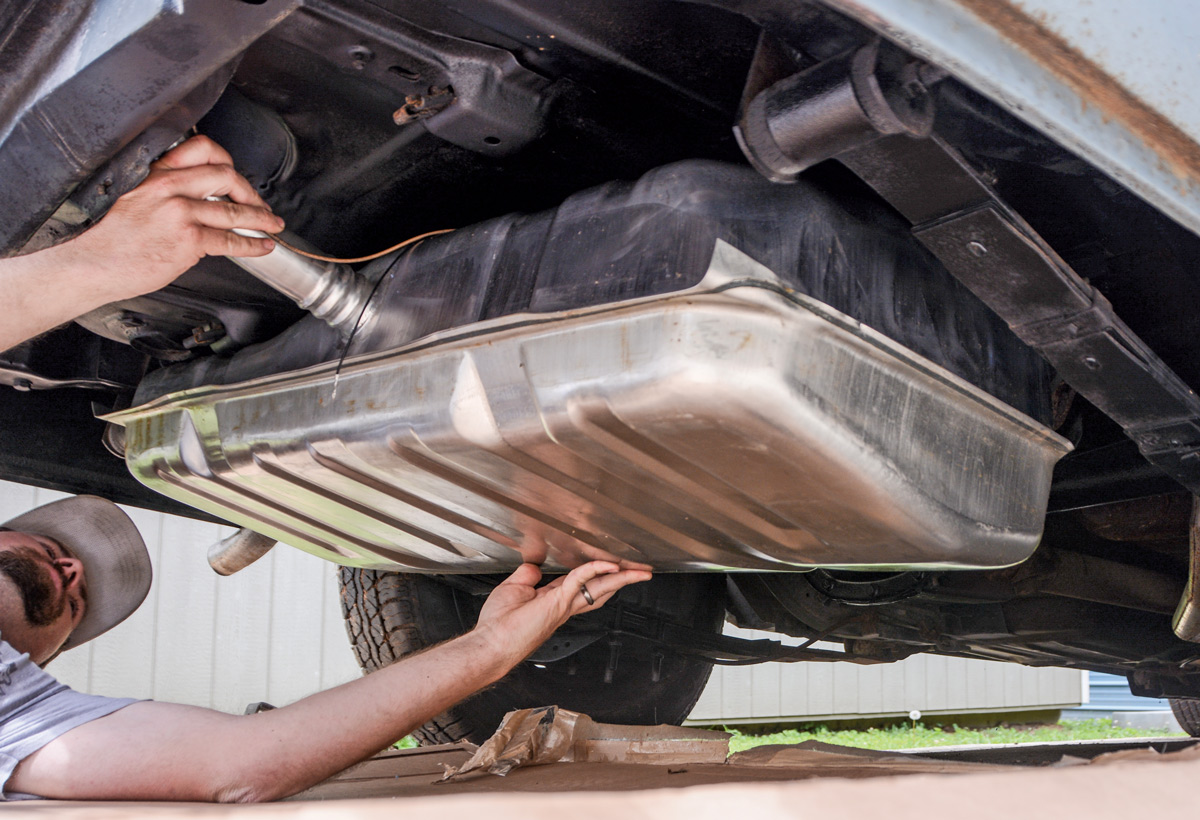
4. It’s best to raise the rear of the car and support it with jackstands. This added elevation allows the front of the tank to tilt down enough for the filler neck to clear the rear crossmember.
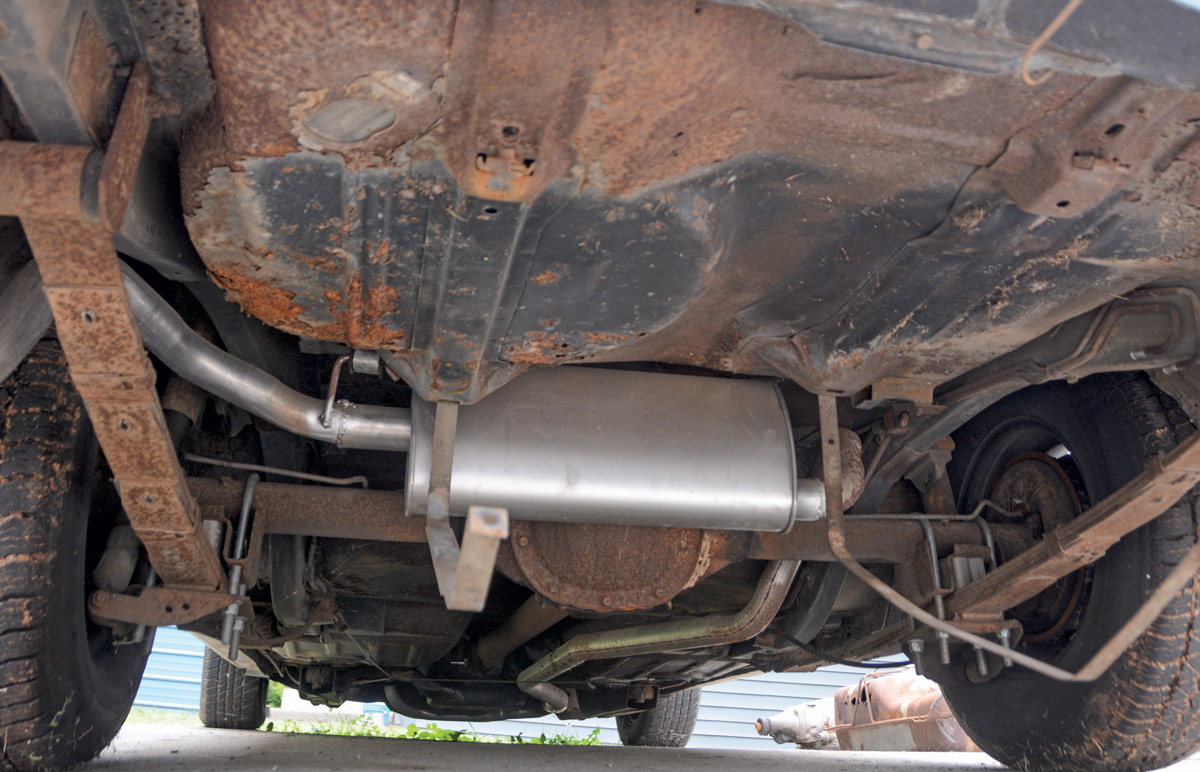
5. With the tank out of the way, we can use a wire brush on the flaky paint and rust and give it a blast of undercoating to prevent further issues.
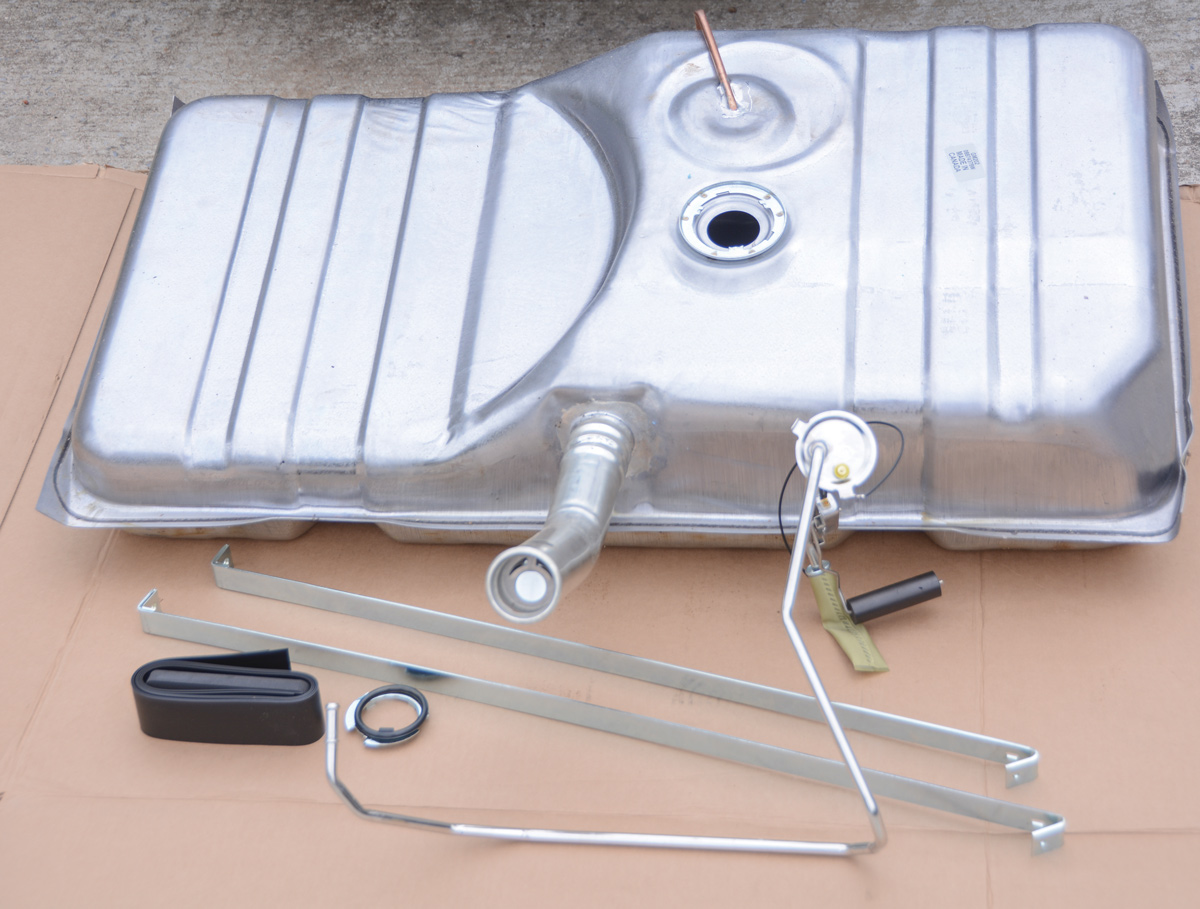
6. Our package from Classic Industries included a new gas tank, sending unit, and straps. Notice the large recess for the spare tire, which is very similar to earlier Nova tanks.
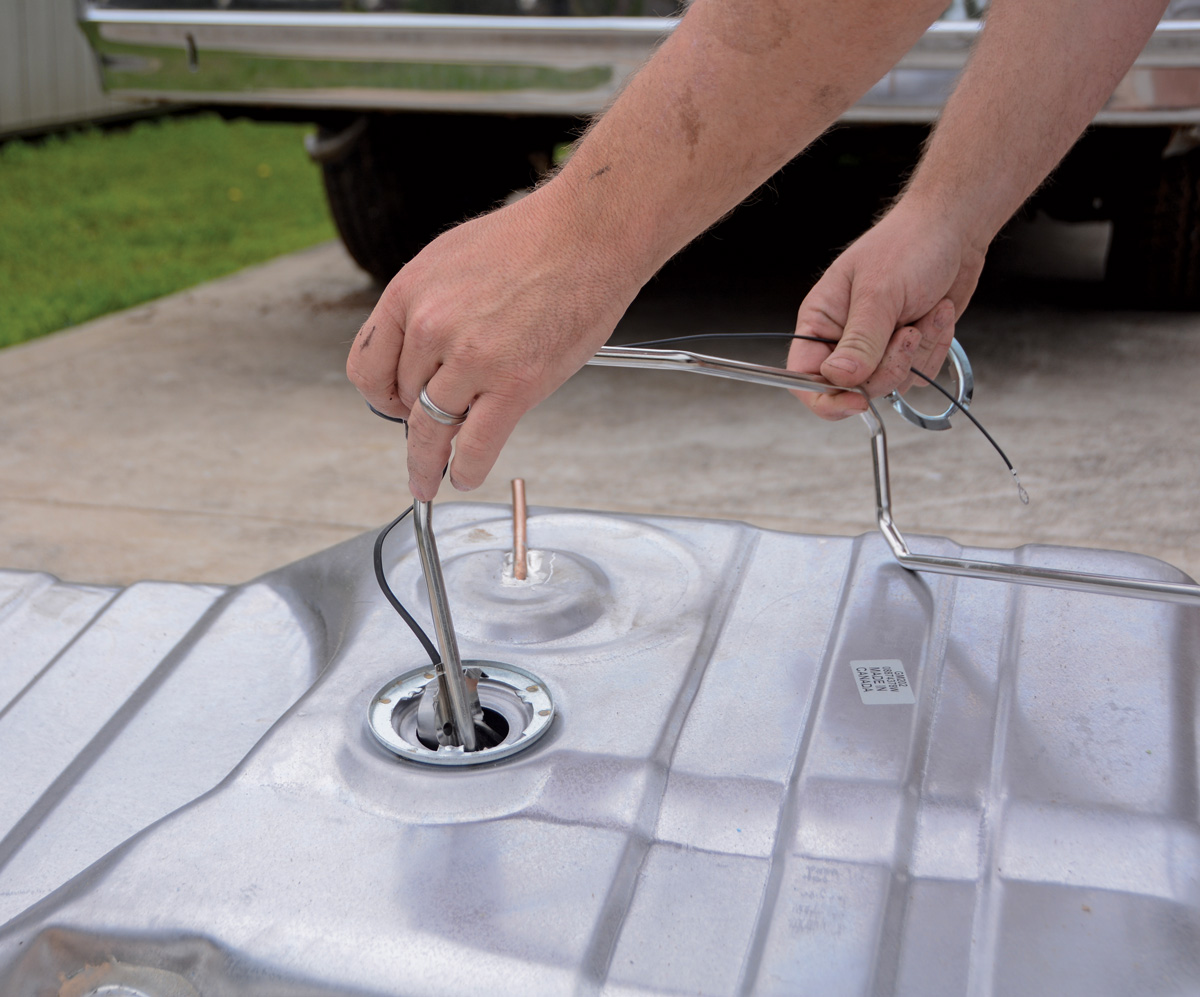
7. The first order of business with the new parts is dropping the sending unit into the tank. The sending unit has a single, pre-bent hard line, which fits nicely around the bends of the tank.
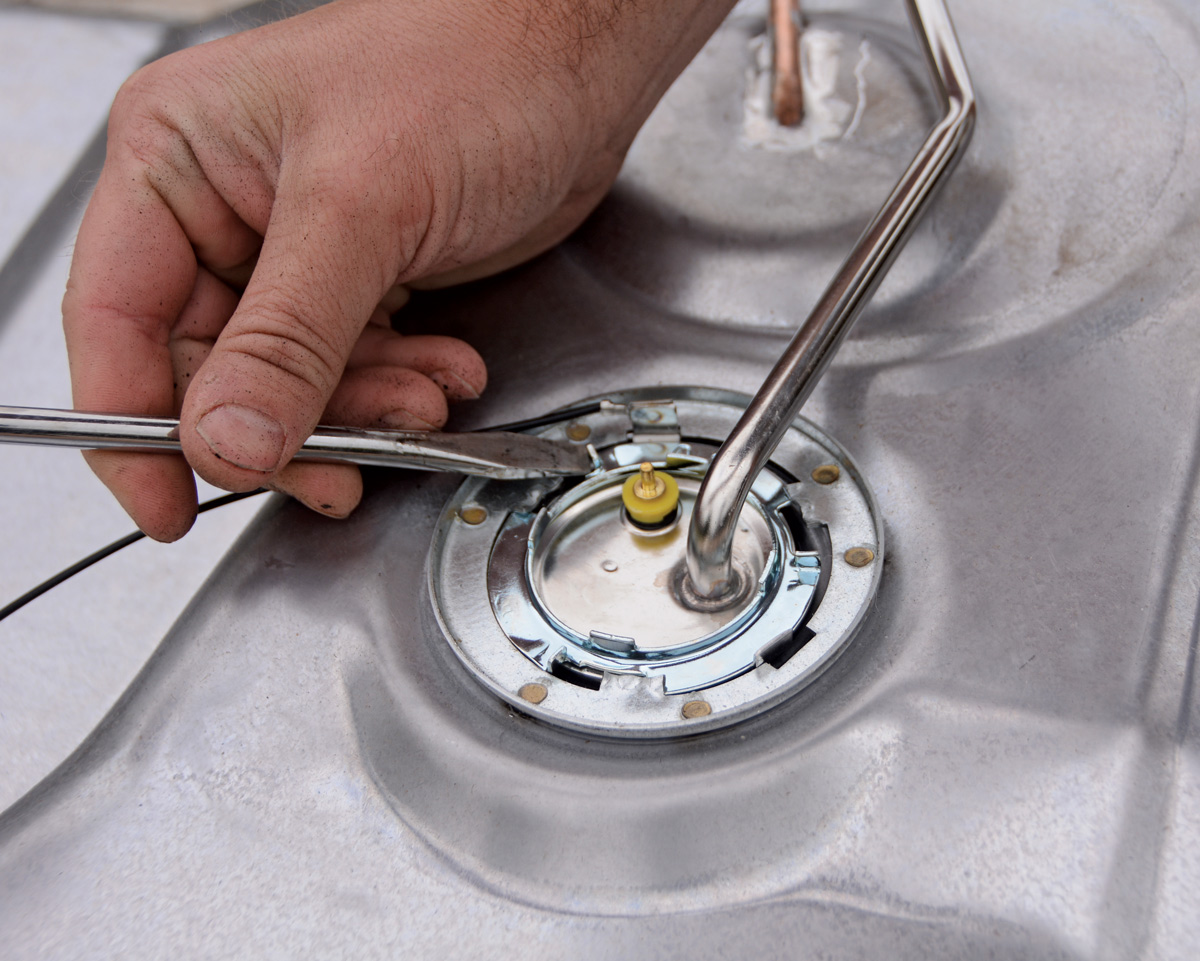
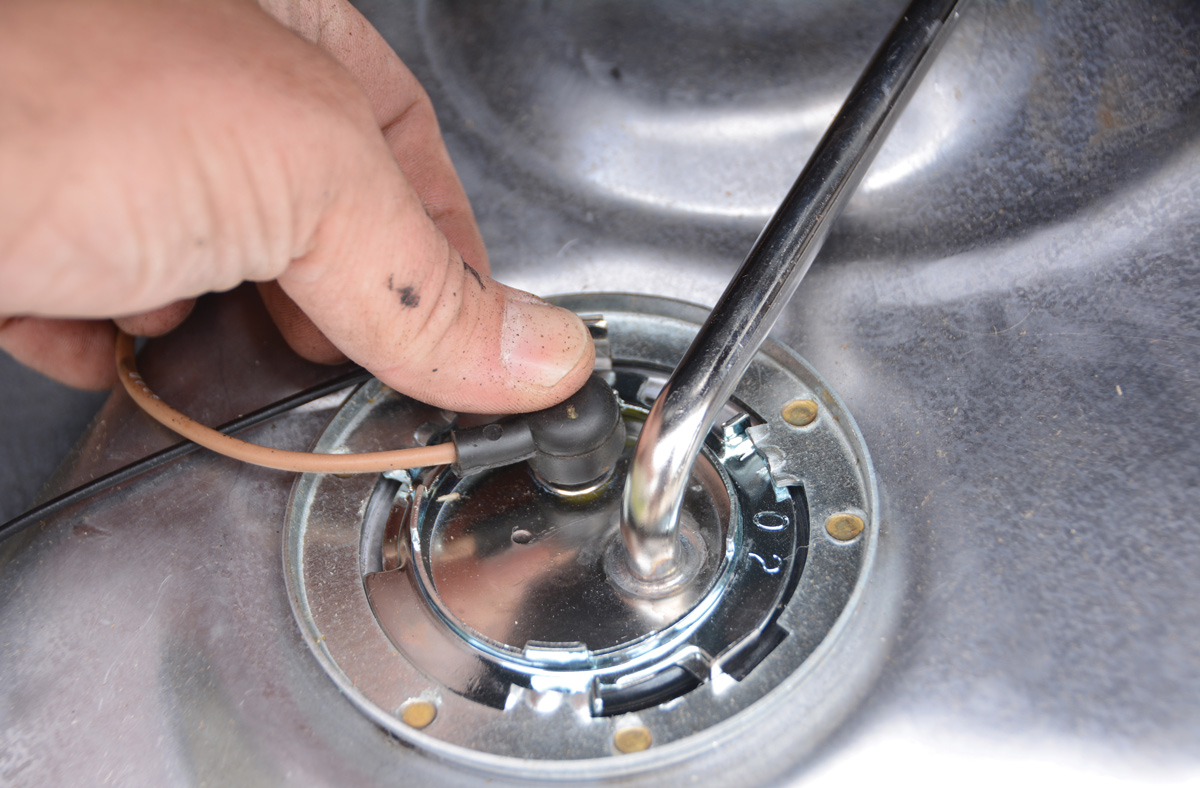
8. A new rubber O-ring and retaining ring came with the sending unit. We used a straight screwdriver and hammer to peck the ring around to the proper position.
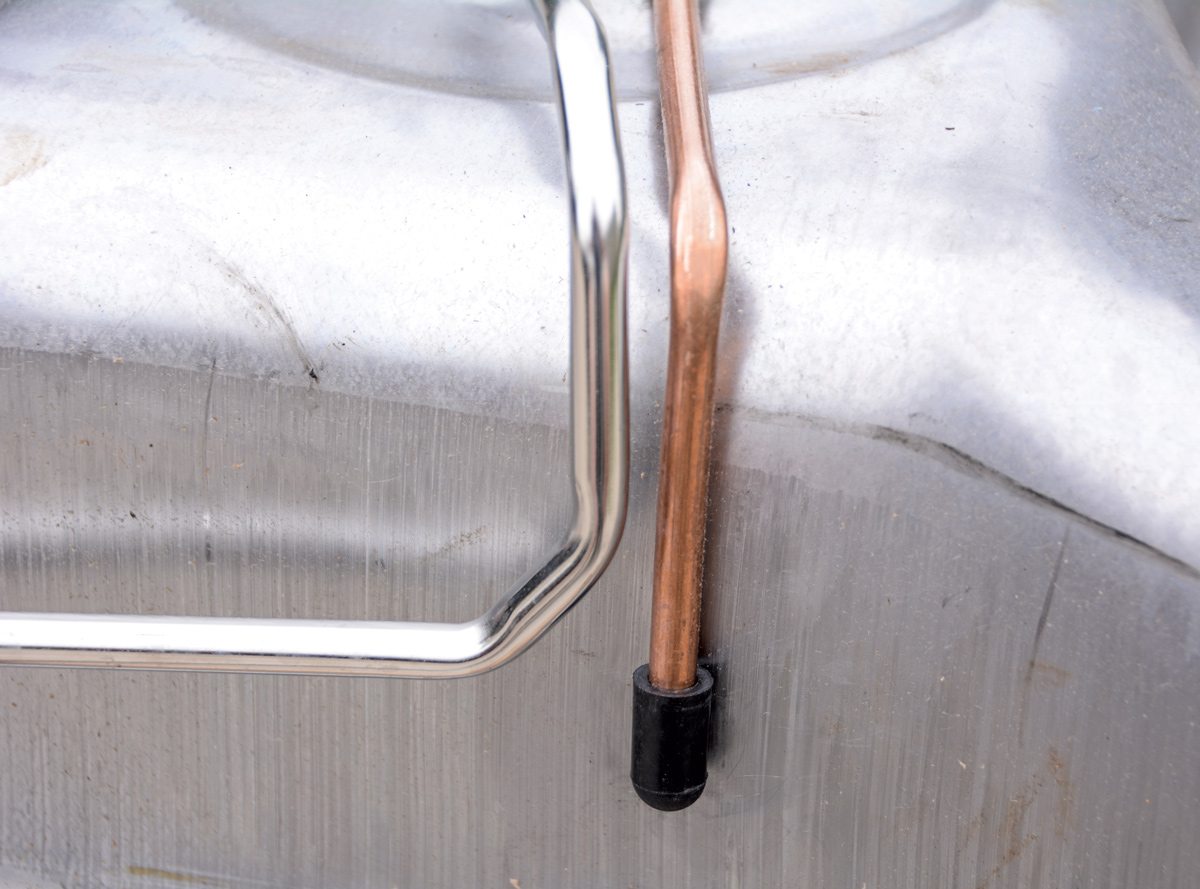
9. This copper line is soldered to the tank and was originally designed for use in the car’s primitive emissions system. This line led to a charcoal canister, which we are no longer using. We capped it off with a plug.

10. The new straps require a little attention to prepare for installation. First, we used pliers to tighten the bend at the end of the strap. Then, we used the old straps as a guide for the bends.

11. The front of the strap hooks into the factory location and the original screw is threaded in to hold it in place.
12. Fresh undercoating gives the old Nova a little cleaner appearance and the new straps are ready for final fitment. Take note that the right strap (passenger side) is longer than the left.
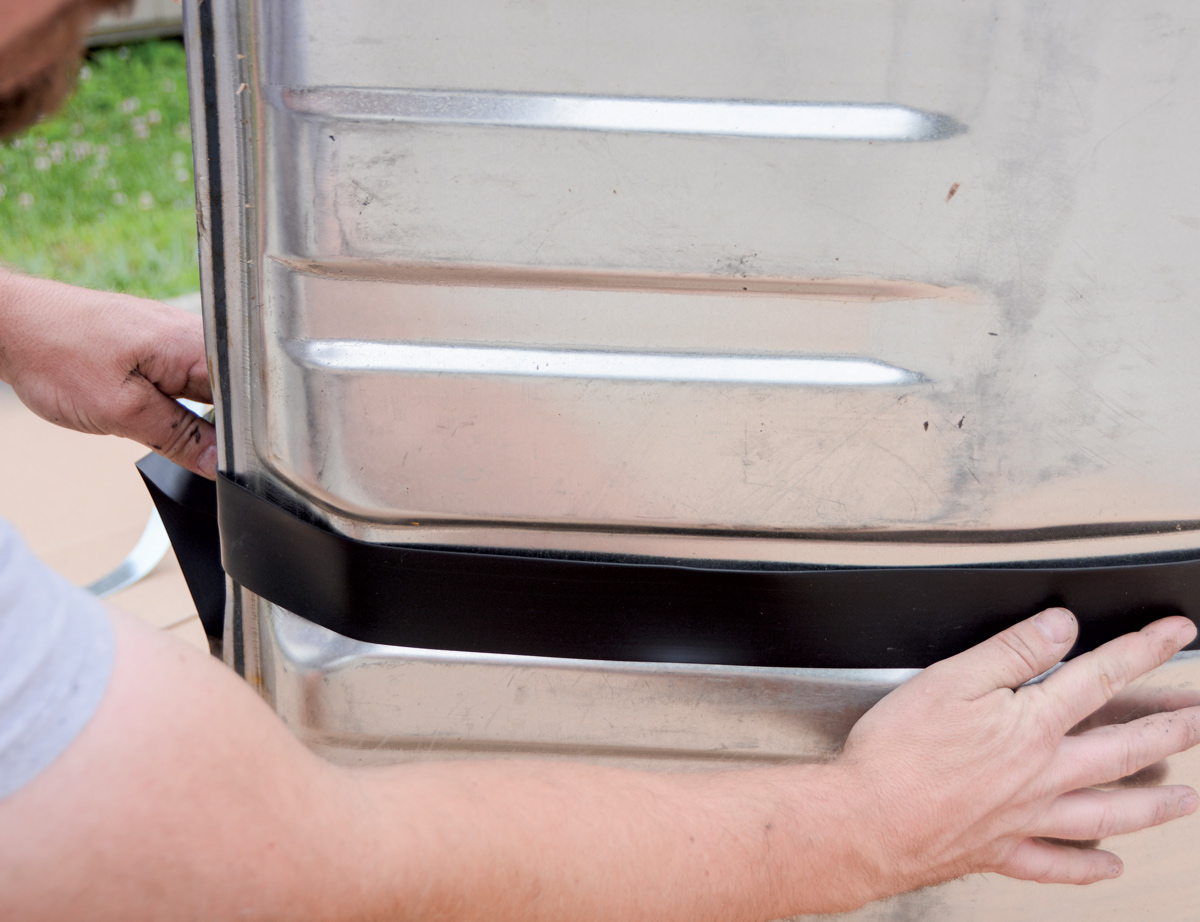
13. The Classic Industries anti-squeak kit is a universal kit to fit many applications. We mocked it up and cut the rubber strips to length with a razor.
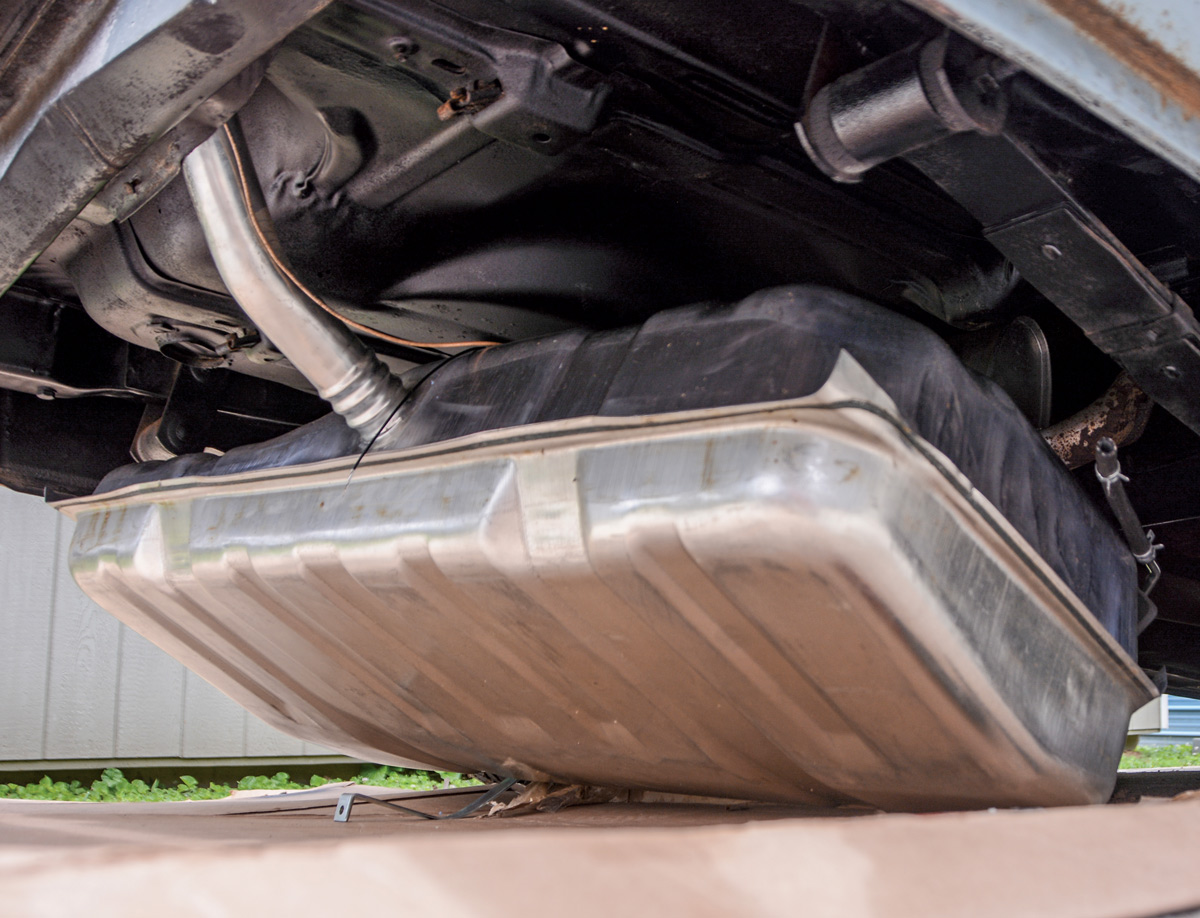
14. We slid the tank too far forward, so there is enough room to poke the filler neck into its home between the body and frame. It can rest here for a moment while we connect wires and hoses.
15. The original sending unit power wire snaps into place easily. This is done before the tank is lifted into place due to space constraints.
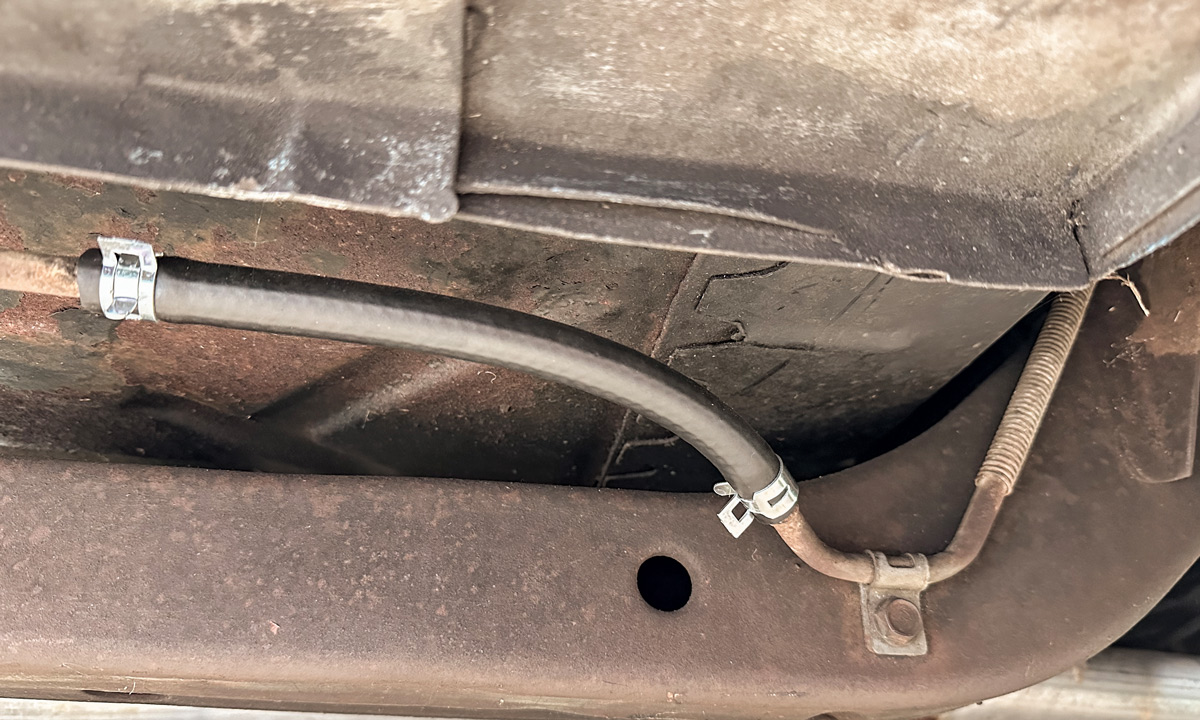
16. Another task that’s easier to handle before the tank is installed is the ⅜-inch rubber hose that connects the sending unit hard line to the car’s fuel line.
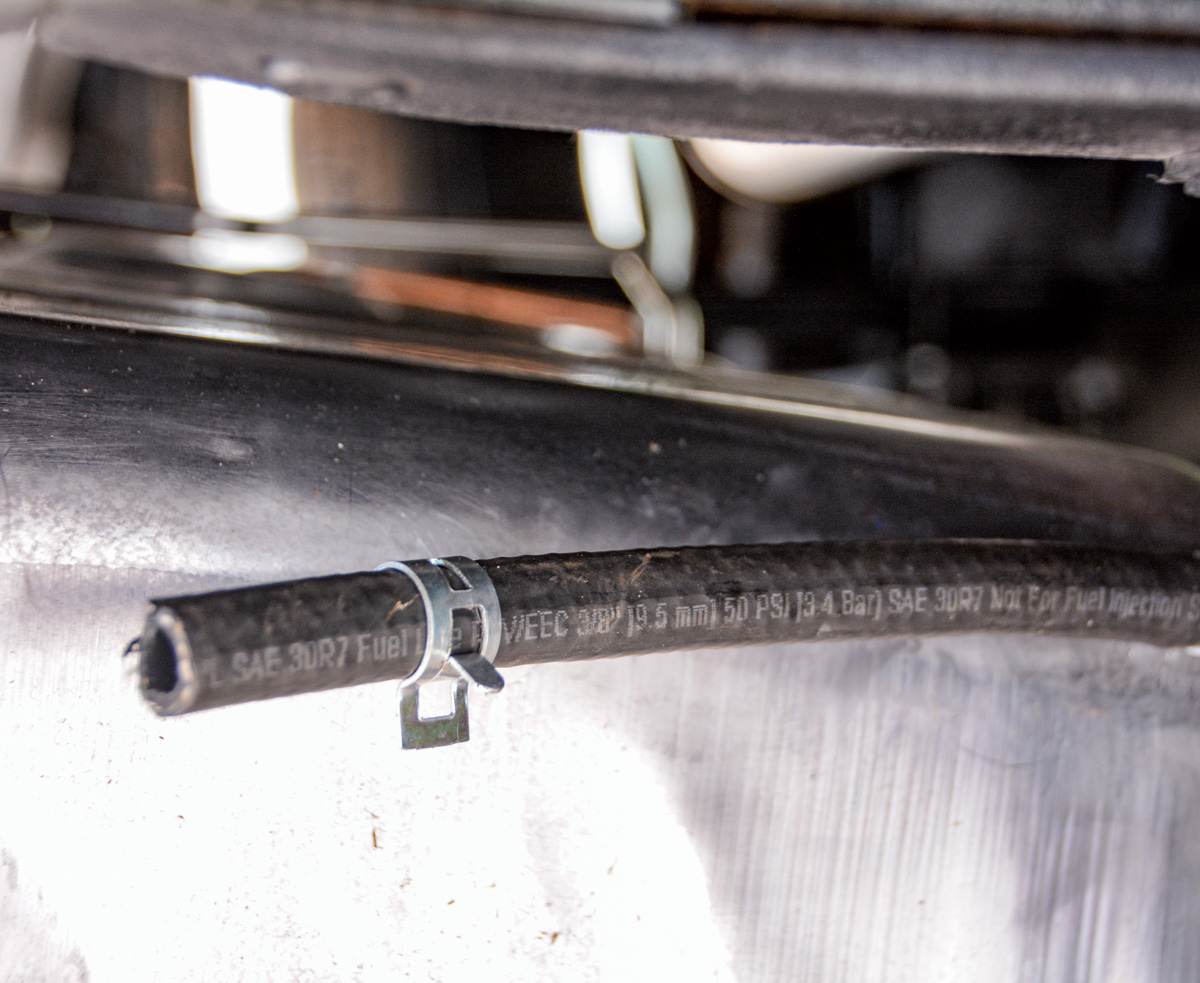
17. While we were cutting and installing new hoses, we replaced another small section of ⅜-inch rubber hose under the passenger side front fender, as well as the hoses in and out of the fuel pump.
18. Now, the tank can be lifted into place. Since it’s empty, it’s easy to lift into position, but you may need an extra pair of hands to get the straps bent into the final shape and start the bolts.

19. Once the tank strap bolts are started, it’s a simple matter of tightening them until the tank is held tightly.
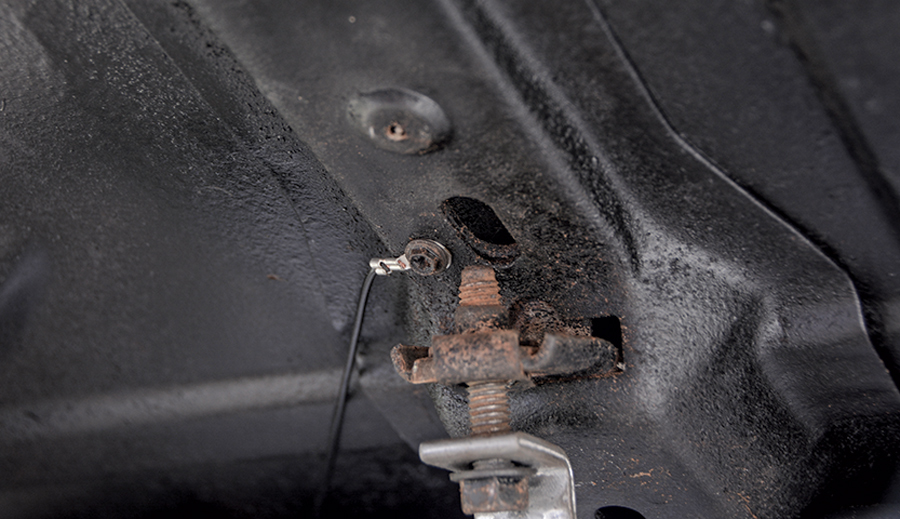
20. Now that the tank is in place, the ground wire from the sending unit can be installed using the original screw.
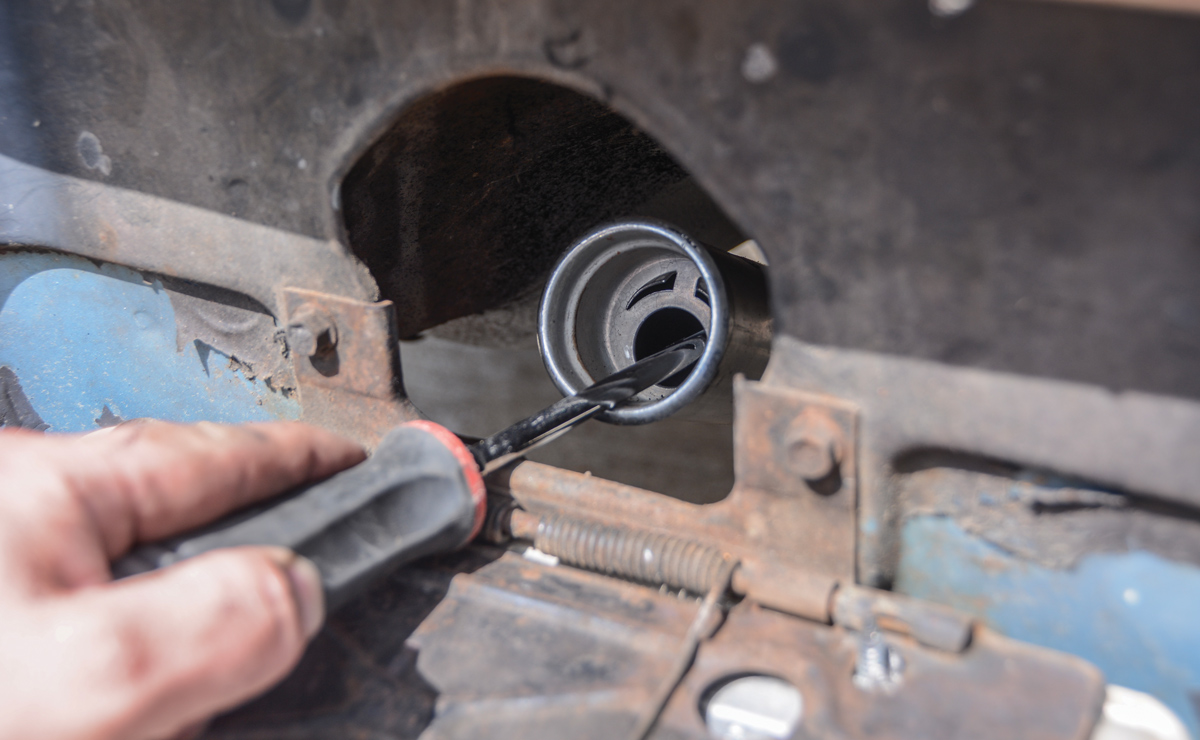
21. The filler neck needed some adjustment, so we used a long screwdriver and gently bent it to fit properly. A generic fuel cap from the parts store threads into the neck.
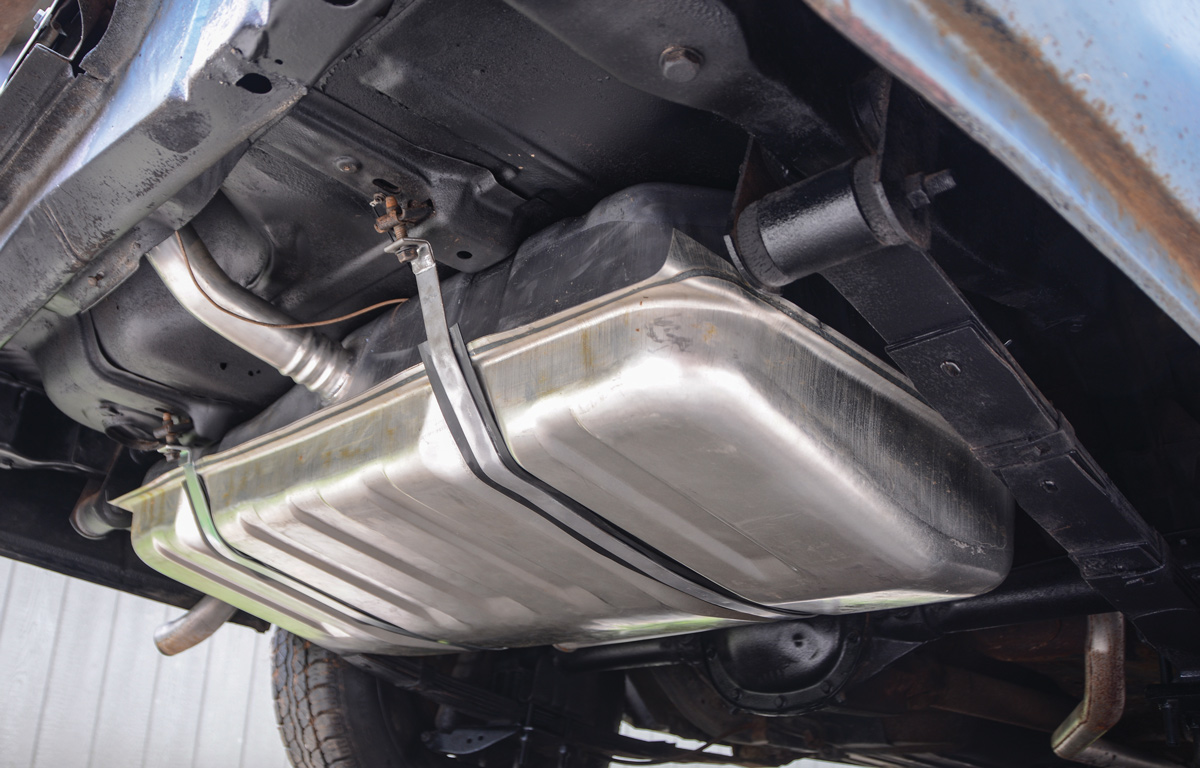
22. The new gas tank, sending unit, and straps gives us added confidence for this daily driver. Now the gauge reads correctly, and we’re sure that rusty chunks of debris aren’t floating around in our fuel system.
SOURCE