ACP department heading TECH
InTheGarageMedia.com
Don't Roll with It - Antiroll Bar Tech: Where bigger isn't always better
Holley manifold lid on garage workbench with gaskets and burst panel
1. Shown is a Holley Ultra Lo-Ram Intake manifold lid (PN 300-605BK), burst plate duct (PN 300-608BK), and an SFI burst panel (PN ALL26310), which was purchased separately from Summit Racing.
How to Install an SFI Burst Panel
BY Evan Perkins Photography by The Author
N

o one looks forward to an engine backfire. They damage parts, singe eyebrows, or—worse–can send hoods and intake manifolds skyward in a crinkled mess. However, in the racing world there exists a clean and clever solution. It’s called a burst panel and it prevents your expensive intake manifold from ballooning like a tin can with a firecracker inside.

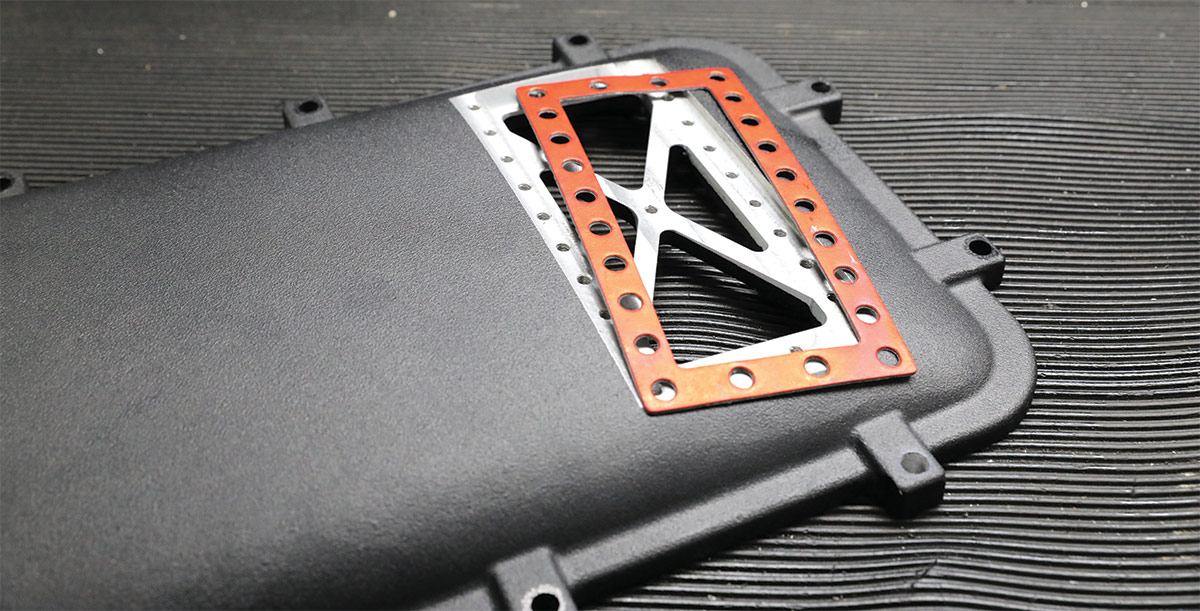
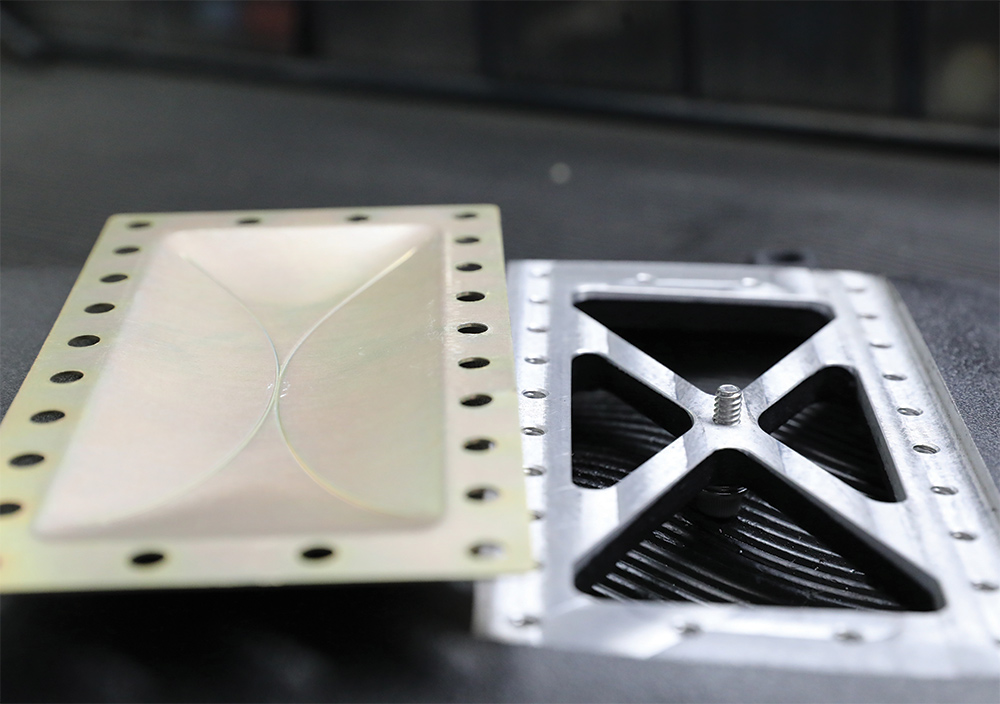
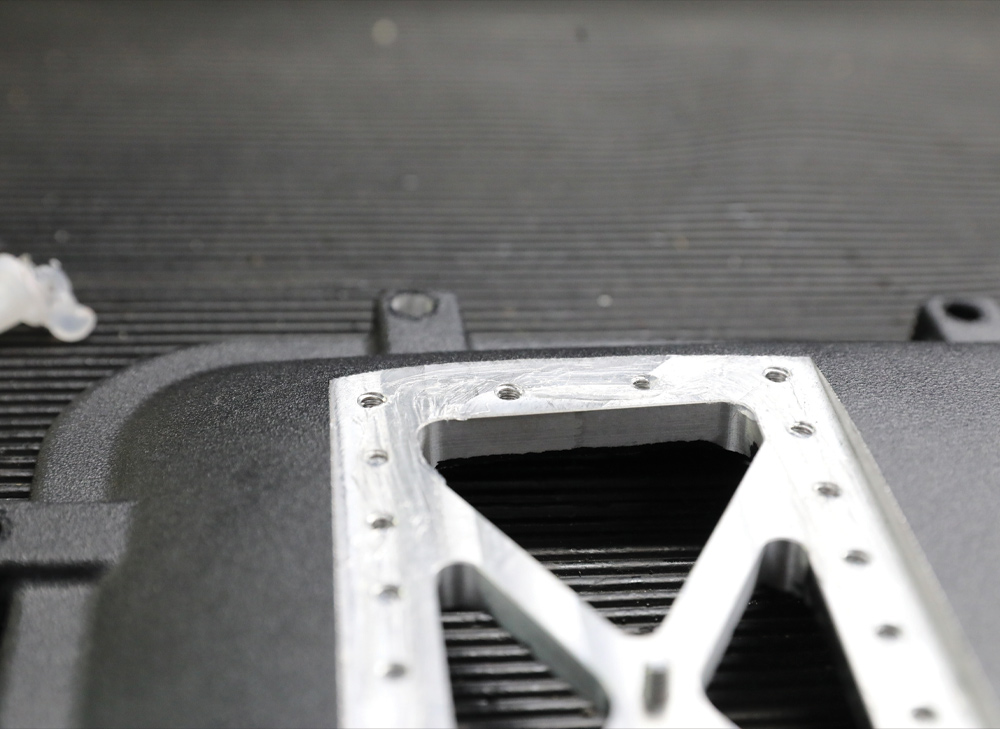
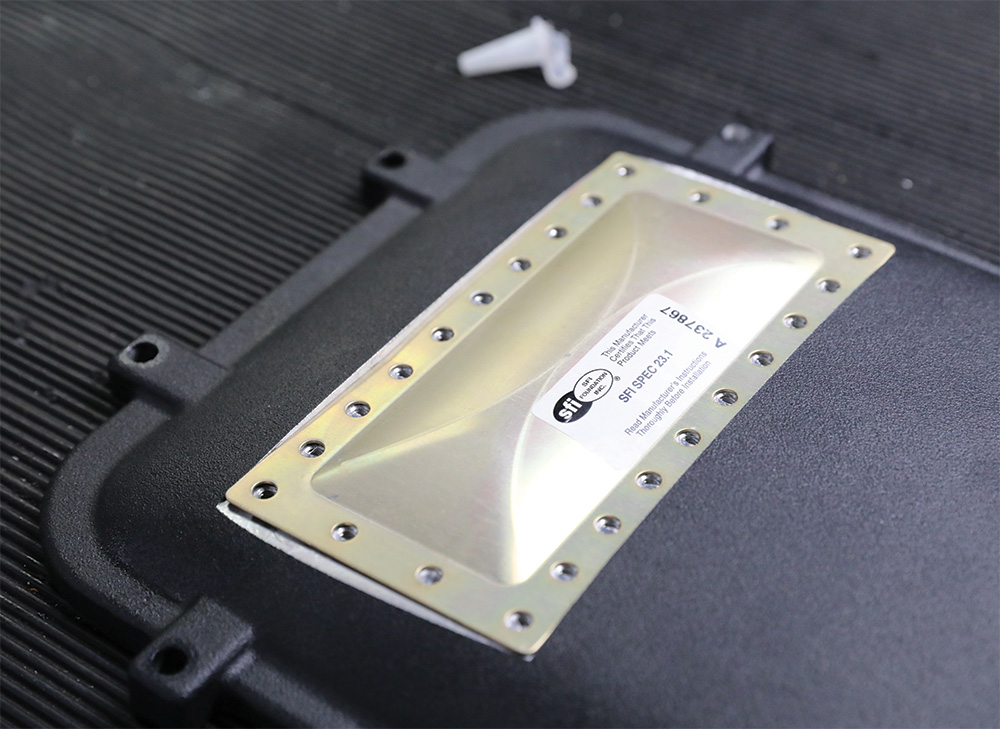
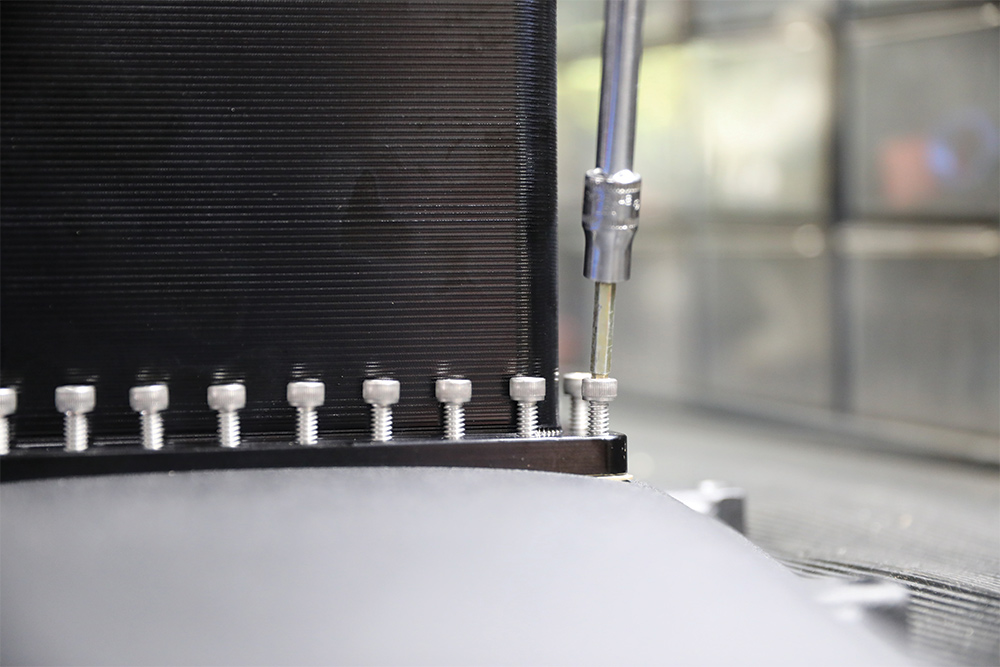
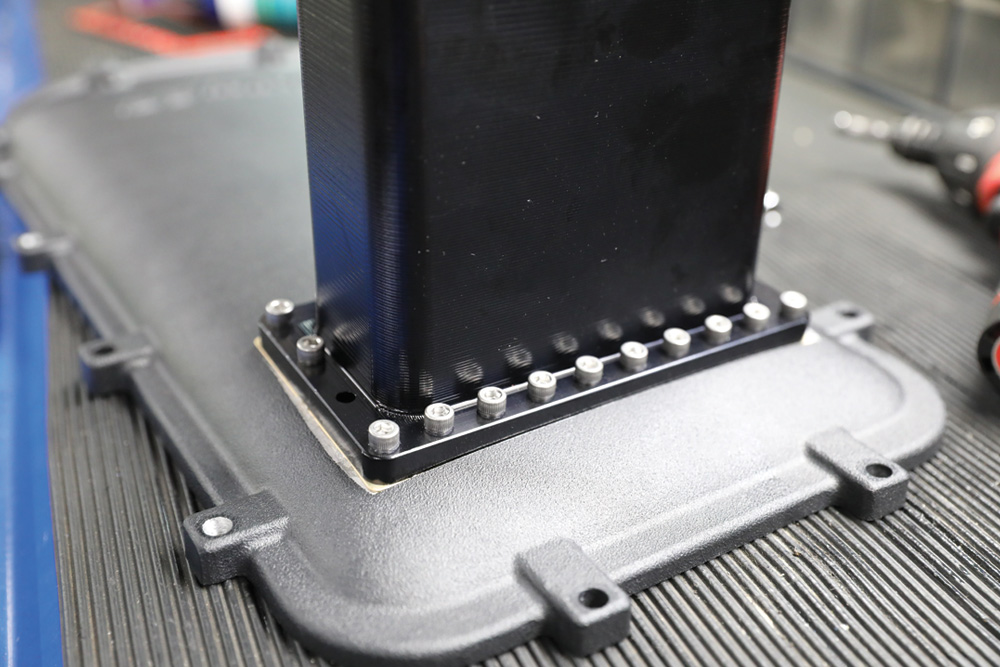
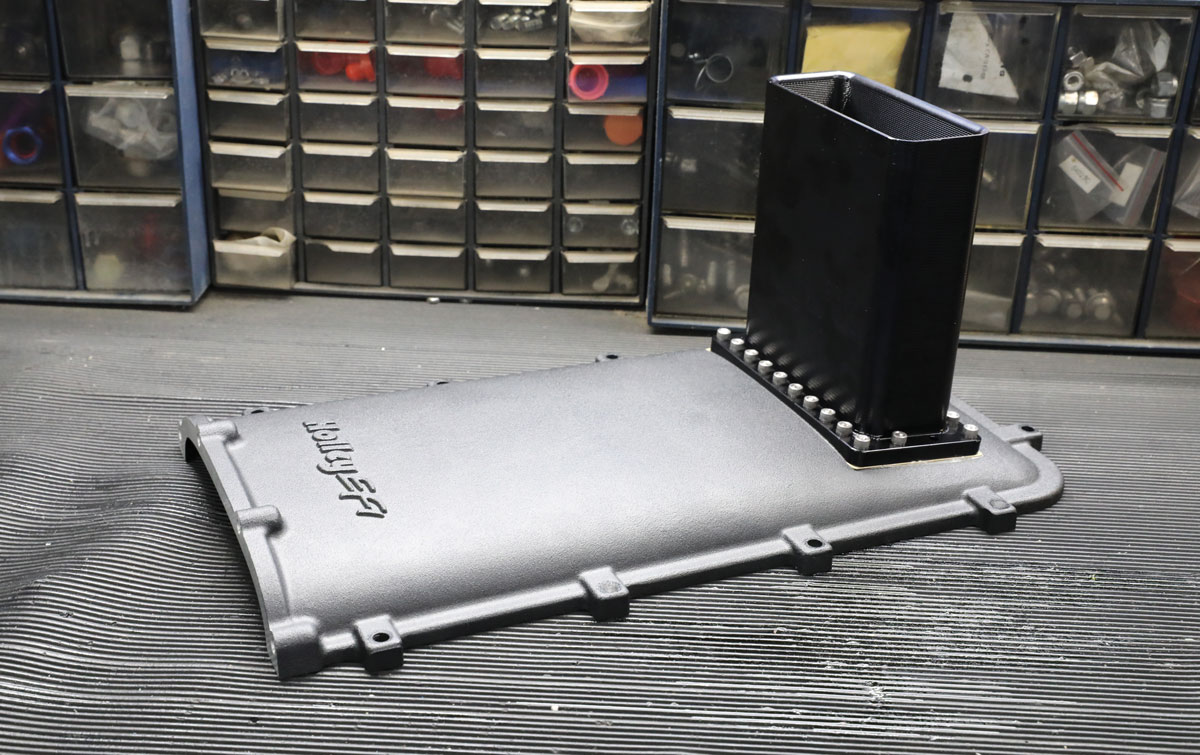
Burst panels are designed as sacrificial components that fail in the event of a backfire and direct that dangerous explosive force harmlessly away from the vehicle. The basic burst panel consists of a machined flange on the top of the intake manifold with a thin, replaceable metal cover. That cover positively seals against the intake manifold during normal operation but, should a major backfire occur, gives way to safely relieve excess pressure.

In this article we’ll detail how to install a burst plate with a Holley front-feed intake manifold lid as our test subject.

Burst panel gasket mocked up on intake manifold lid
2. A burst panel can be installed with a gasket (shown) or with a flange sealant. In this installation we used Loctite flange sealant.
View of burst panel opening
View of burst panel inner bolt with washers installed
3-4. Note the stud in the middle of the burst panel flange. This is to prevent the burst panel from sucking in during intense engine vacuum, such as letting off the throttle at high rpm. Install a screw and washer stack just tall enough to barely kiss the back of the panel without lifting it off the mounting flange.
Close up of lid-side panel flange
5. Apply flange sealant across the entire mating surface of the burst panel flange.
Burst panel lined up on lid before fastening
6. Install the burst panel onto the recessed area of the intake manifold, make sure it fits properly and all the fastener holes line up. The material is intentionally very thin so there are quite a few fasteners.
Manifold lid vent bolts being fastened
All fasteners tightened down
7-8. Tighten the fasteners, equally alternating sides. We used a dab of blue Loctite on each to make sure they wouldn’t back out under operation.
View of burst panel inside through vent
9. Some engines, especially those with exposed intakes may run the burst panel with just a cover. However, if a racer is trying to duct any potential backfires past the hood, a vent such as this will help accomplish the goal.
Fully assembled manifold lid, panel and vent
10. The SFI burst panel is now safely sandwiched between the vent and the intake manifold, and the completed lid is ready to be installed on a Holley Lo-Ram intake. The burst panel is prepared for the worst, but let’s hope it never needs to do its job.
SOURCES
Holley
(866) 464-6553
holley.com
Summit Racing
(800) 230-3030
summitracing.com
Westech Performance
(951) 685-4767
westechperformance.com