ACP department heading TECH
InTheGarageMedia.com
1971 camaro driver door glass install classic muscle car restoration shop
Side View
Side View
1971 Camaro Side Glass and Hardware Replacement
BY NICK LICATAImages BY THE AUTHOR
B

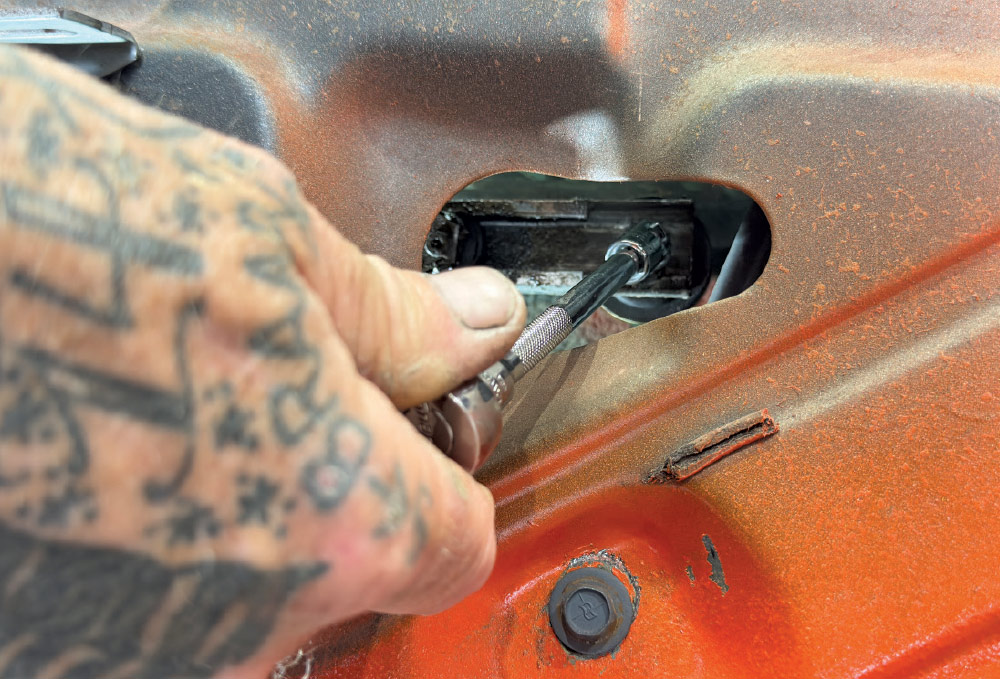
eing the 1971 Camaro is now well over 50 years old as of this writing, it would be asking quite a bit for the factory parts to maintain their original strength and dignity. That also goes for internal parts that never see the light of day, which includes side window hardware. Years of repetitive motion, combined with summer heat and freezing cold winters are certain to put a strain on those parts that at some point will begin to fail, as was the case here.

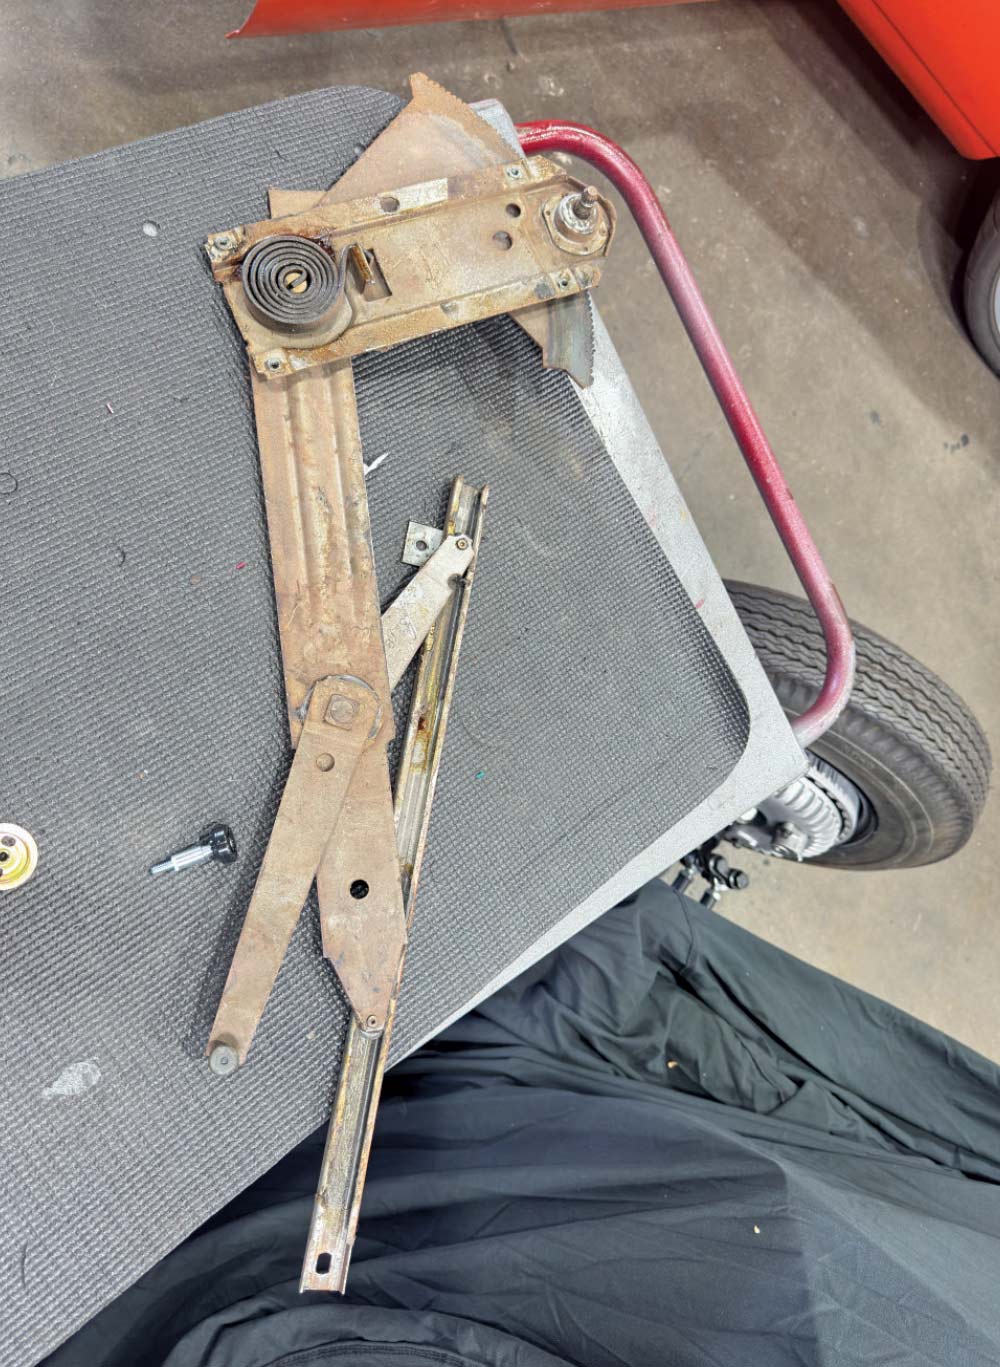
Years ago, “Orange Krate,” our 1971 Camaro, went through a full restoration, and new side glass was part of that process, but the hardware and many of the internal mechanical parts such as the window regulator, window tracks, and adjustment hardware are all original. At the time, those parts fell under the if-it-ain’t-broke-don’t-fix-it rule, so they were retained as part of the restoration.

As of late, the windows lacked smooth operation, and there was quite a bit of “slop” causing an annoying rattle, especially when the windows were not rolled up all the way. The rattle was super annoying and gave the impression that the window no longer wanted to be part of the car. Truth be told, I originally took the car over to Jason Scudellari at HB Hot Rod in Huntington Beach, California, to address some minor issues that had developed over time. While Scudellari was taking the car for a testdrive, hard cornering combined with a dip in the road caused the driver side window to unexpectedly shatter. The vintage hardware combined with the car’s track-inspired suspension certainly contributed to the window’s dramatic exit from the original regulator, leaving a pile of broken glass on the carpet.

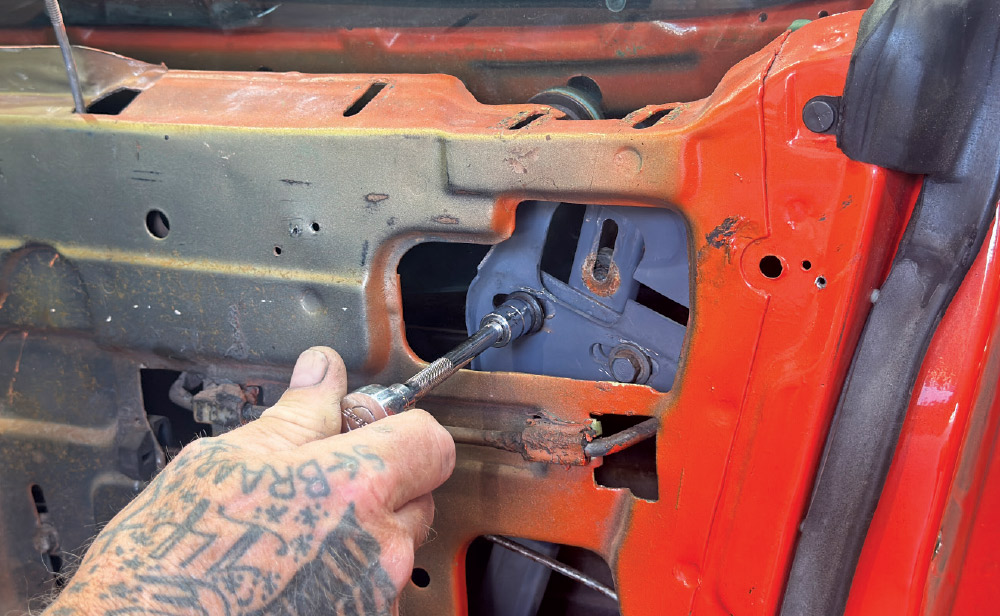
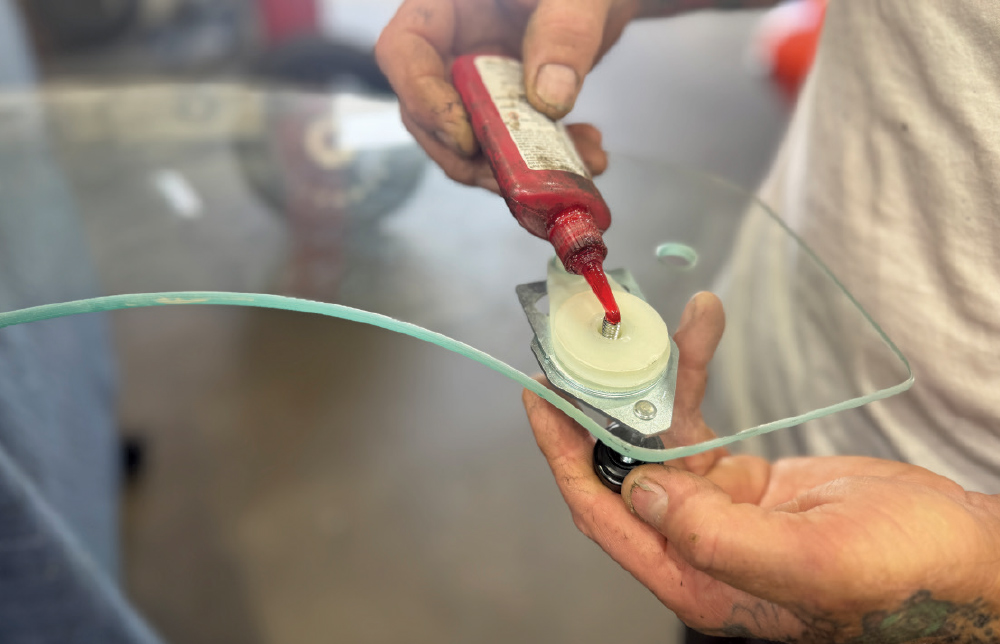
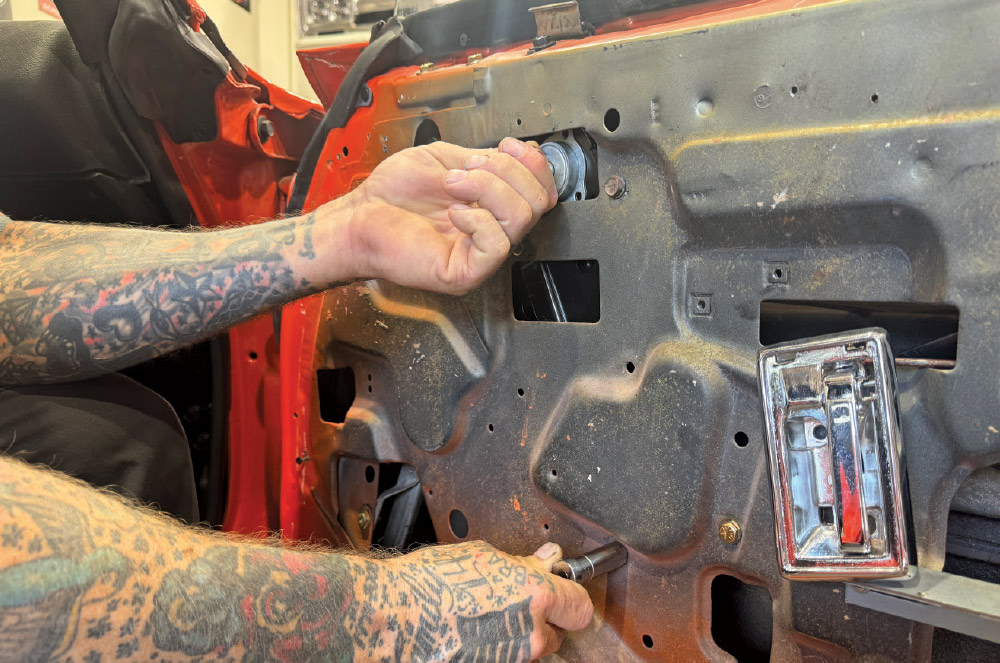
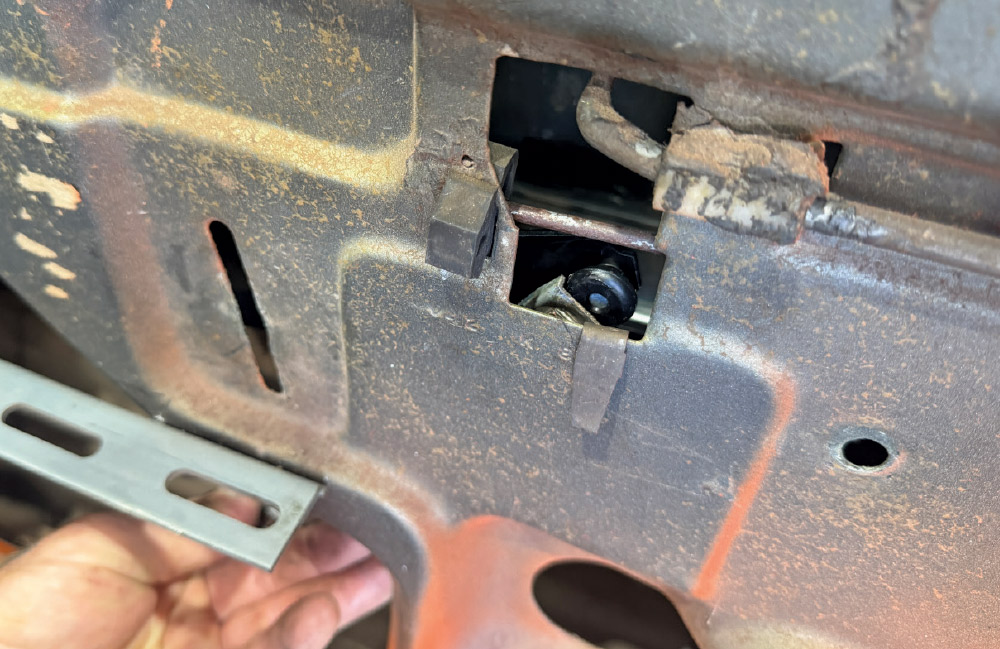
So, when it came time to replace the windows, it was obvious new hardware would be needed to properly install new side glass, so we hit up the folks at Auto Metal Direct (AMD) for fresh glass, new window regulators, and all-new window hardware.

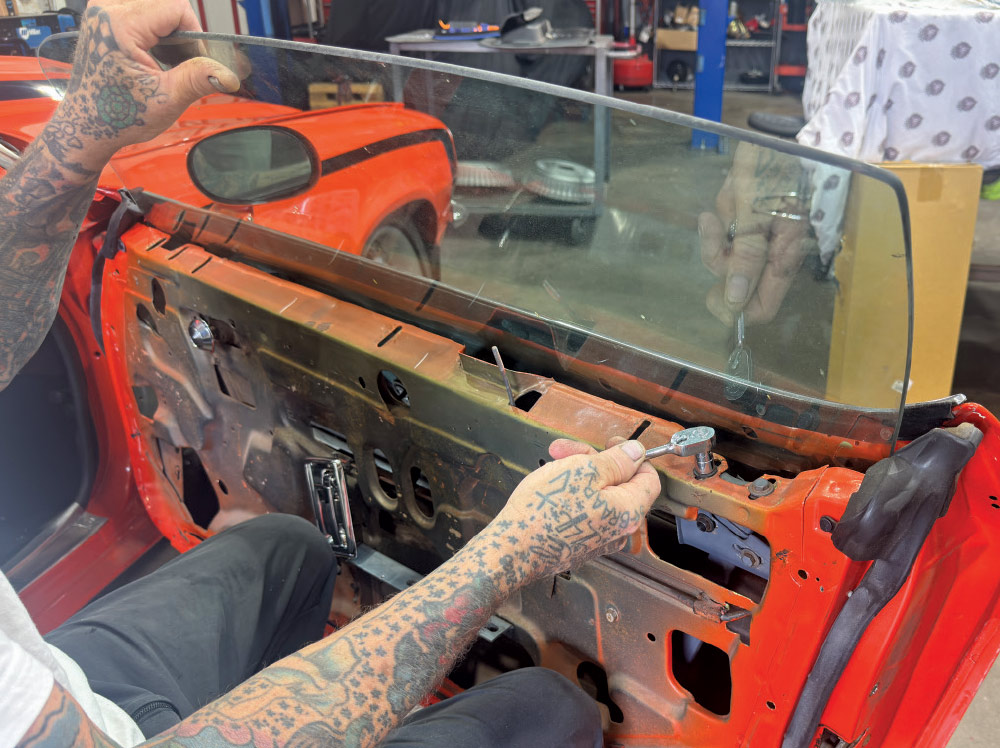
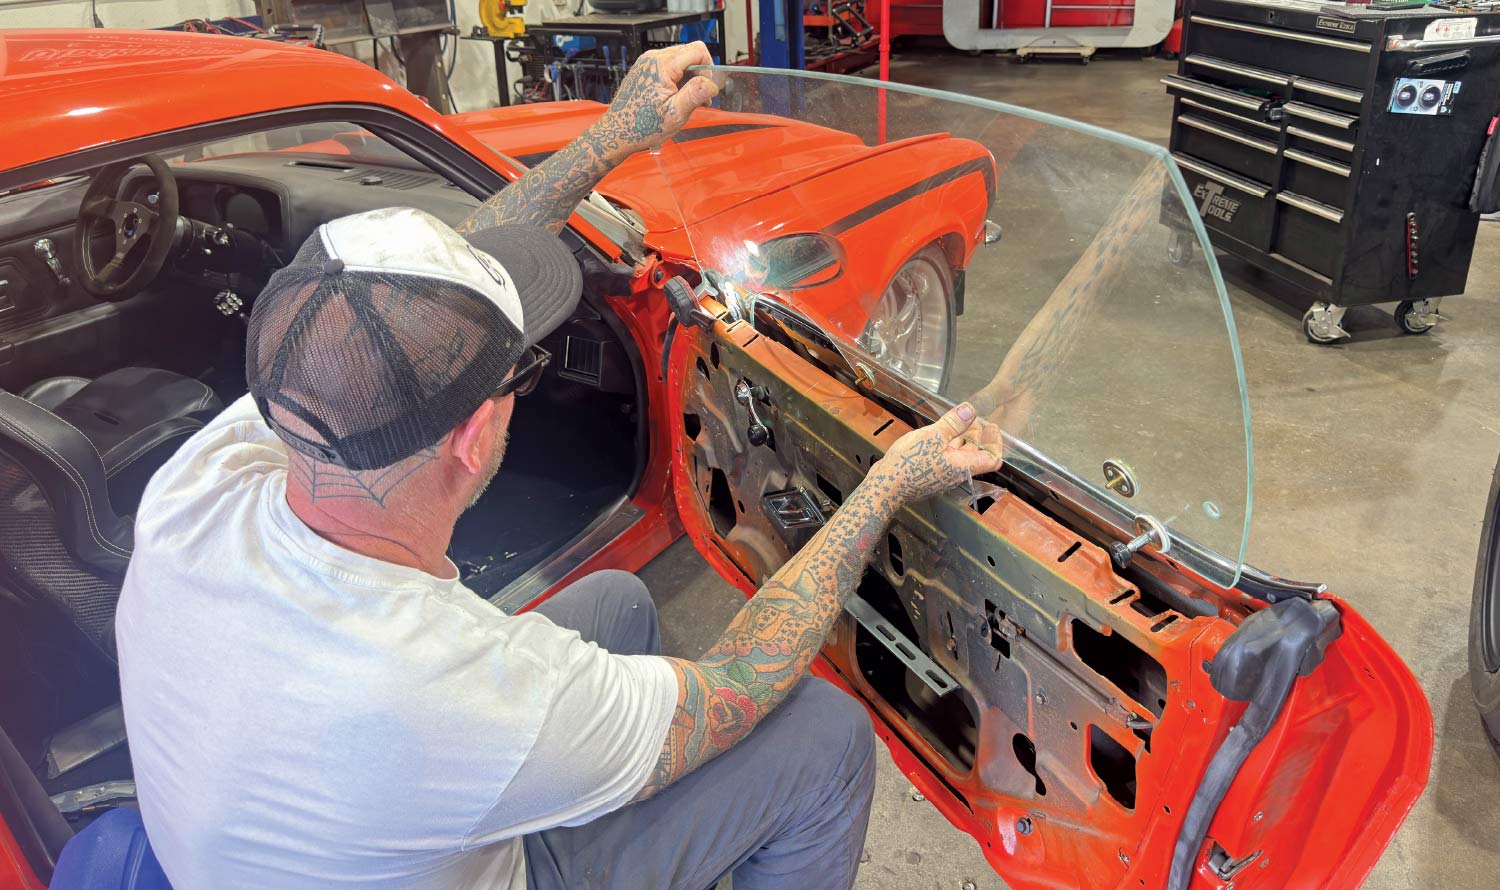
If you’ve never tackled this job, it’s best done with a helper to hold the glass as you slide it into the tracks. You’ll also need a good amount of patience as these windows have numerous adjustment points that require a lot of trial and error, but once you get the window adjusted correctly, you’ll have smooth operation along with a proper seal between the window and weatherstrip.

Follow along as we show the installation process of new glass and hardware in a 1971 Camaro. It’s a good idea to photograph removal and disassembly of the original door glass hardware as it will make installing the new parts a much easier process.

1971 camaro window regulator hardware bolts rollers install parts layout
1. To get started on replacing the window and hardware on our 1971 Camaro, we hit up Auto Metal Direct (AMD) for new clear door glass (green tint also available), window regulators, and (PN W-33) 1970-81 F-body Complete Door Glass Roller and hardware kit. The 38-piece set includes rear roller assemblies, sash mount studs, and guide bearings designed for a smooth operation.
1971 camaro door panel reinstall after glass installation step by step
2. Jason Scudellari of HB Hot Rod started by removing the window crank and door hardware before pulling off the door panel. Note: with the driver side window shattered, we’ll be showing the installation process on the passenger side being the glass is still intact.
1971 camaro glass stop adjustment using wrench during window install
3. Next Scudellari removed the door glass guides.
1971 camaro inner door latch bolt tightening with ratchet tool step
4. The glass is held in by four attachment points. We started by removing the one in the middle of the door that is hidden behind the door handle bezel.
1971 camaro inner door handle bolt fasten close up detail shot
5. To get to the rear of the window attachment point, roll the window down so it aligns with the slot in the door so you can get a socket on the bolt.
1971 camaro window adjustment bolt tightening in door shell
6. Time to remove the glass mounting track channel in the front, which will allow us to finally remove the glass.
1971 camaro window track bolt and alignment during install process
7. Not so fast. The two bolts on top of the rear mounting track channel had to be loosened first.
1971 camaro door glass guide bracket removed with hand during install
8. From there, loosen the bolt to remove the glass stop.
1971 camaro window regulator bolt install closeup with ratchet tool
9. Now, remove the bolts from the mounting bracket adjuster plate, so the glass can be removed.
1971 camaro glass roller install on door glass track alignment
10. Finally! Scudellari carefully pulls out the old door glass.
1971 camaro window roller loctite application for secure fit
11. With fresh glass from AMD in hand, Scudellari began installing the fresh hardware from the AMD kit. He started with the window guide using a touch of red Loctite as it will keep things snug, yet removable in case it needs to be replaced at some point. Don’t overtighten this piece as it will need to pivot smoothly.
1971 camaro roller washer install with needle nose pliers
12. Using a pair of needle-nose pliers, Scudellari installed the rear window guide also with a little Loctite. Once again snug but do not overtighten.
1971 camaro window crank stud removal interior door panel
13. With the remaining window hardware installed per the included diagram, it was time to remove the old regulator by loosening the bolt just below the window crank mechanism.
1971 camaro window regulator removal from door shell
14. It takes a little convincing to maneuver the regulator in just the right position before the door becomes willing to give it up.
1971 camaro original window regulator removed placed on bench
15. With the old regulator out, we’ll be using the original window channel, as it’s still in great shape.
1971 camaro lubricating window channel guide with brush
16. Before installing the old channel on the new window regulator, Scudellari cleaned it up and gave it a thin layer of grease.
1971 camaro old plastic roller removed from regulator arm
17. A little grease on the plastic guide roller before installation will help ensure smooth operation and long life.
1971 camaro new regulator install into inner door frame
18. Next, it was time to install the new regulator with the original cleaned-up window channels installed.
1971 camaro regulator handle insert alignment for install
19. There are four attachment points where the regulator bolts in. At this point, you’ll just hand-tighten everything as there will be some more maneuvering to get the glass in place.
1971 camaro window regulator bolt locations marked on door shell
20. The arrows in this image illustrate the four attachment points of the regulator.
Close-up of a rusted metal vehicle door interior with a black plastic latch component visible through a small opening.
21. Now, the new glass and attached hardware can carefully be slid in place.
1971 camaro window glass clamp tool holding during adjustment
22. A great tip is to use these rubber wedges Scudellari found on Amazon. They hold the window in place as you line up the window channels. These are super useful if you get stuck doing this job without a helper.
1971 camaro window guide track installed inside door shell
23. It’s tight and a little hard to see, but this is where the window roller goes on the window track on the rear.
1971 camaro roller and track install view through door access
24. The front and rear window studs go through the channel on the regulator. Here you can see the rear stud prior to being bolted on.
1971 camaro glass guide bolt installation through inner access hole
25. Here, Scudellari attaches the third roller from the regulator to the inner window channel.
1971 camaro adjusting inner door lock rod and retainer clip
26. There are two glass adjustment points in the door: (A) (in middle of door) adjusts the window tilt from back to front and (B) adjusts the window front to back.
1971 camaro inner door hardware labeled regulator track position
27. Next to go in are the three new window adjustment door felts on top. These adjust the window depth and double as window guides for smooth up and down operation. Getting the windows adjusted takes a bit of patience, but with some time you’ll get those windows right where you want ’em.
1971 camaro upper window stop being test fitted on door
1971 camaro door panel reinstall with power drill final steps
28-29. With that, Scudellari reassembles the door panel and tops it off with new window cranks from AMD.