ACP department heading TECH
InTheGarageMedia.com
Complete Control
1957 Chevy Lokar shifter installed on a classic transmission, featuring polished handle and modern functionality
1. Lokar shifters are available in four different varieties: case mount (shown), tail mount, cable-operated floor mount, and floor mount.
Shift, Brake, and Throttle Options for a Tri-Five Chevy
BY Ryan Manson 
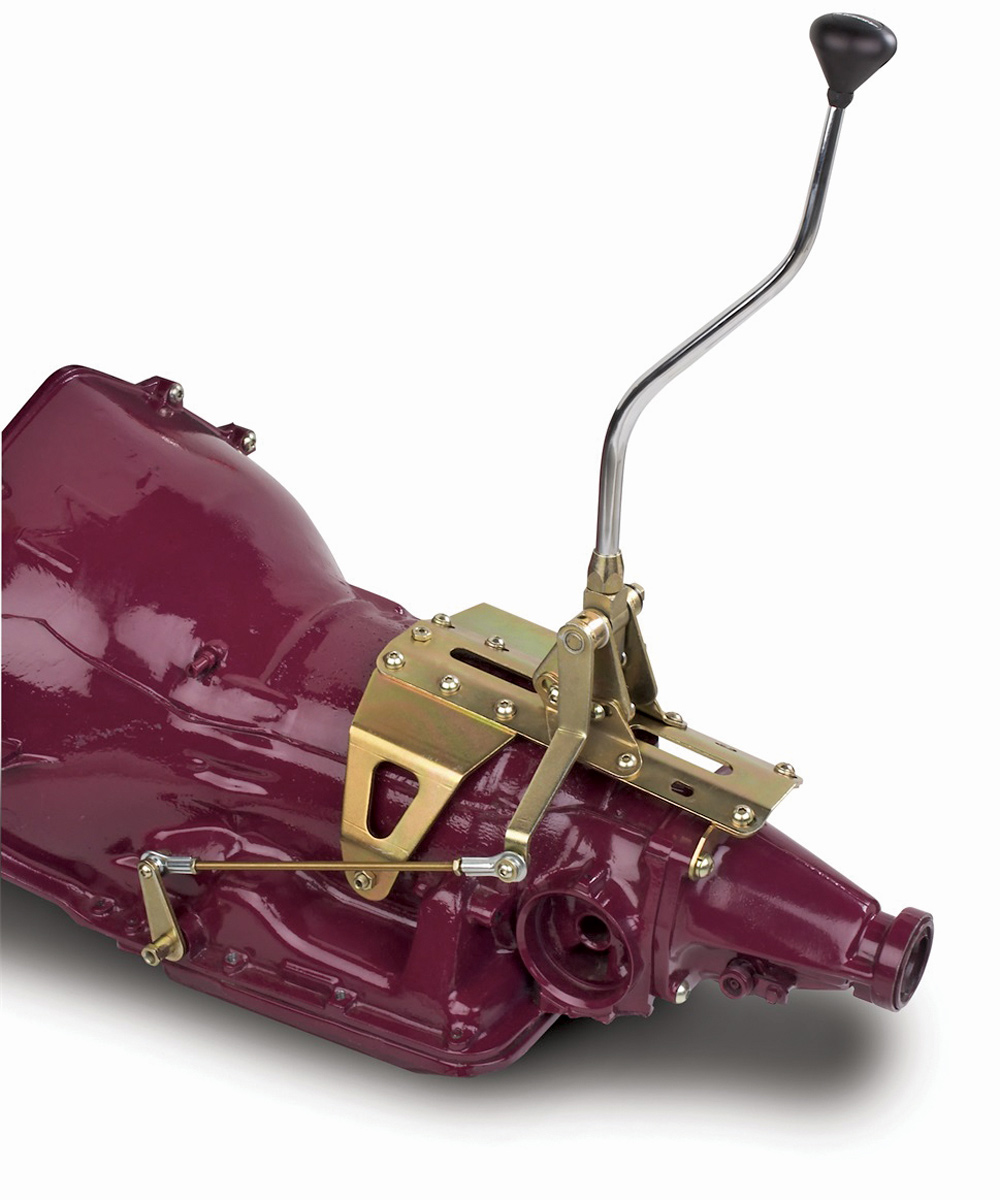
Images by THE AUTHOR
W

ith the old SBC/Muncie combo removed from our buddy Bruce Valley’s 1957 Chevy and the LS3/4L60E resting in its place, it’s time to sort out shifter requirements as well as our pedal options. Valley liked the floor shift setup of the Muncie and wanted to retain said location of shifter. Easy enough. But when it came to pedal options, that got a little more muddled since the stock throttle pedal would not be compatible with the LS3’s drive-by-wire requirement. As luck would have it, Lokar Performance Products had options for that as well as the floor shifter, even going so far as to offer an upgrade to the original brake pedal that would result in not only a better-looking pedal arm, but the ability to match a pair of throttle/brake pedal pads.

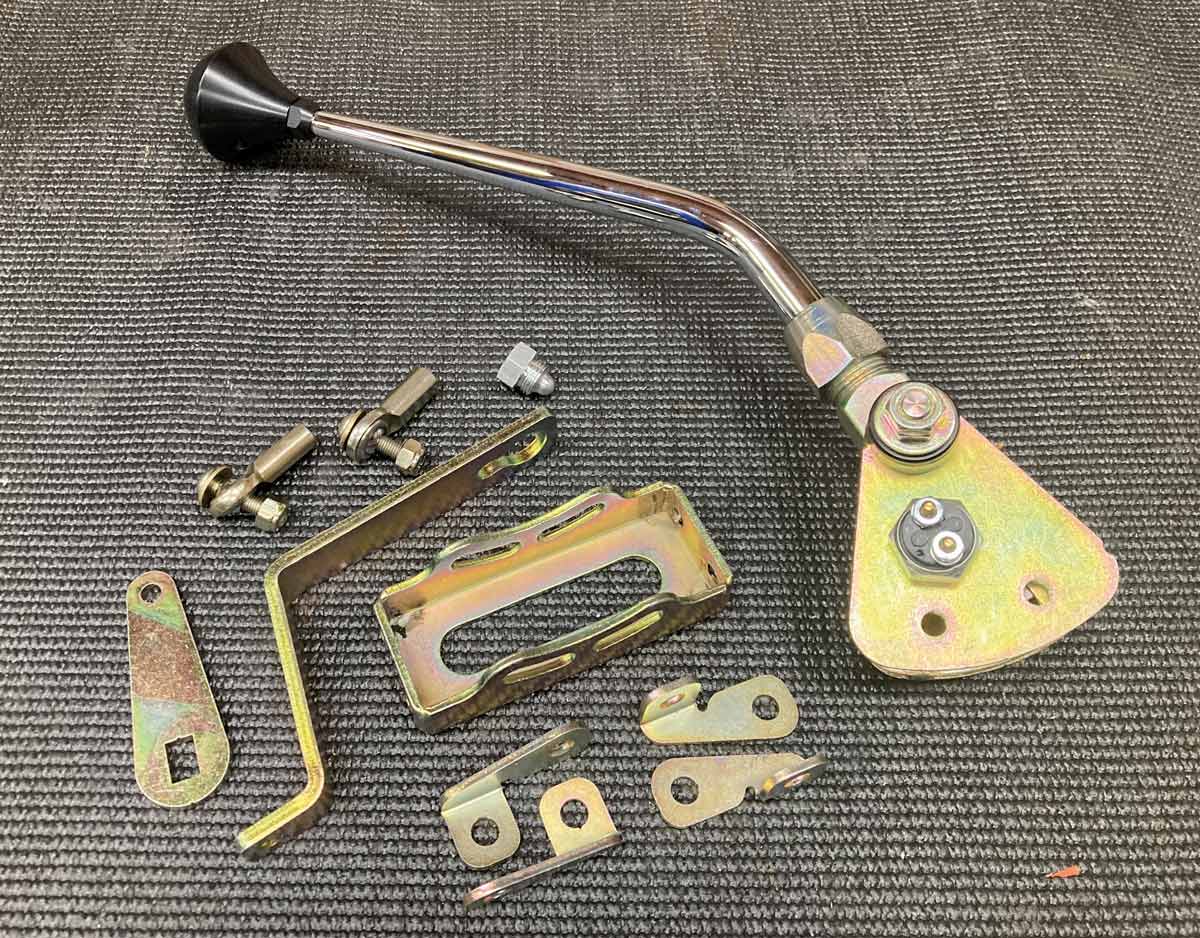
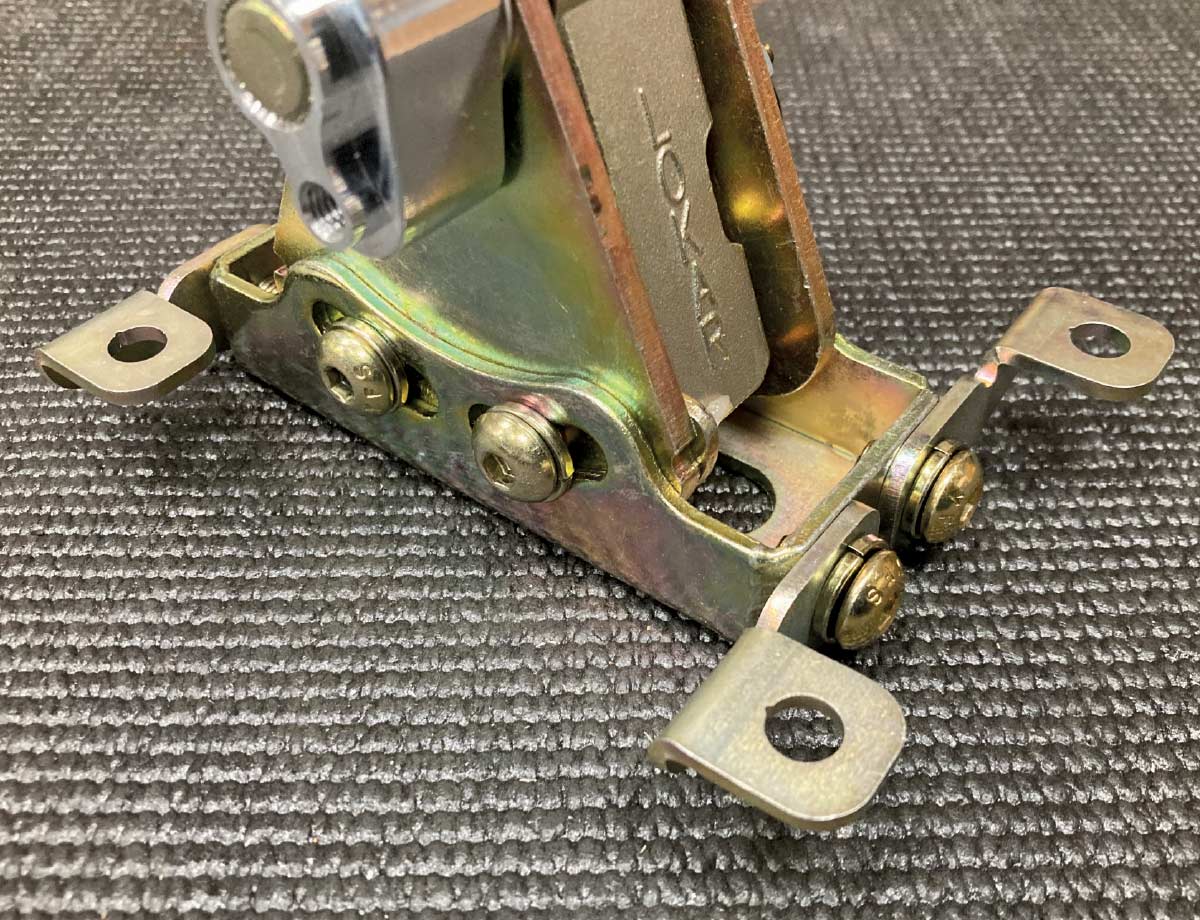
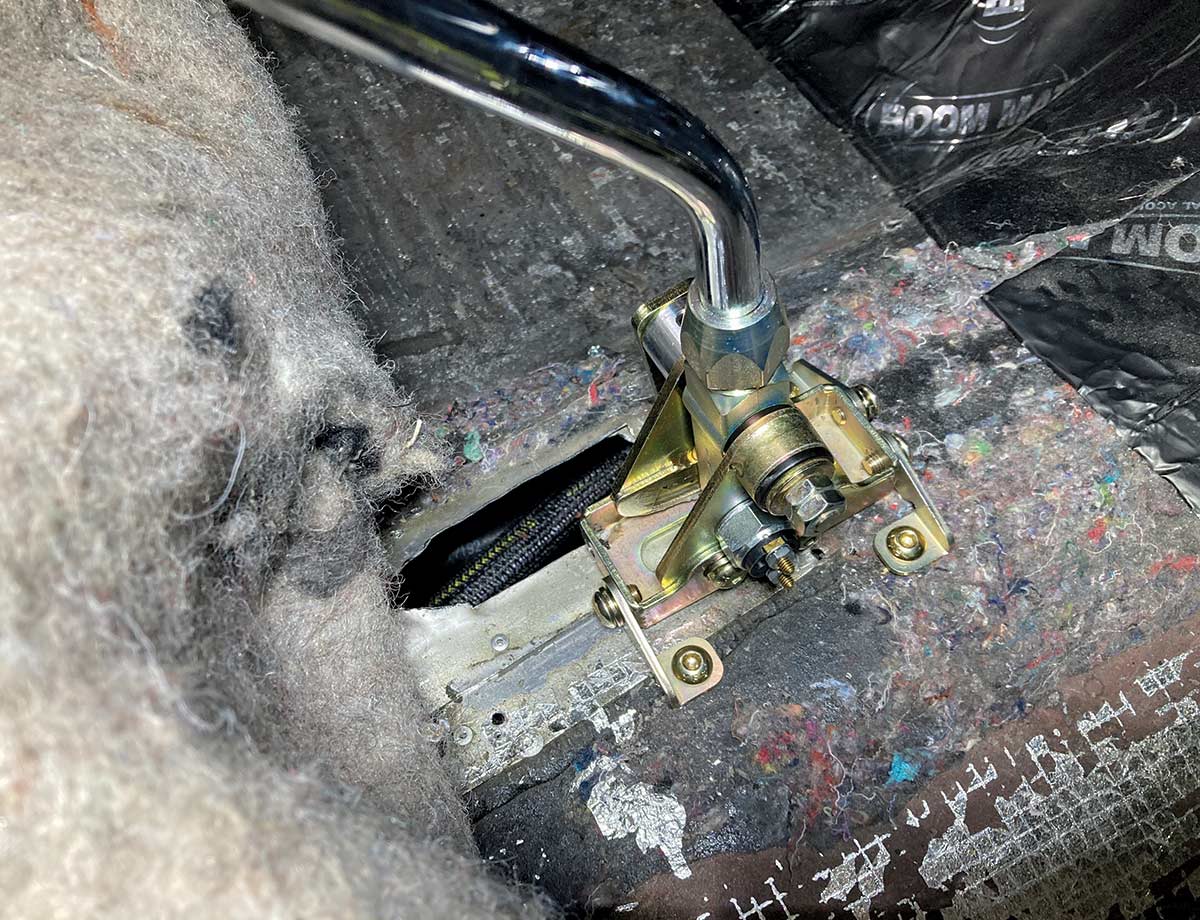
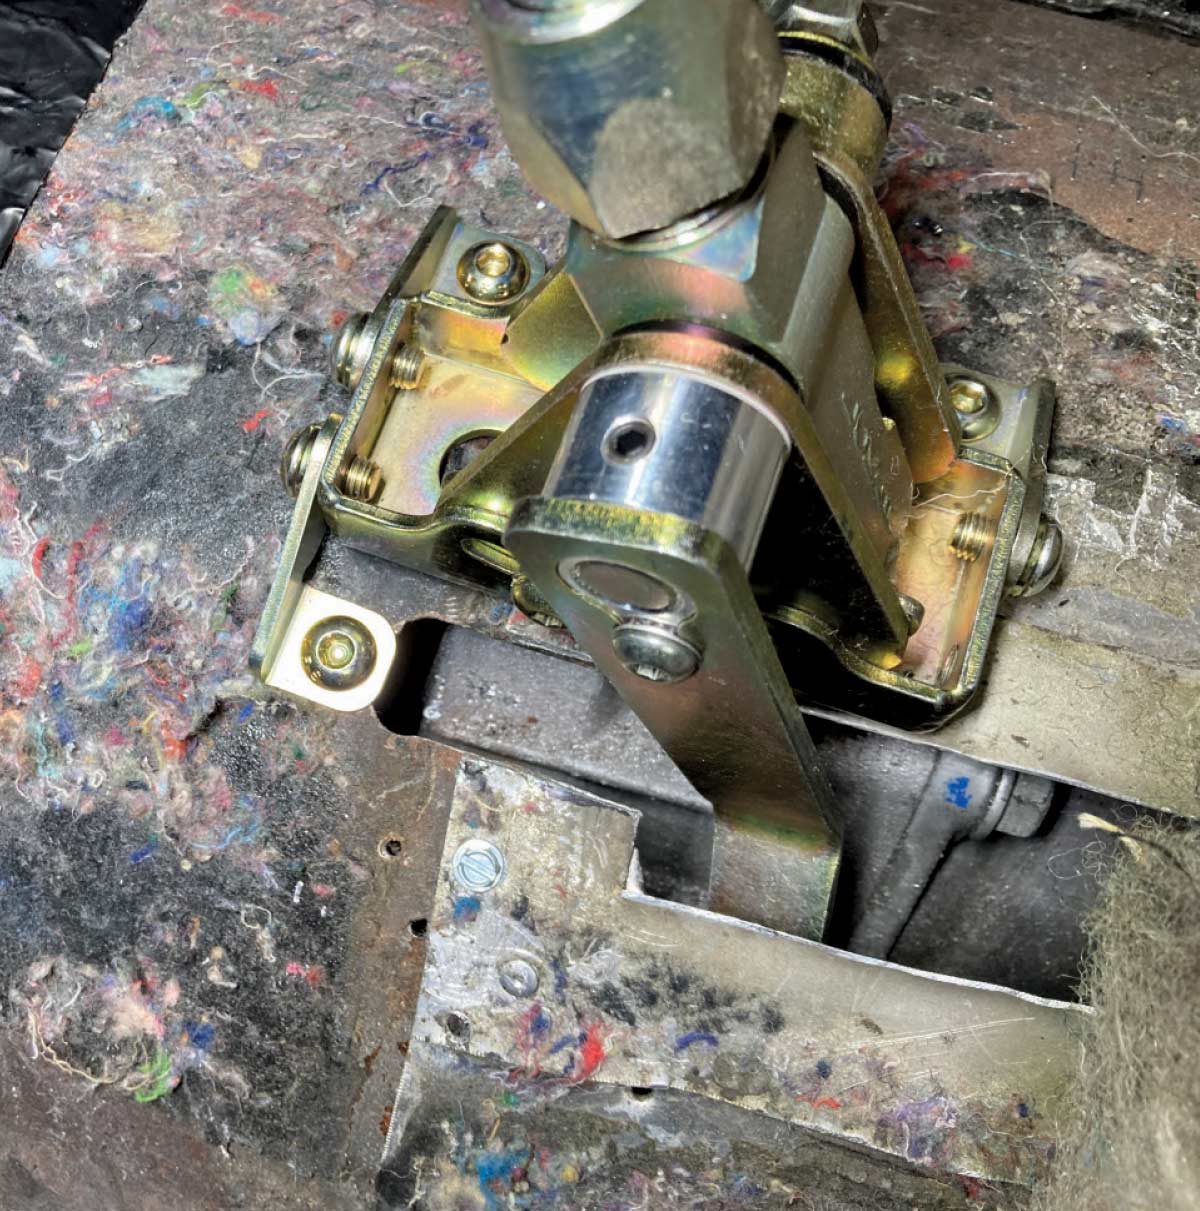
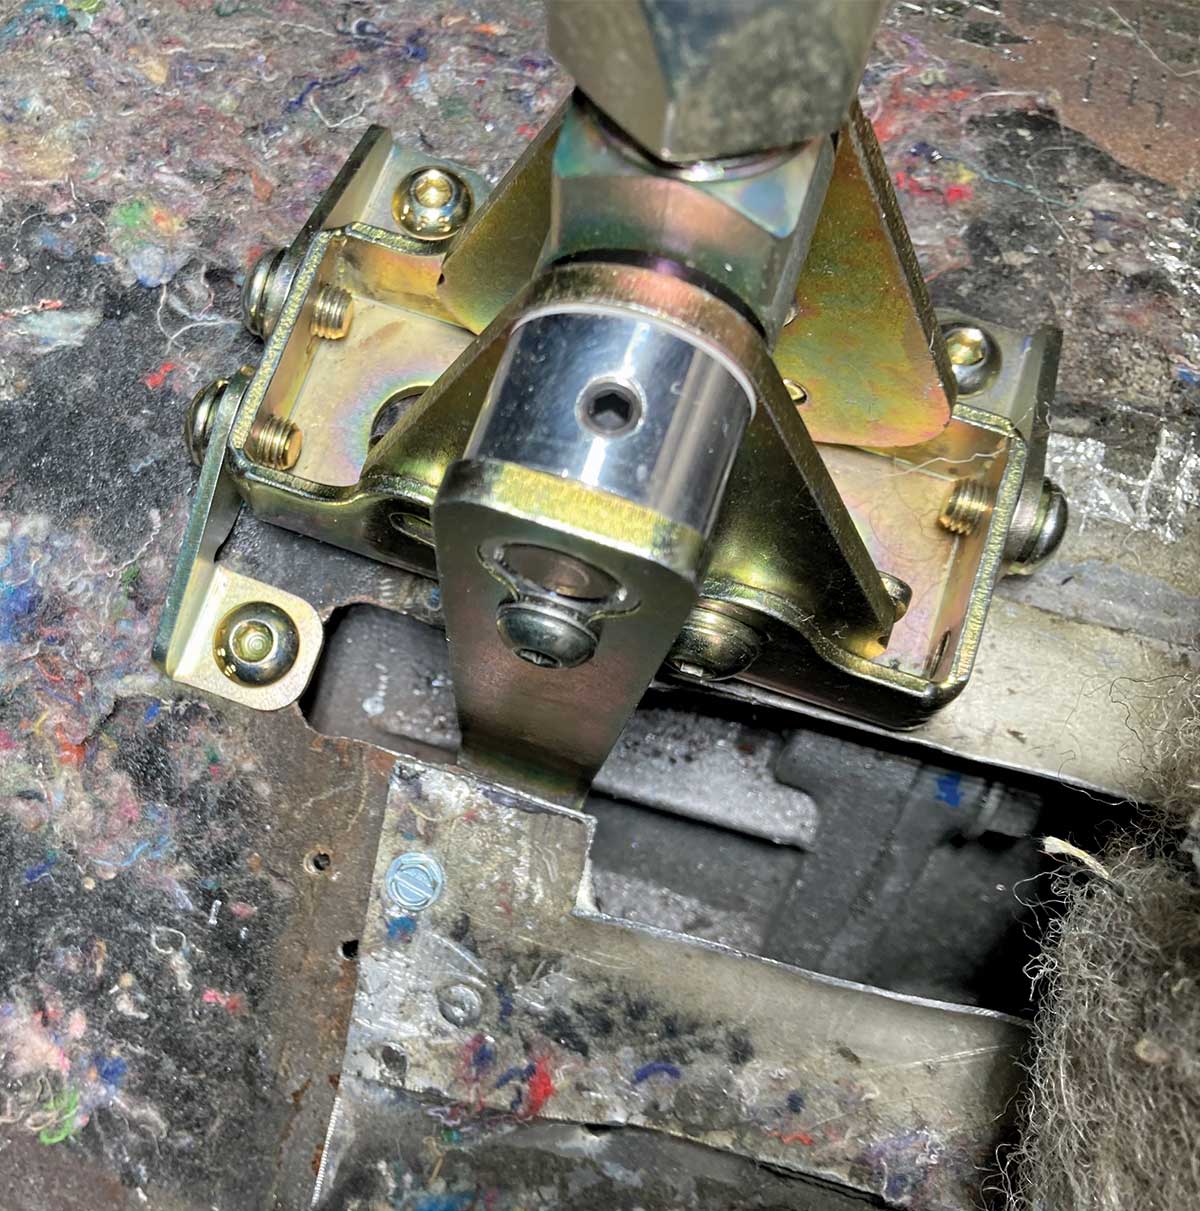
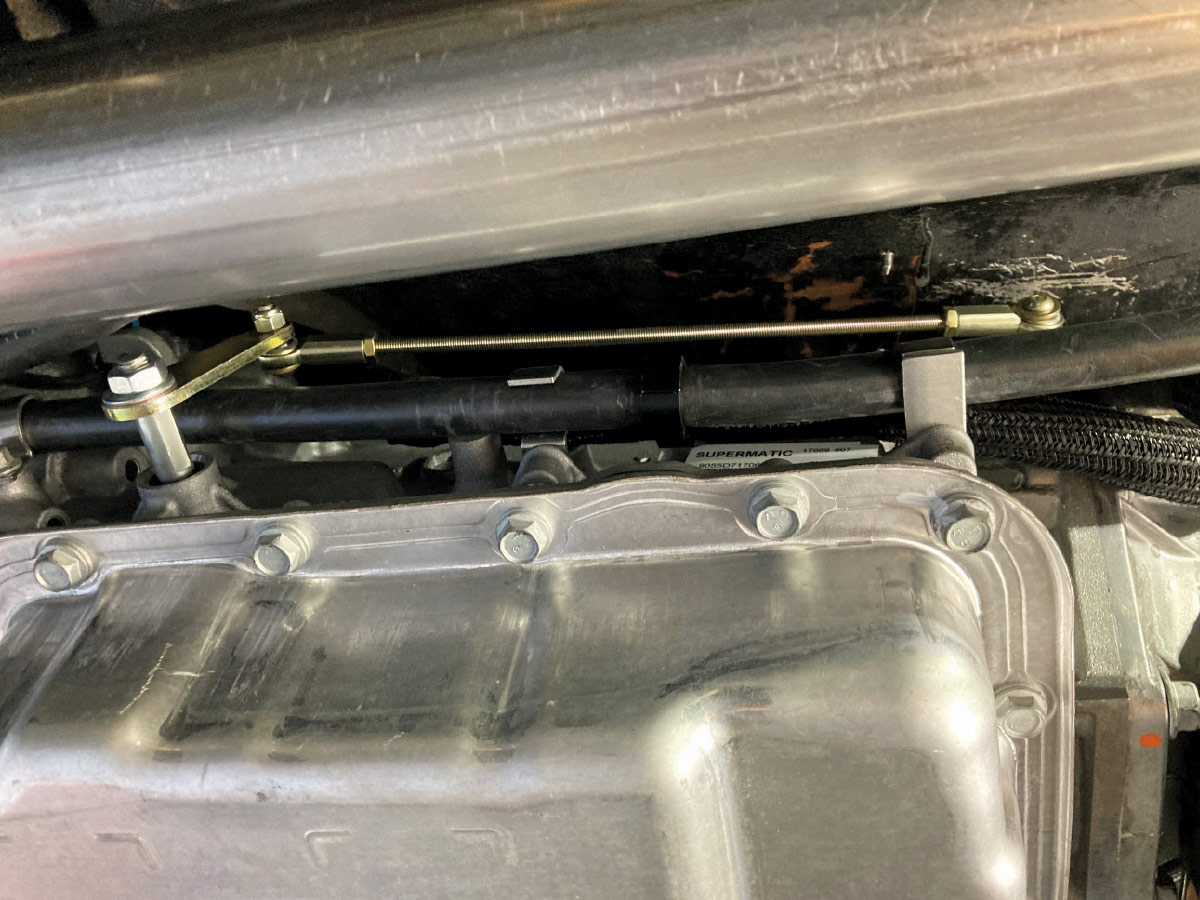
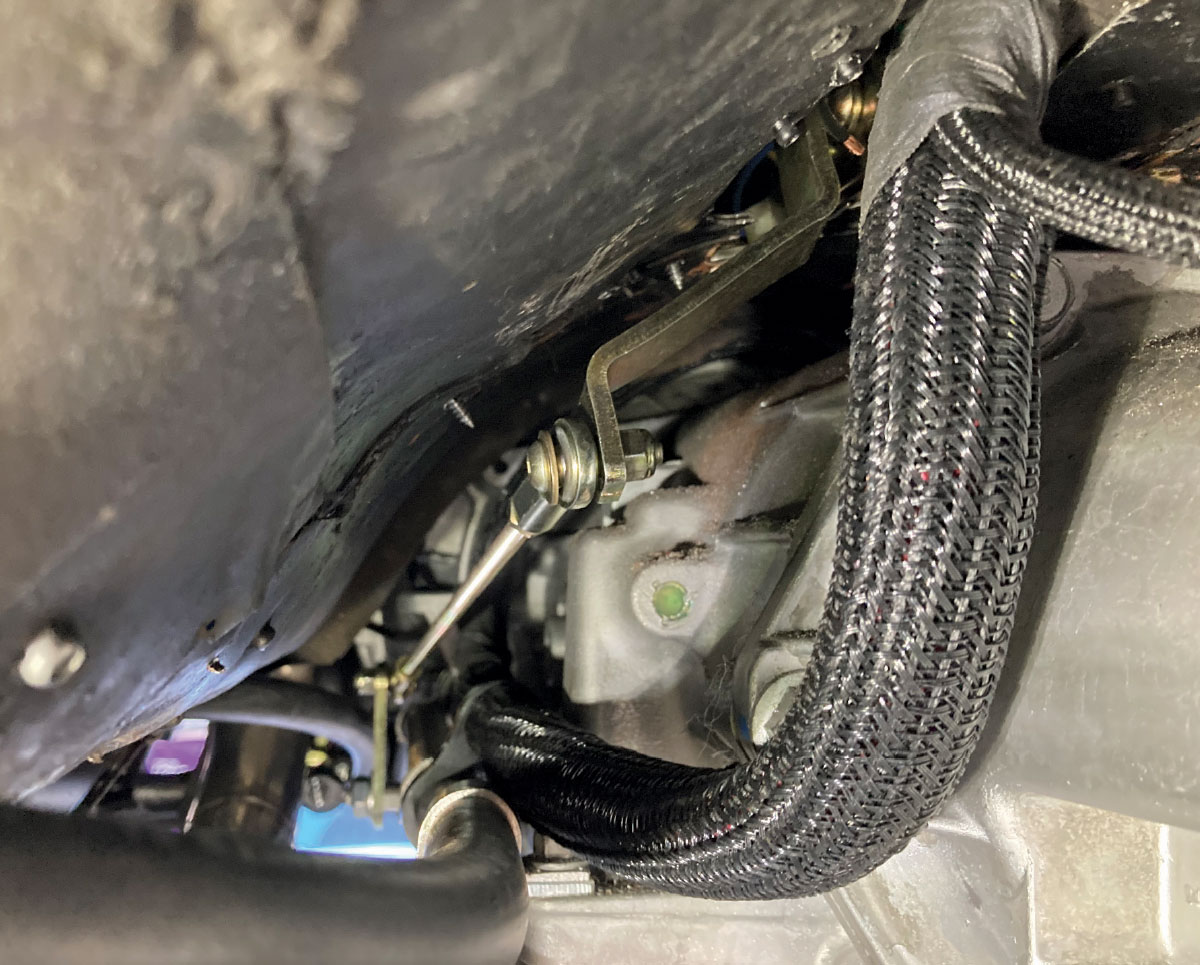
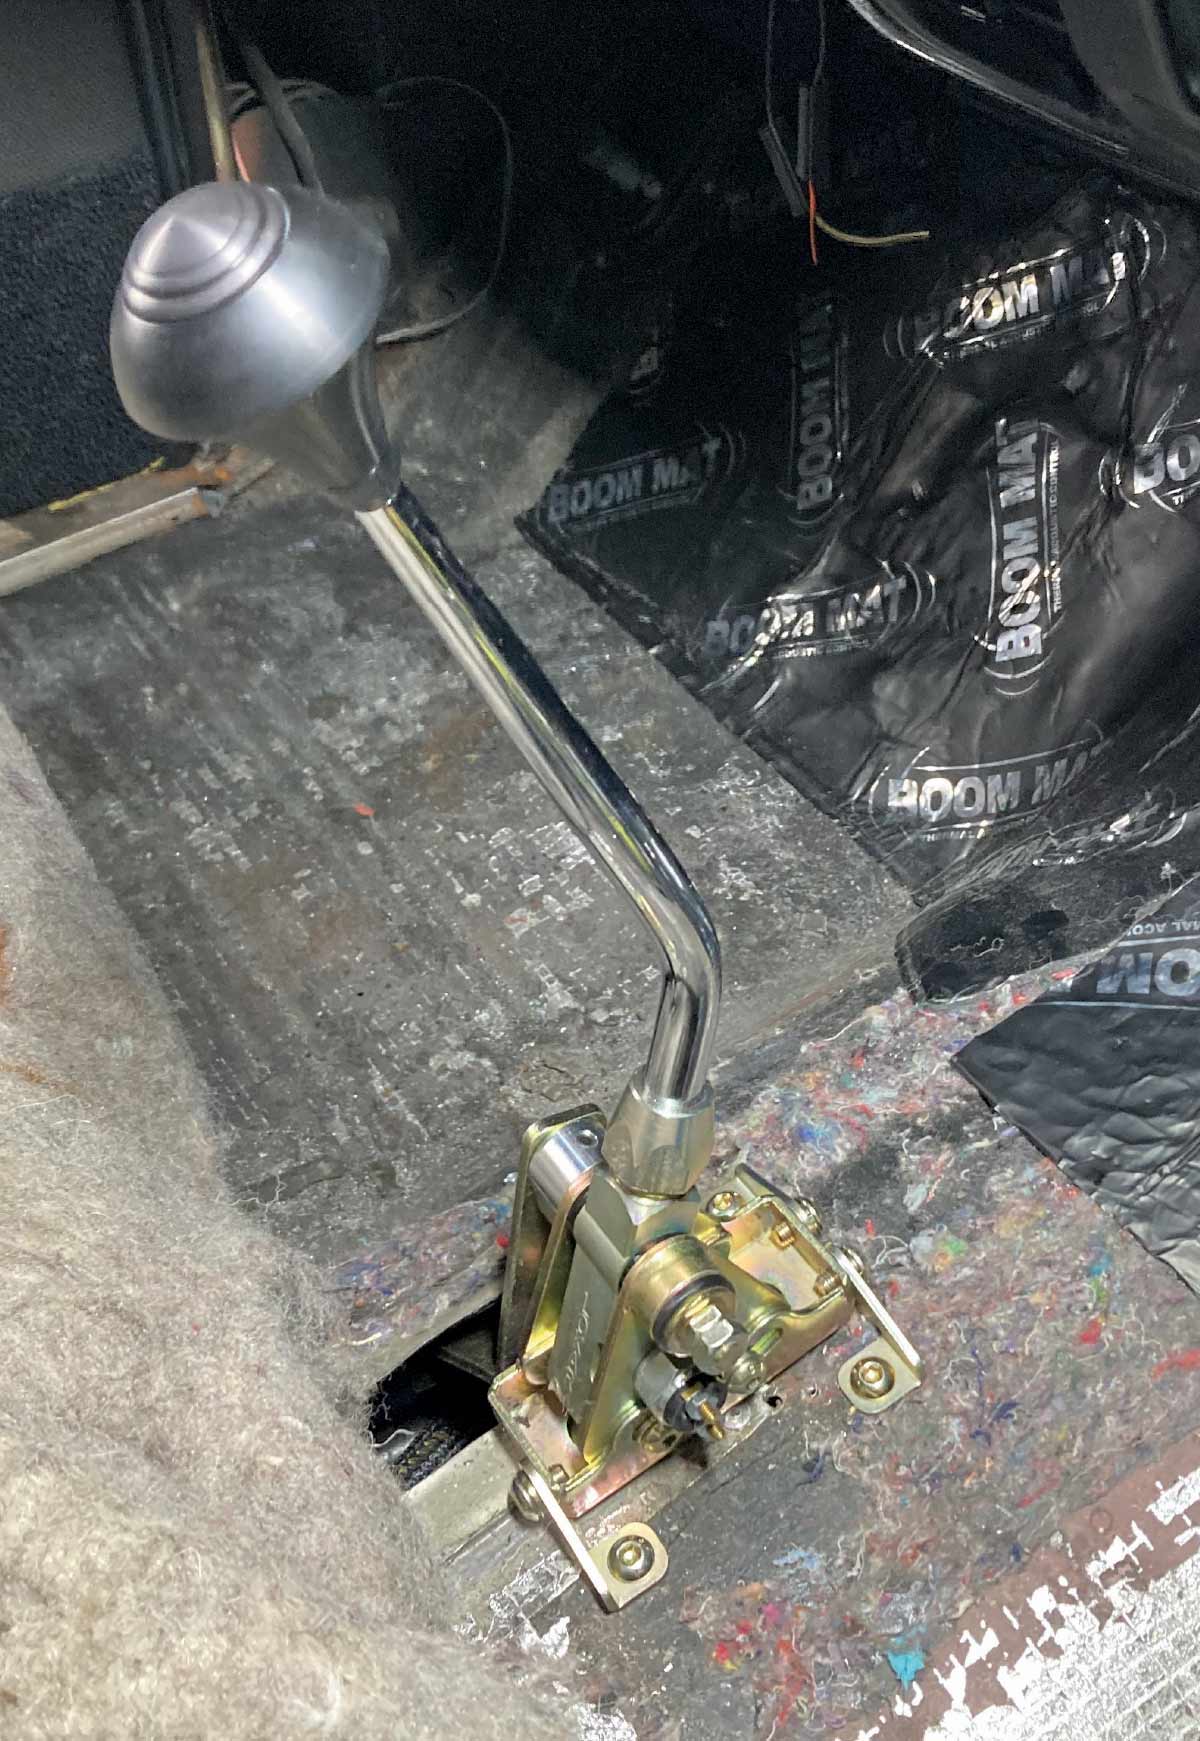
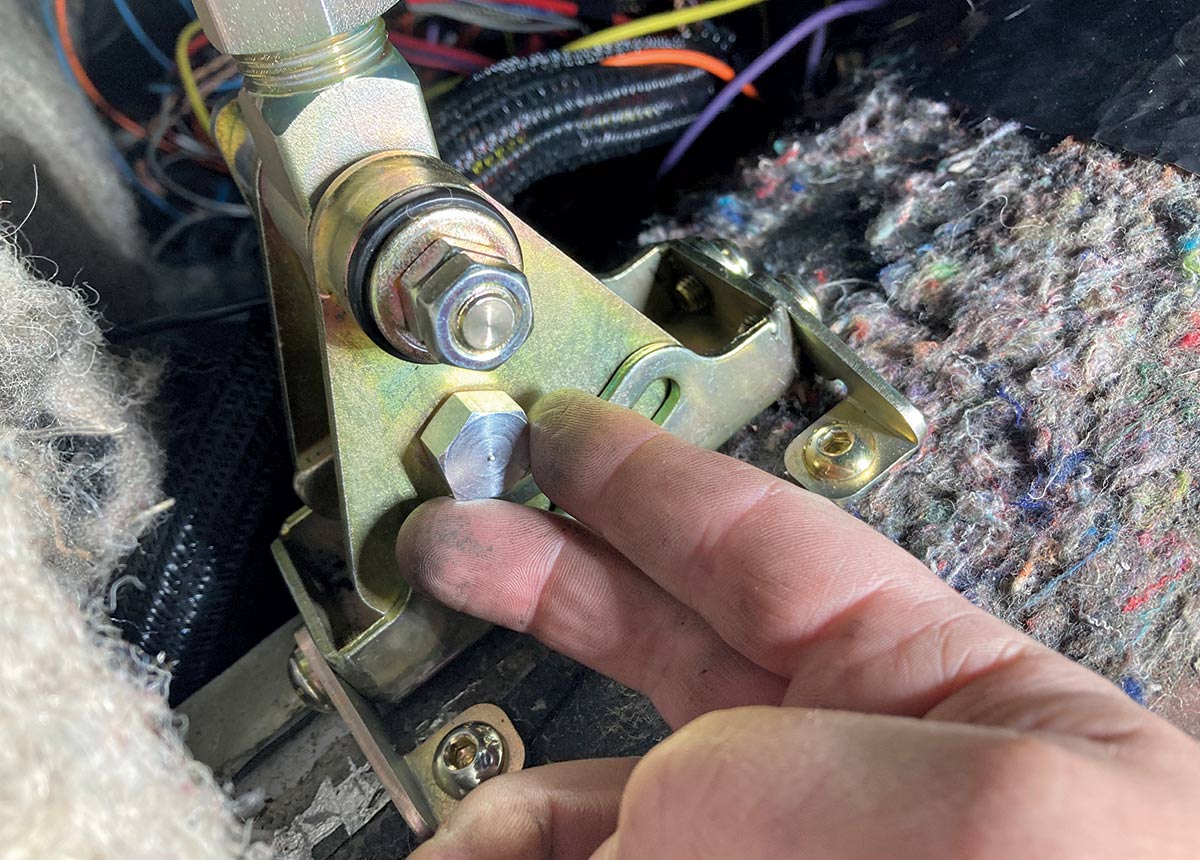
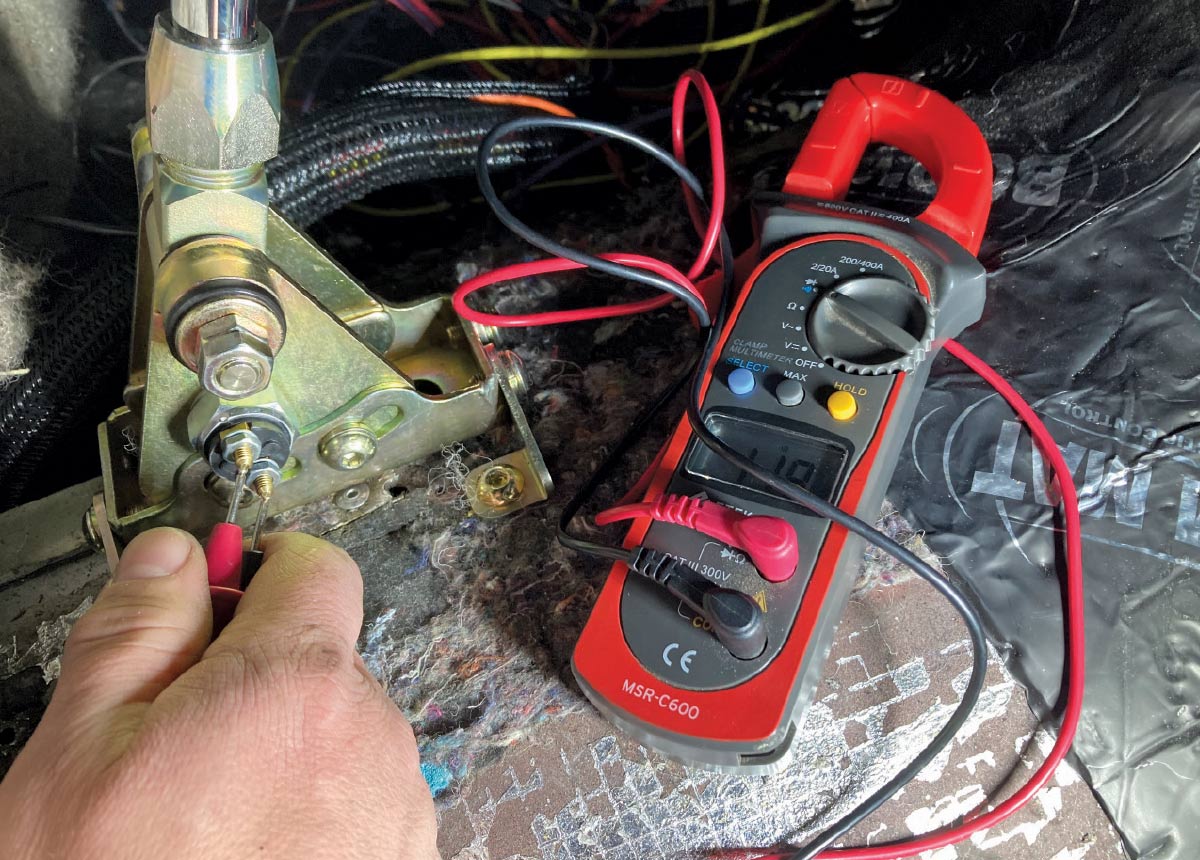
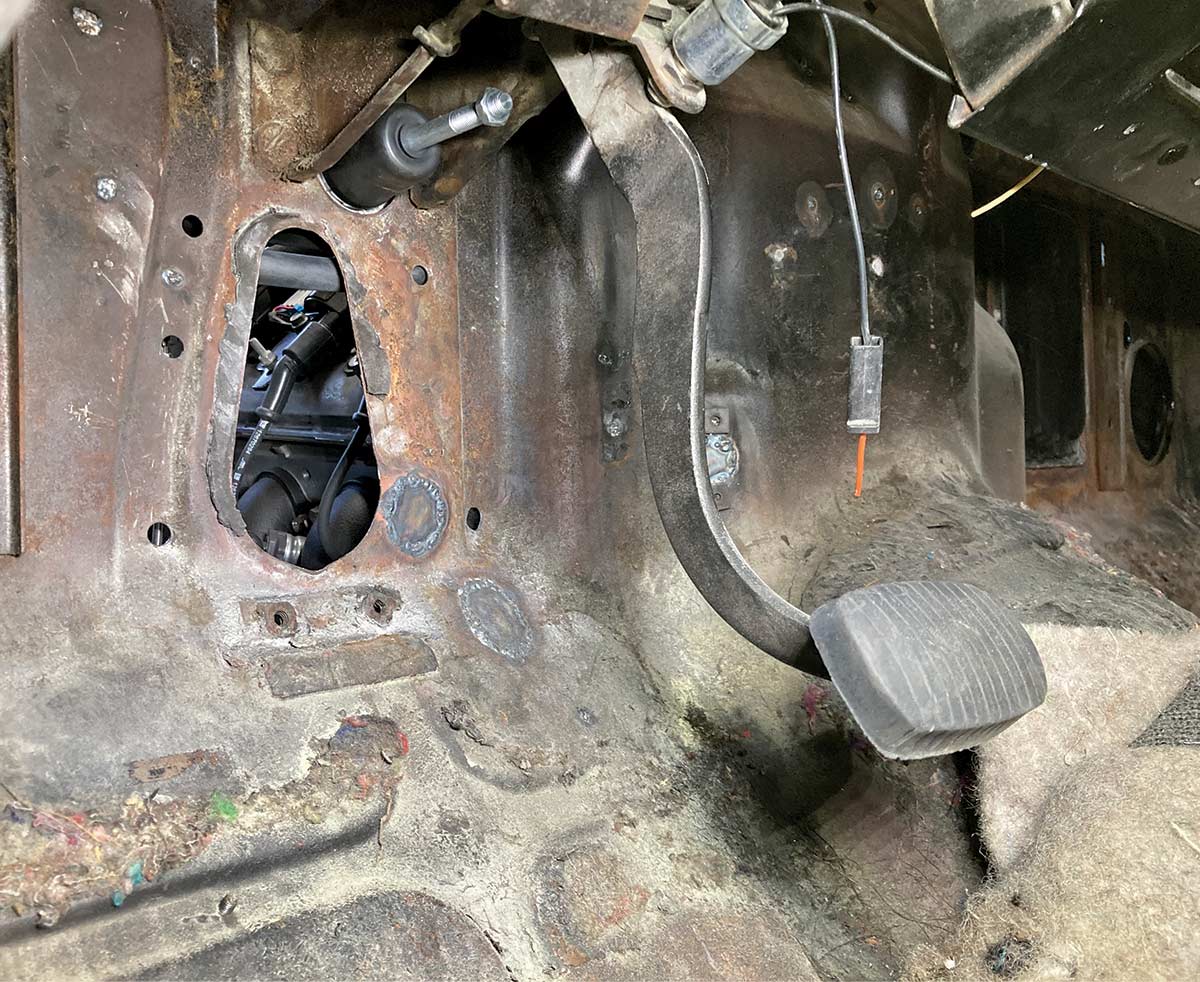
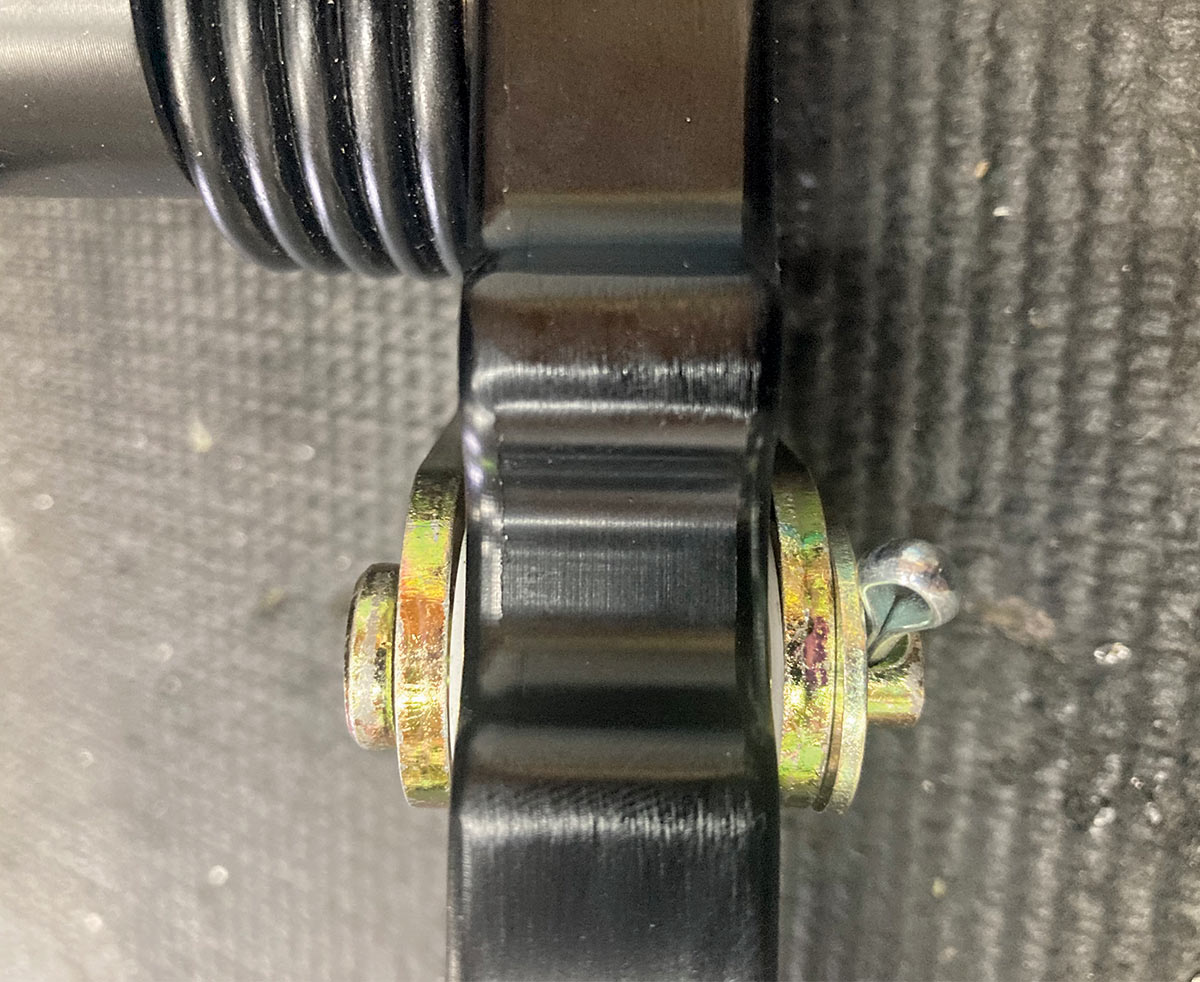
Pulling the existing carpet up, and with the Muncie shifter removed, exposed a fairly large hole in the floor, with a few previous repairs being evident. That would make installing a Lokar floor-mounted shifter a little easier, but the previous “repairs” meant we had a little bit of sheetmetal work that would be required once the shifter was in place. Thankfully, mounting the shifter is as simple as picking a location, drilling the four mounting holes, and bolting the shifter in place. Next, a slot in the floor needs to be cut for the shift lever. From there, it’s a matter of trimming the threaded rod and connecting the shifter to the trans. A few more adjustments and the installation is complete.

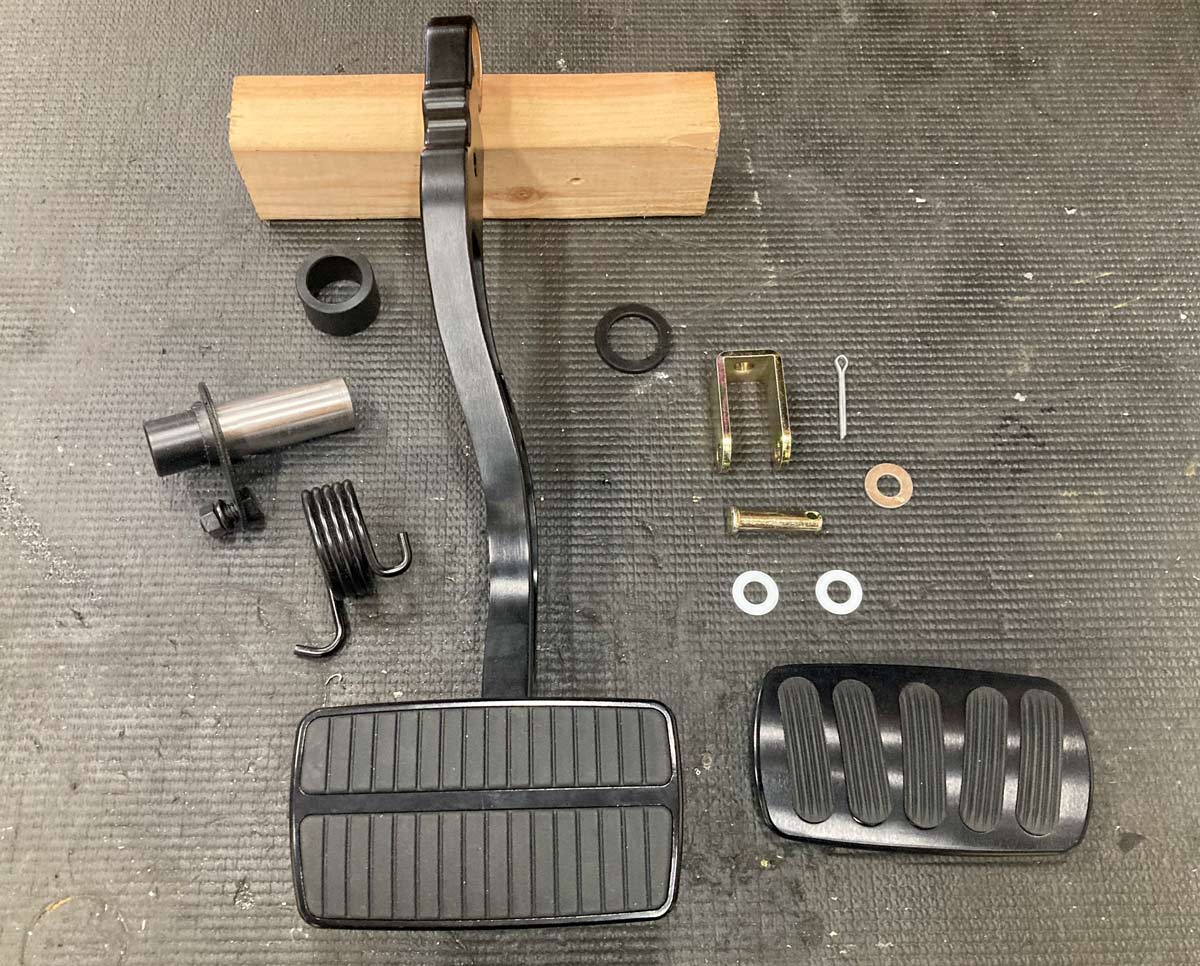
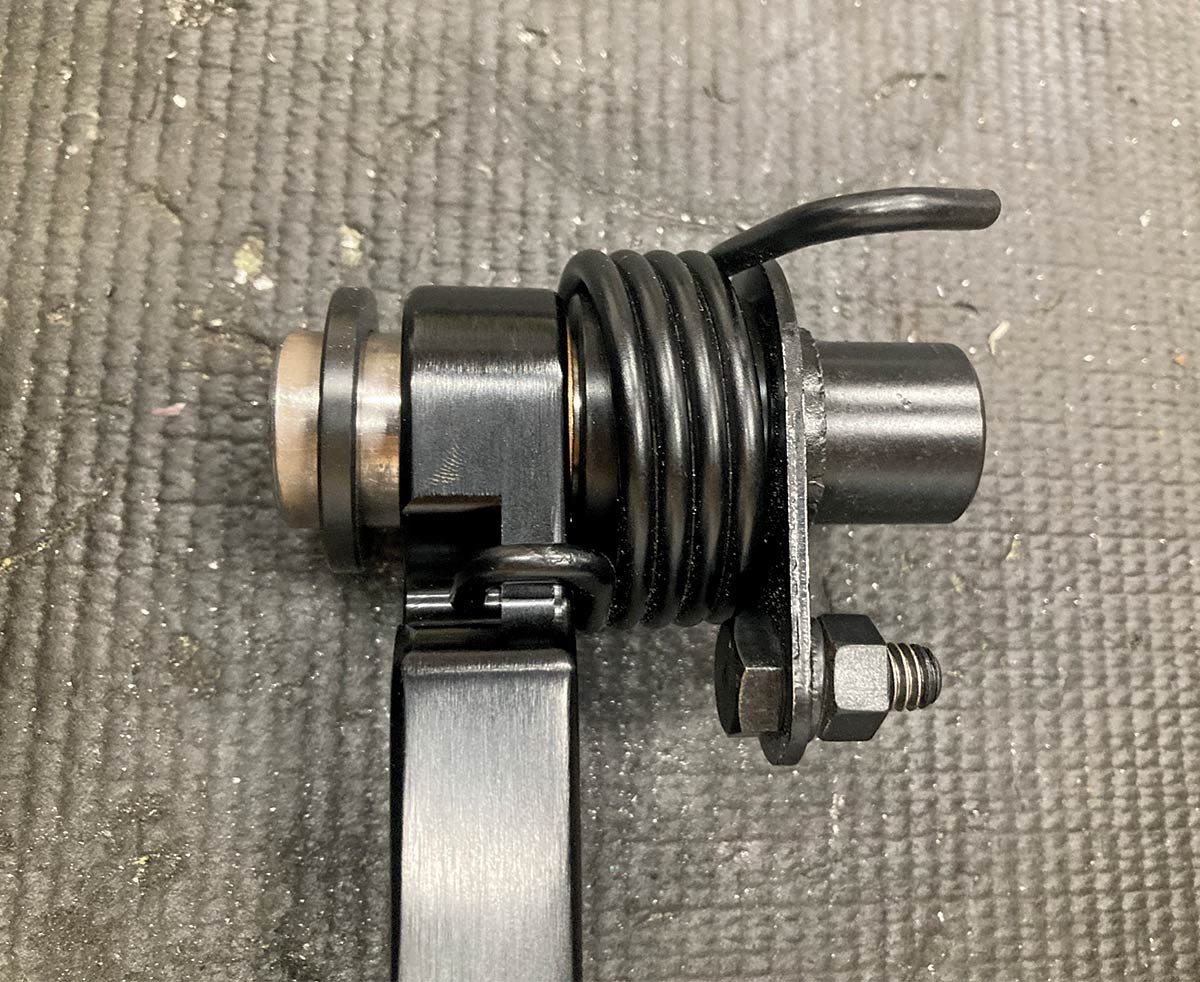
Mounting the Lokar drive-by-wire pedal required slightly more work, as a bracket needed to be fabricated to get the pedal position just right in the Tri-Five. The brake pedal arm installation was pretty simple, as it’s basically a direct swap for the original unit, using a few OG parts as well.

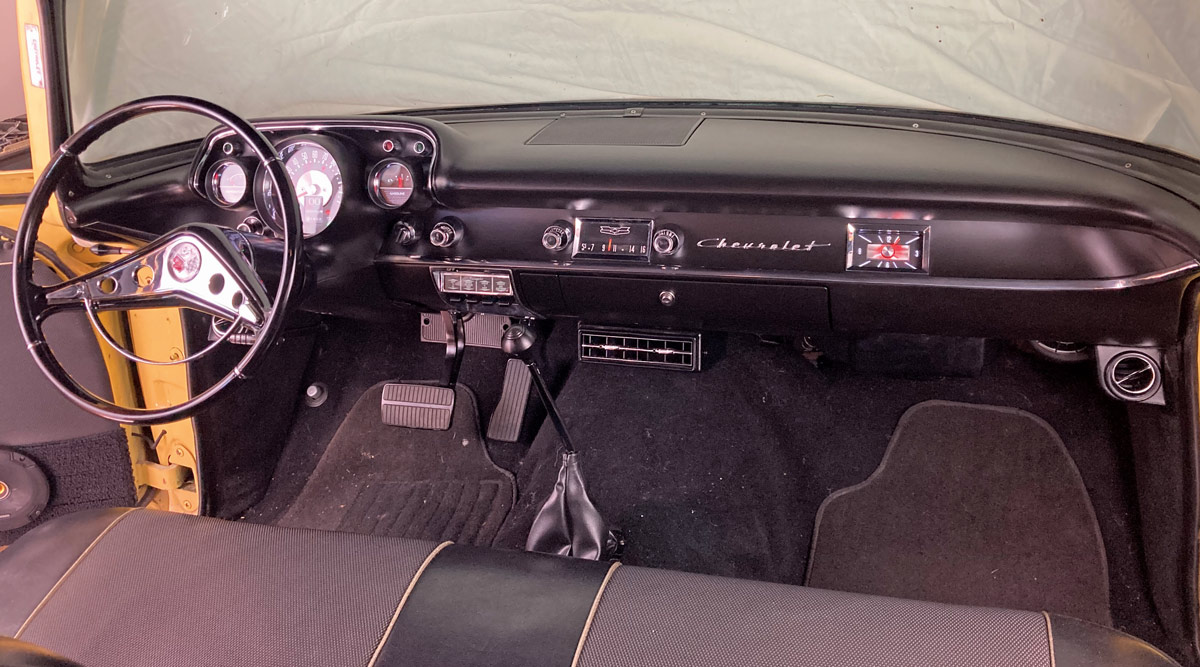
The inclusion of Lokar’s line of products resulted in a cohesive look when it came to the pedal assembly, especially given the alternative of the OE plastic GM DBW pedal and the 1957’s rubber brake pedal pad. The Restomod series of pedal pads look like they could have come stock in the 1957. The alternative to Lokar’s floor shifter, at least when it comes to an OE option, is basically non-existent, so the option for a bolt-in shifter with the features that come as standard on all Lokar shifters truly is a solution where an alternative doesn’t exist. They function as good as they look, and that’s the most important part.

1957 Chevy Lokar shifter components including brackets and hardware for a complete and secure installation
2. Bruce Valley’s 1957 already had a hole in the floor from the previous Muncie shifter, so we opted for a Lokar floor-mount unit, which will give us the most flexibility when it comes to mounting location. Lokar PN FM-4L60E-C-KB identifies it as a floor mount model for a 4L60E transmission with a 12-inch, single-bend lever and deco black shift knob.
1957 Chevy Lokar shifter installation hardware with gold zinc-plated bolts, washers, and fittings
3. Lokar provides all hardware necessary for installation.
1957 Chevy Lokar shifter assembly detail showing precise mounting of handle bracket
4. The floor-mount mounting bracket is mated to the shifter assembly with the shortest (3/8-inch) 5/16-inch -24 fasteners. The curved, slotted holes allow the angle of the shifter to be fine-tuned once in place.
1957 Chevy Lokar shifter base securely attached with gold zinc mounting brackets
5. Next, the floor mount tabs are loosely attached to the floor-mount mounting bracket. This example shows the shifter setup for an underfloor mount installation.
1957 Chevy Lokar shifter in progress, mounted through interior floor with insulation visible
6. Given our situation, we opted to flip the floor mount tabs around, mounting the shifter on top of the floor.
1957 Chevy Lokar shifter linkage and bracket detailed in undercarriage setup
7. With the shifter bolted in place, it’s time to cut the slot for the quad-shift lever and check for clearance. In Park, the quad-shift lever should be pointing rearward in a 4:30 to 5 o’clock position. If the lever isn’t pointed toward the aforementioned position, the quad-lever bushing can be removed and repositioned on the splined shaft.
1957 Chevy Lokar shifter securely bolted in place with clean fit and finish
8. Clearance in the floor should be such that the shifter can be moved through its entire length of travel without any contact. Note that we oriented the floor mount tabs inward so as to clear the trim ring of the shift boot we’ll be using. In a typical install, there would be a fourth mount tab that, if oriented inward, would contact the shift lever. In our case, a previous owner cut the floor out for a Muncie shifter, so we’re only able to use three mounting tabs.
1957 Chevy Lokar transmission linkage connected to Supermatic transmission for reliable shifting
9. With the transmission in Park, a provided trans gear lever is installed on the transmission selector shaft, resulting in a slightly up and rearward (1 o’clock) position.
1957 Chevy Lokar shifter undercarriage view showing precision hardware alignment and robust construction
10. The provided threaded rod will connect the quad shift lever to the trans gear lever. With both the transmission and the shifter in Park, the center-to-center distance between the 1/4-inch holes in the two levers is measured and noted. Subtracting 1¾ inches gives us the final length for which the threaded rod is trimmed. A ¼-inch-28 jam nut is installed at each end, followed by a pair of rod ends. The threaded rod assembly is attached to the levers, adjusted evenly at each end so that the rod assembly installs without any bind and without any movement of either lever.
1957 Chevrolet undercarriage view of Lokar shifter linkage and wiring harness
11. Some slight tweaking may be necessary to ensure the assembly is free to travel its entire range of motion without any contact.
1957 Chevy interior with Lokar shifter mounted and Boom Mat insulation visible
12. Up top, the range of the shifter is checked as well to ensure there is plenty of space between the dash in Park and the seat in low.
1957 Chevrolet Lokar shifter base close-up showing hardware installation details
13. Our Lokar shifter is equipped with a built-in neutral safety switch, but it needs to be adjusted slightly so that it operates as designed. Lokar provides an aluminum adjuster plug that can be utilized, once the neutral safety switch has been removed, to line up the switch plate with the center groove in the shifter body with the shifter in the Reverse position. This is done by loosening the two fasteners that attach the passenger’s side of the floor-mount mounting bracket to the switch plate and moving the switch plate slightly while the adjuster plug is slowly screwed into the switch plate, centering the two. The two side fasteners are then tightened, locking down the assembly.
1957 Chevy Lokar shifter testing with multimeter during installation process
14. Proper operation of the neutral safety switch can be accomplished using a Multimeter by testing for continuity across the two studs in all gears. Continuity should only be detected when the shifter is in Park and Neutral.
1957 Chevrolet pedal assembly components laid out for installation
15. Valley’s 1957 was equipped with a Muncie four-speed when it rolled into the Clampdown Competition headquarters. The conversion to an automatic overdrive transmission meant that the clutch pedal would no longer be needed. Instead, a single Lokar brake pedal arm assembly (PN XBCA-9511) could be used along with a Lokar DBW pedal (PN XBDBW-GM06) and Restomod pedal pad (PN XDBW-011RM). With a few minor modifications, a matching Restomod brake pedal pad (PN XBAG-014RM) could be used, resulting in a much-improved pedal setup. Here, the components for the Lokar 1955-1957 Chevy Brake Pedal assembly is shown.
1957 Chevy firewall opening for clutch and brake pedal installation
16. Before the new Lokar brake pedal can be installed, the original pedal assembly needs to be removed and a few components set aside for reuse.
1957 Chevrolet pedal assembly spring and pivot detail during preparation
17. The original brake pedal axle and return spring is used in conjunction with a Delrin spacer assembled onto the Lokar pedal.
1957 Chevy pedal assembly close-up showing pivot bushing and cotter pin assembly
18. Once installed, the brake pedal arm clevis will mate the pedal to the master cylinder pushrod.
1957 Chevrolet interior dash with vintage steering wheel and restored gauges
19. With the assembly completed and a Lokar shift boot (PN 70FMB) installed, our Lokar interior dress-up components not only complement each other but give Valley’s 1957 a timeless vibe.
SOURCES