ACP department heading TECH

InTheGarageMedia.com

"Great Guns" title image
High-Zoot Paint from Affordable Equipment

BY “Rotten” Rodney Bauman Photography by The Author

L

ike so many others my age, I tend to resist change. As an automotive painter I was among the last to relinquish the lacquer. That was in my own original hometown of Riverside, California.

There, in the ’70s (toward the tail end of the van craze), McPeak Painting & Pinstriping was cranking out the custom paintwork. To help maintain the flow, McPeak employed a varying number of full-time painters—and for a period I was one of them.

Looking back, our custom paint pioneers didn’t have so much to work with. As late as the ’70s, we used lacquer for multicolor basecoat applications. For urethane clearcoats, Ditzler offered DAU75, and that was pretty much what we used.

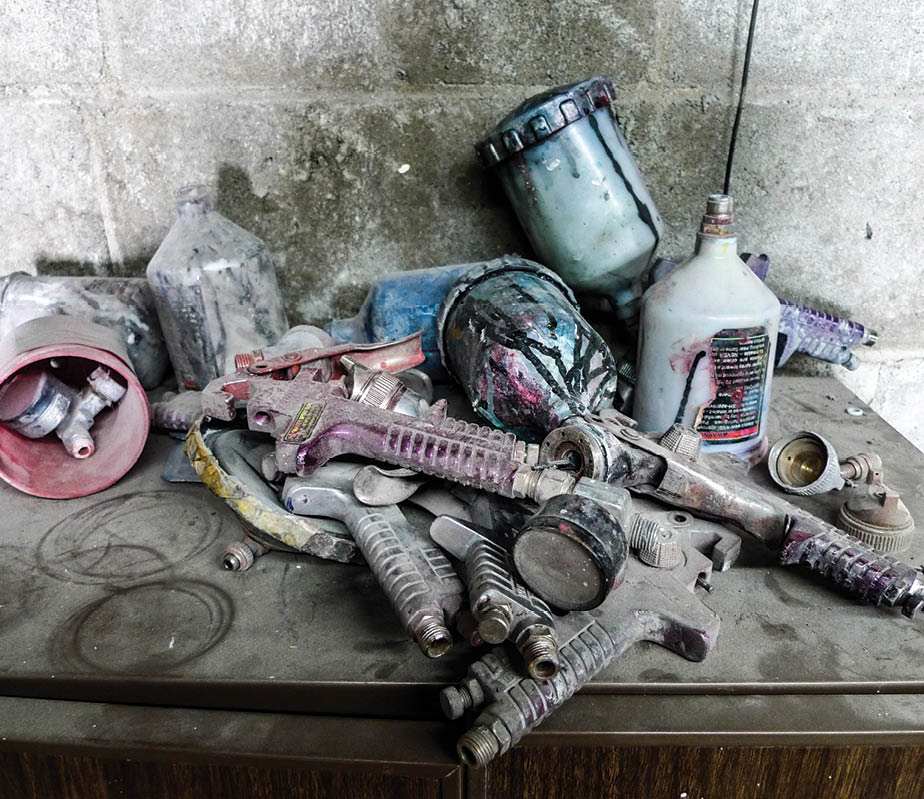
Same-era spray equipment wasn’t rapidly evolving. Prior to select-states’ HVLP (high-volume low-pressure) mandates, siphon-feed spray guns from Binks, DeVilbiss, and Sharpe were the standards. By the early ’90s times were changing. For shops in our area, the exclusive use of HVLP spray equipment had become required by law.

The earliest of HVLP spray guns weren’t exactly refined. I won’t mention the brand of the one I first experienced, but I’ll tell you it was rather expensive, and a rather poor performer to (literally) boot. By design, that spray gun seeped air constantly, all the way through its cap the entire time it was coupled to a hose.

If you’ve operated both early- and late-model HVLP spray guns, you know that things got better. Across the board, quality is way up. In certain instances, prices are way down—and if we give that some thought we’ll likely pull out an example.

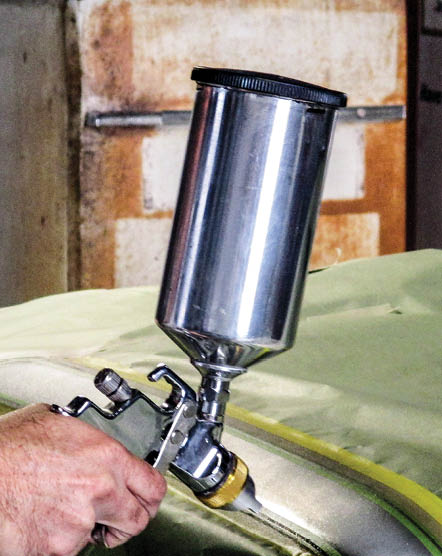
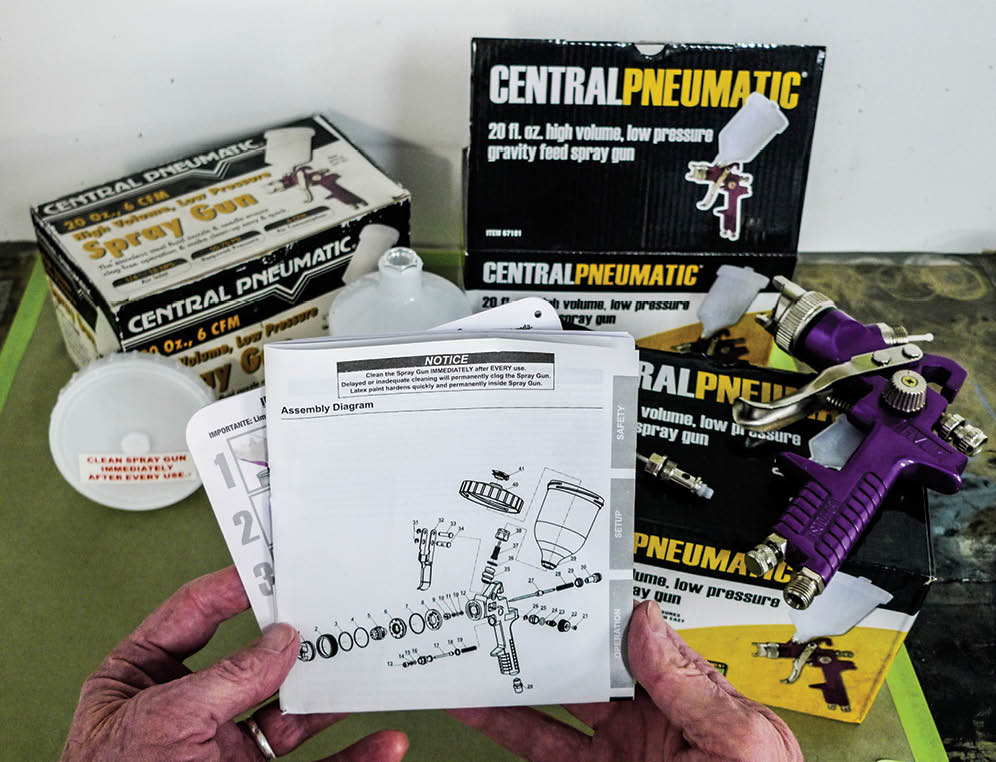
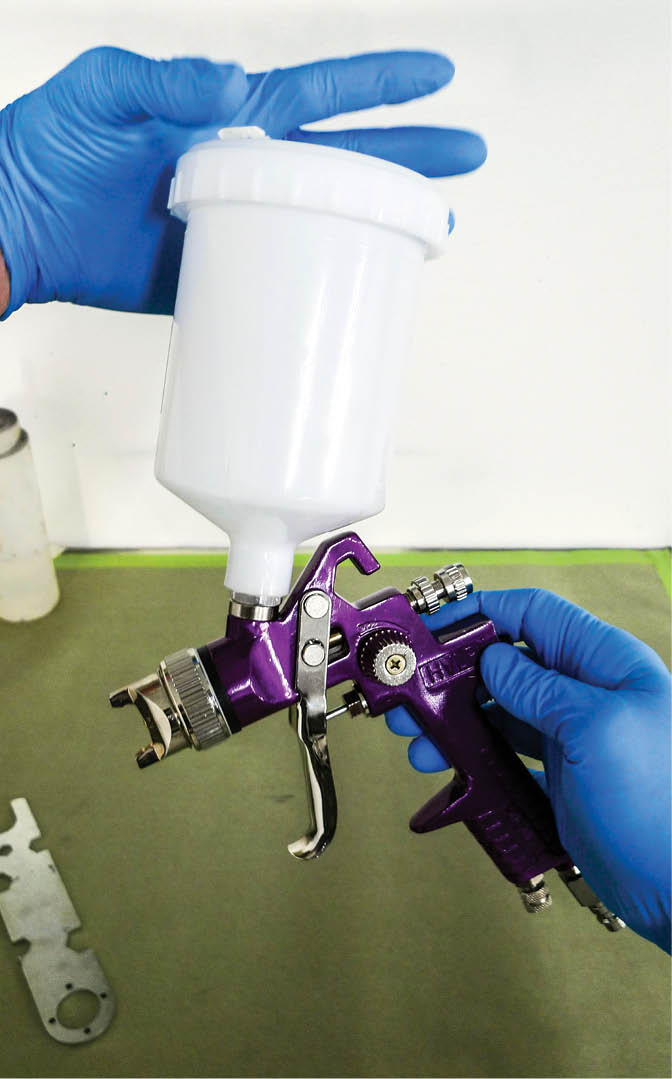
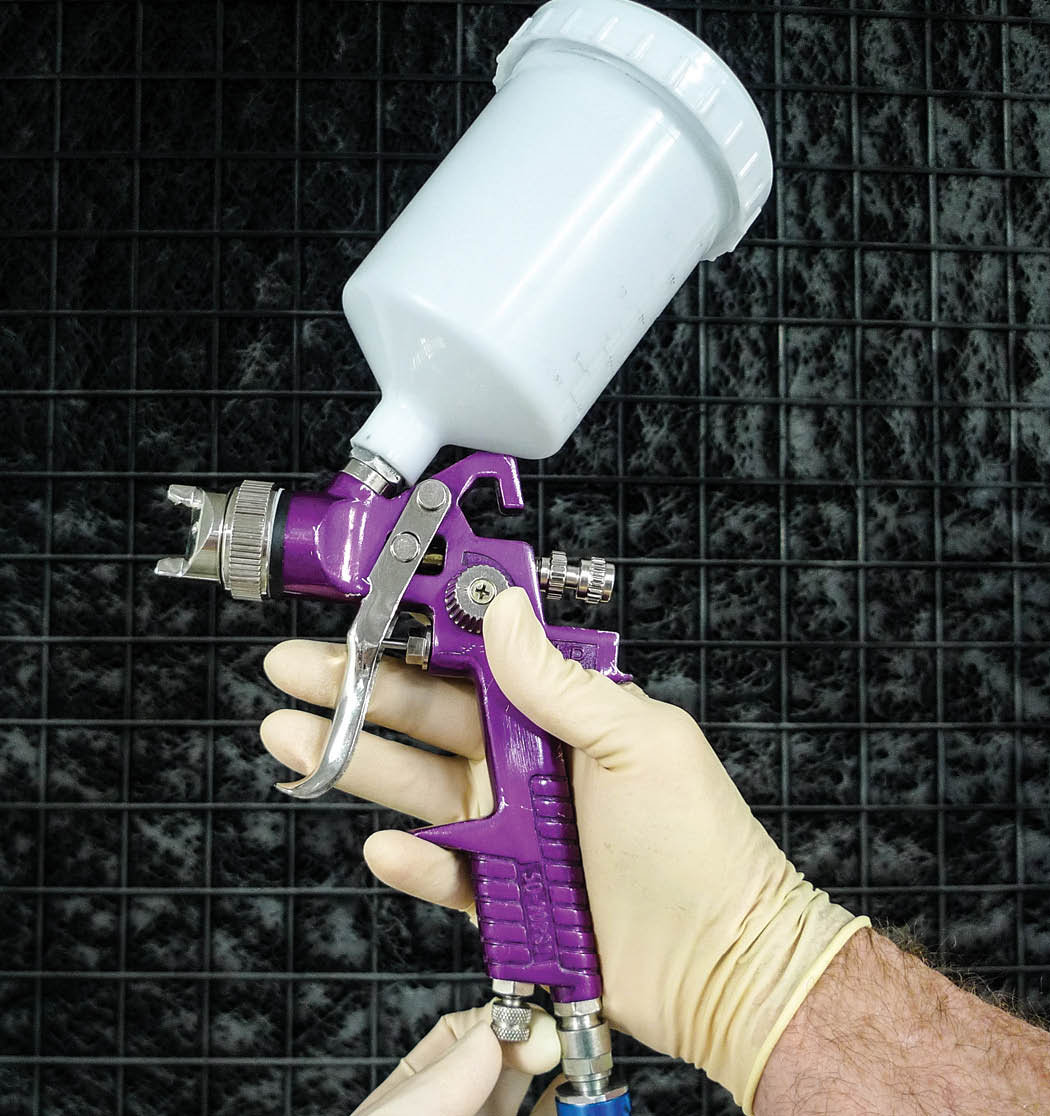
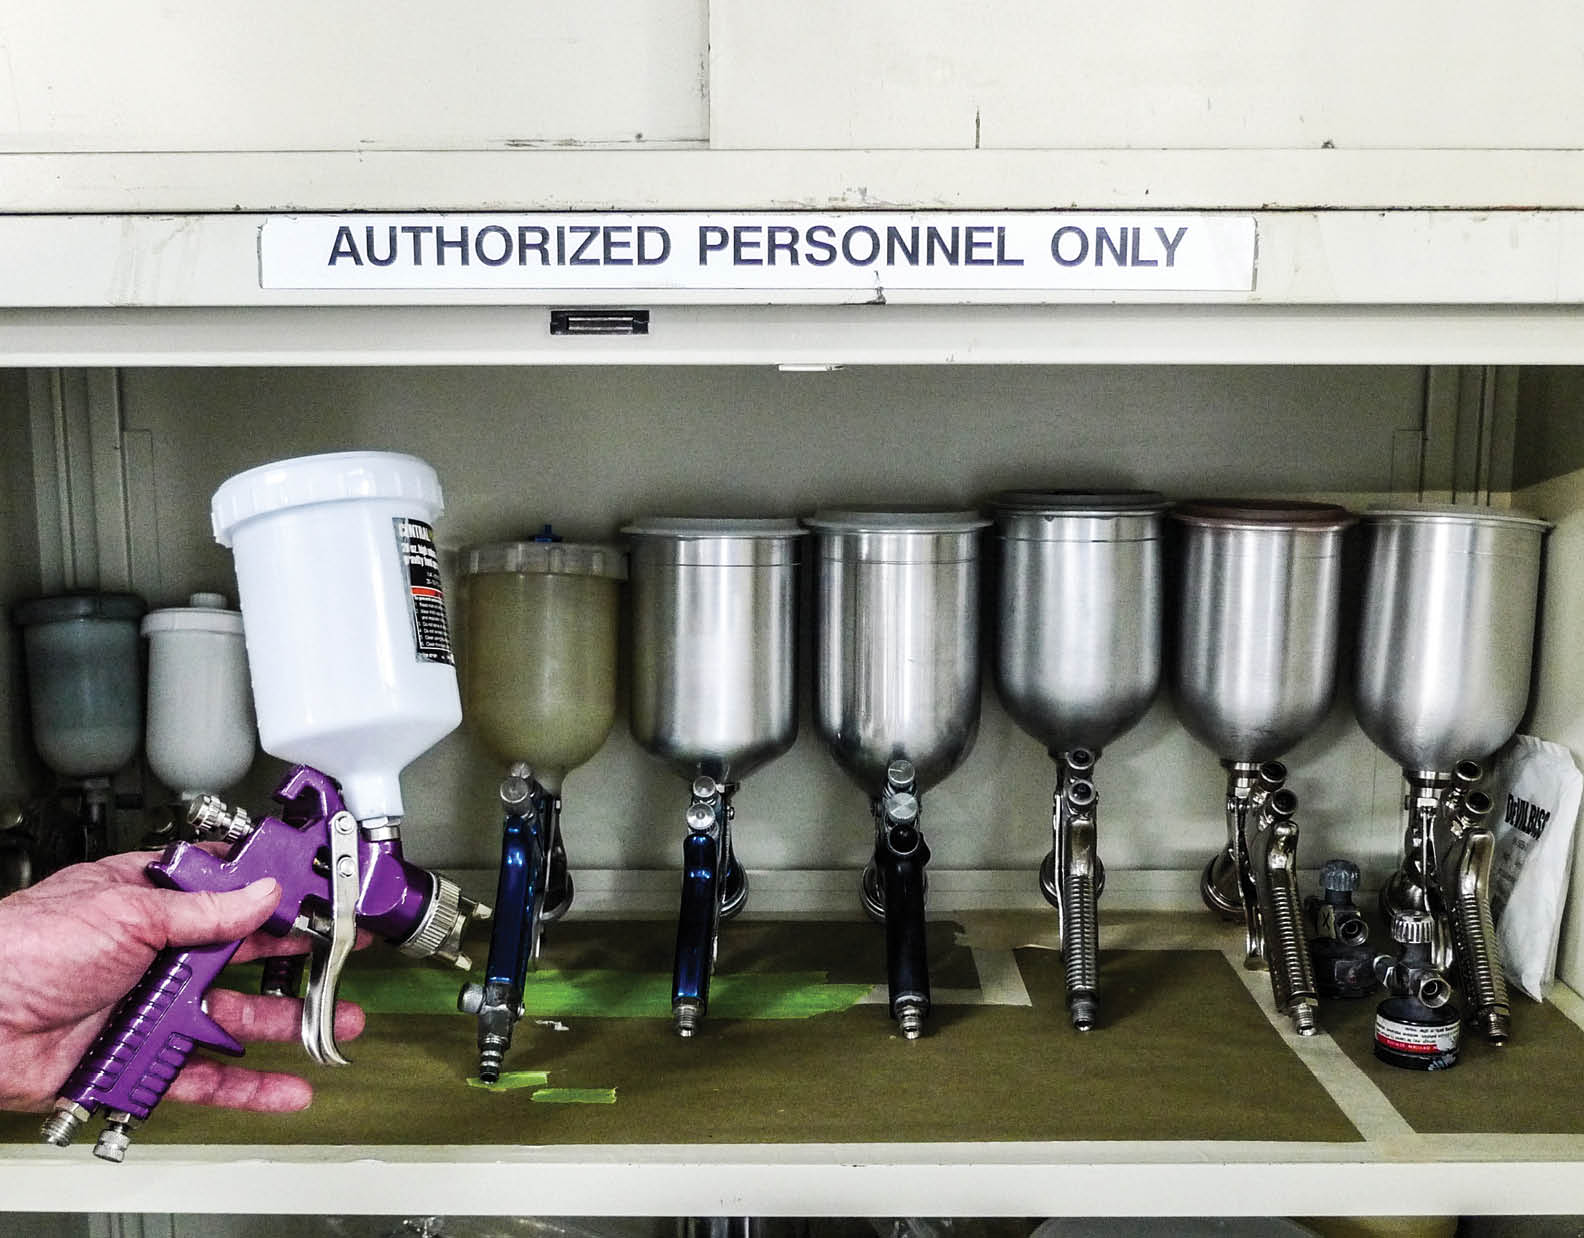
Has anybody been to Harbor Freight lately? When we were there the other day we counted 16 different spray gun models on display. For the technical portion of our story we’ll focus mainly on a low-end offering. Let’s have a hands-on look at a Central Pneumatic gravity-feed HVLP (PN 67181). Back when we purchased ours, they were on sale for only $9.99. That, we think, makes the little purple pistol a great bang for the buck.

For the budget-bound hobbyist in particular, our subject spray gun could be the ideal deal. So, what about for us? Do we really use Central Pneumatic spray guns in our paint department? Do we actually use them for customer jobs? Well, as a matter of fact, we do, but not all the time. Like most professionals, we’ve invested heavily in higher-end equipment that we’ve maintained quite meticulously through the years.

It was an unusual circumstance that prompted my own first Central Pneumatic HVLP purchase. I’d been planning to travel to help another shop proprietor (my friend, Don Dillard of Highway 99 Hot Rods) with a flamejob for an ol’ Ford he was building. I’m pretty spoiled by my automatic spray gun washer. Since my friend’s shop didn’t have one I felt that I needed a one-time-use spray gun that I could just toss at the end of the job. As it worked out, that little spray gun did me right. I couldn’t just toss it. Years later, it still sees occasional use.

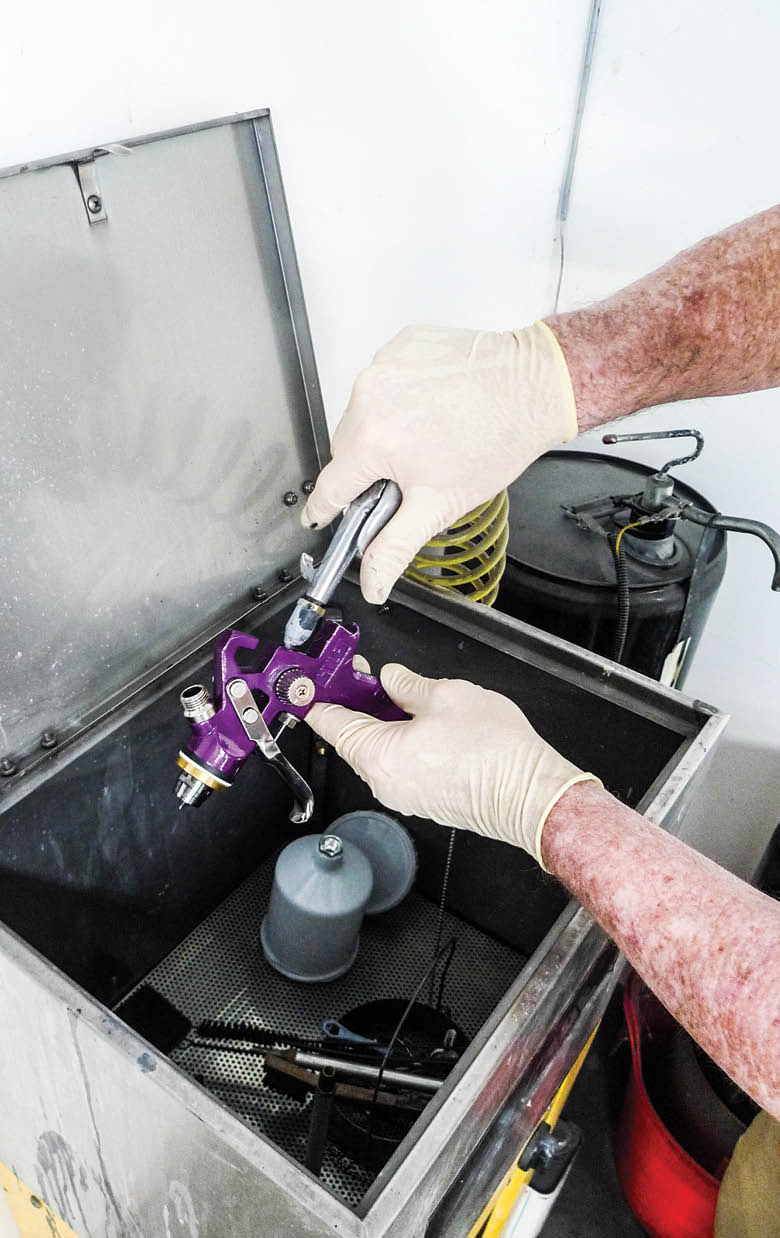
Now if you’re thinking of buying and trying such a spray gun from Harbor Freight, there’s something you should know. Like a number of other-brand spray guns, this little Central Pneumatic comes out of its box greasy.

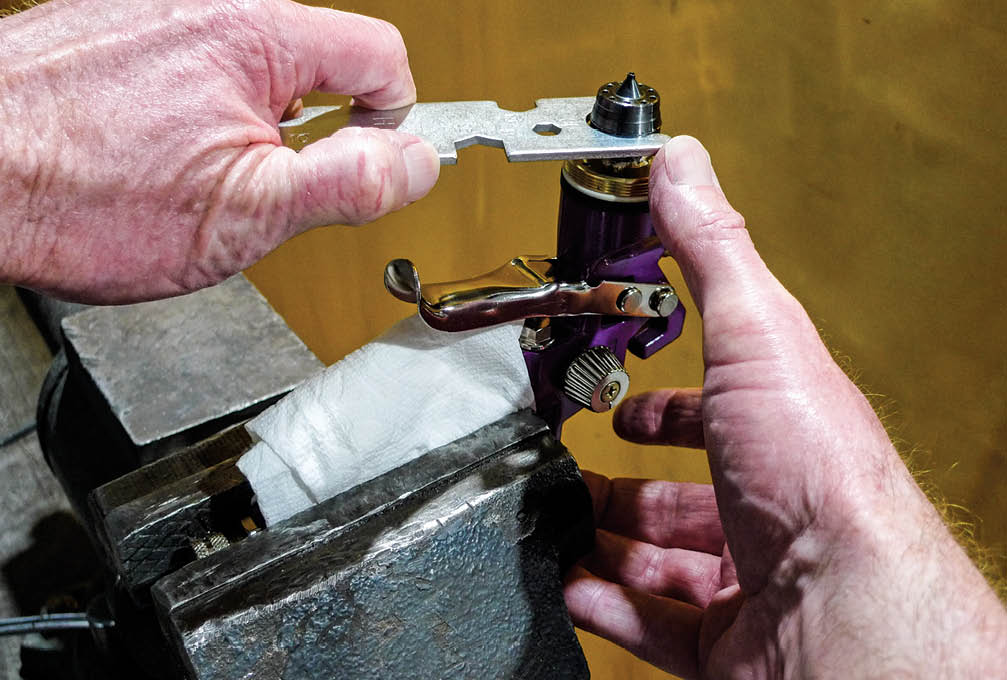
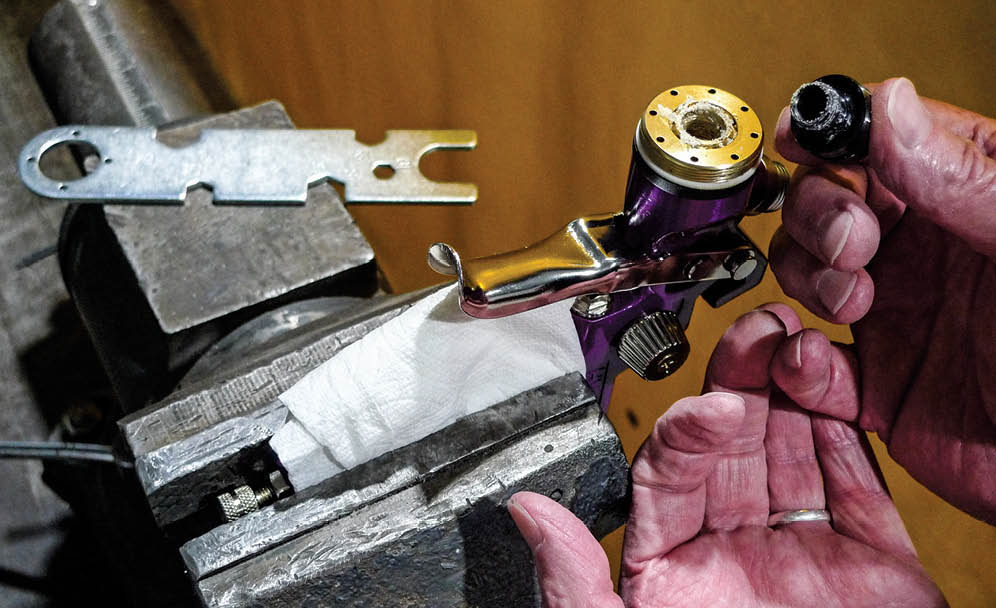
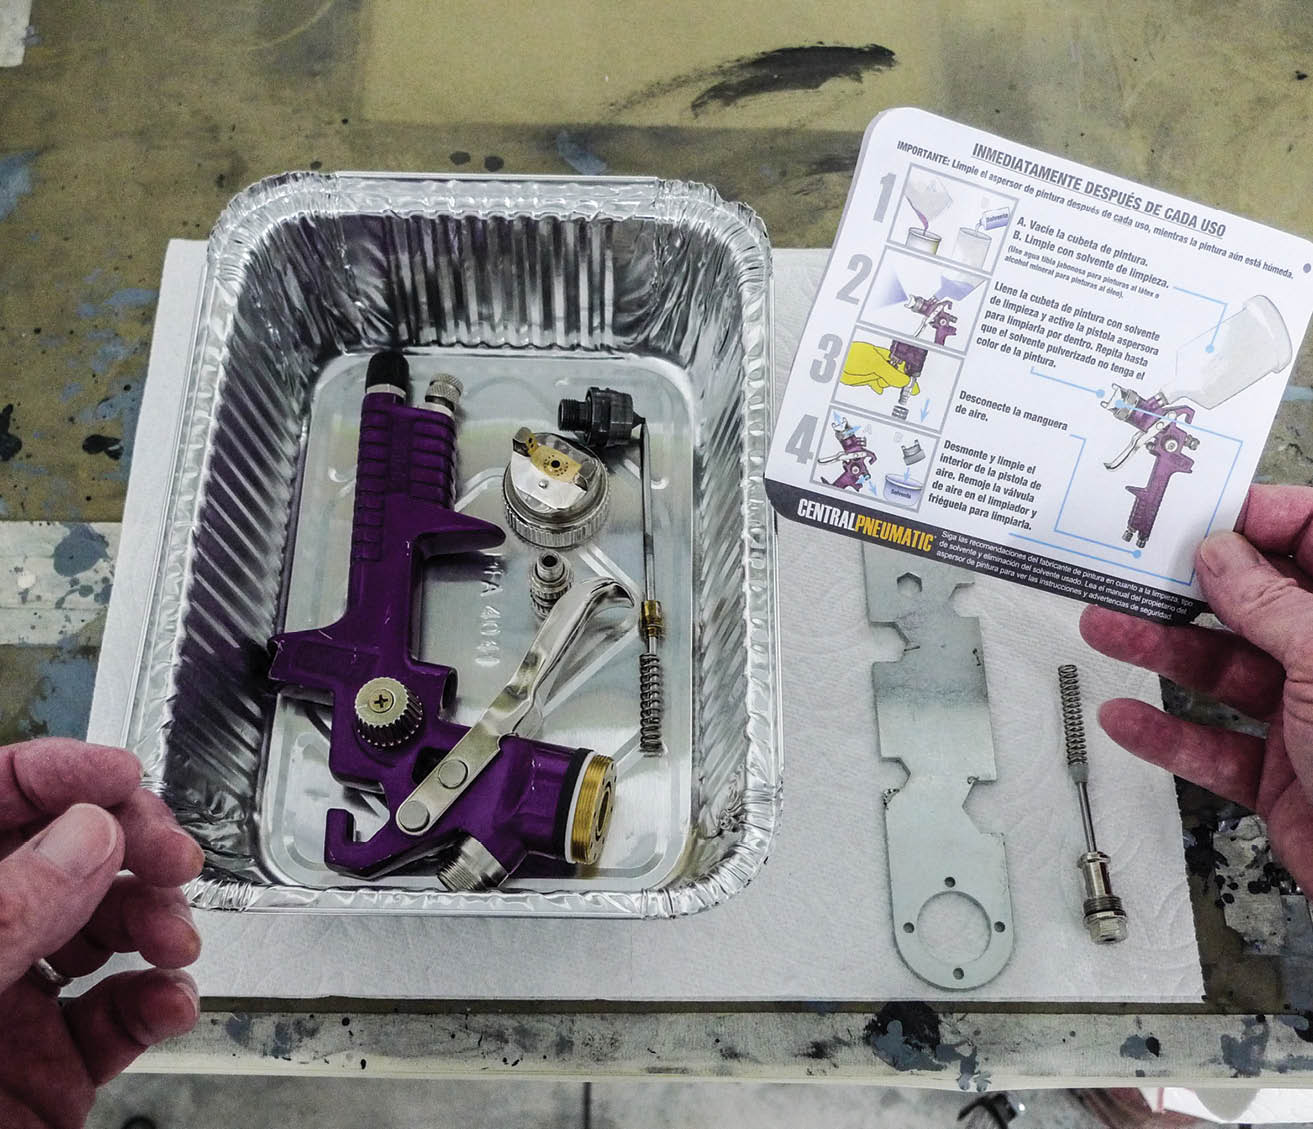
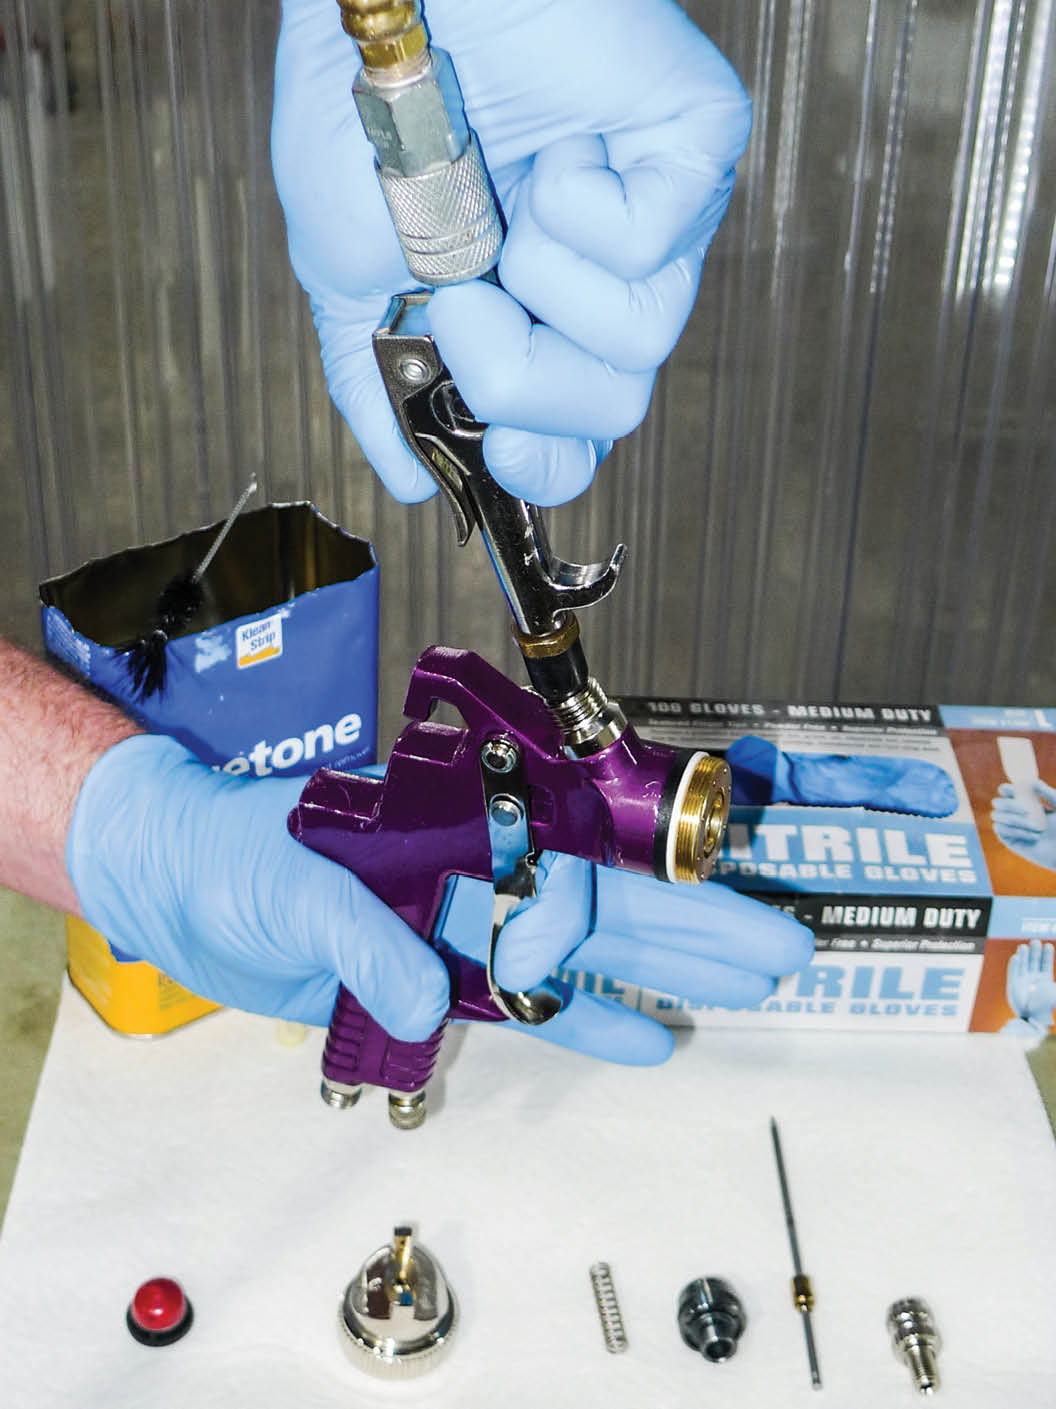
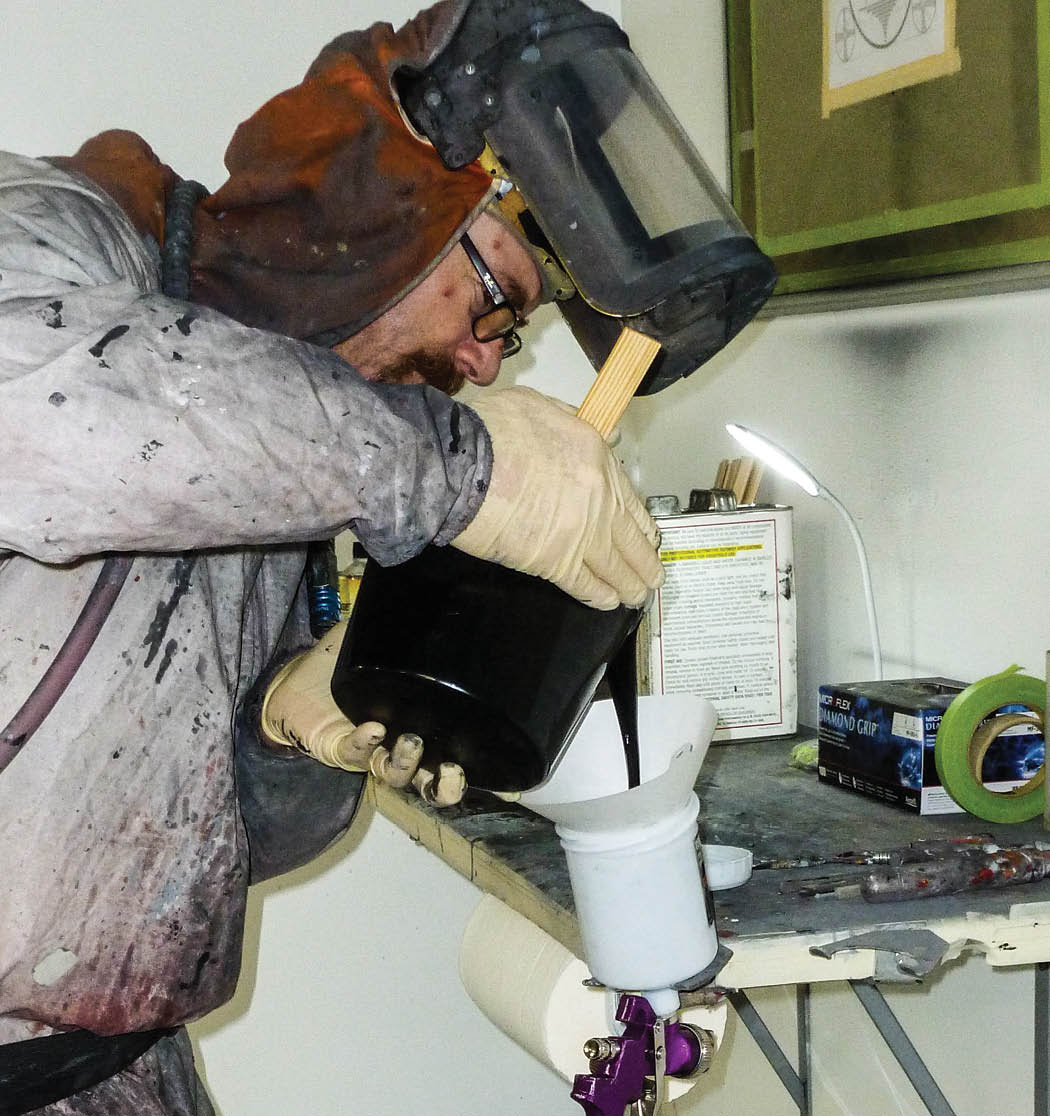
Assuming we want fisheye-free results, new spray guns should be disassembled and degreased before use. That’s all in the Central Pneumatic instruction booklet. Since we’re about to put a new spray gun into service anyway, we might as well illustrate key steps of the procedure.

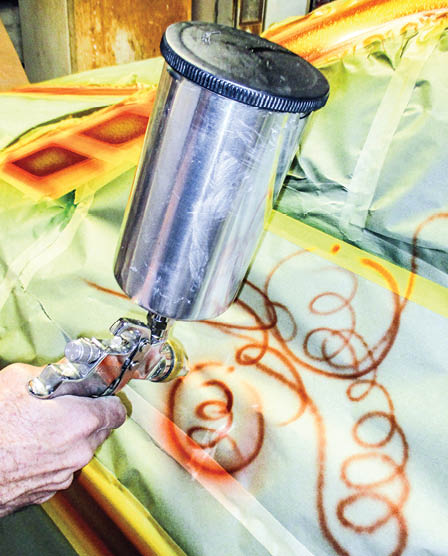
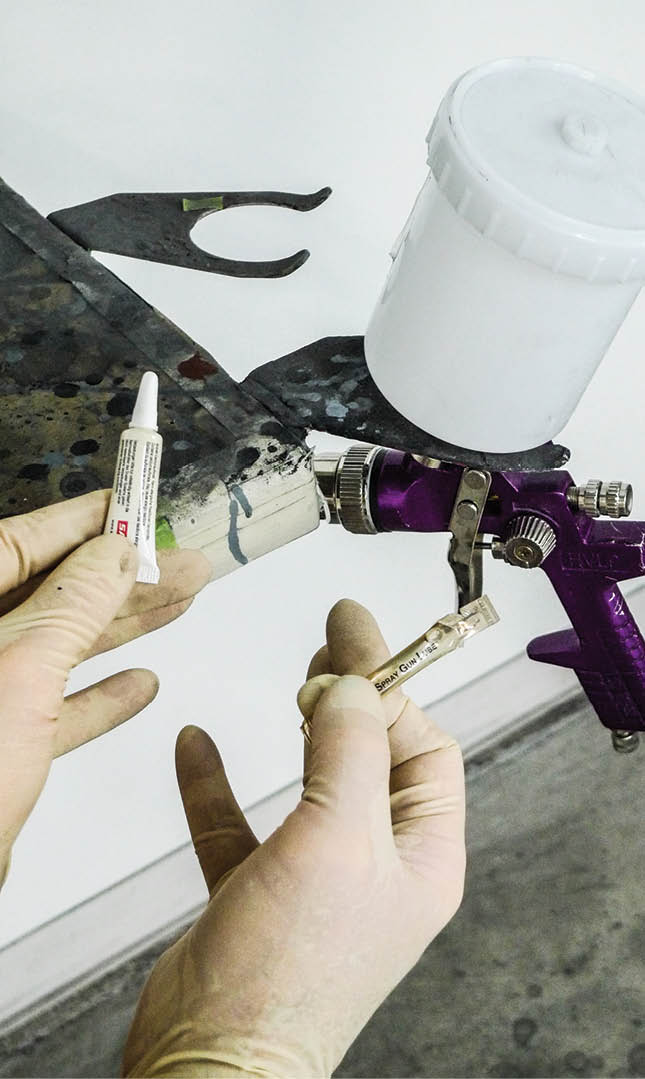
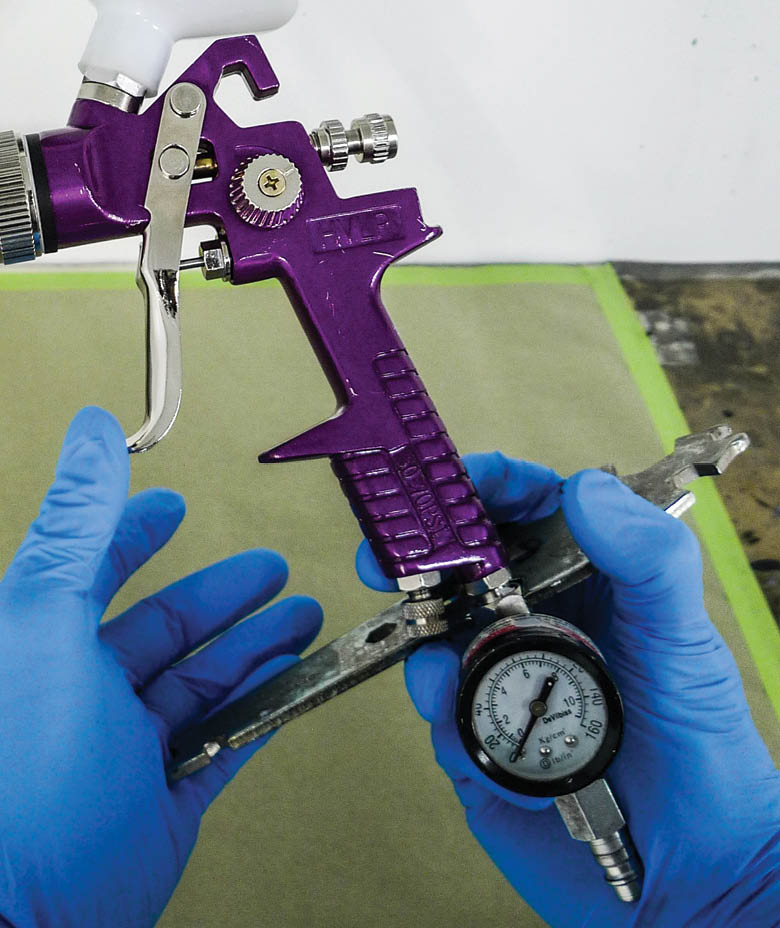
Once we’re satisfied that the greasy gun guts are surgically clean, we’ll reassemble, dial it in, and shoot whatever might be ready. When that gets boring I’d like to introduce you to a custom-painting friend of mine. In his hands as you’ll see, a Central Pneumatic spray gun is like a magic wand.

Pile of spray guns, parts and manuals
1. The first was purchased years ago. Rebuild parts were available, but for $9.99 a piece, I thought, why not stock backup spray guns for parts?
Disassembling spray gun
2. Now let’s put a new parts spray gun into service. This model features a versatile 1.4 fluid tip, which works well for most single-stage color coatings, basecoats, and clears.
Inspecting spray gun barrel
3. See the grease? Like some other brand of spray guns that we’d pay a lot more for, this is how it came. Without proper sterilization we’d be all set for a fisheyed failure.
Cleaning barrel with q-tip
4. A cotton swab won’t do the job. The manufacturer’s literature stresses that we shouldn’t submerge the spray gun in solvent, but we think most painters would still feel the need.
Spray gun and parts in tin tray
5. This far disassembled, with the most vulnerable parts (like the air valve assembly) cleaned separately to the side, we’re soaking in compliant spray gun wash to start.
Spraying air through gun
6. The body’s passages are brushed with solvent and blown out with clean, compressed air. With fresh solvent the entire procedure will be repeated prior to reassembly.
Applying lube to gun
7. Like our other spray guns, we intend to operate this one dry. If a painter-friendly spray gun lube is needed for packing break-in, we’ll apply a drop, but no more than that.
Adjusting paint can
8. There’ll still be some minor setup to do, but on a hobbyist level our purple pistol could be considered race ready. For shop use, however, we might think it through further.
Attaching pressure gauge to gun
9. Depending on our locality’s legalities, we might add a properly functioning air pressure gauge. In certain areas that’s required (of shops) by law.
Filling spray gun with urethane
10. With reassembly now complete we’re satisfied that it’s free of internal impurities. Since we have a little job to do, let’s load up some single-stage urethane.
Adjusting gun settings
11. Adjustments are pretty straightforward. The left-side knob controls the spray pattern, the rearward knob is fluid control, and the knob at the bottom controls air pressure.
Preparing to test spray pattern
12. Now, let’s spray some test patterns. For this, we rotate the air cap for a horizontal fan. We’ll adjust air pressure as necessary, and fluid so our pattern is wet, but not runny.
Test patterns being sprayed
13. Quickly, pull and release. With the pattern fully fanned, it’s rather wide. The lower squirt is our first. The upper squirt is our second. It’s been narrowed down a bit or two.
Spraying body panel with cleaned gun
14. Here our test panels are genuine Chevrolet parts that just happen to be ready to spray anyway. Yes, we’re testing this spray gun on an actual customer job.
Sprayed body panel
15. With the earlier adjustments and air pressure set near 25 pounds, the purple pistol has obviously performed well. We’ve applied two coats and we’re done.
Putting used gun into automatic washer
16. The recommended cleaning procedure is covered in our Central Pneumatic instruction booklet. Here once again, however, I’m pretty spoiled by my automatic washer.
Row of various spray guns
17. No doubt, we’ll use our new toy spray gun again someday. Till then, we’ll keep it handy—right here among our far-less-affordable standbys.
"Greater Spray Guns"
By now you’ve heard the full confession. In this shop, we also use higher-end, higher-priced spray equipment. Years ago when I was assembling my personal arsenal, we didn’t yet have the affordable alternatives from Harbor Freight.

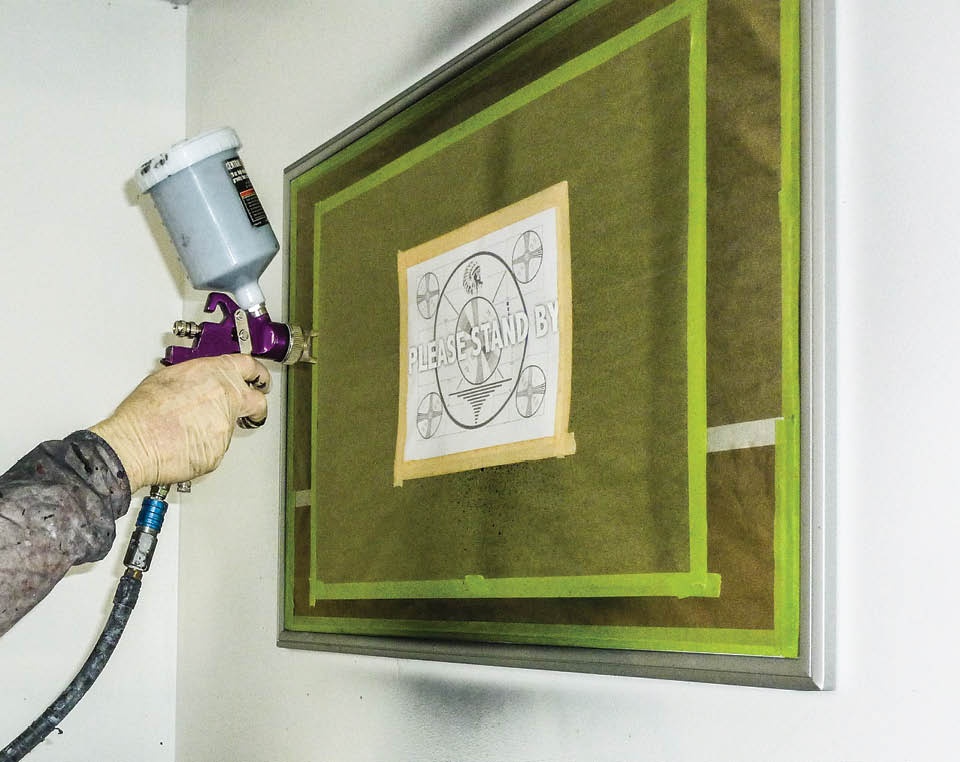
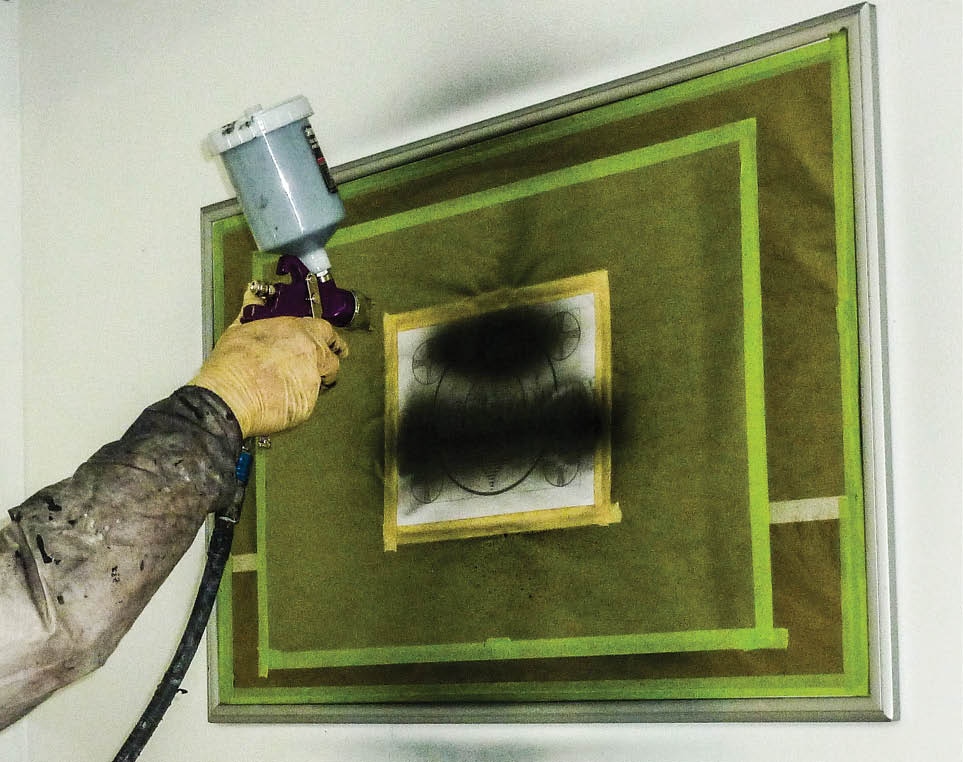
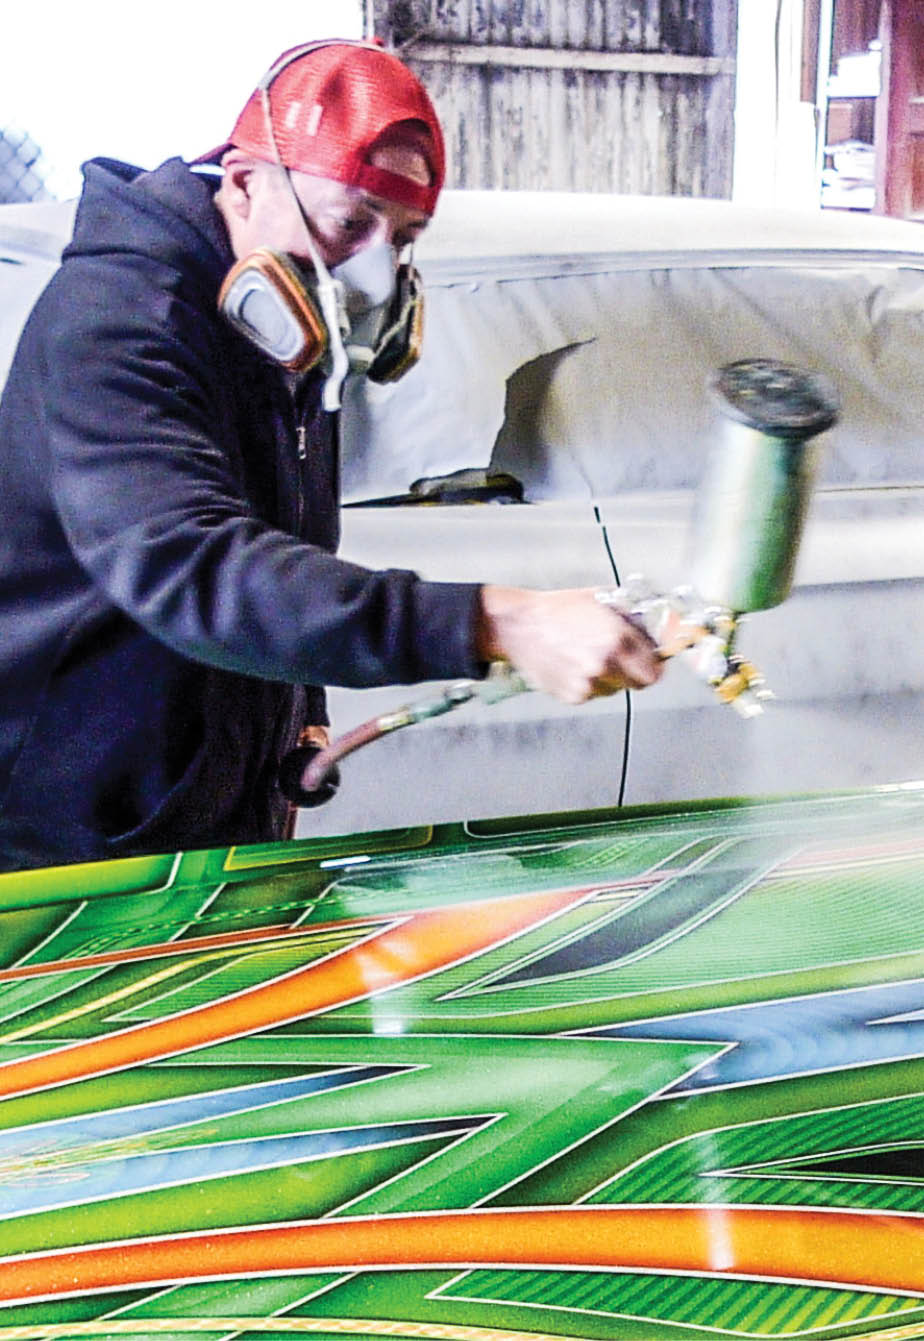
Today, I can think of a number of younger (and a few better) custom painters who use Central Pneumatic spray guns exclusively. To illustrate the point, let’s pay a visit to second-generation custom painter, Zeak.

Based in Riverside, California, Zeak is an accomplished artist. Although our training ground (learning from his father) was the same, Zeak has excelled far beyond my own comparatively limited abilities—and he tends to favor Central Pneumatic HVLP spray guns from Harbor Freight.

Pile of used spray guns
18. Considering all they’ve done, and the fact they’d have cost around $9.99 a piece, this fleet of retired workhorses doesn’t owe Zeak a dime.
Spraying roof
19. On this Chevy test panel, Zeak demonstrates a Central Pneumatic HVLP (PN 68843). With its fullsize accessory cup, this model costs a little more, but it’ll do a little more, too.
Spraying patterns with fine tip
20. Also, with a 1.4 fluid tip, this is a versatile gun. It won’t replace Zeak’s airbrush, but at low pressure with its pattern screwed down to a pinpoint, it can fill in.
Spraying clear coat on car
21. For this other Chevy test panel, the pattern is fanned for urethane clearcoat. Most pros do use different spray guns for different jobs, but look what can be done with only one.
Harbor Freight Tools
(800) 423-2567
harborfreight.com
Zeak
(951) 345-0040