

 TECH
TECH
AFM Delete How-To
By Jeff Smith  Images by The Author
he move toward LS engine swaps and LS engine building in general is so strong that even the Fox-body Ford guys are snapping up these engines. Among those powerplants in tremendous demand are the Gen IV 5.3L engines fitted with the dreaded AFM. For those of you who may not be familiar with GM speak, AFM stands for Active Fuel Management, which is GM’s term for displacement on demand (DOD). This comes into play when the engine is operating at light throttle cruising and the ECU commands the engine to drop four cylinders by using oil pressure to disable the lifters in the designated cylinders.
For the purposes of this story, we will run through all the details and explain how to execute this conversion simply and easily with the idea that our engine will be used in a future engine swap. As a result, we will skip over a few items because we intend to fully rebuild our 300,000-mile engine after this AFM conversion.
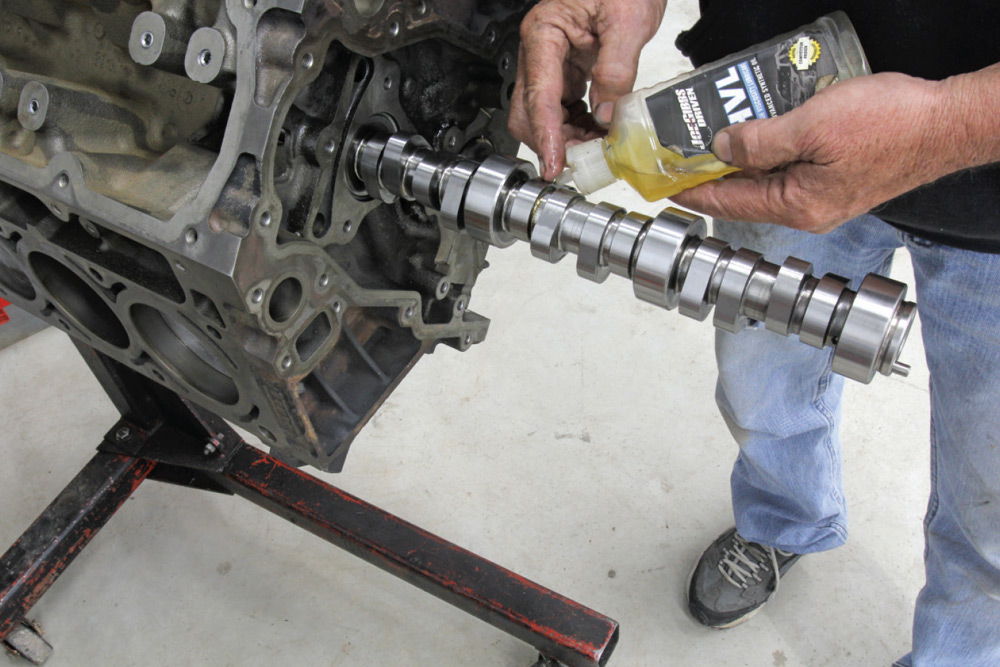
Among the most important points is that AFM camshafts are different from those used in non-AFM engines. This means even if you do not intend to add a performance camshaft, a proper AFM delete will require exchanging the OE cam for a non-AFM version.
The engine we will use for this story is a 2007 LY5 with 9.9:1 compression rated at 315 hp. This particular engine was in pretty decent shape considering it had run for over a quarter-of-a-million miles. The biggest issue was several stuck compression rings. It’s not necessary to completely disassemble the engine to perform an AFM delete but we went that far because we intend to rebuild the engine.
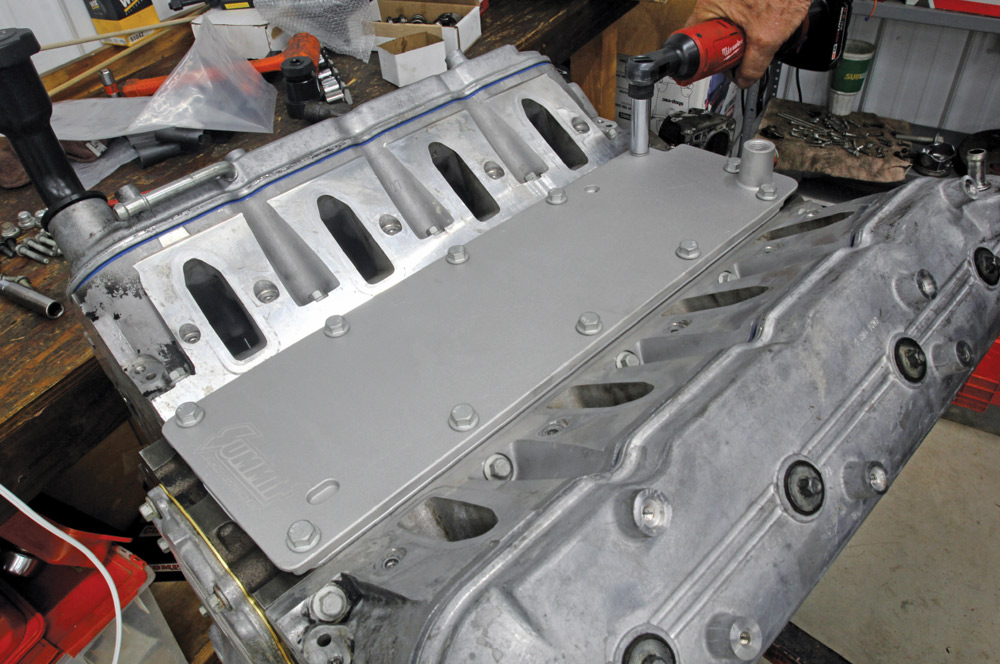
With the engine cleaned, the first step was to block off the cast-in Gen IV stands in the lifter valley. These stands direct oil from the main oil gallery, through the lifter oil manifold assembly (LOMA), which is the cover for the lifter valley. When signaled by the ECU, the LOMA directs oil to disable the lifters. The LOMA is a complex assembly that we will replace with a standard valley cover. Keep in mind that Gen IV engines incorporate an oil pressure tap into the cover so a Gen III cover will not interchange.
There are some lifter covers that use O-rings to seal the cast-in stands but we prefer to physically block these stands to prevent an internal oil leak that could affect oil pressure. In researching the best way to perform this AFM delete, we ran across a great kit from Scoggin Dickey Parts Center (SDPC) that offers an affordable approach to this conversion.
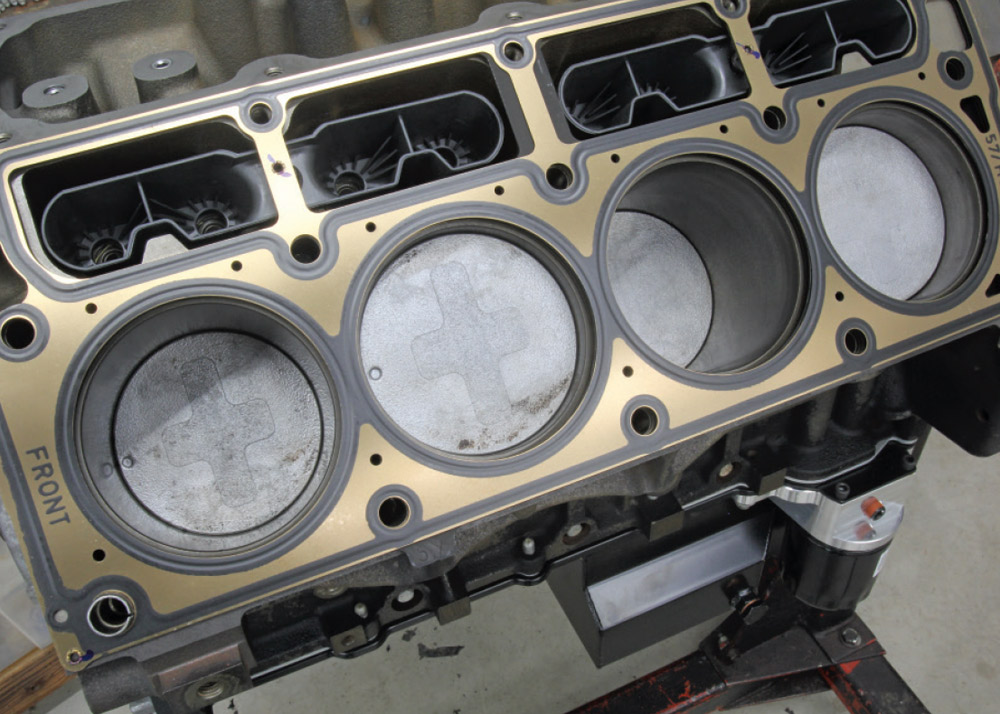
The SDPC kit includes your choice of a stock or performance camshaft, a new set of GM lifters, GM lifter guides, head gaskets, new head bolts, a new harmonic balancer bolt, front cover, water pump gaskets, and a new front timing chain cover seal. The head gaskets and head bolts are necessary because the heads must be removed to replace the lifters and lifter guides. The harmonic balancer obviously must be removed in order to access the cam.
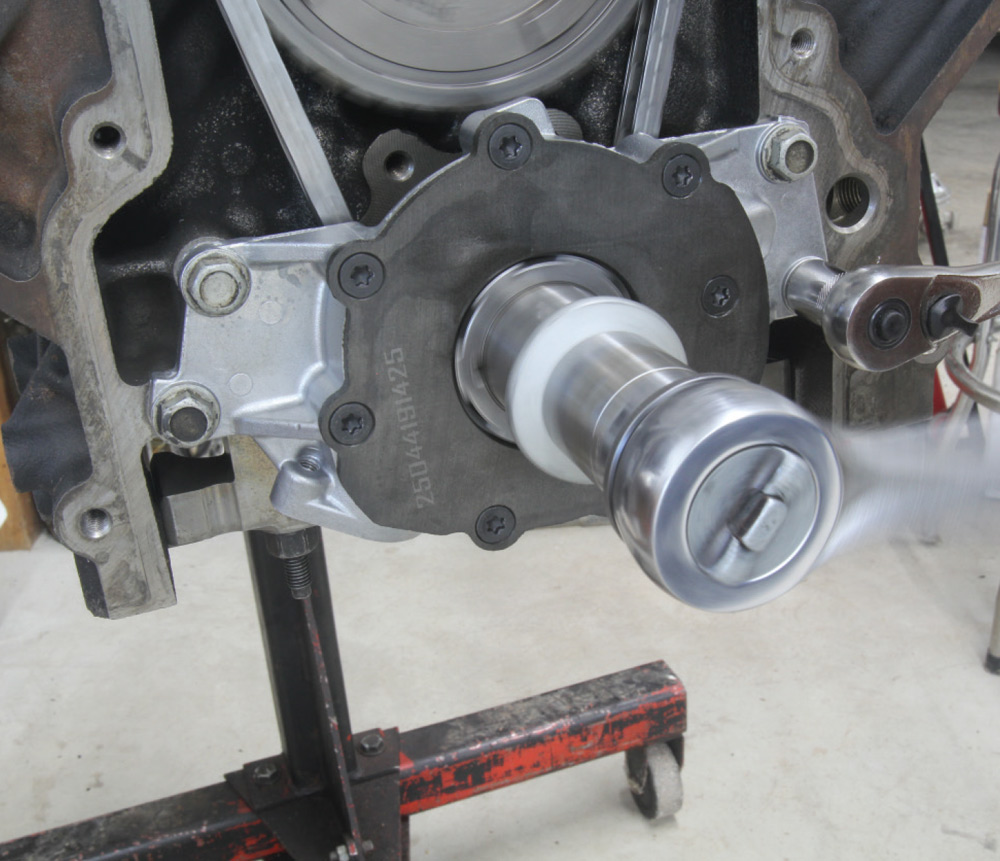
To save space, we will skip over many of the basic steps to replace the camshaft, like removing the water pump, timing cover, oil pump, and stock timing set since these steps are typical for any cam replacement. However, it’s important to note that you should include a new oil pump when replacing the camshaft, especially on older engines with lots of miles.
The Gen IV engines used a higher volume pump for the AFM applications but since we are eliminating AFM, a stock volume Gen III pump will work in its place. These production engines also employed a separate oil pressure relief valve in the oil pan that opens when the AFM is not triggered. This valve sprays oil on the rotating assembly and GM has noted that this may contribute to increased oil use.

The GM fix is to place a deflector cover over this relief valve to redirect oil lower in the pan. We’ve included the part number for this deflector, but for AFM delete engines it is recommended that this valve be removed and plugged with an M14x1.5 metric pipe plug. If you are replacing the truck pan with a performance version like the Holley 302-5 or a Summit cast or sheetmetal oil pan this step is not necessary.
We decided to use the SDPC kit after watching a video where they dyno tested a stock 5.3L engine fitted with three performance SDPC cams. For truck applications, the mildest version offered a 25 lb-ft torque gain along with a 41hp increase. They also tested their LS6 PowerMax cam that bumped horsepower by 70 ponies over stock. The largest of the three cams jacked the engine to 448 hp, which is an amazing 88hp improvement over stock.
This cam does lose some torque below 4,000 rpm but the midrange and top-end power numbers were too good to ignore, so that’s the cam we chose since our engine will find itself in an early Chevelle with decent gears and an automatic with a loose converter.
Back to the process. Once we had drilled and tapped the block tower holes, we cleaned the block again to eliminate any metal chips in the oil gallery and installed new cam bearings. If you are just deleting the AFM, you can use the aluminum plugs supplied with the SDPC kit and save all that tapping and cleaning.
Before we installed a new three-bolt timing set, we also included a new cam retainer plate. This step is often overlooked because the stock plate usually looks reusable. But if the seals are poor, this can create an internal oil leak that could go unnoticed. The smart move is to include a new cam retainer plate that ensures there will be no internal oil leaks.
With the new SDPC cam in place, we also added an adjustable timing set from Summit that will allow us to move the cam, if necessary. Of course, if your budget is tight, you can substitute a stock timing set. Just make sure it will accommodate a three-bolt and not a one-bolt cam attachment. We also used the new lifter holders from SDPC because it’s very important to always replace these pieces. The old units may look serviceable, but they are often brittle and can crack, which can allow the lifter to rotate, which will destroy the cam, lifter, and sometimes the block. We also took the time to degree our cam and found that it was within 1 degree of the published intake centerline.
We added the new Summit oil pump and also a Summit sheetmetal oil pan that includes the stock oil filter adapter just to make things easier. The next steps involved torquing on the rebuilt heads using the new gaskets from the SDPC kit and the replacement head bolts. As a point of reference, Gen IV engines changed the head bolt length so that all the bolts are the same length. Earlier Gen III engines used two different bolt lengths, which means Gen III and Gen IV bolts are not interchangeable.
With the new SDPC hi-fi camshaft, this also meant that we should upgrade the valvesprings to LS6 specs. Also, because our engine had traversed so many miles, we didn’t trust the stock rocker trunion bearings, so we opted to include a Summit LS rocker trunion upgrade. This process took a little time but drastically improves the durability of the rockers and should prevent a failure that could infest your engine with dozens of tiny little needle bearings.
With all this reassembled, it’s a good idea to pressure lube the engine to make sure all the rotating components had new oil before starting the engine. With this engine, we’re going to go the extra mile and bore the block, add fresh pistons, rings, and bearings so we’re not going to restart the engine but instead take the block back to the machine shop for a bore and hone. Then we’ll assemble the engine for the final time and bring that to you as well in a few months.
Stay tuned.







 SOURCES