ACP department heading TECH

InTheGarageMedia.com

Budget Brake Upgrade
Easy and Affordable Brake Upgrade for a ’70s Nova

BY TOMMY LEE BYRD Photography by The Author

W

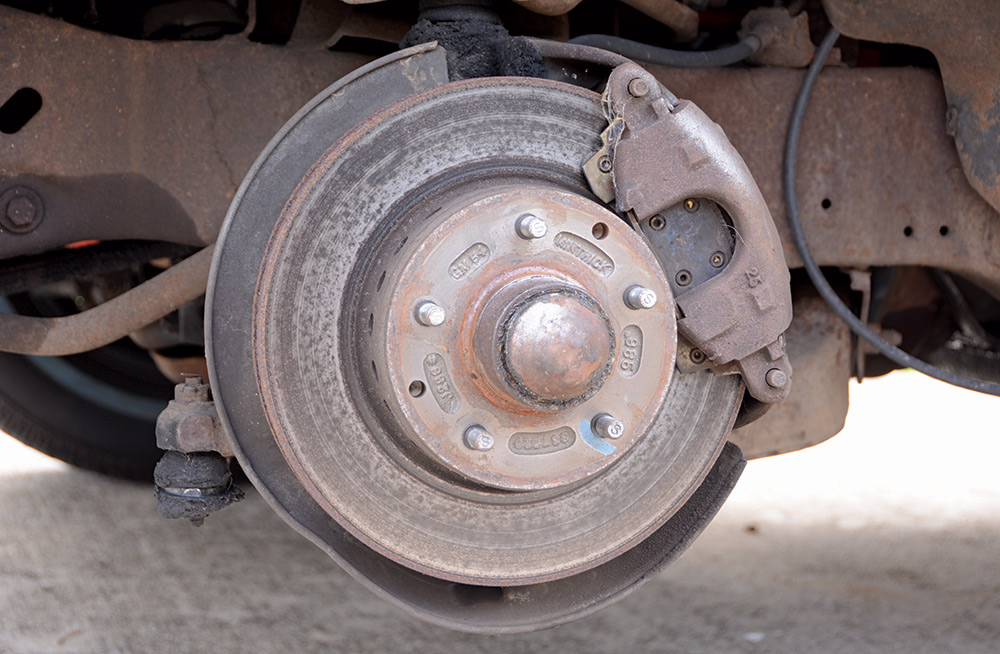
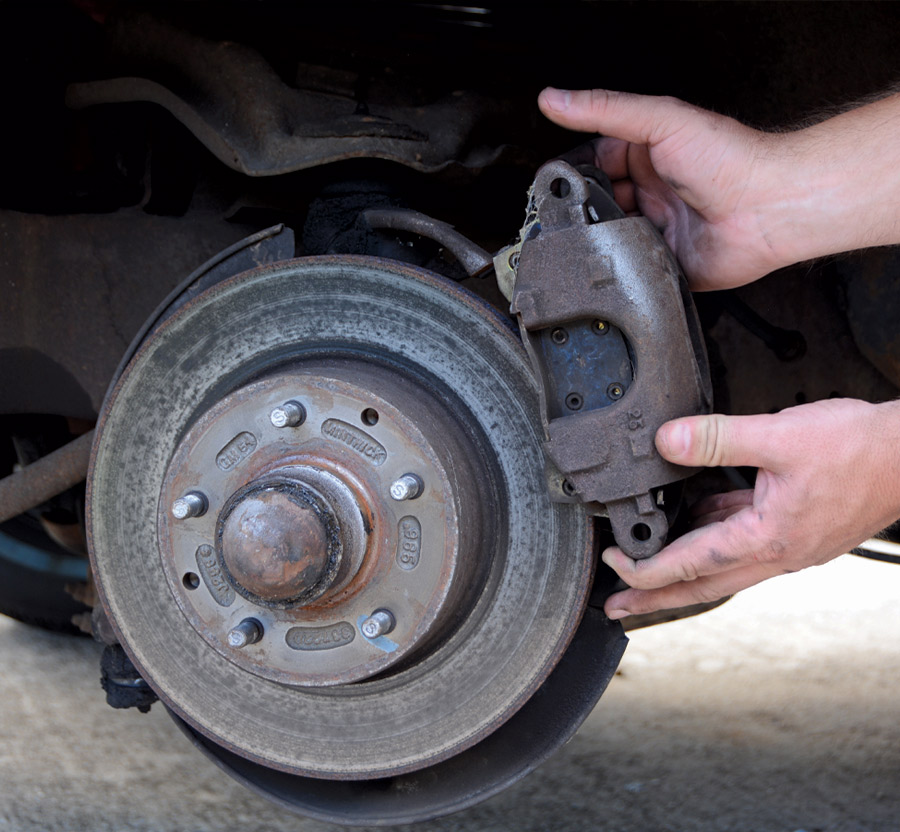
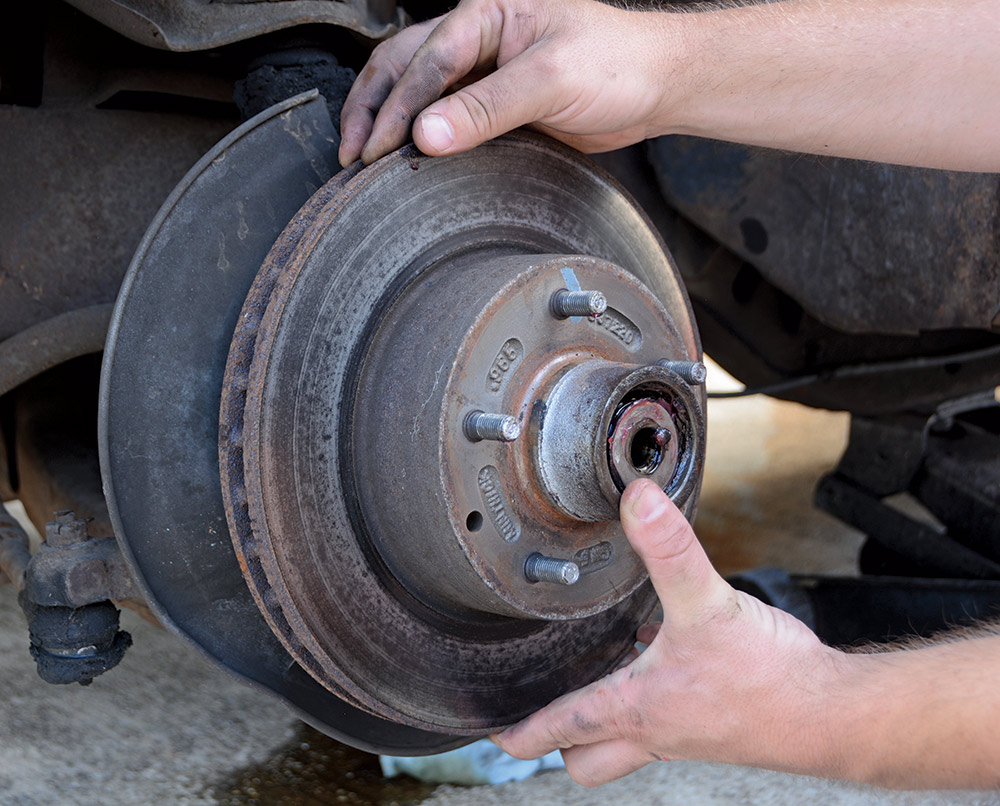
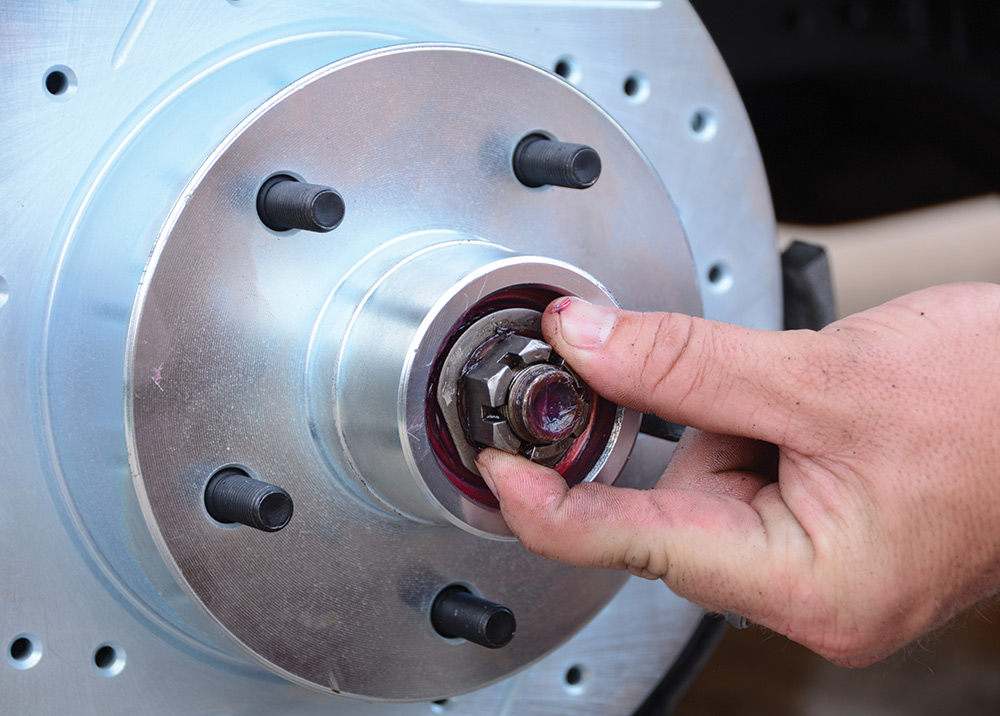
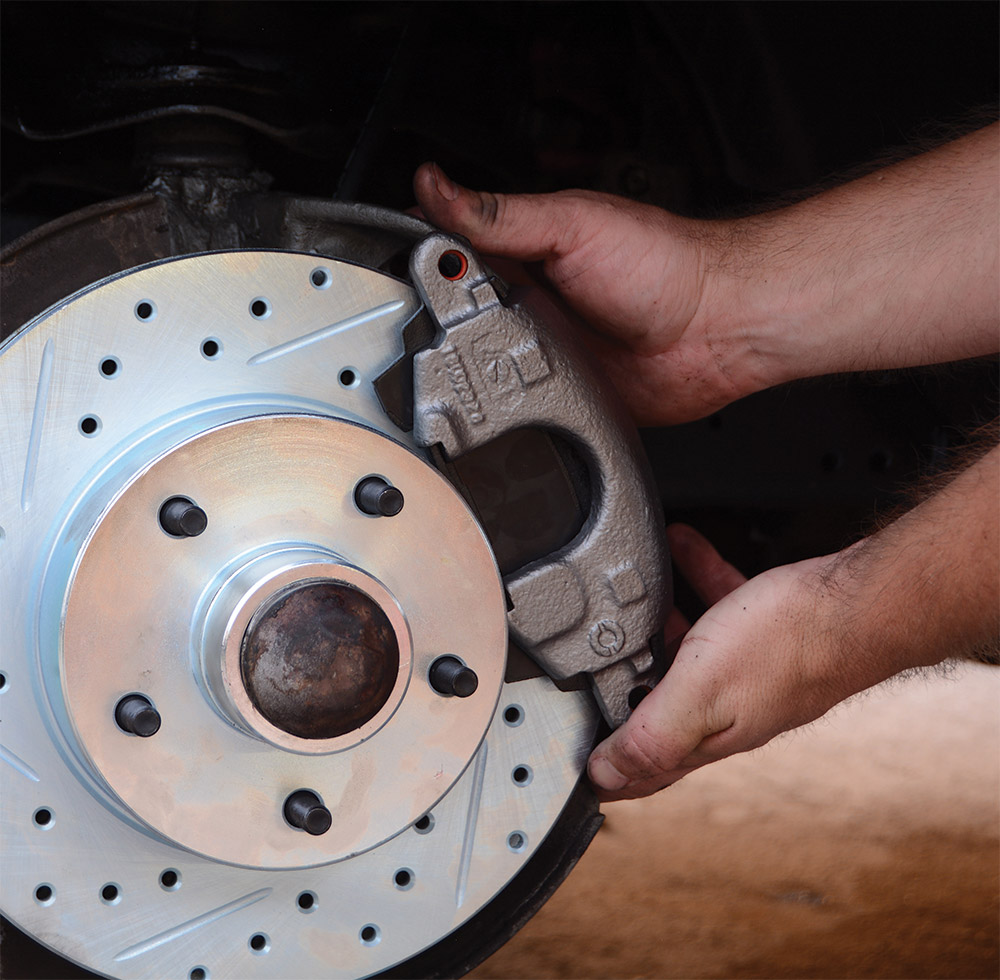
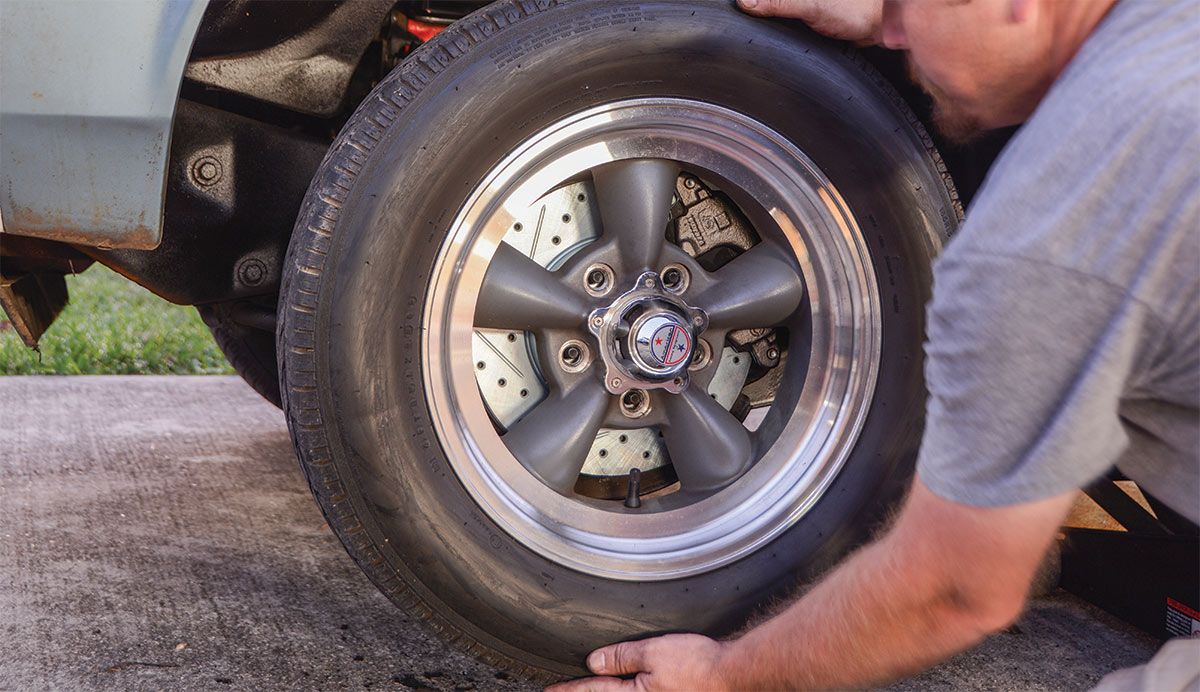
hen you’re dealing with a budget beater, it’s hard to justify dumping tons of money into it. Such is the case with our ’77 Nova four-door beater. It’s a little rough, and definitely tired, but for a total investment of $2,000, we’re embracing the low-buck nature of this project. As we’ve been driving it regularly, the Nova developed a squeal in the front brakes, and upon inspection we noticed that the pads were worn down to the wear tabs and the rotor surface appeared to be glazed over badly. This inspired a full overhaul of the front braking system, but we wanted to keep a strict budget to stay in line with the theme of this car.

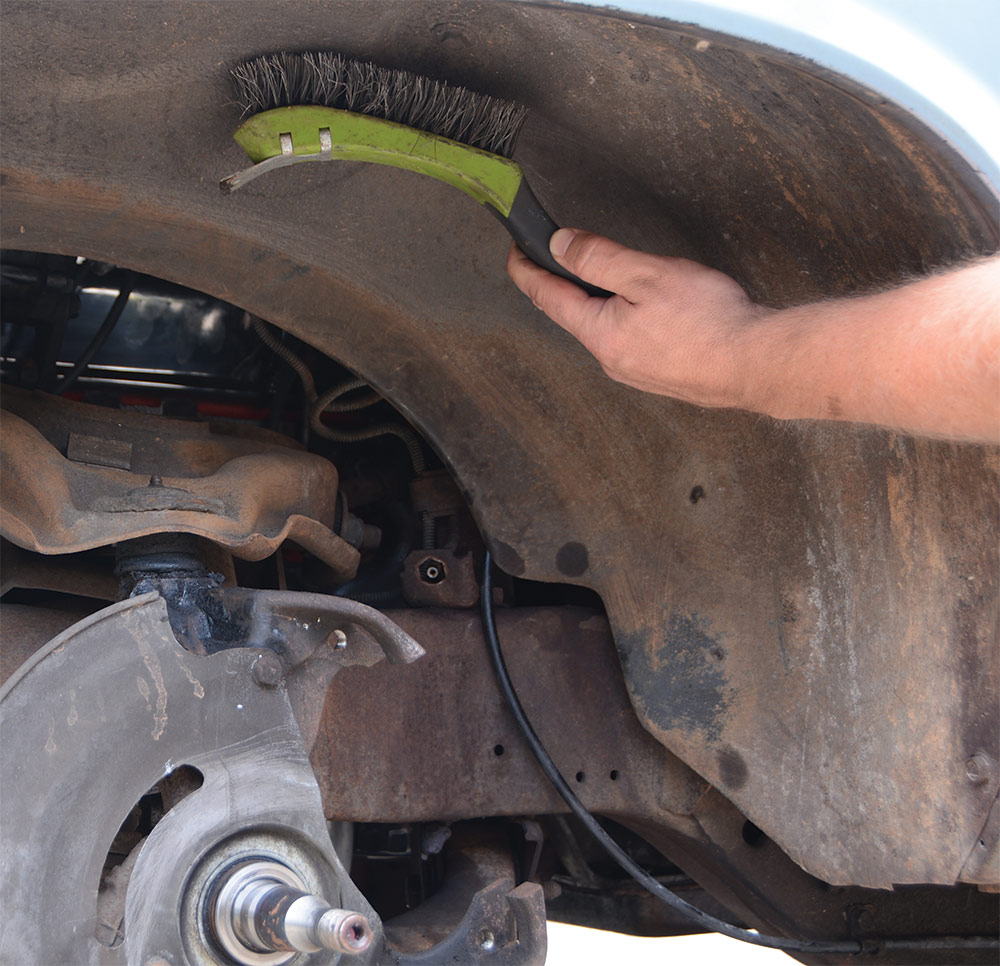
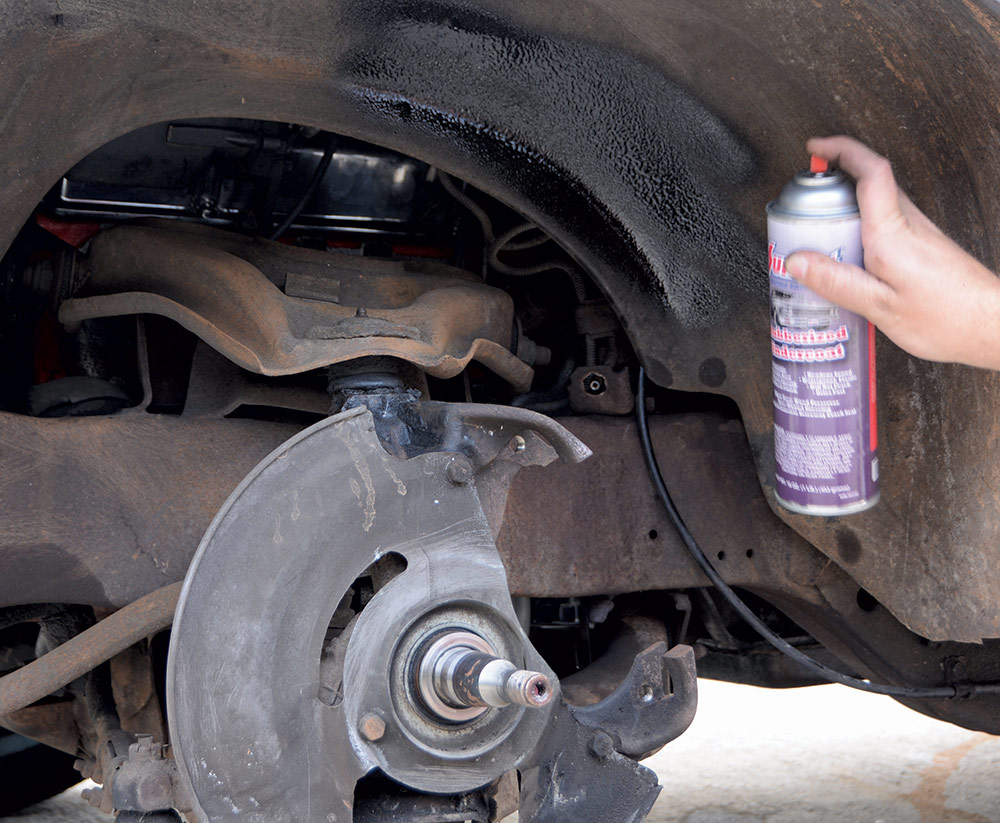
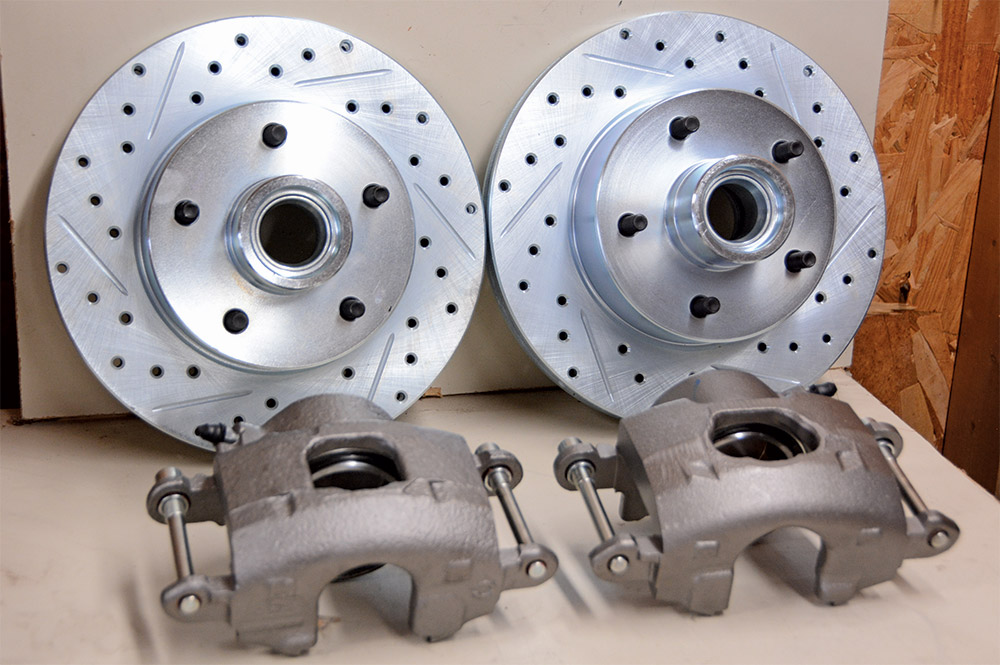
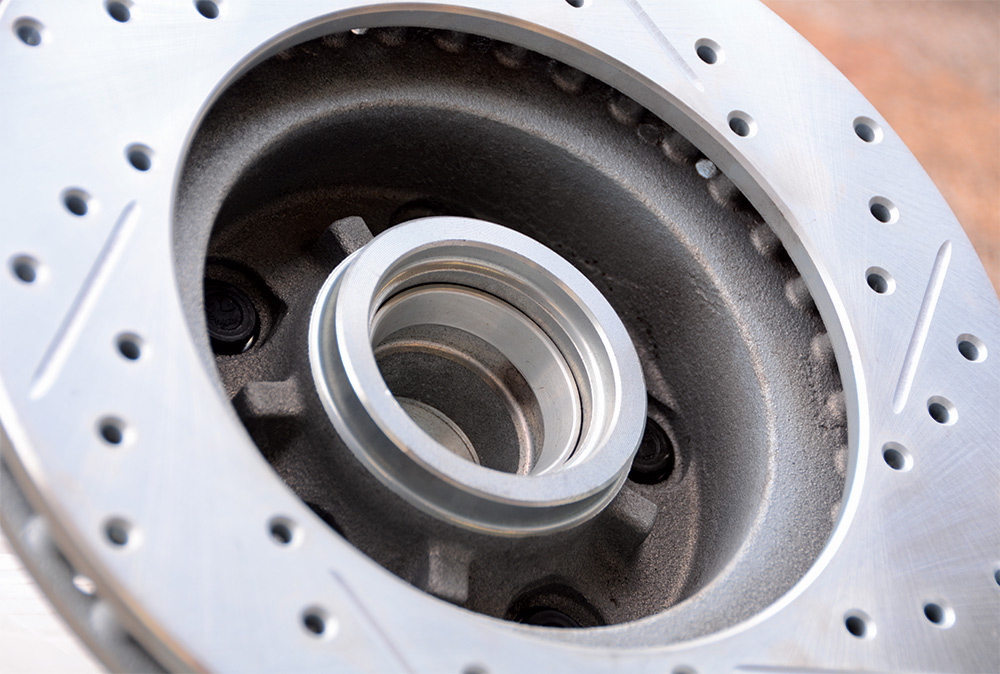
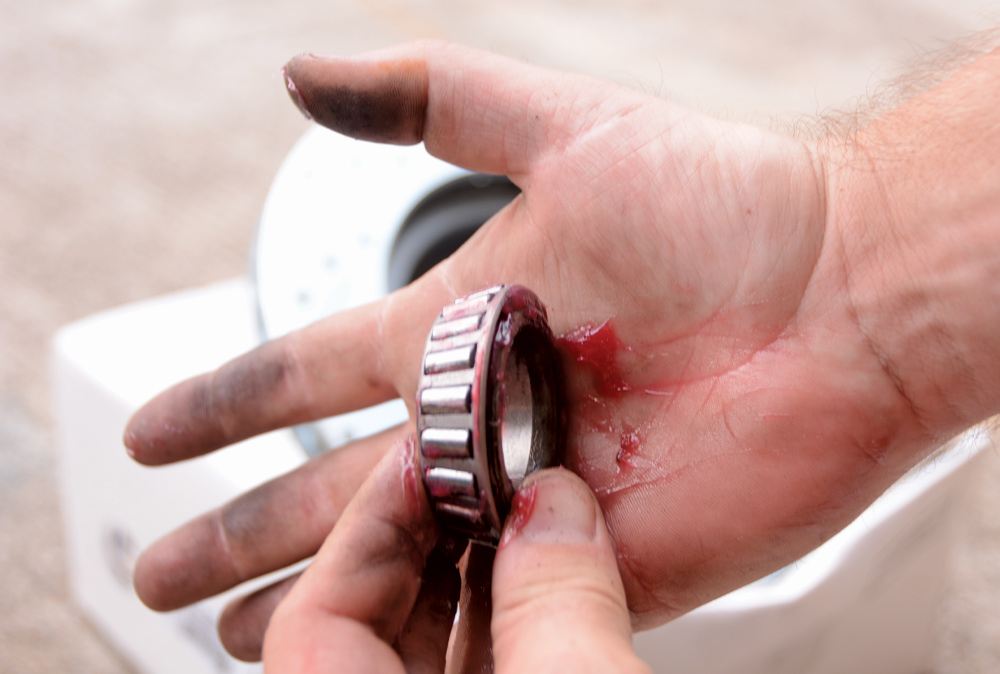
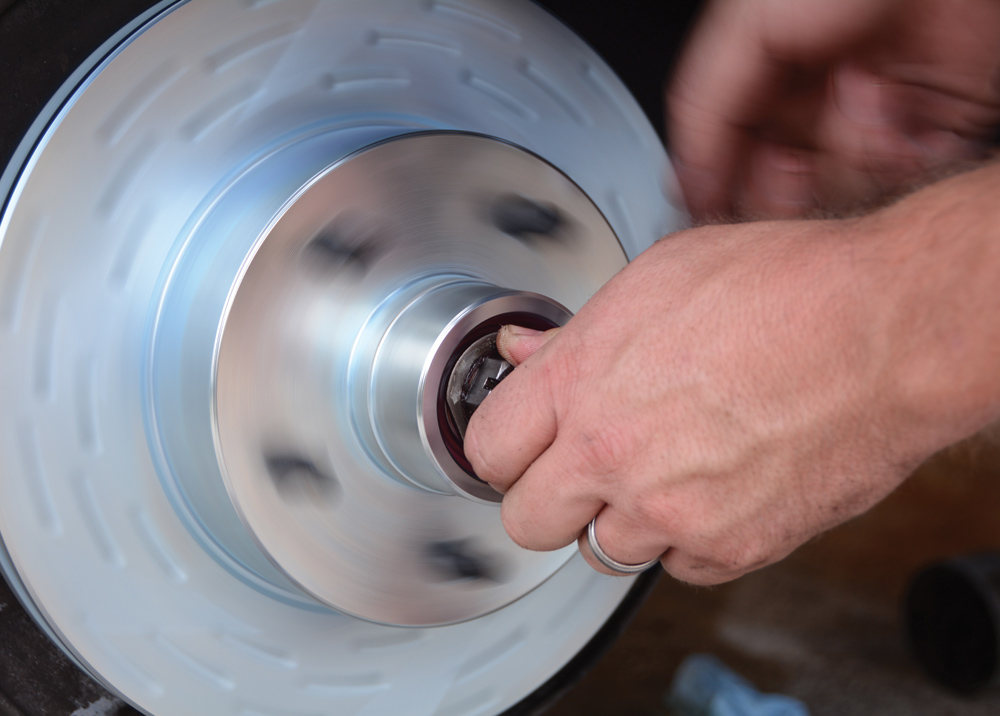
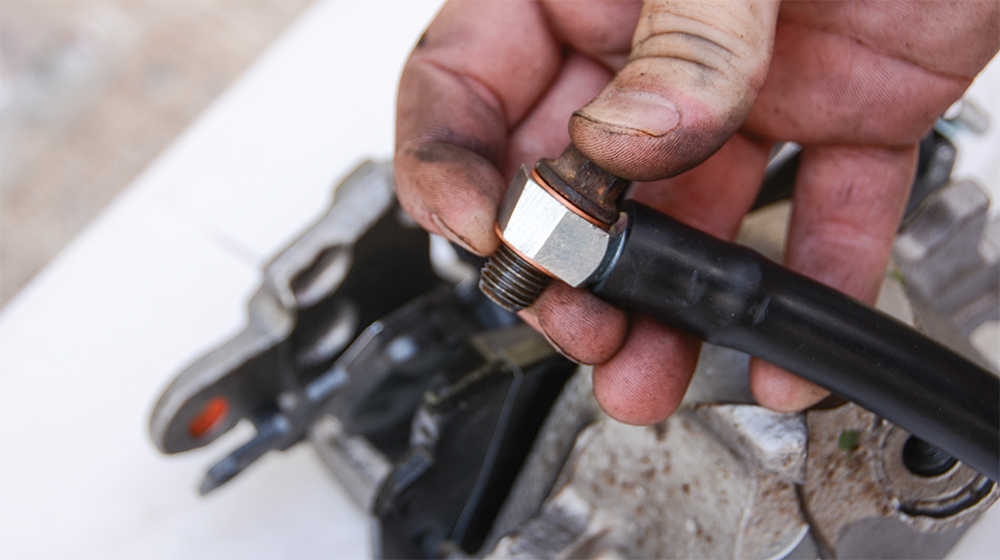
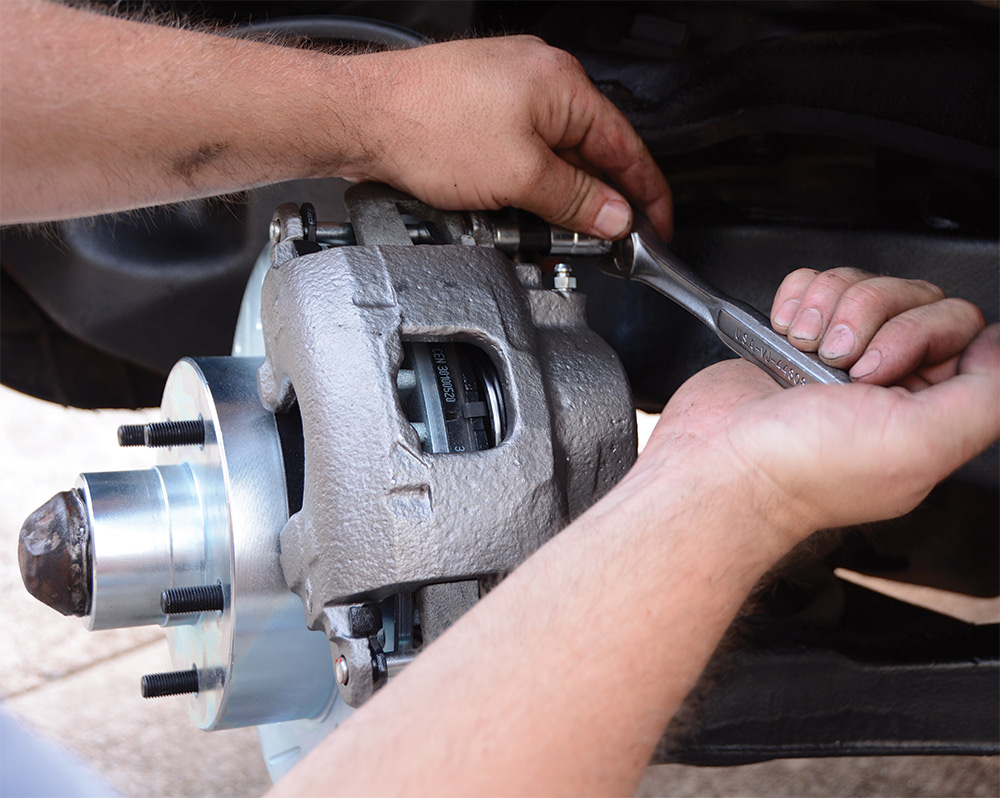
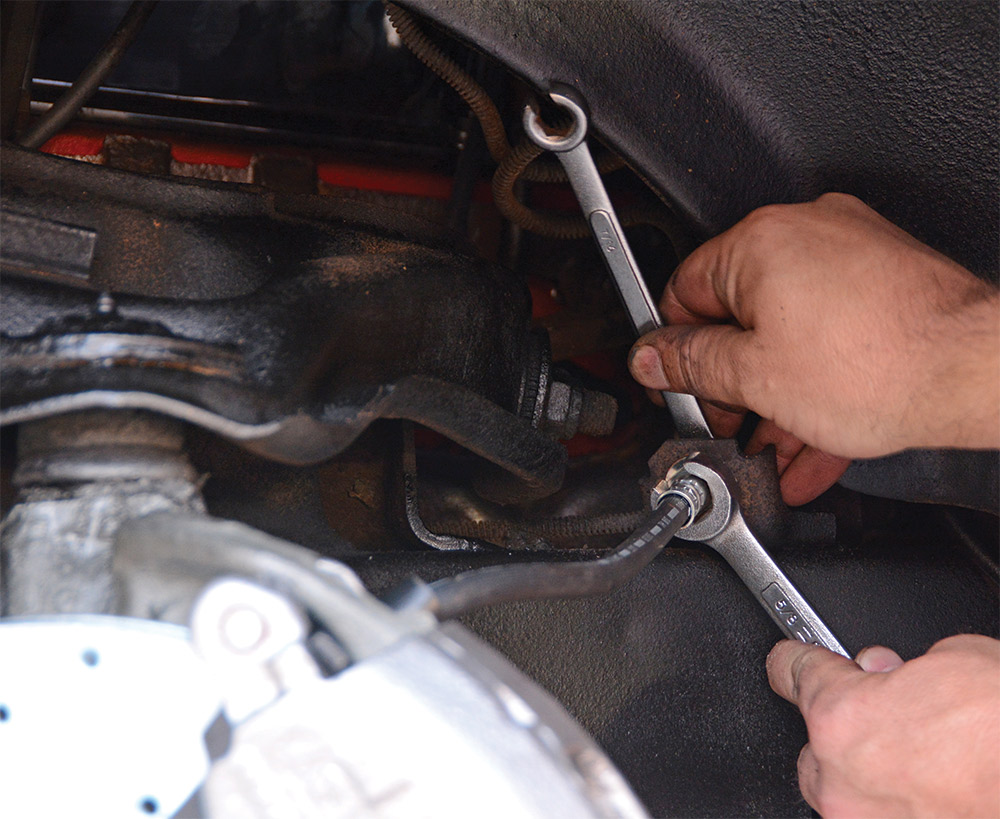
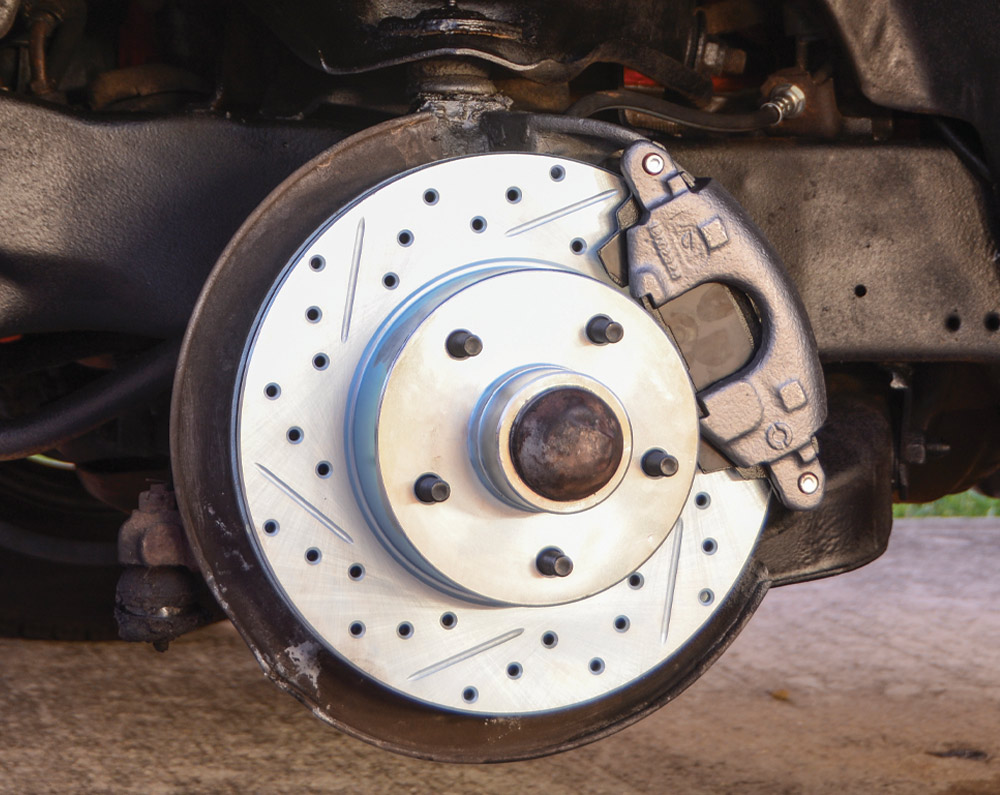
We hopped onto SummitRacing.com to start shopping around for the least-expensive parts. Our wish list included brake rotors, calipers, pads, flex hoses, and wheel bearings. Summit offers many options for original replacement, as well as upgraded components. When it comes to bang for the buck we couldn’t resist splurging for Summit’s drilled-and-slotted rotors instead of originals. Summit Racing also makes its own brake pads, so we added those to the cart, in addition to the AC Delco replacement brake calipers. Dorman flex hoses and Timken wheel bearings finished our order, until we remembered to grab a can of Summit’s rubberized undercoat so we could give the Nova’s undercarriage a rattle can restoration while it was apart. Our order total came to $298, barely sneaking under the $300 mark.

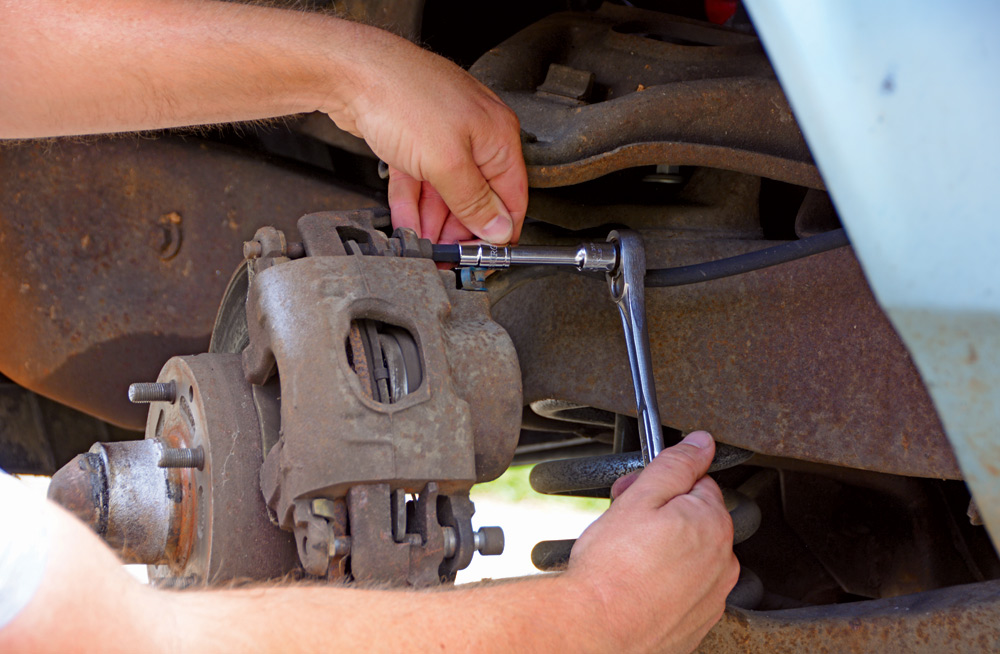
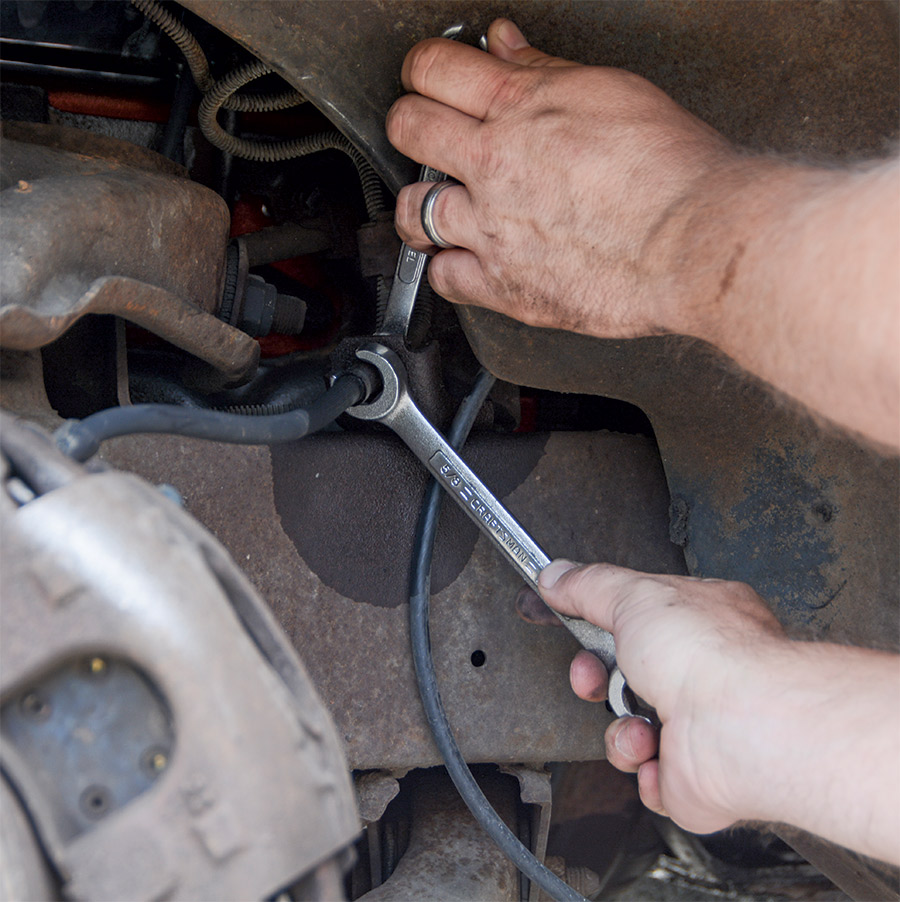
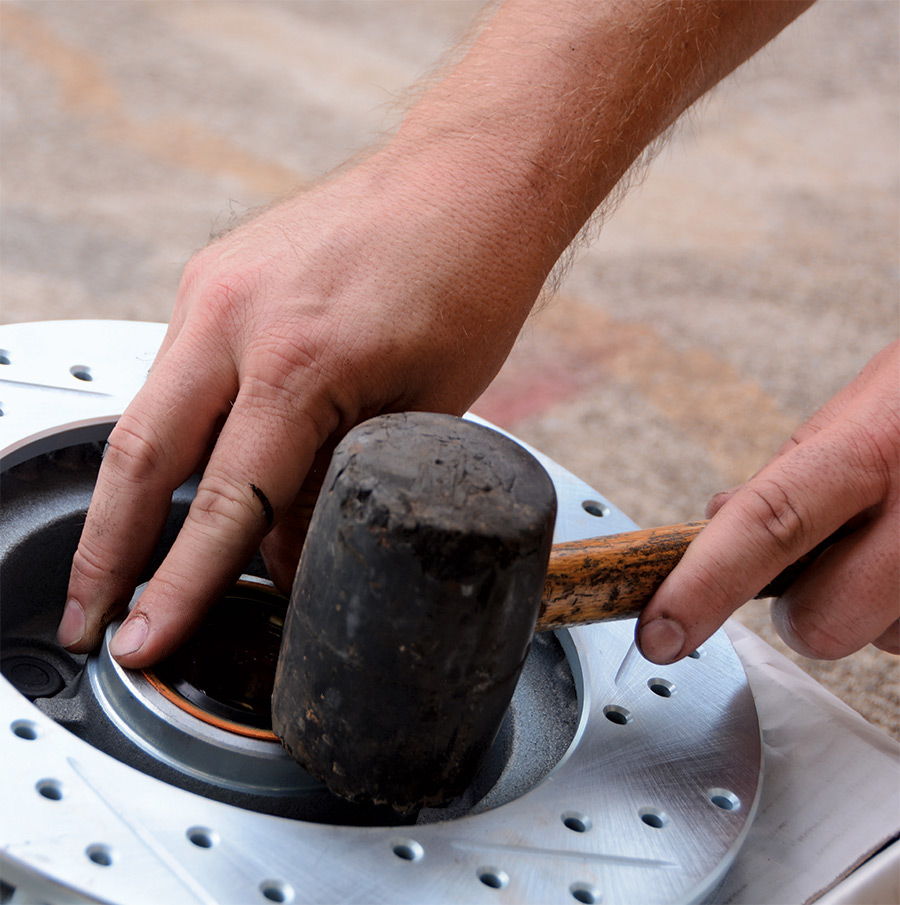
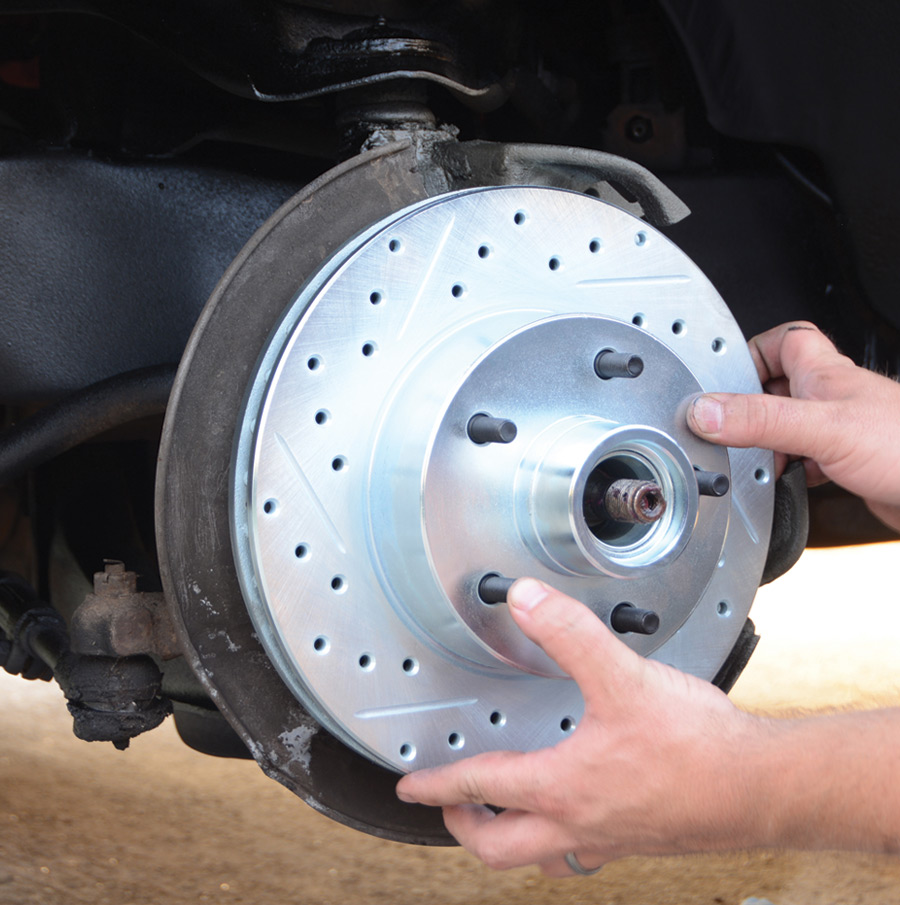
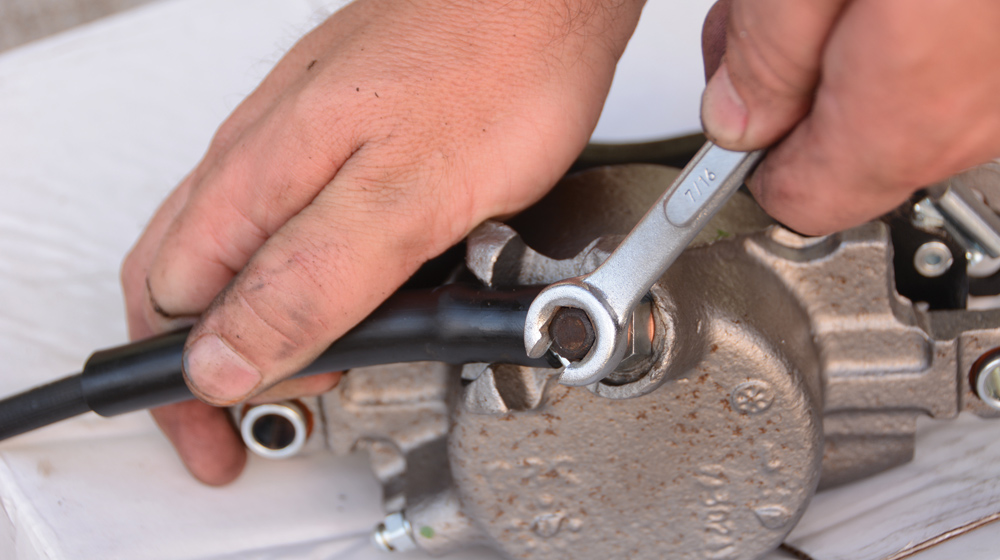
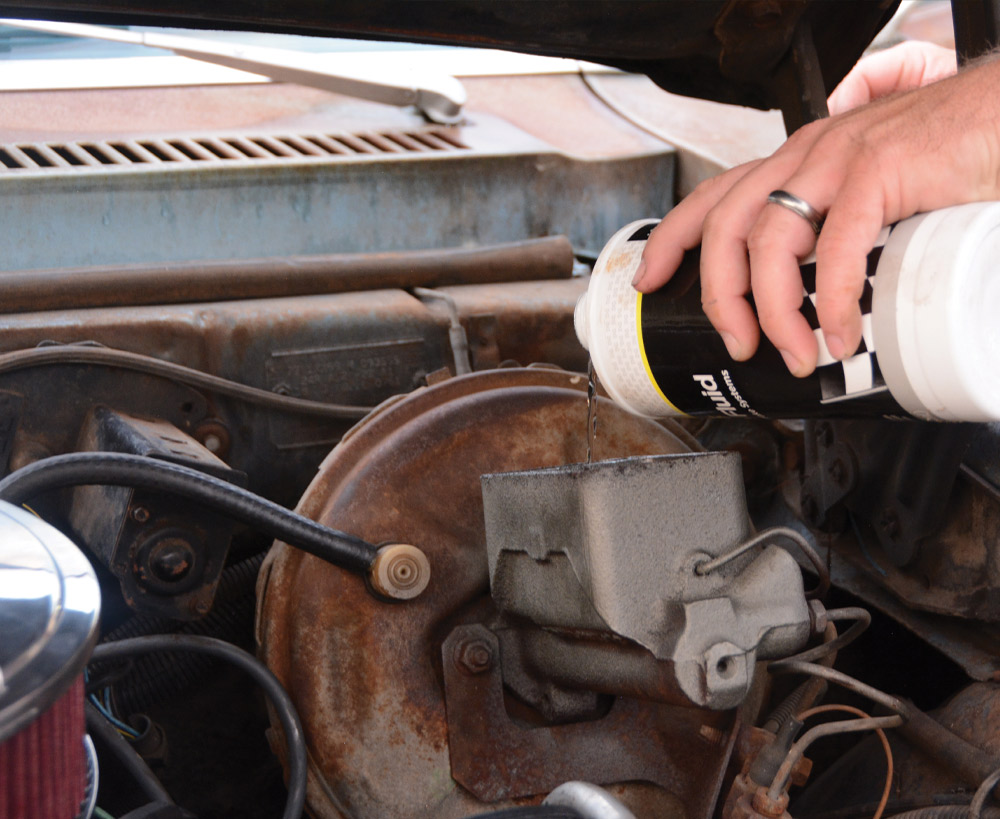
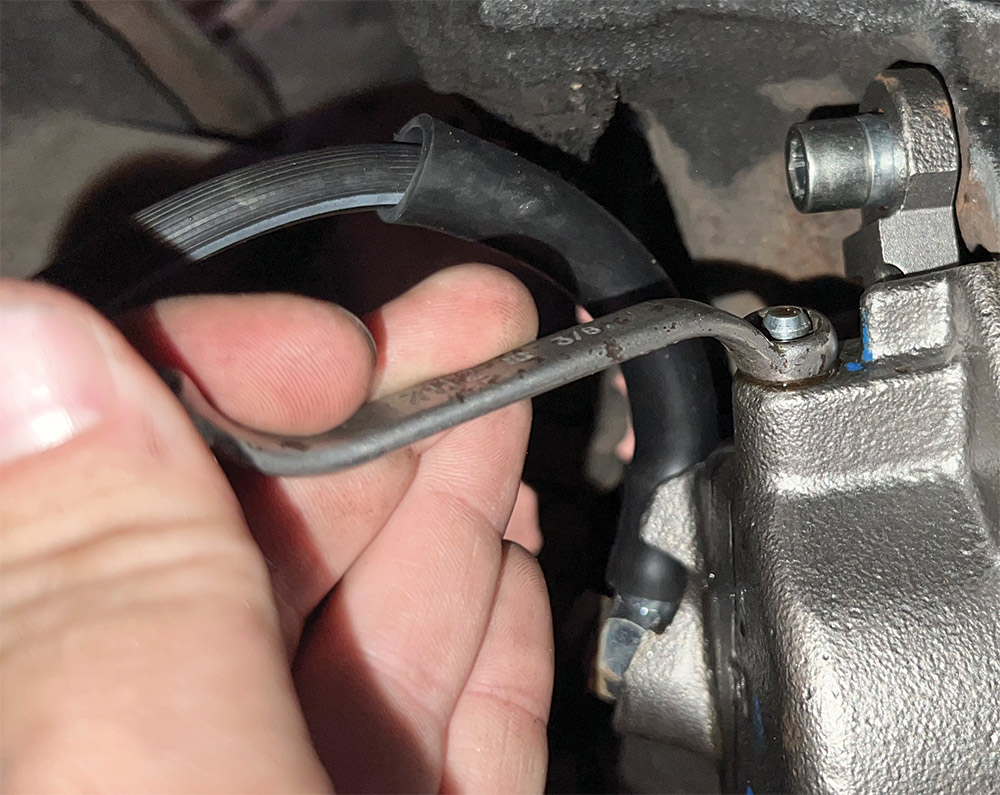
All together, we spent about three hours installing the brake upgrade in our driveway. No special tools are necessary, but it is handy to have a ⅜-inch Allen head attachment for your ratchet, as well as ⅜- and ⅝-inch line wrenches. After installing the new components, we refilled the brake master cylinder with fluid and bled the brake to eliminate any air pockets. Finally, we made our first testdrive and bedded the brakes by accelerating and slowing down, incrementally going faster and stopping quicker to build heat and establish the proper surface on the rotor and pads. After returning home, we double-checked for fluid leaks and considered this job complete.

We’ll continue to pick away at this budget-friendly project car and enjoy some added confidence that our braking system is up to par.

Old Brakes
1. Our starting point for this project is a ’77 Nova. The car is a little rough around the edges, but it hits the road nicely and serves as dependable daily transportation. After noticing a squeal under braking we decided to completely rebuild the front brakes to freshen up this ratty Nova.
Disconnecting the caliper
2. The first step is removing the brake caliper. Like many GM disc brake calipers, it is held in place with Allen-head bolts. This requires a ⅜-inch Allen wrench. We loosen the two bolts and then slide them out.
Closeup of brake job
3. Anytime you’re doing a brake rebuild, it’s a good idea to replace the flex hoses because they are susceptible to shrinking on the inside and restricting the flow of brake fluid. The hoses are readily available and very inexpensive.
Caliper being removed
4. Now the caliper can be removed. We didn’t bother with removing the brake hose from the caliper, as we’ll be replacing both items, but we will eventually need to reuse the banjo bolt for the brake hose fitting. At this point, the caliper, pads, and hose can go into the scrap pile.
Taking off the grease cap
5. With the caliper out of the way, we can pop the grease cap off the brake rotor, remove the cotter pin, and loosen the castle nut. Then, the rotor easily slides off the of the spindle and goes into the scrap pile, along with the wheel bearings. Hang onto the keyed washer and castle nut.
Brush the wheelwell
6. While we have it torn down we wanted to freshen up the appearance inside the wheelwell. We used a wire brush to clean the framerails, inner fenders, and suspension components.
Painting the wheelwell
7. Summit Racing makes rubberized undercoating that sprays on easily with very little prepwork required. The undercoating sprays on pretty heavy, so we keep our distance and it gets a nice textured finish.
New Brakes
8. The crucial items in our front brake upgrade include new drilled-and-slotted rotors from Summit Racing (PN SUM-BR-62002LC left and SUM-BR-62002RC right). These iron rotors feature Summit’s Extreme Performance coating, which will provide long-lasting performance. The calipers are AC Delco units, also sourced from Summit Racing.
New Brakes closeup
9. The Summit Racing brake rotors have the bearing races pre-installed, so that saves a little time, compared to replacing the wheel bearings and braces in our original rotors.
Greasing up the parts
10. Summit Racing offers these Timken wheel bearings (PN TMK-SET6 inner and TMK-SET2 outer). We used the tried-and-true palm method for packing the bearings with grease.
Hammering the brakes
11. After packing the new inner wheel bearing and placing it on the back side of the rotor, we installed the new Timken seal (PN TMK-8871). A rubber hammer makes easy work of seating the seal into the flange.
Placing new brakes on
12. The rotors measure 11.10 inches, just the like the factory units, but they are drilled and slotted for extra cooling. The rotors are directional and the angled slots should be aimed toward the rear of the vehicle.
Hand screwing the new brakes on
13. We followed the same grease packing process on the outer wheel bearing and then slid it into place. We retained the original keyed washer and castle nut, which holds it all in place.
Screwing in the bralkes
14. There is no particular torque specification on the castle nut. Spin the rotor to make sure there is no binding, then tighten the nut incrementally to seat the bearings and get the grease spread around. Finally, back the nut off slightly until the holes line up to install a new cotter pin.
Placing the brake pads
15. Moving onto the calipers, these AC Delco units (PN ADO-18FR690 left and ADO-18FR689 right) are just like the originals. After popping the pad retainer onto the Summit Racing pads (PN SUM-BP-00520C) we can load the pads into the caliper.
Putting int he old bolt
16. The new brake hoses are Dorman reproductions (PN DHB-H73305) and come with new brass washers, which are placed on either side of the hose end. The banjo bolt from the original caliper is reused, but replacements are readily available and affordable.
Screwing in the bolt
17. A 7/16-inch wrench fits the original banjo bolt. We tightened the banjo bolt before installing the caliper because it’s easier to access with it off the car.
Placing on the new caliper
18. The new loaded caliper easily slides into place. The calipers come with new bolts and bushings, so installation is simple and quick.
Tightening things up
19. The caliper bolts require the use of a ⅜-inch Allen wrench, and our ⅜-inch ratchet attachment makes quick work of it.
Final touch ups
20. There are a couple of options for brake hose installation: (one) thread the hard line fitting into the hose and index it into the tab on the framerail, or (two) index the hose into the tab first and then thread the fitting into place. There isn’t a wrong way to do it, as long as the fitting is tight and the retaining clip is installed.
Adding brake fluid
21. After finishing the driver side, we repeated those steps on the passenger side. With both sides complete, it’s time to replenish the brake fluid that we lost with some fresh DOT3 fluid.
Closeup
22. We pumped the brakes and started feeling a nice pedal quickly, but we still needed to bleed the system. A ⅜-inch wrench fits the bleeder screw, so we grabbed a helper to pump the brakes, while we cracked the bleeders until clear fluid flowed out with no air. Then, we top off the brake fluid.
New Brakes Completed
23. After about three hours of work and a total spend of $298 we made a huge difference in the appearance and performance of our ’77 Nova project car with a great selection of products from Summit Racing.
Putting the tire back on
24. Finally, we can put the Nova back down on its feet and enjoy the view. The final step is to bed the brakes on our first testdrive by incrementally going faster and slowing down quicker to build heat and establish a nice surface on the rotors and pads.
Summit Racing
(800) 230-3030
summitracing.com