ACP department heading TECH
InTheGarageMedia.com
1969 Camaro rear bumper corner tack-welded and metal-finished for seamless body line integration
Finer Fit
Tucking the Bumpers on a 1969 Camaro
BY Tony ThackerImages BY THE AUTHOR
B

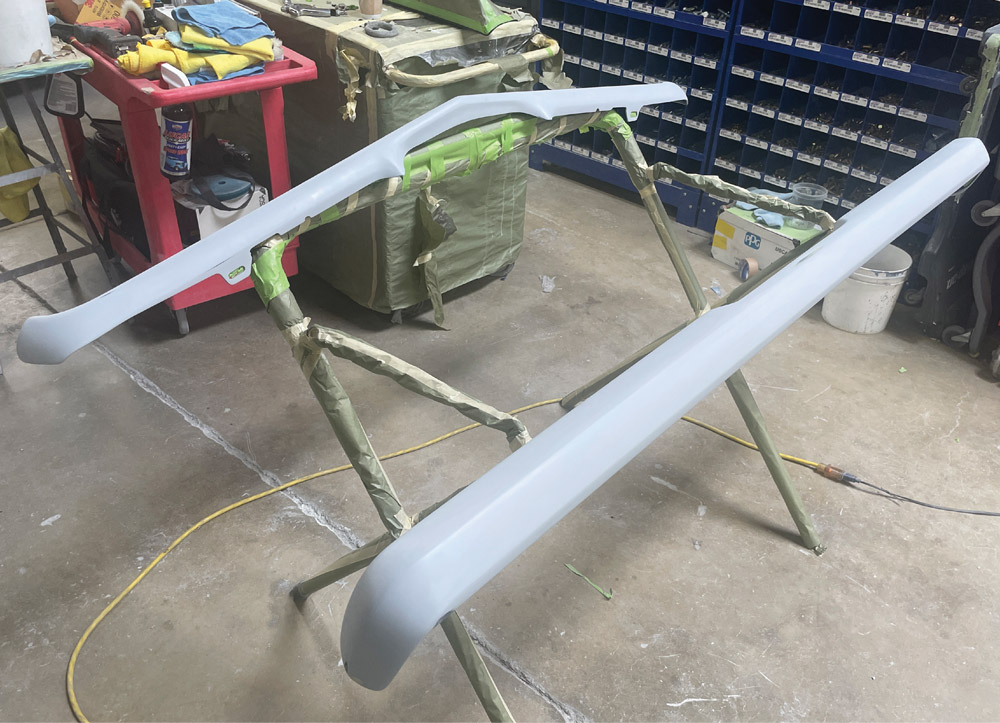
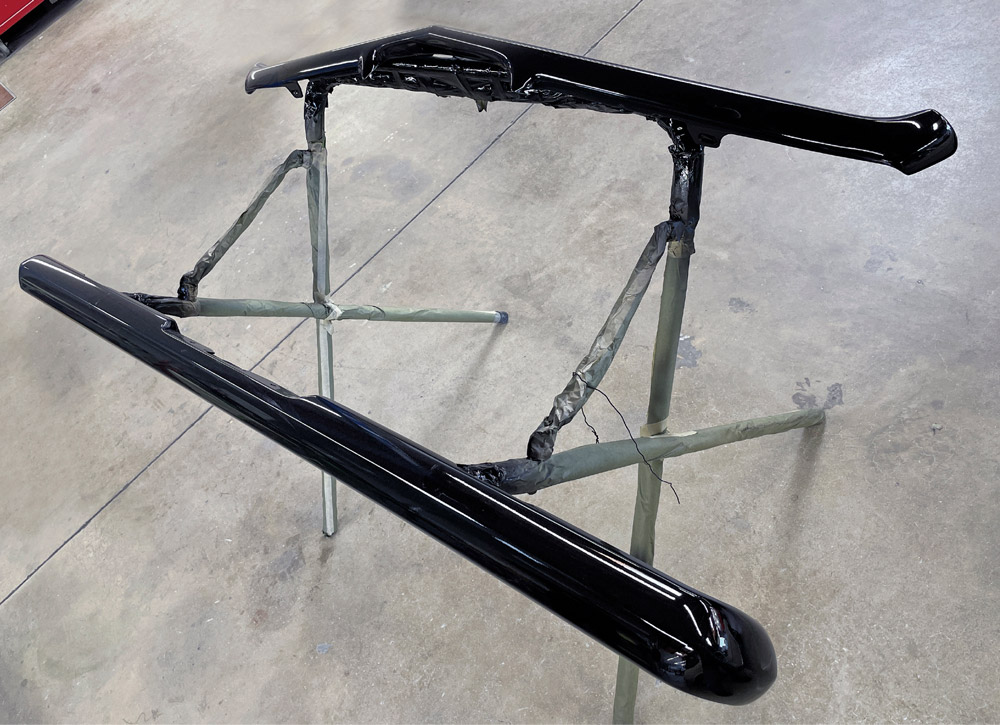
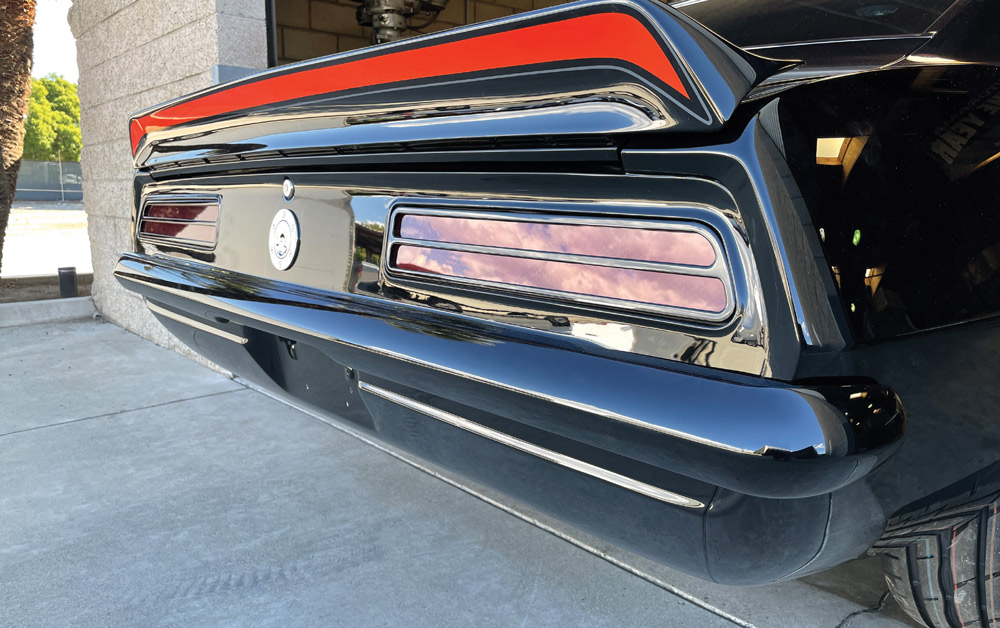
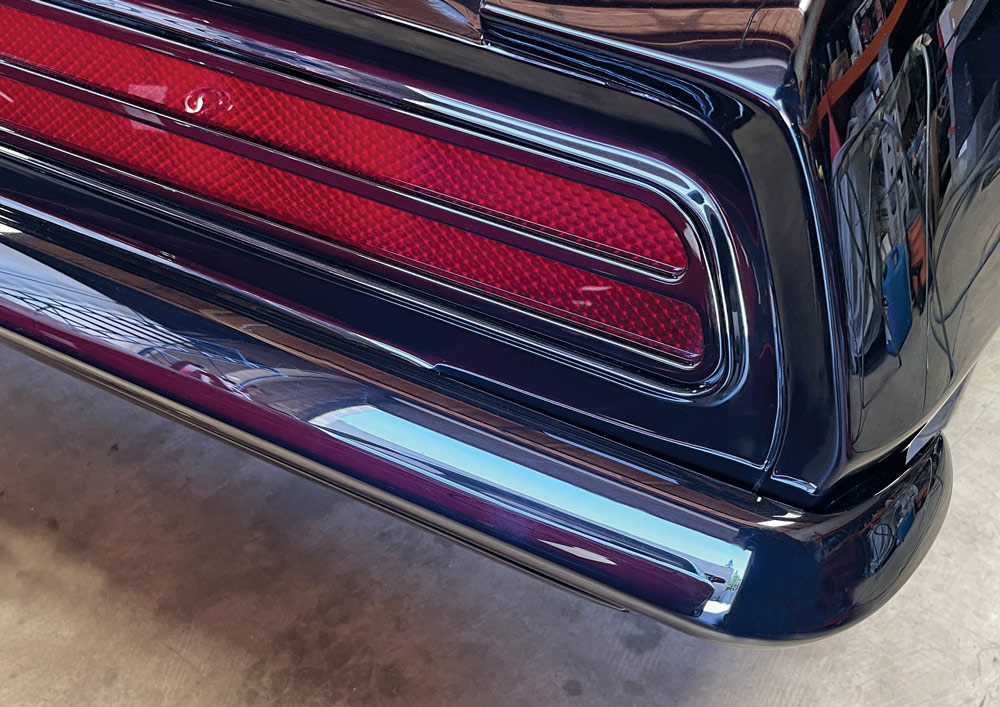
umpers are not something typically high on the build priority list, but if you’re building any kind of custom or street machine, or even a hot rod, you really need the bumpers tucked to fit perfectly and certainly tighter than factory.

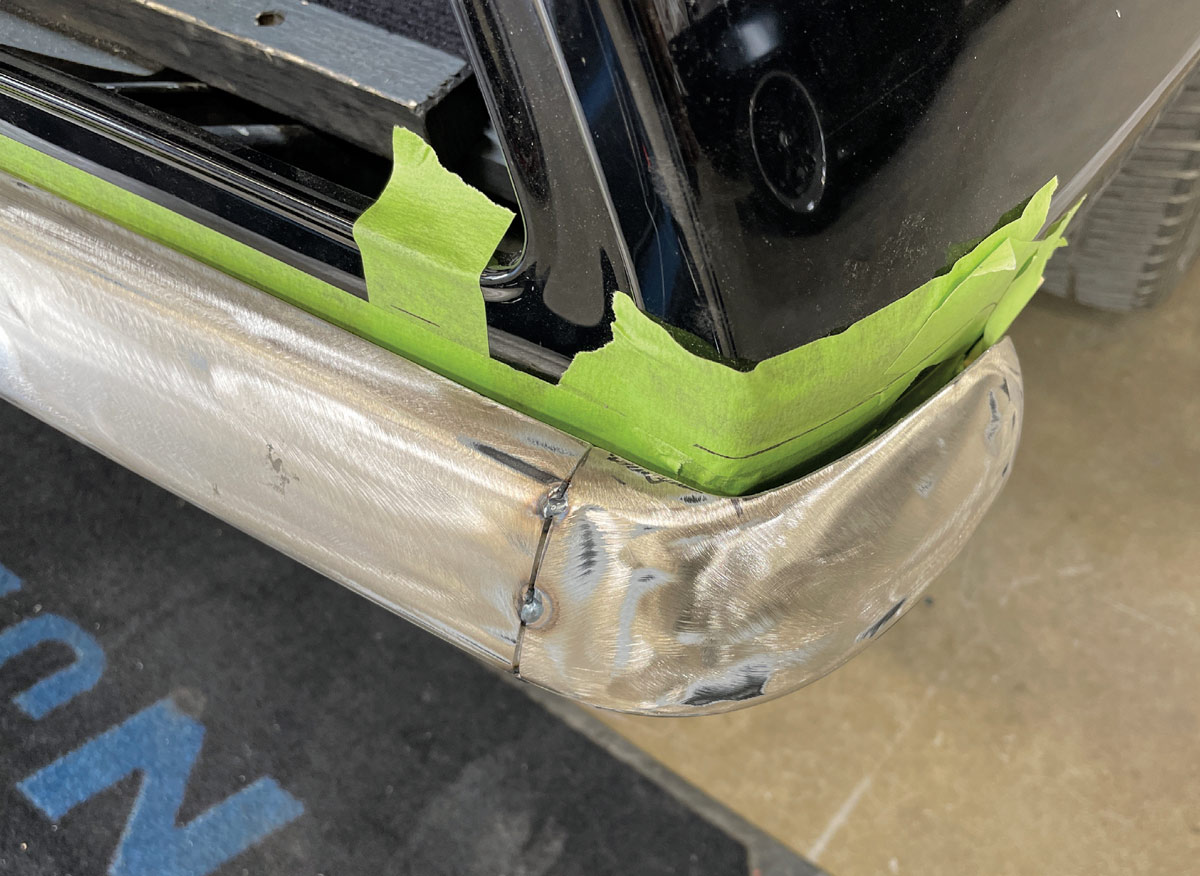
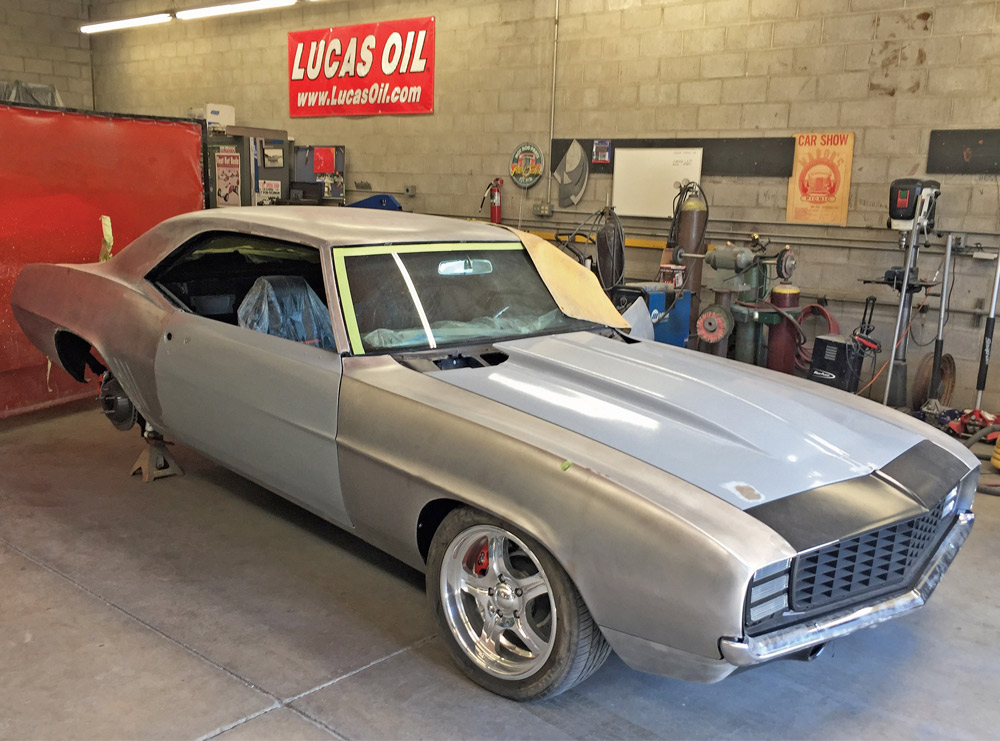
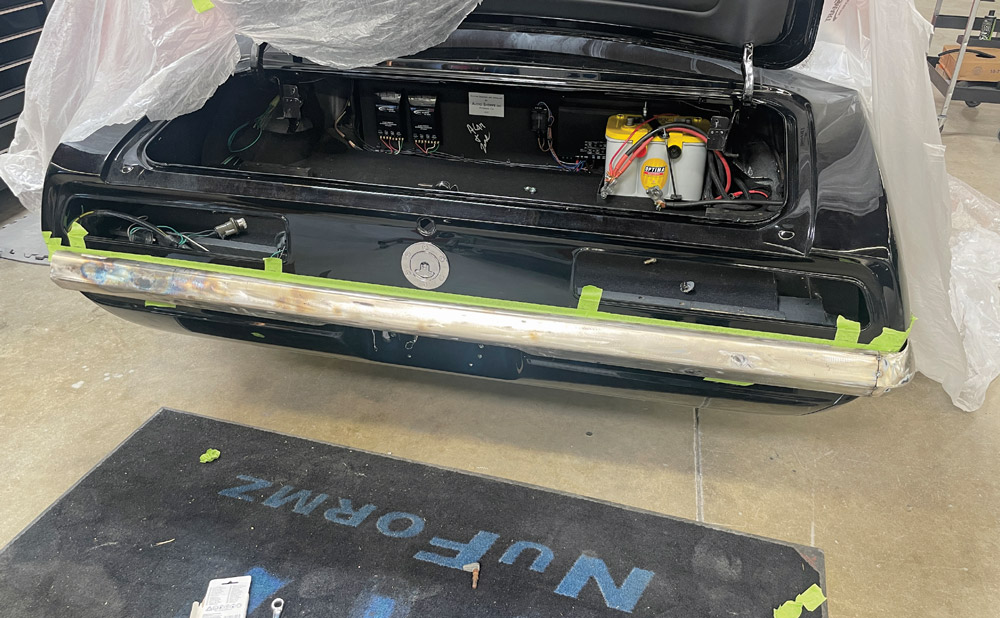
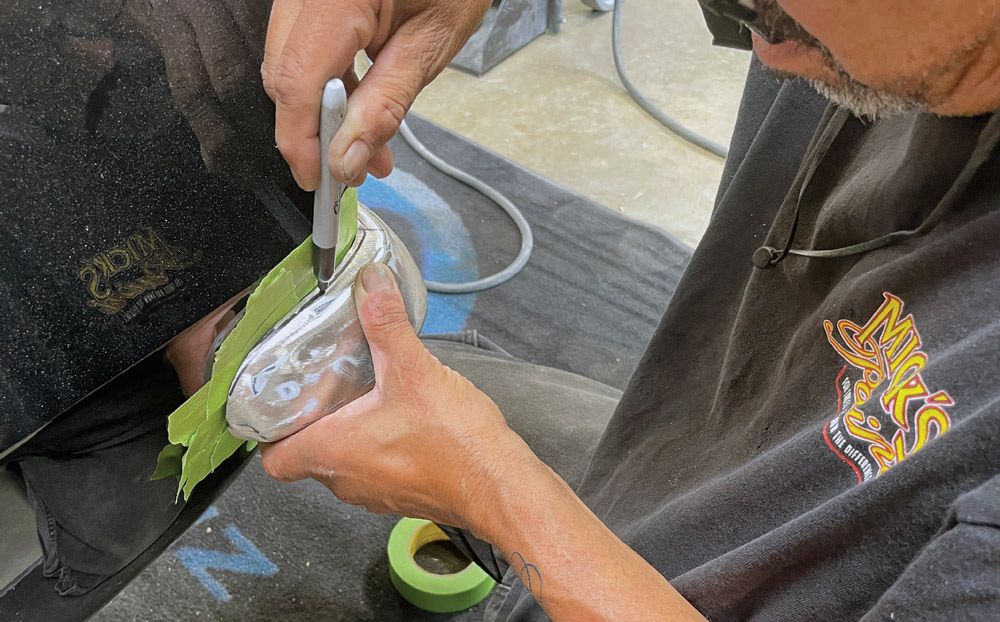
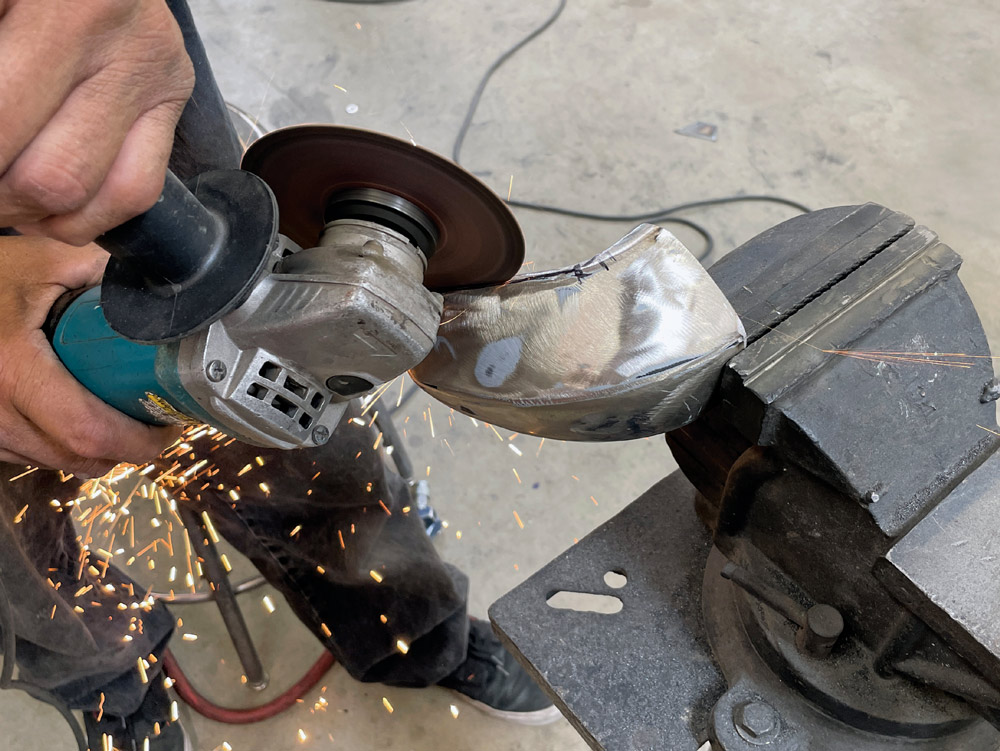
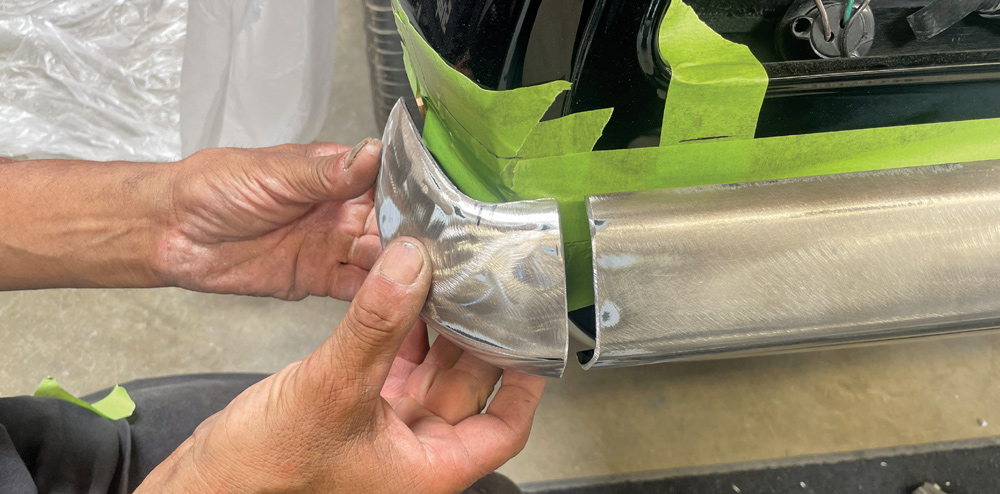
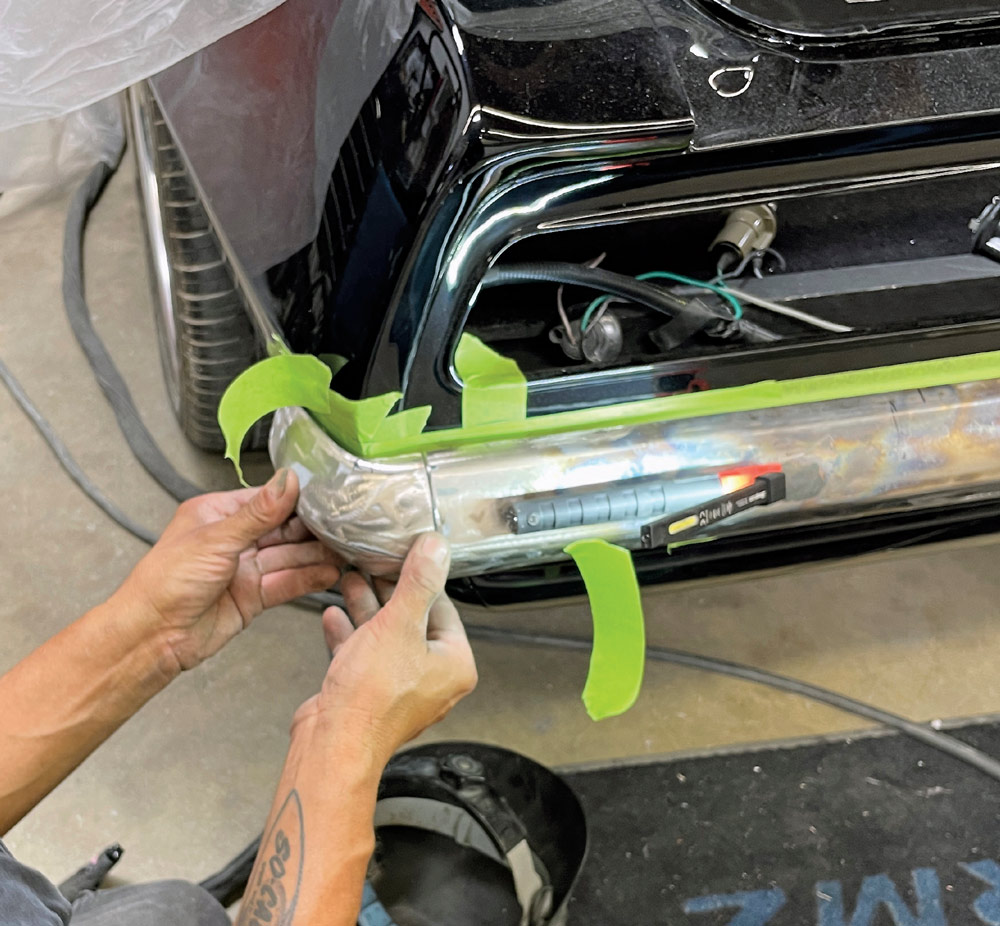
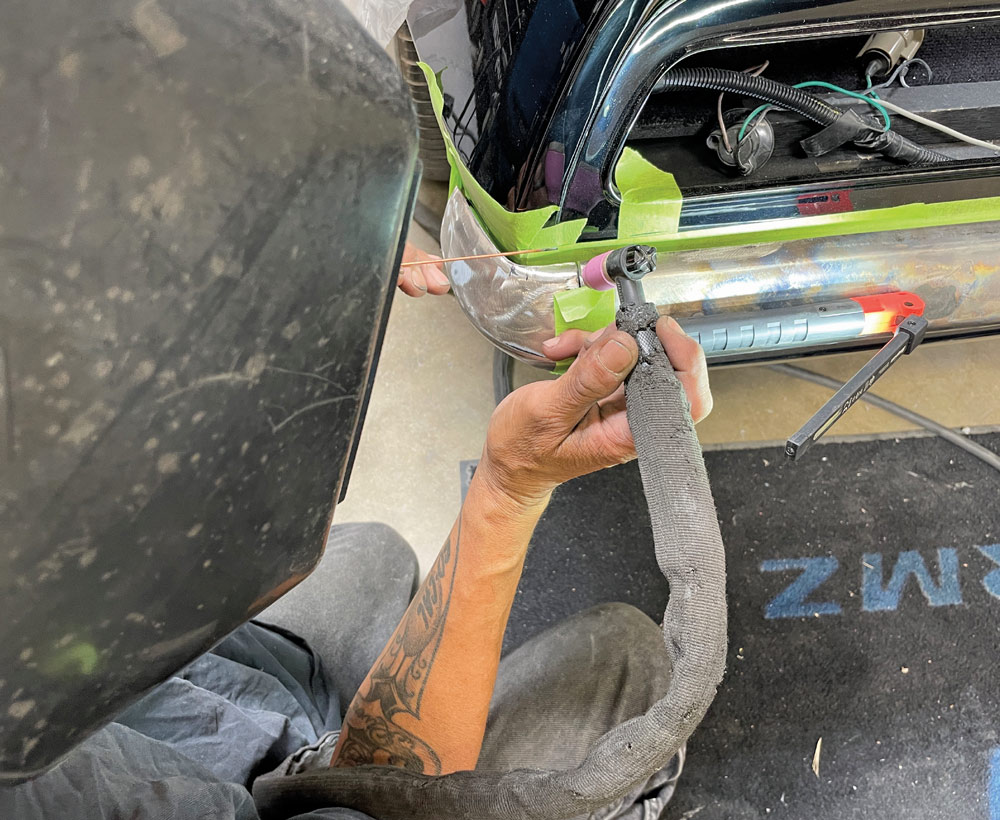
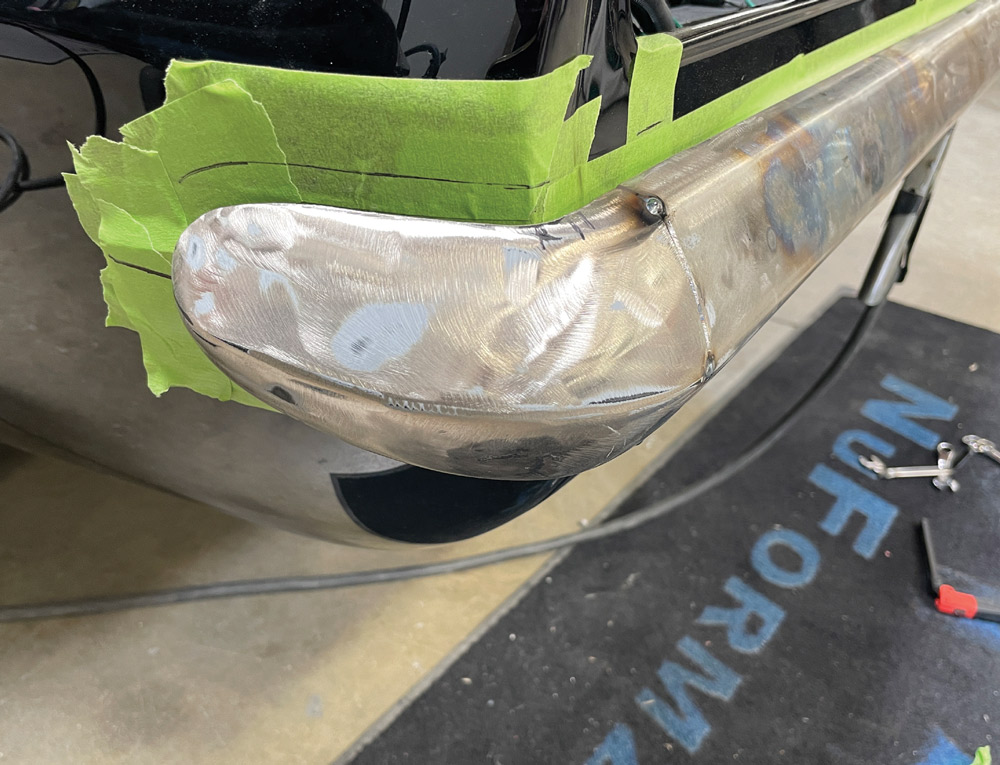
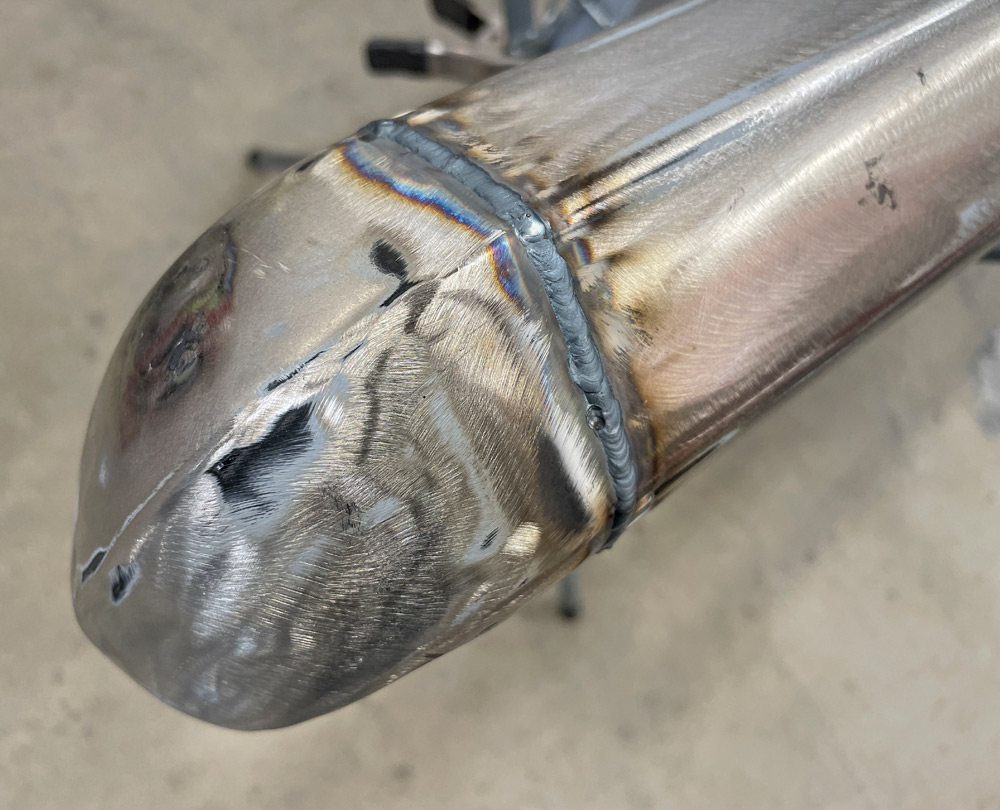
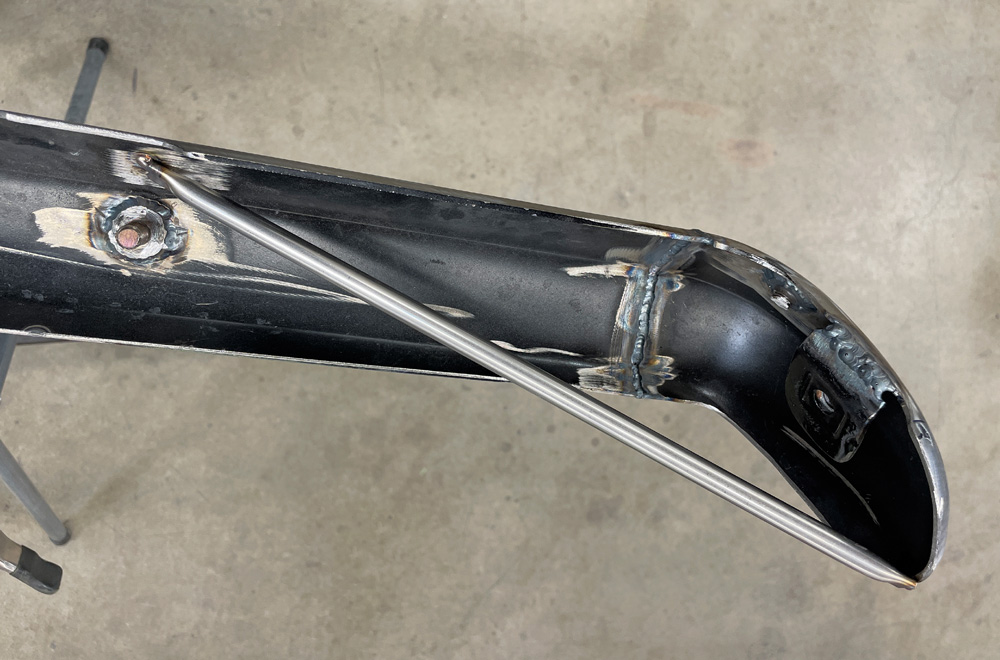
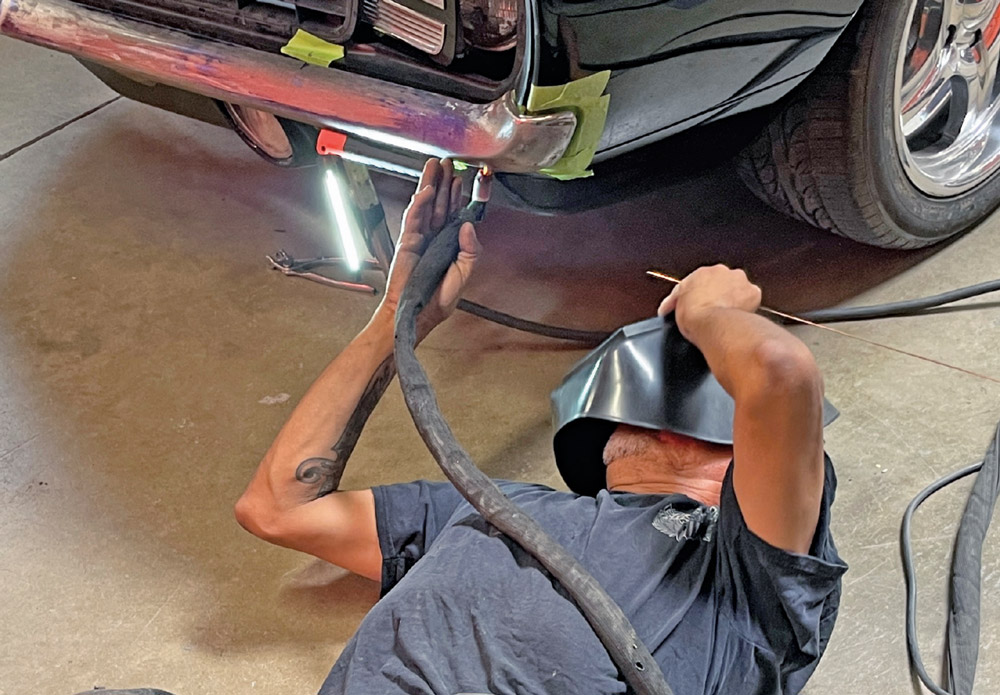
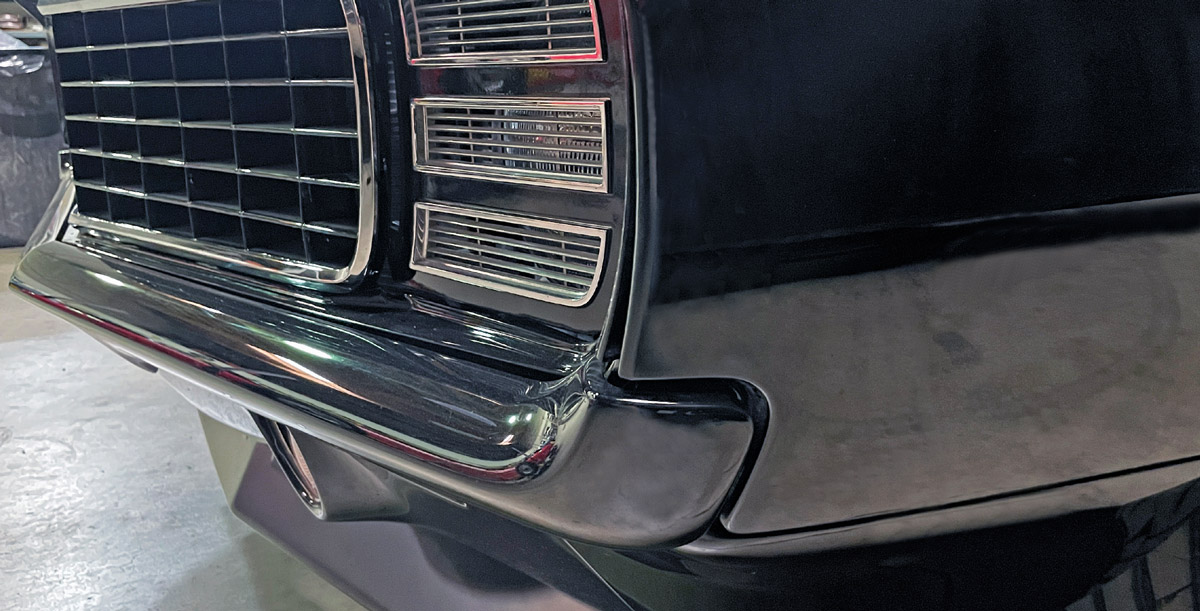
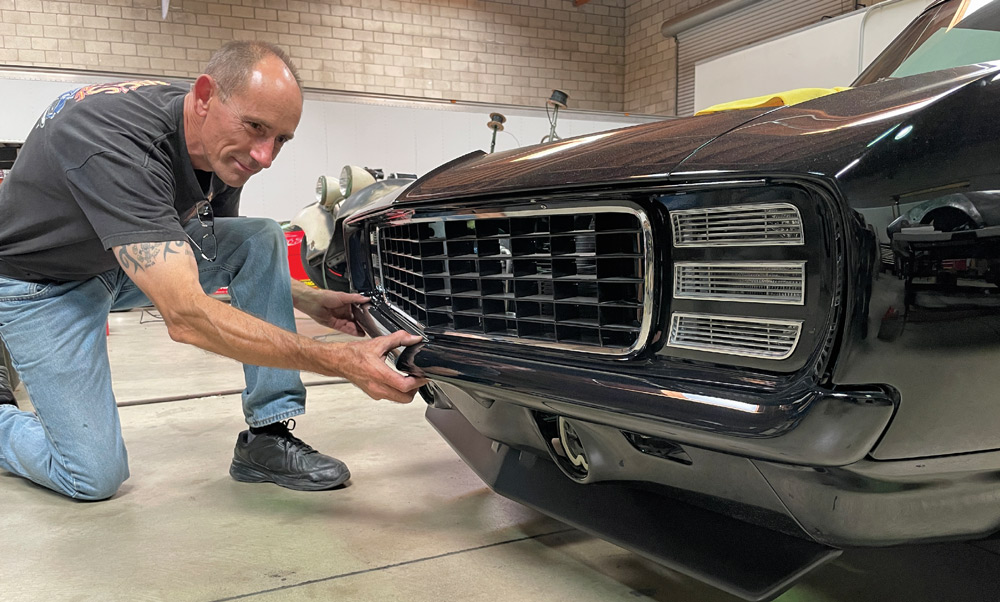
Recently, while touring Mick’s Paint in Pomona, California, we came across Jeff Pont’s 1969 Camaro that was undergoing a complete makeover from front to rear bumper. Now, Pont’s a detail guy so he likes things to fit, and fit better ’n’ factory, and the stock bumpers were just not cutting it. Stepping up to the task was Pauly Rivera, Mick’s crafty fabricator, to make the factory bumpers fit, well, like they should have from the factory with no visible fasteners. In this case, the bumpers were eventually to be painted body color and not chrome plated. Were they to have been chromed, then a whole lot more finish work would have been necessary.

Nevertheless, this is a relatively easy modification but something that takes time and patience to get right.
1969 Camaro in bare metal with mocked-up body panels and custom wheels awaiting fitment
1. Jeff Pont’s 1969 Camaro is shown here prior to painting and out of sequence when fabricator Pauly Rivera had installed the front bumper to check fit. It fit like it came from the factory, which was not good enough for Pont or Mick’s Paint.
1969 Camaro trunk open during bumper tuck prep with Optima YellowTop battery mounted inside
2. The bumpers were actually tucked before the car was stripped for repaint. E ven though it’s going to get repainted, Rivera protected the surrounding area with masking tape.
1969 Camaro rear bumper test-fitted in raw metal finish, taped for mock-up alignment
3. You can see here that the rear bumper has had its stock mounting boltholes filled and is being test-fitted. Note that the righthand corner has already been tacked into position and Rivera is working on the left corner.
1969 Camaro bumper corner marked for cutting to improve custom fit against rear quarter
4. Rivera used a permanent marker to mark the lefthand bumper end so that it could be recontoured to follow the line of the body.
1969 Camaro bumper corner trimmed with angle grinder for precision contouring
5. After marking, the bumper end was put in a vise, then Rivera used an angle grinder to remove the excess material.
1969 Camaro rear bumper corner held in place to verify gap and profile consistency
6. Some back and forth trial and error was necessary to shape the bumper end to precisely follow the contour of the rear fender.
1969 Camaro bumper test-fitted and clamped while alignment to rear body is finalized
7. The rear bumper was more of a problem than the front, as from the factory it ran downhill to the right. Note the battery disconnect before any welding was carried out.
1969 Camaro bumper corner precisely positioned before tack welding to the main bumper
8. You can see by the tacks that Rivera had trial-fitted the end but didn’t like it the first time, so he gave it another go. The device attached to the bumper is a light so that he could see exactly what was going on.
1969 Camaro bumper corner TIG welded to main bar for a clean, tucked rear appearance
9. Finally, in a position where he liked it, Rivera tack-welded the end onto the bumper using a Tungsten Inert Gas (TIG) welder that creates a precise, high-quality weld.
1969 Camaro rear bumper tack-welded and contoured to body lines with guide tape for shaping
10. With the bumper tacked into position, Rivera stood back and gave a good look to make sure that everything was aligned. It’s important the ear does not point up or down.
1969 Camaro rear bumper mocked up on fab table for final shaping and alignment
11. To keep the bumper from warping before finish welding, Rivera tacked-welded the assembly to a length of heavy-wall, box-section steel that was tacked to his steel bench.
1969 Camaro bumper corner TIG welded and heat-discolored, ready for post-weld finishing
12. You can see here that Rivera neatly TIG-welded the bumper end, but it still needed to be ground and finished.
1969 Camaro bumper clamped to support bar during internal bracket fabrication
13. The bumper end had yet to be TIG-welded on the back side, so this view of the fixture shows that Rivera was about to work on the bumper mounting hardware.
1969 Camaro bumper reinforced with custom-fitted internal bracing rod for added strength
14. To prevent the bumper end from warping, a temporary tubular brace was installed to hold it while welding on the mounting hardware that will be out of view.
1969 Camaro bumper corner shaped tight to the quarter panel with masking tape markers
15. Here, the bumper end has been finished-welded and ground smooth so that it follows the line that Rivera had previously marked on the tape as being optimum.
1969 Camaro front bumper mocked up and adjusted with grille and valance panel installed
16. A similar procedure was followed for the front bumper, which needed a lot of work in the center and at the ends due to the poor factory fit.
1969 Camaro bumper TIG welded on jig for seam refinement and structural integrity
17. For the bumper ends to closely follow the body, Rivera had to do quite a bit of cutting and reshaping.
1969 Camaro front bumper TIG welded into final position while mounted to car
18. Here you can clearly see that Rivera massed the front bumper ends to closely follow the contour of the front fenders.
1969 Camaro bumpers in primer surfacer, final-prepped for paint and installation
19. Once Rivera was happy with the shape, fitment, and the new invisible mounting system, the bumpers moved over to the paint shop where they were given a shot of PPG primer-sealer.
1969 Camaro bumpers fully painted gloss black and staged for final installation
20. The bumpers were painted to match Pont’s car using PPG Jet Black. Note: This is the out-of-the-gun finish, and the bumpers have not yet been flatted and polished.
1969 Camaro rear bumper installed flush to body with sleek tucked profile and custom paint
21. Now that’s how they should fit, but it’s doubtful that the factory was that concerned with such tight tolerances in 1969.
1969 Camaro bumper ends seamlessly follow tail panel curvature for a smooth, integrated finish
22. This close-up shows how Rivera fixed the rear bumper so as not to run downhill at the right, ensuring the end flows with the body and there are no visible fittings.
1969 Camaro front bumper blends tightly with grille and valance, accentuating Pro Touring styling
23. Here you can see the ends of the front bumper are tucked in and carefully shaped to match the body as they should have been from the factory.
1969 Camaro bumper fitment finalized by hand for precision alignment to the lower fascia
24. Shop manager Marco Piehl fit checks the painted front bumper before it is finally installed using Rivera’s hidden mounting hardware. It now looks way better than it did when it left the factory.
SOURCES