ACP department heading TECH
InTheGarageMedia.com
technician sanding door panel gaps in a restoration shop with an orbital sander
1. Panel gaps in the muscle car era are all over the map. Old Anvil Speed Shop shows you how to make them uniform.
Mind the Gap
How to Achieve Show Car Door Gaps on a Chevy Muscle Car
By Tommy Lee Byrd 
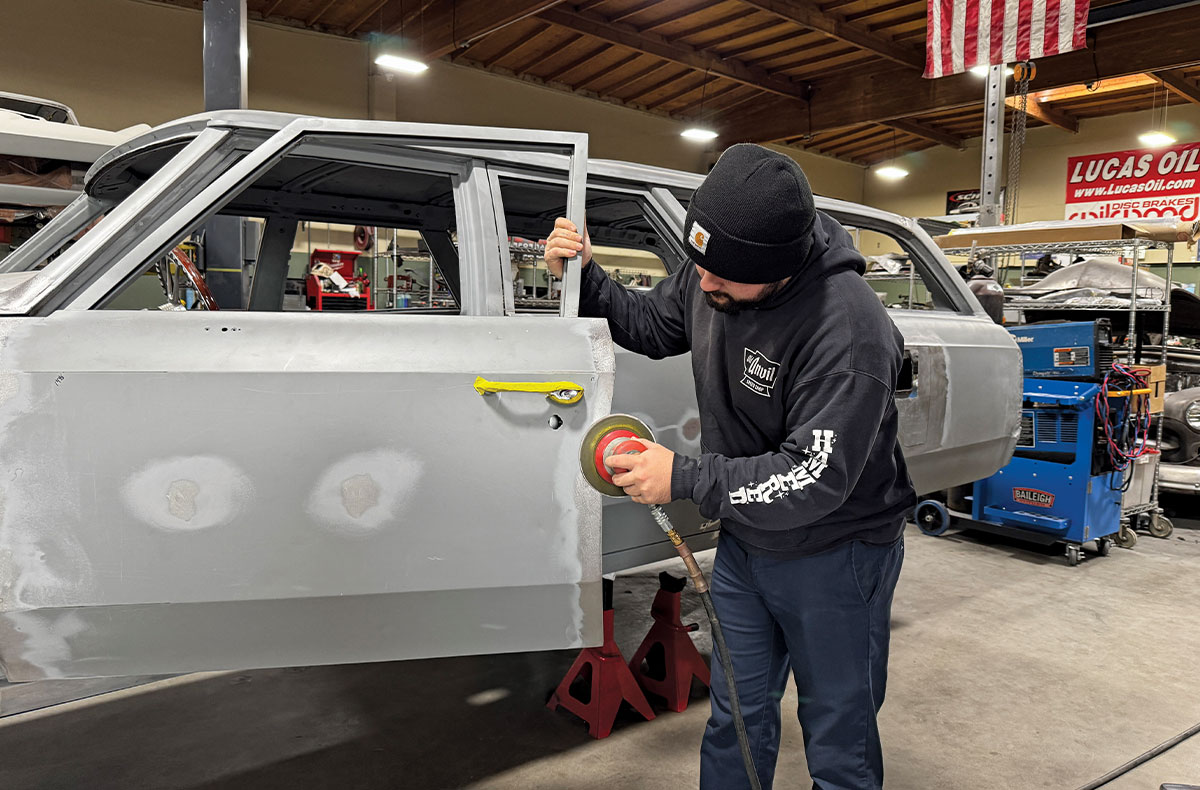
Images by Taylor Kempkes
O

ld cars have personality, which means each one is a little different. Tolerances weren’t as precise as today’s machines and if you’ve ever tried to achieve show-quality panel gaps on a muscle car, you know it’s a large task. Sometimes you can get lucky and make some adjustments that make the gaps uniform, but the reality is that most cars from the 1960s and 1970s had huge gaps. Wide gaps are acceptable on an original car, or a driver, but details truly matter on high-end cars, like Mike Selvaggio’s 1966 Chevelle station wagon that’s currently under construction at Old Anvil Speed Shop in Orange, California.

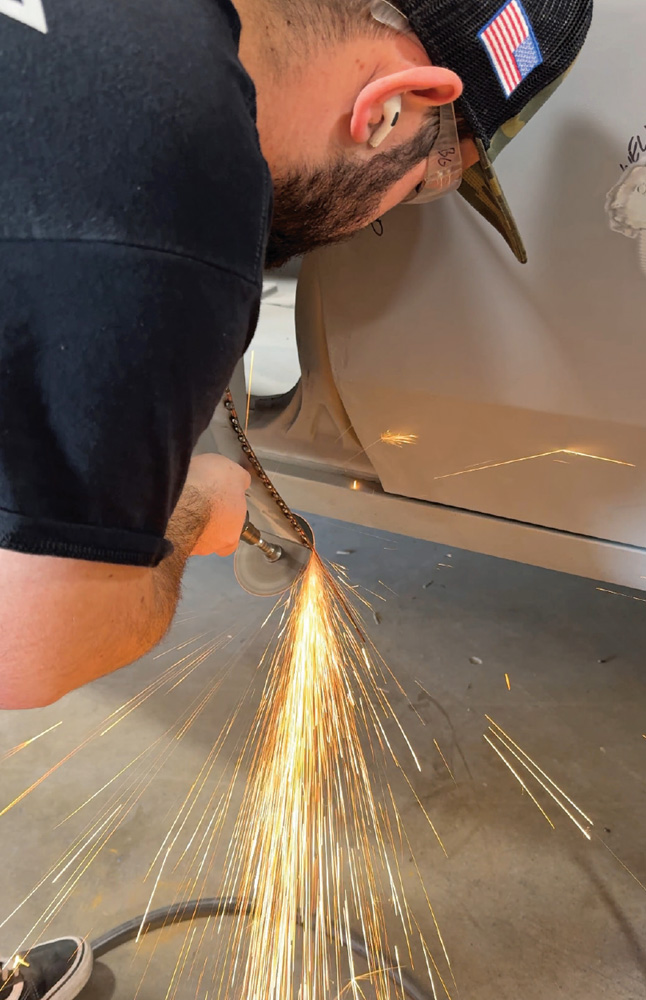
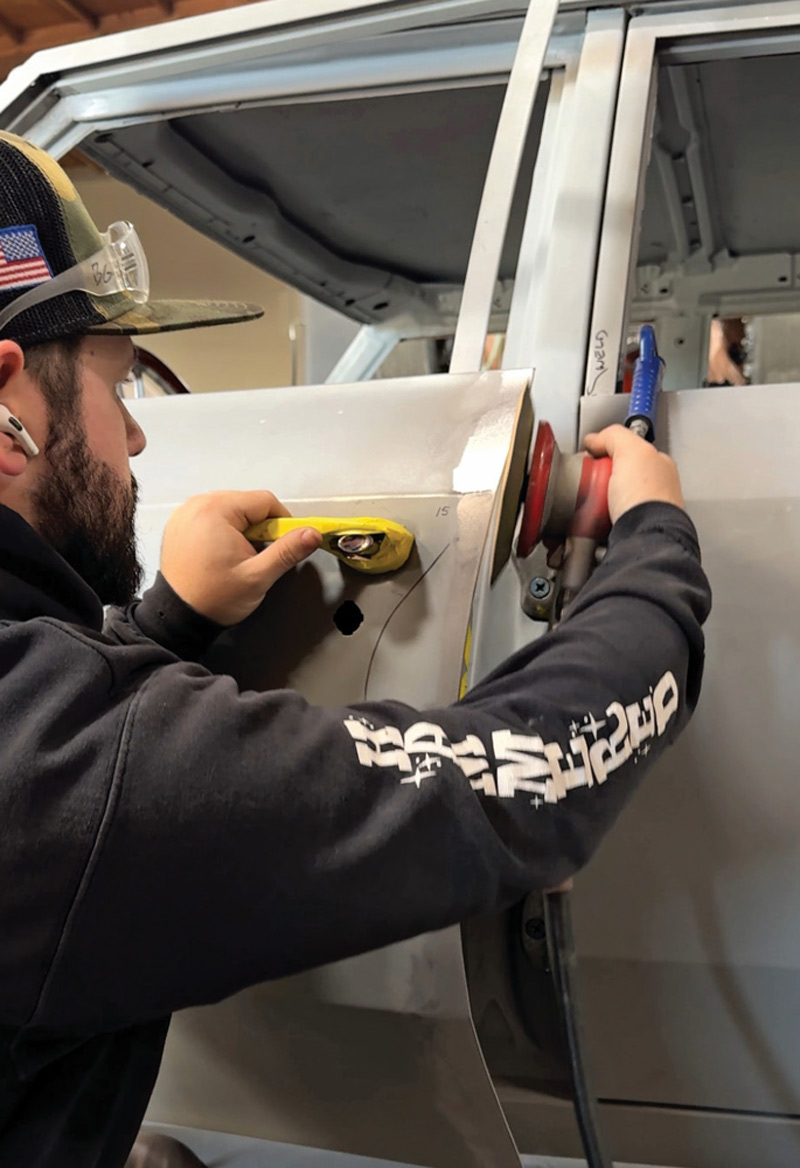
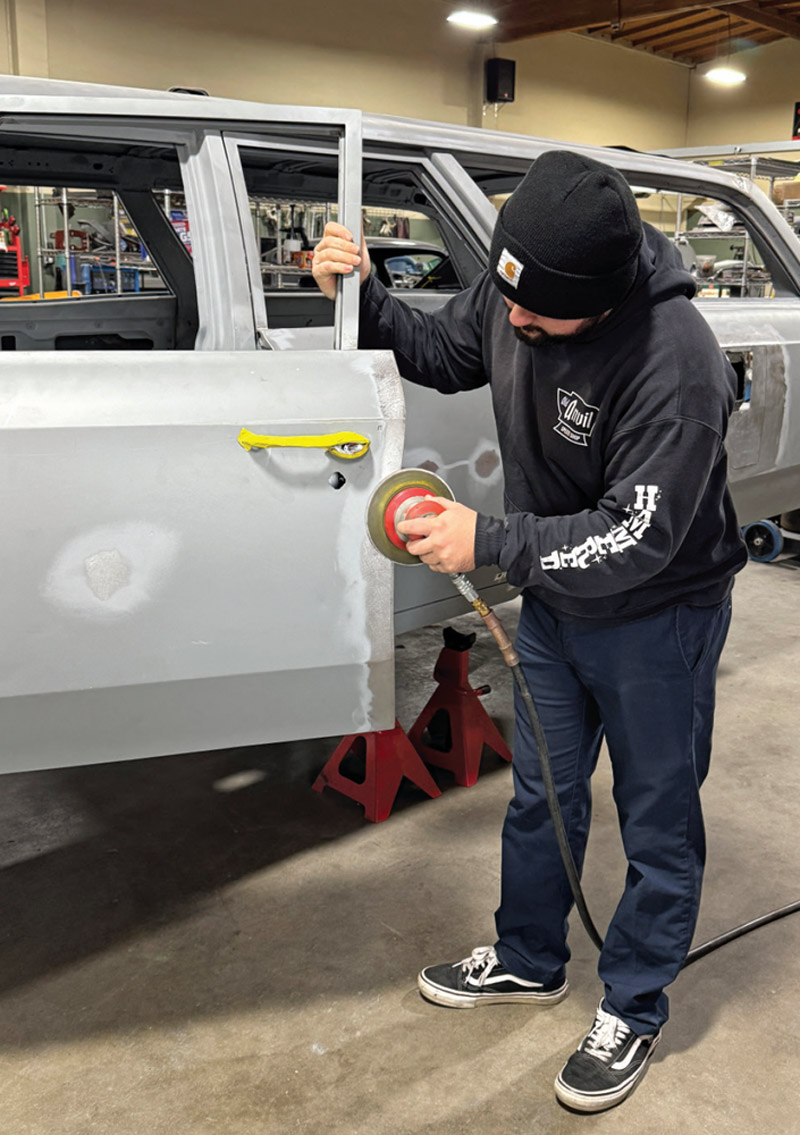
This car will have top-notch pieces inside and out, and a great way to accent the high-end workmanship is to dial in the panel gaps. This project is naturally more challenging because it’s a four-door, meaning there are more panels to perfect, but it’s all part of the metalworking process for Brandon Gerringer, a fabricator at Old Anvil Speed Shop.

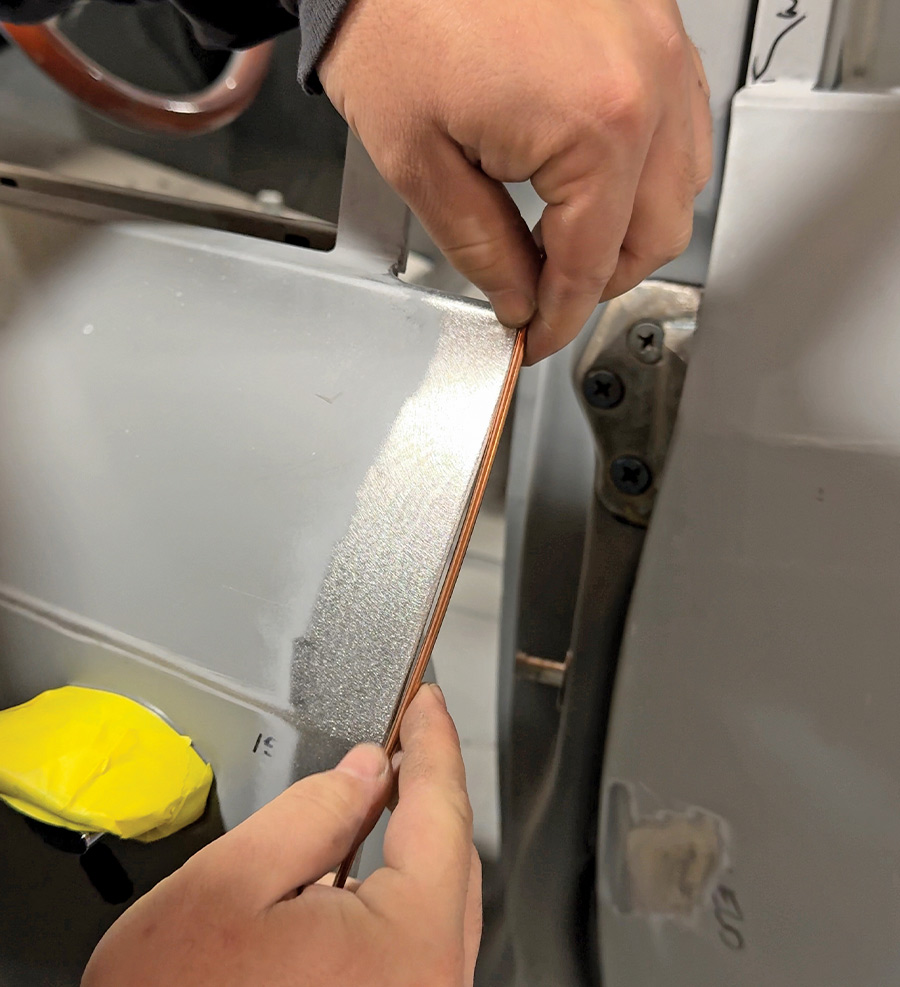
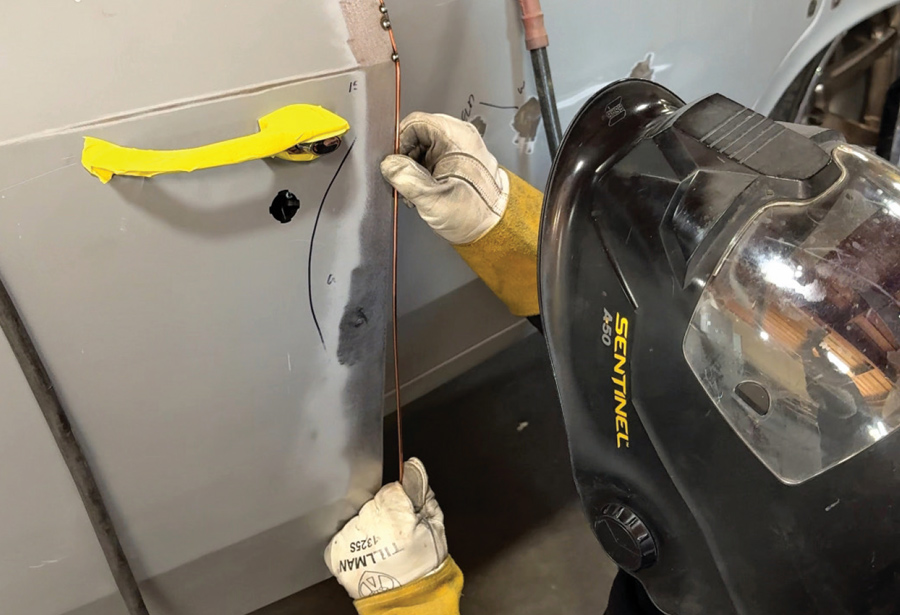
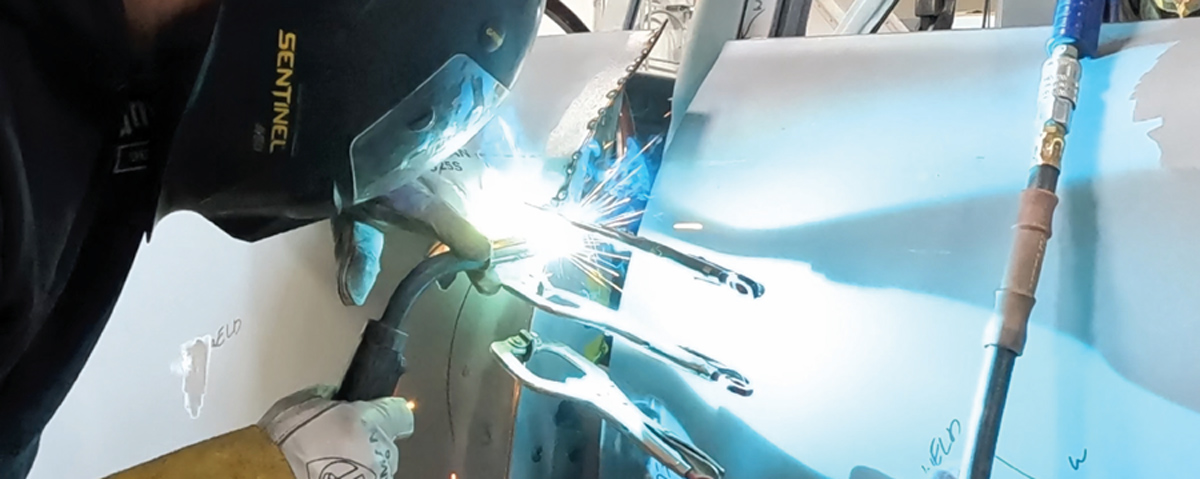
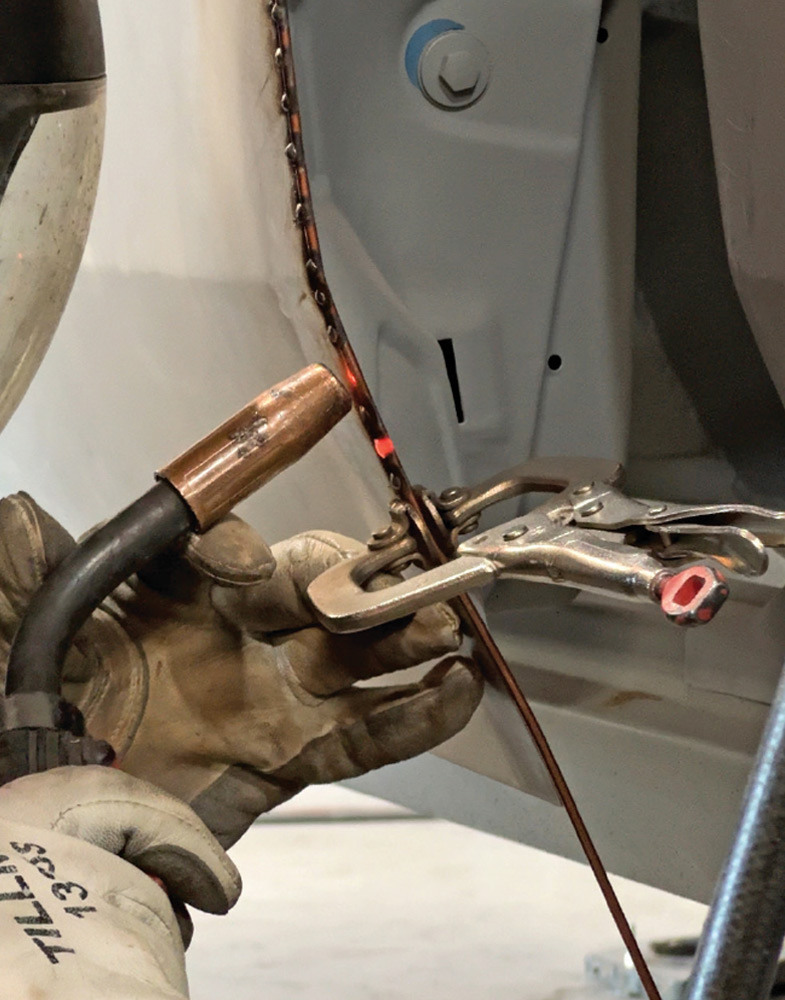
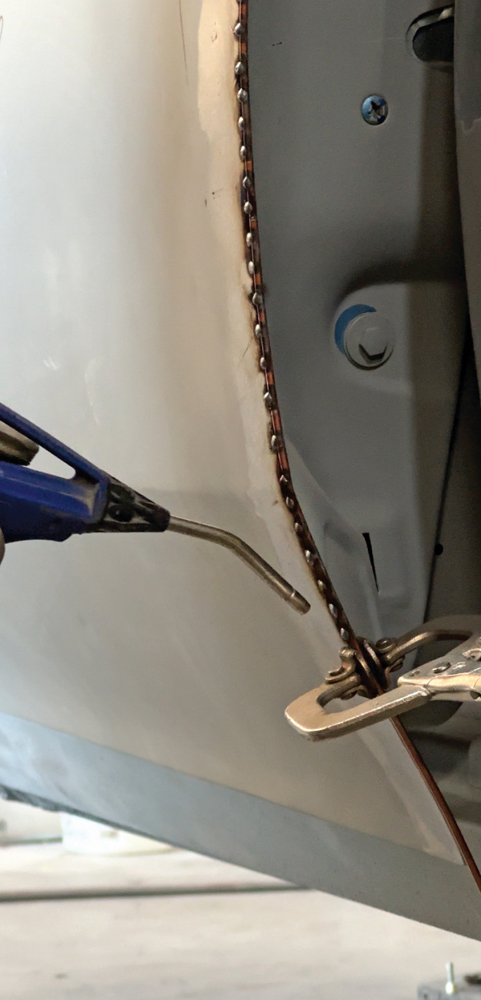
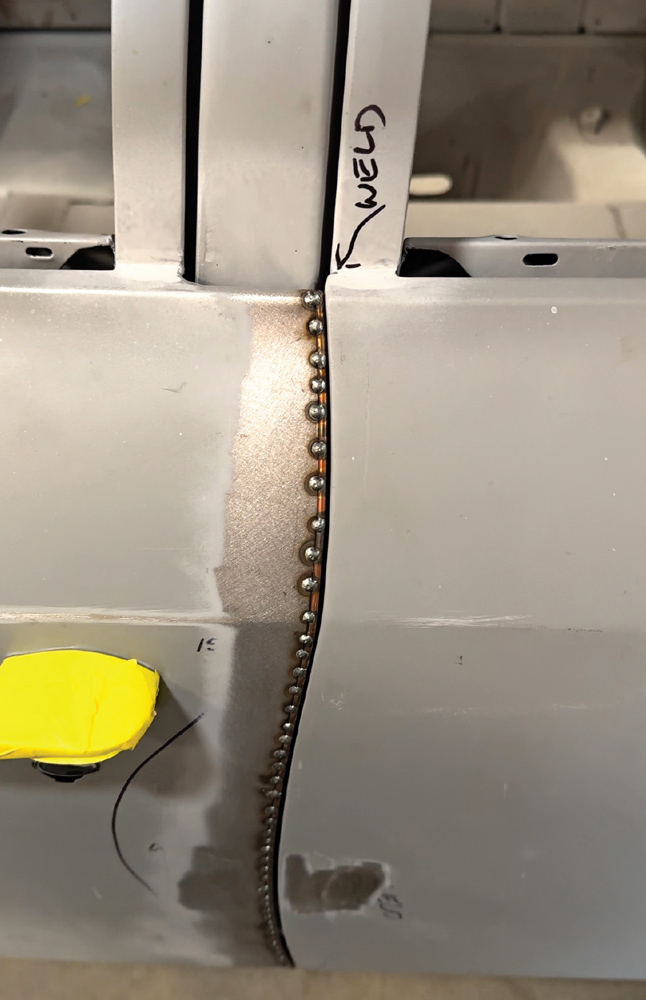
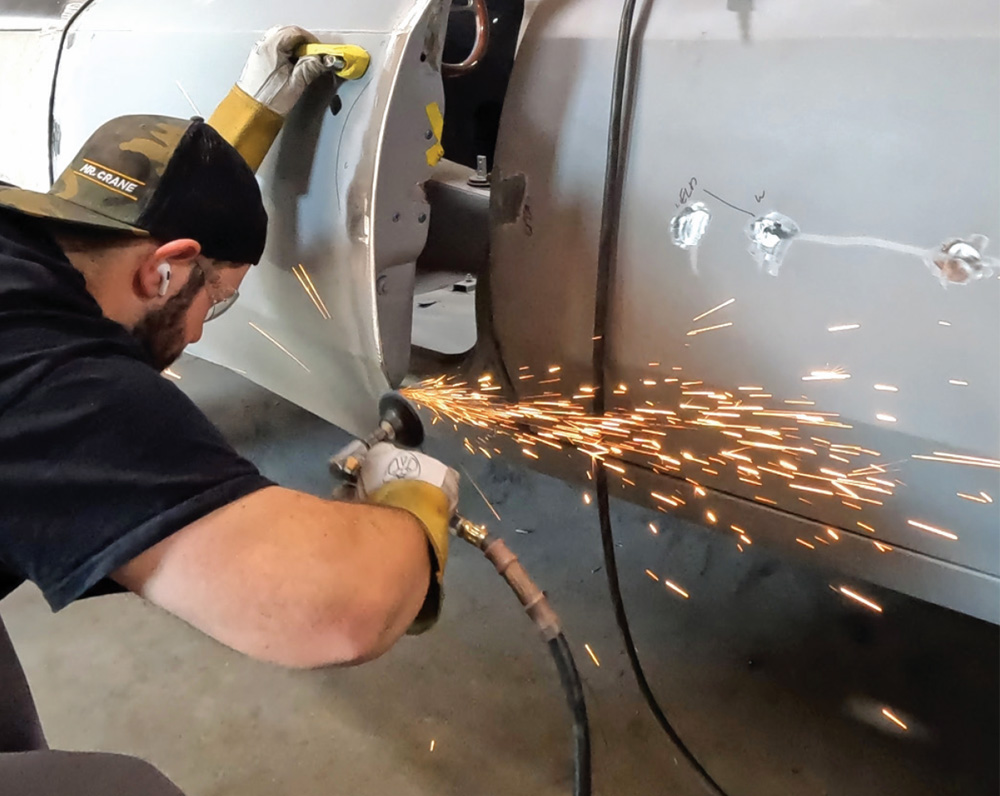
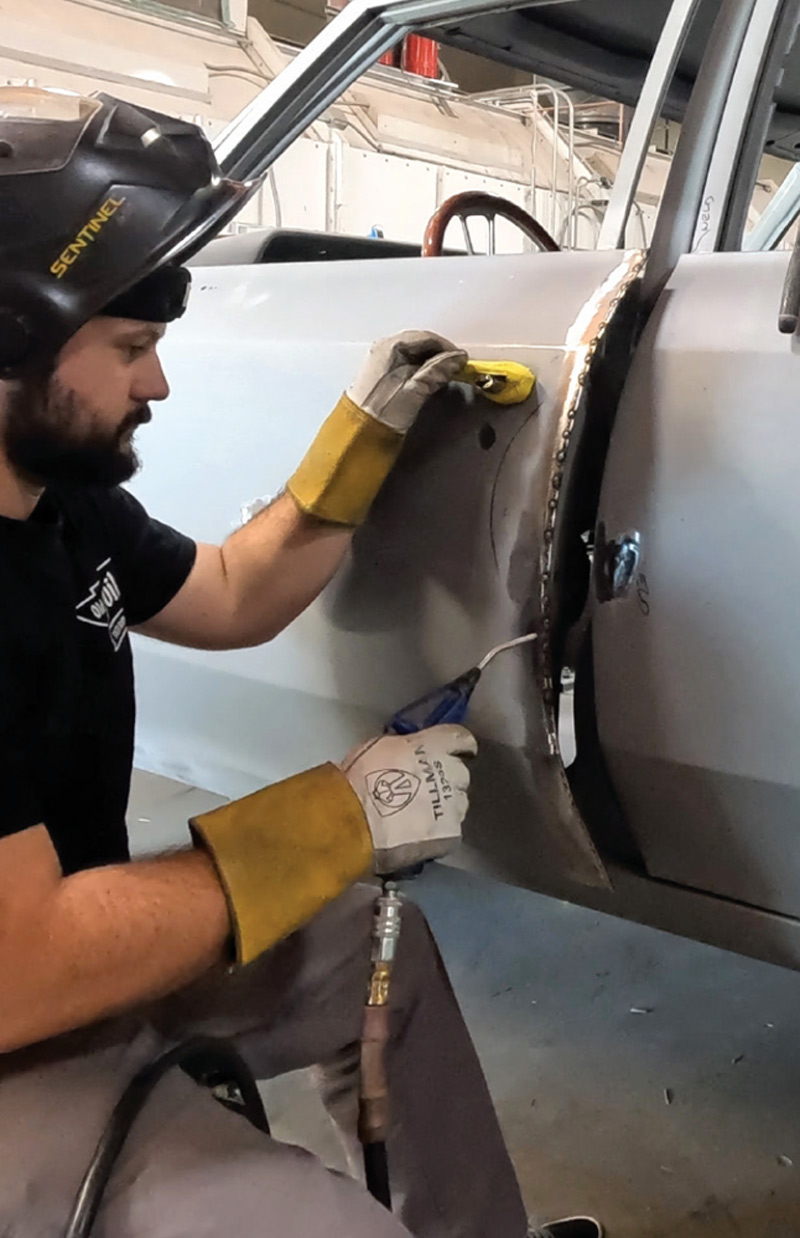
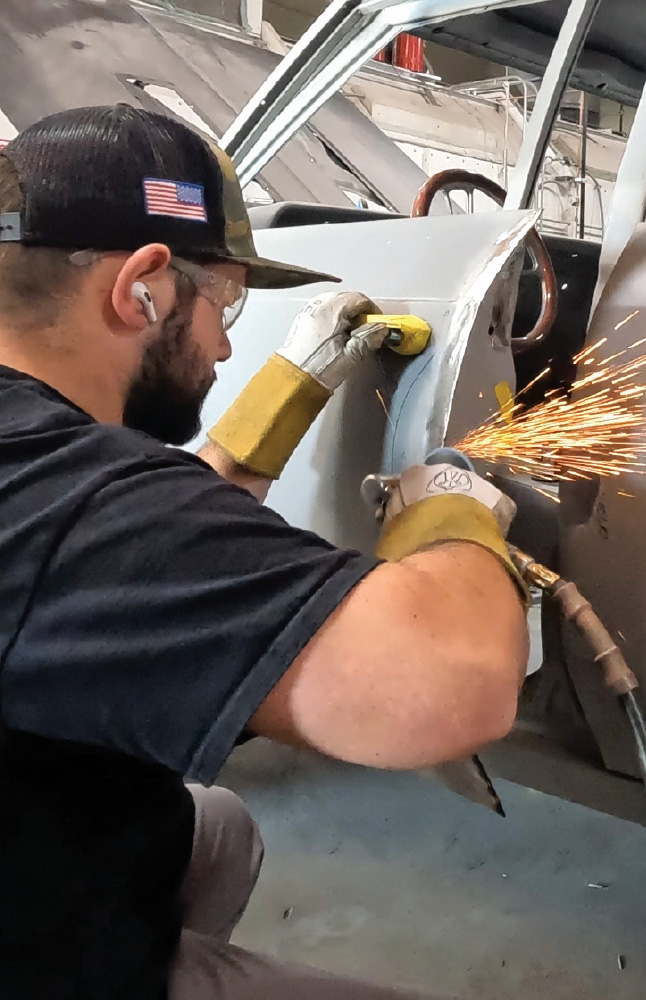
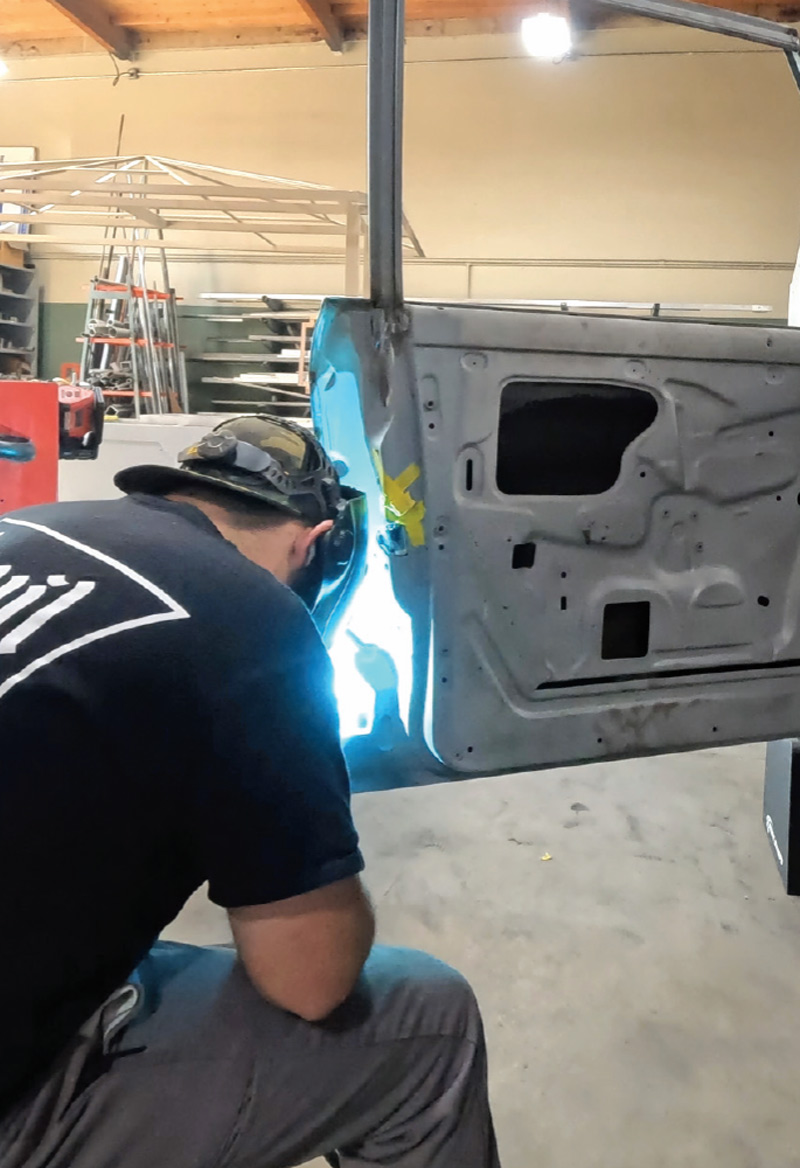
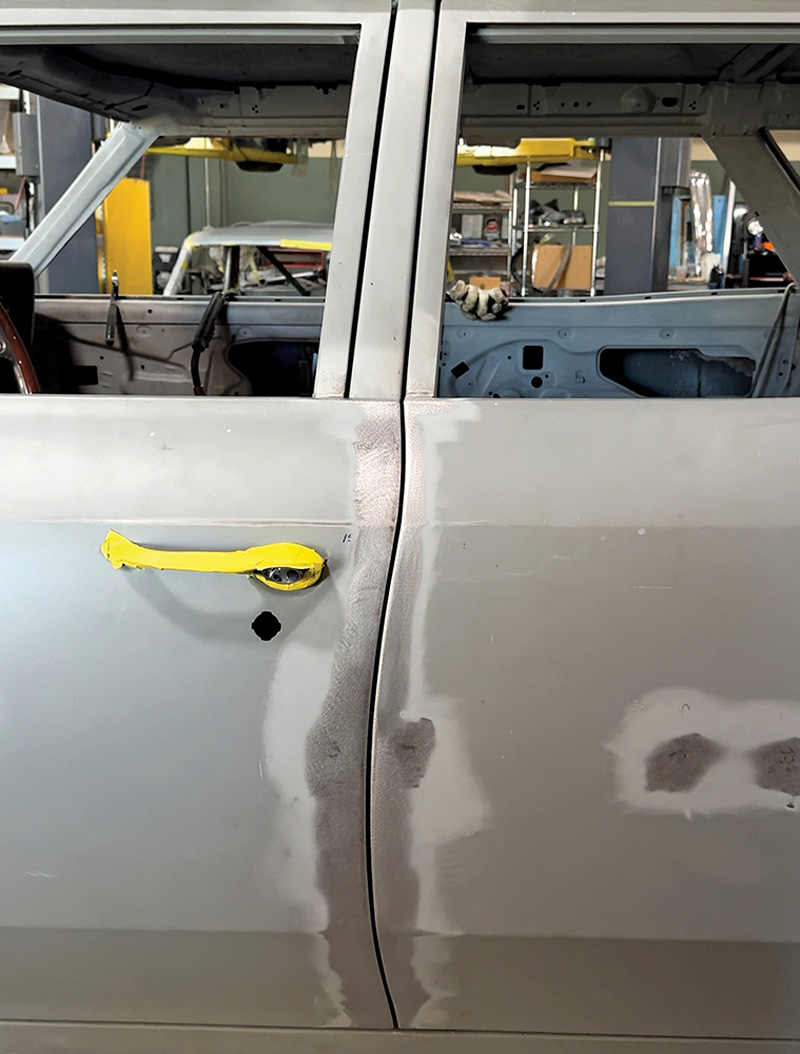
Gerringer adds material to the panel and then files down for the perfect fit. He used a piece of 1/8-inch filler rod to lengthen the door edge, forming it and tack-welding it from top to bottom. He was careful to move around with the tack welds, so it didn’t generate too much heat in the sheetmetal. He also cooled the welds with an air nozzle. After the filler rod was welded in, he worked the door edge carefully to perfect the gap. This type of project can take many hours and days of fabrication, and it requires lots of patience, but it’s oh-so worth it when the finished product is slathered in slick paint.

Follow along as Gerringer takes this Chevelle wagon to the next level with show car panel gaps.

close-up of sanded door gaps marked for welding and alignment
2. The car in question is a 1966 Chevelle station wagon, and the body is in excellent shape. Despite the great condition of the original sheetmetal, the panel gaps are wide and inconsistent.
technician positioning a thin copper strip between door edges for gap uniformity
3. Gerringer started the door gap project with a piece of ER70S-2, which is 1/8-inch filler rod offered by Lincoln Electric. This material is used for TIG welding and works well for this filler application.
copper strip securely clamped to the door gap for alignment before welding
4. Gerringer starts by hand forming the filler rod to fit the general shape of the door and then clamps the upper portion to the door. He works from section to section but keeps the filler rod in one piece.
technician welding gaps wearing protective gear, sparks flying during the process
5. The MIG welder is brought out to tack-weld the rod into place. He used three clamps to ensure the rod conformed to the proper shape and then gave it approximately 10 tack welds on the curved upper section.
refining the welds and shaping the door edges with a hammer and dolly
6. Gerringer uses a hammer to ensure the rod stays flush with the door edge. This takes finesse to prevent an inconsistent door gap.
series of tack welds along the door gap, clamped to ensure alignment
7. Moving onto the middle section of the door, Gerringer forms the rod by hand and then repeats the steps of clamping and tack welding.
technician carefully finishing weld seams for smooth alignment of door gaps
8. Gerringer works in small sections for multiple reasons. First is to ensure proper fitment of the filler rod, and second is to prevent warpage. Doorskins are notorious for warping due to a lack of internal bracing.
worker welding door gap with copper strip and clamps in place for accuracy
9. After carefully working his way down to the lower body line, Gerringer uses pliers to bend the filler rod to match the original sheetmetal.
fully welded and aligned door gap, ready for finishing and painting
10. Since the door gap was relatively uniform, Gerringer uses the same stretch of 1/8-inch filler rod on the entire door to tighten the gap. After the lower portion is formed and clamped, he tack welds it.
close-up of uniform tack welds clamped with copper for precise alignment
11. After a few tack welds, Gerringer uses an air nozzle to cool the welds and surrounding area. This prevents warping as it efficiently cools the sheetmetal. Some may be compelled to use water but that causes the metal to shrink too much.
technician grinding weld seams on the lower door panel, sparks flying
12. When the filler rod is fully tack welded to the door edge, a cut-off wheel is used to remove the excess rod.
fully welded and smoothed door seam for perfect alignment
13. There are lots of gaps to fill in but Gerringer can now close the door and evaluate his progress. The 1/8-inch rod added a little too much material, which will allow him to dial in the gap in a later step.
technician grinding and refining door welds on the Chevelle
14. Gerringer grinds the welds with an angle grinder, being careful not to remove too much material from the doorskin or the filler rod.
close-up of door welding refinements for better panel alignment
15. Now he can fill in the many gaps in the welds, once again cooling the welds with the air nozzle.
smoothed door edge welds visible, showing precise alignment work
16. Another round of grinding smooths out the welds and gets Gerringer one step closer to dialing in the door gap.
technician refining panel surface for smooth finish in the restoration shop
17. With the welding and grinding complete, Gerringer uses a DA sander to delicately remove material on the door edge. This is a lengthy process, as small amounts of material are removed to ensure a consistent gap.
technician welding the inner door panel, ensuring structural integrity
18. Another detail that needs to be addressed is the inside of the door. After the gap is dialed in, Gerringer welds the backside of the filler rod.
view of meticulously welded and cleaned door edge alignment
19. Once again, he works in small areas so that it stays cool. The inside view shows the thickness of the rod varies from top to bottom, as Gerringer gently removed material to create the perfect gap.
technician working with an orbital sander to refine the door panel surface
20. Gerringer uses the DA sander to prep the area for bodywork. He’s reached the end of door number one but has three more to tackle on this Chevelle long roof.
restoration sanding on Chevelle door panel finished
21. With the door closed, you can see the tight and consistent door gap that perfectly matches the gaps on the door post and window frame. Getting show car gaps is a tough task, but it’s worth it in the long run.
SOURCE