![]() TECH
TECH
By Barry Kluczyk  Photography by The Author
“We might spend 400 hours on the body surface of a restoration project and only 8 of them are actually spent in the spray booth to lay on paint,” restorer Nyle Wing says. “The rest of that time is spent block sanding.”
Sanding, sanding, and more sanding. It’s the method of smoothing the small surface waves and high and low spots to ensure the panels will be as straight and smooth enough for a mirror-like finish.
“A great paintjob is all about the prep and that’s what we’re talking about here,” Wing, who’s been restoring muscle cars for about 30 years, says. “You can lay on the color flawlessly, but if the surface isn’t perfectly smooth to begin with, you’ll never achieve a show-winning result.”
Everything, of course, is relative. The body shop repairing the parking lot scrape on your daily driver won’t spent a tenth of the time on the repair and still deliver an excellent result—but it’s one that reflects and emulates the original production-line paintjob. For a top-tier restoration, it takes more than a couple passes with a DA before hitting the trigger on the spray gun.
In fact, Wing’s shop doesn’t generally use power-sanding tools, preferring the more tactile feel that comes with hand-sanding. It unquestionably adds time—and labor cost—to the project, but he says you can’t argue with the results.
“There are a lot of curves and subtle transitions in the sheetmetal of these cars,” Wing says. “It’s very easy to ‘move’ a body line when sanding, so you really need to feel every contour to make sure you maintain the proper shape and lines. It’s easier to do that using sanding blocks–especially if you don’t have a lot of bodywork experience.”
We stopped in recently to look over the shoulders of Wing and his guys as they relentlessly sawed away at the flanks on a vintage A-body. More than just procedure and technique, they advised on the materials and other methods they employ to ensure the proper pre-paint surface finish, including wet sanding the primer for an ultra-smooth surface. And before you fire off a letter pointing out that not every photo is of the same car, we caught the project about midway when we arrived with our cameras, and to illustrate the front and back ends of the story, we had to grab a few supporting images from other vehicles.
Before even starting, Wing noted that keeping the work area free of contaminants, particularly anything silicone-based, is essential for a proper finish. The problem is silicone is found in tons of products you probably never considered, including personal-care items such as deodorant and shampoo. Dimethicone is a common ingredient in them, so it’s important to check labels and remember this mantra: If one of the ingredients ends in “cone,” leave it alone.
“Silicone can cause major fish-eye problems, because its chemistry just doesn’t mix with the products used to refinish a car,” Wing says. “And you may not think it would be a big deal but think about how you’re hunched over the vehicle, working up a little sweat while you’re sanding. It’s very easy to transfer some of that product to the vehicle surface. It doesn’t take much to cause a problem, and you’ll be kicking yourself because you’ll have to redo the work.”
For the record, Wing and his employees all wear Old Spice deodorant in the shop, which does not contain silicone.
Proper surface prep takes lots of it, and when it’s done correctly, the results will be unmistakably sharp. Follow the photos and you’ll get a better idea about why those show-winning paintjobs look so good and why they cost so much. The bottom line is time—and plenty of it.
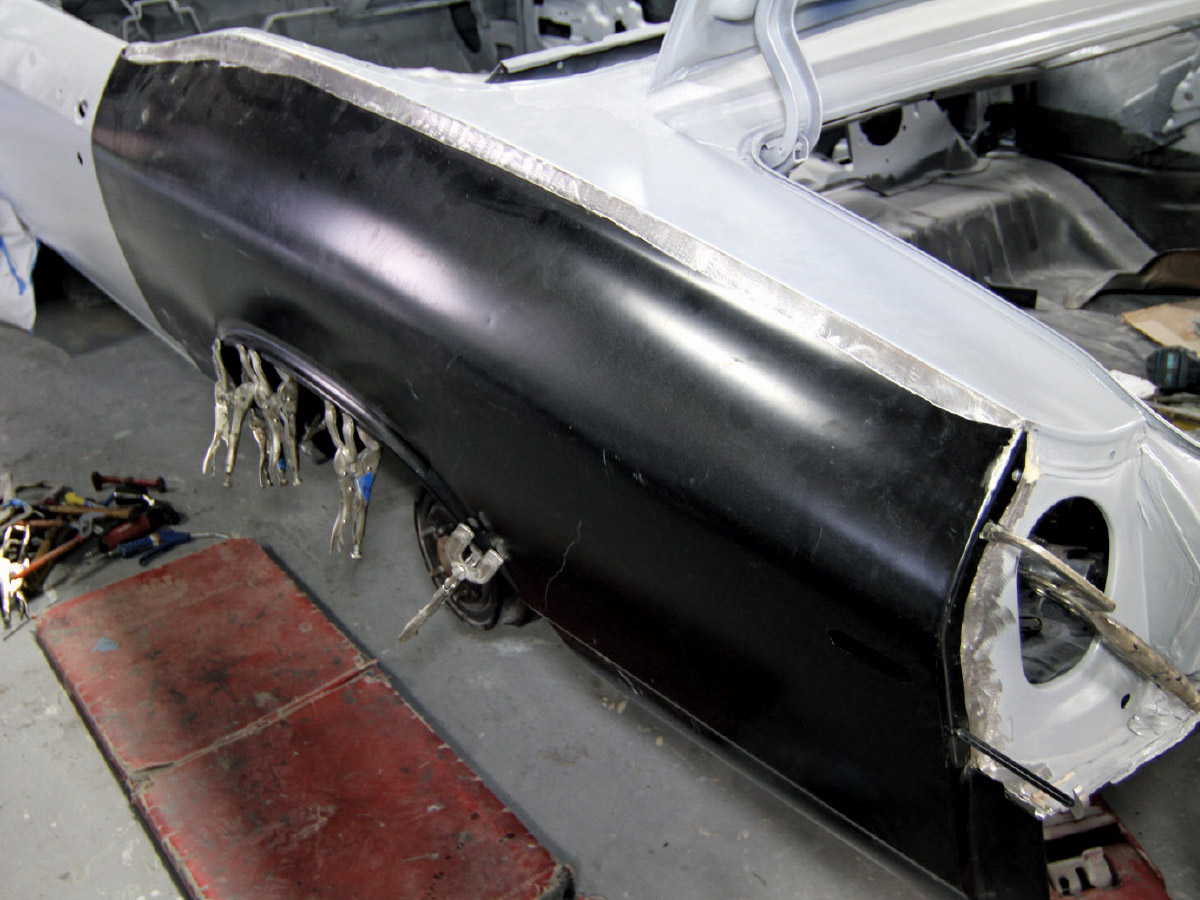
1. The bodywork comes first, whether repairing dents and rust or a complete panel replacement, but corrosion develops on bare metal faster than a cop will write you a speeding ticket, so it’s important to get the body in primer as quickly as possible.


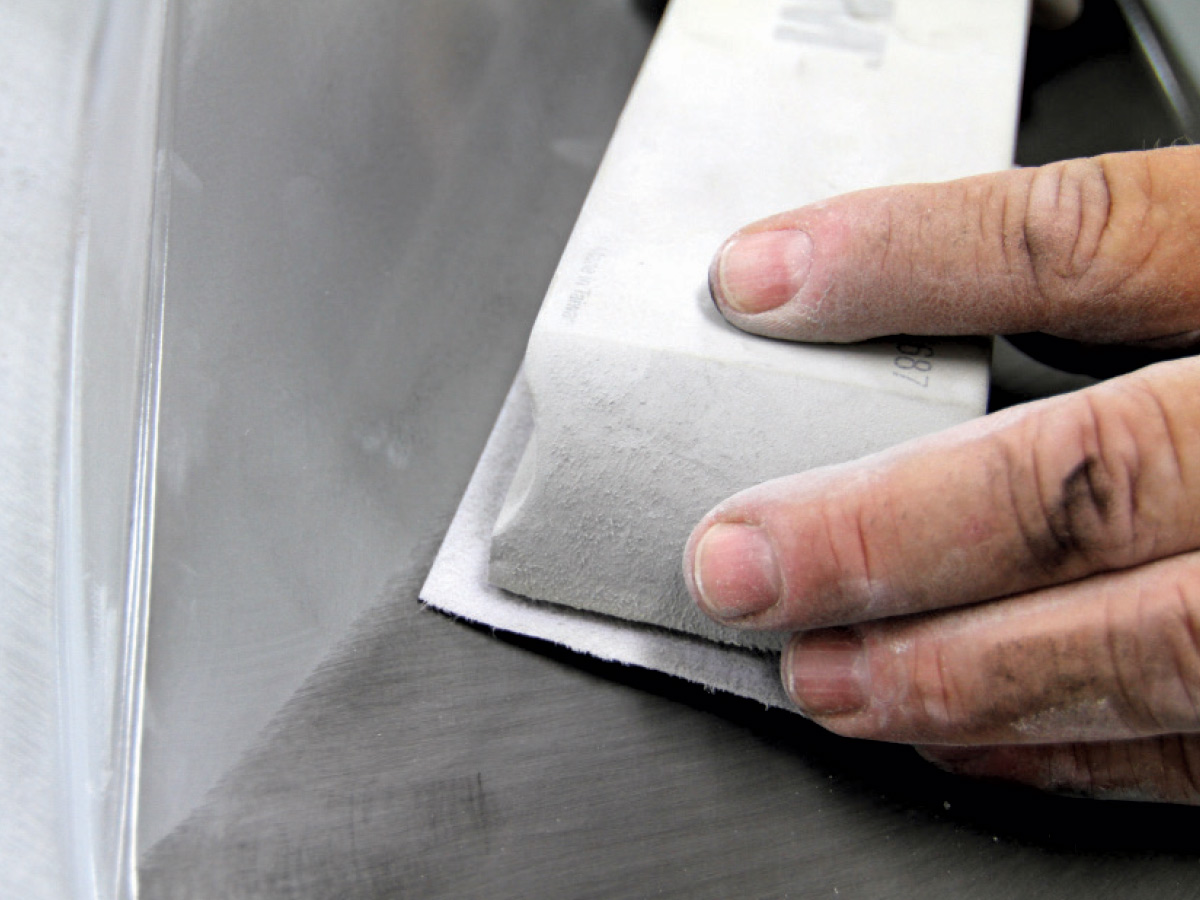
3. Different paint guns and tips are used for paint and primer. For primer, restorer Wing uses a Sata gun with a wide, 1.9mm tip. That’s because primer is very thick compared to paint, which only requires something like a 1.3mm tip for its water-like flow properties.

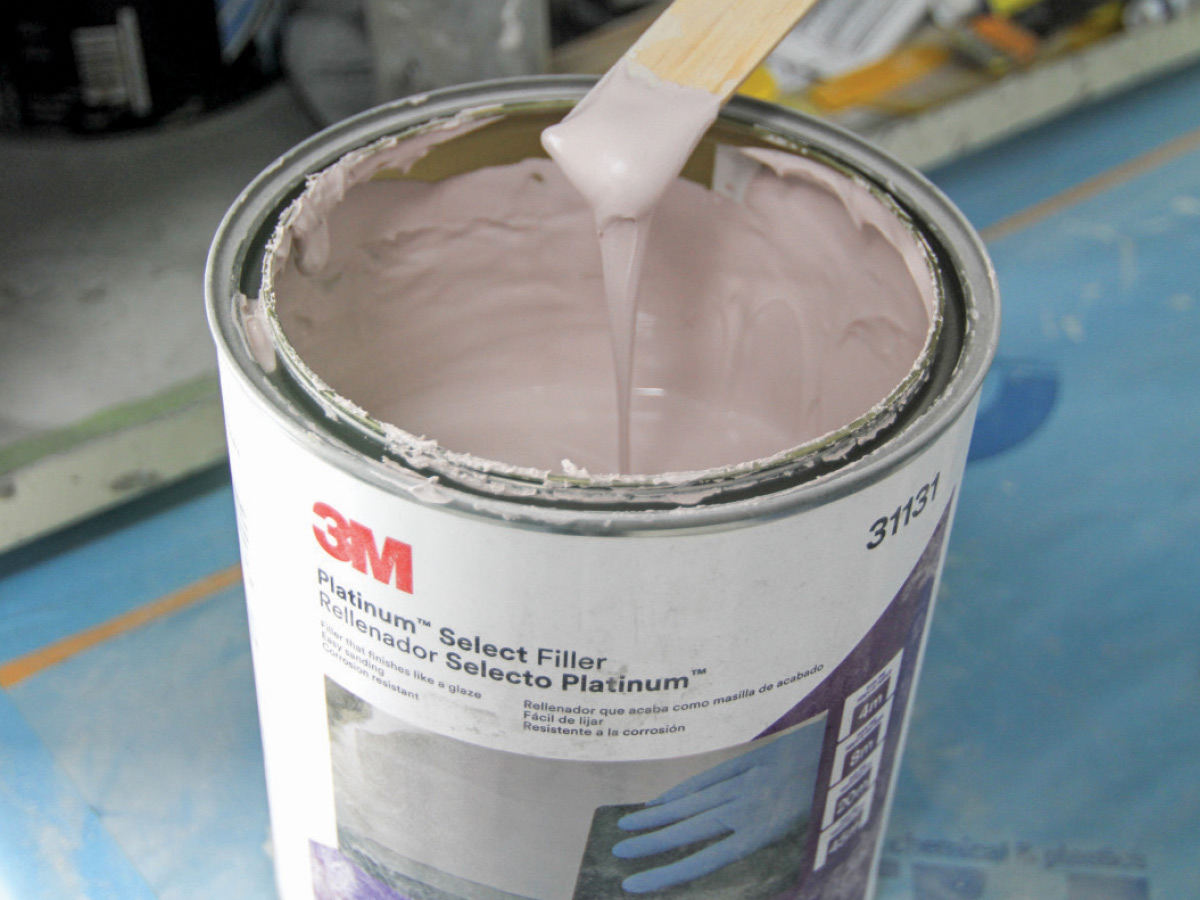
5. 3M’s Platinum Select Filler (PN 31131) is very creamy and spreads very easily, according to Wing. 3M claims the formula significantly reduces pinholes and the need for primer. It works well on non-steel components, too, including aluminum as well as the SMC and fiberglass components used on Corvettes.

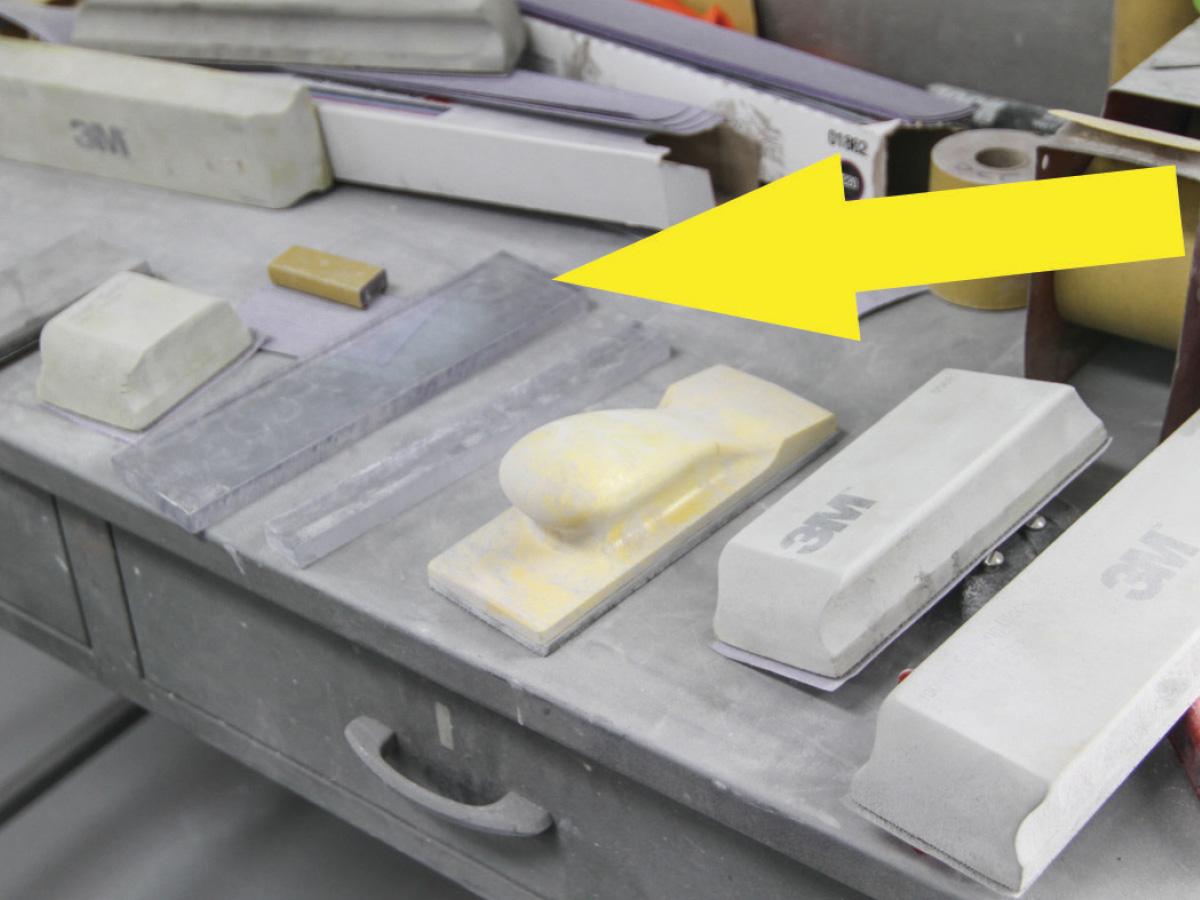

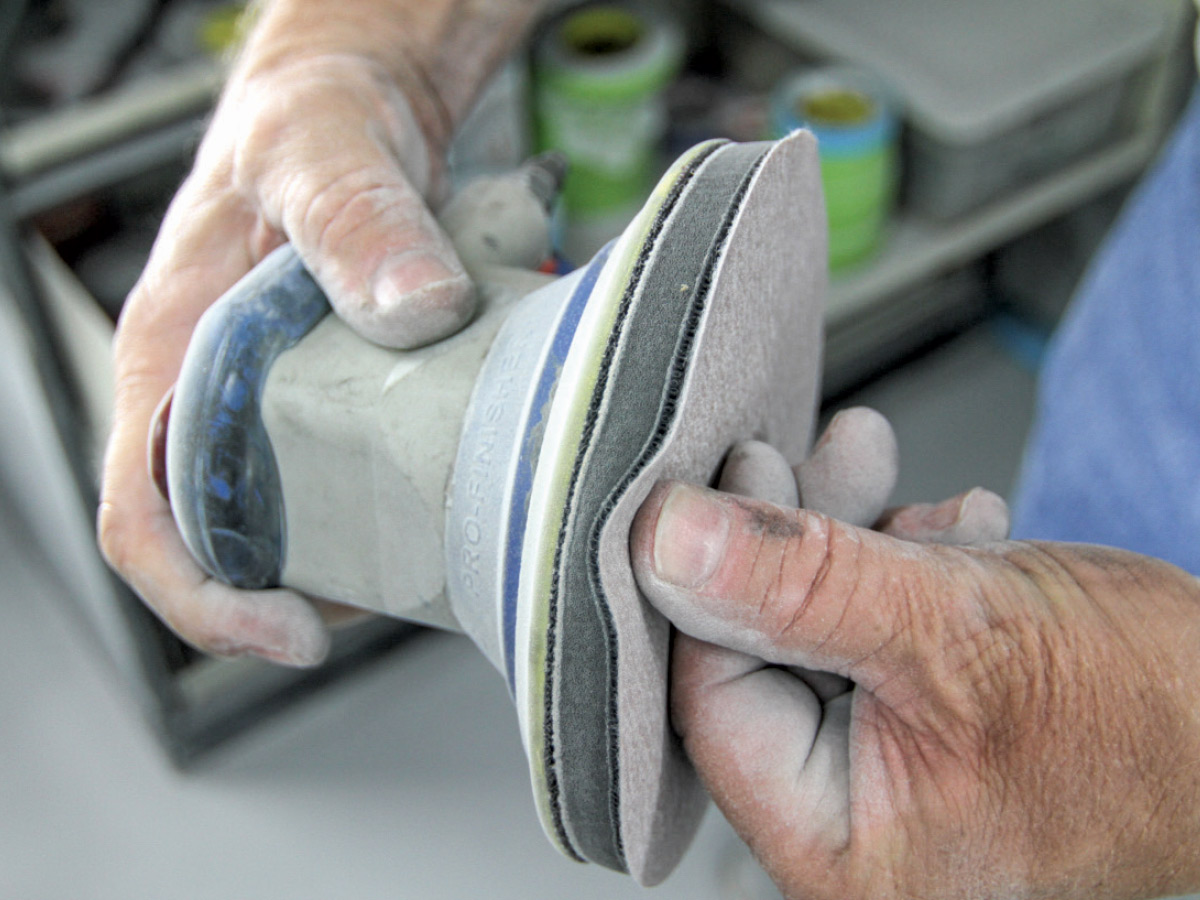
10. Wing doesn’t use a dual-action (DA) sander for most jobs because he feels it lacks the tactile feel that comes with hand-sanding. The cushioned pad illustrated here, he says, is a perfect example, because the softness of it makes it difficult to discern body lines and other contours or transitions in the surface.


12. This graphite-based 3M Dry Guide Coat is applied with a pad. Compared to many aerosol-type spray coats, it typically penetrates every last crevice and sandpaper hatch mark in the surface with more even coverage.

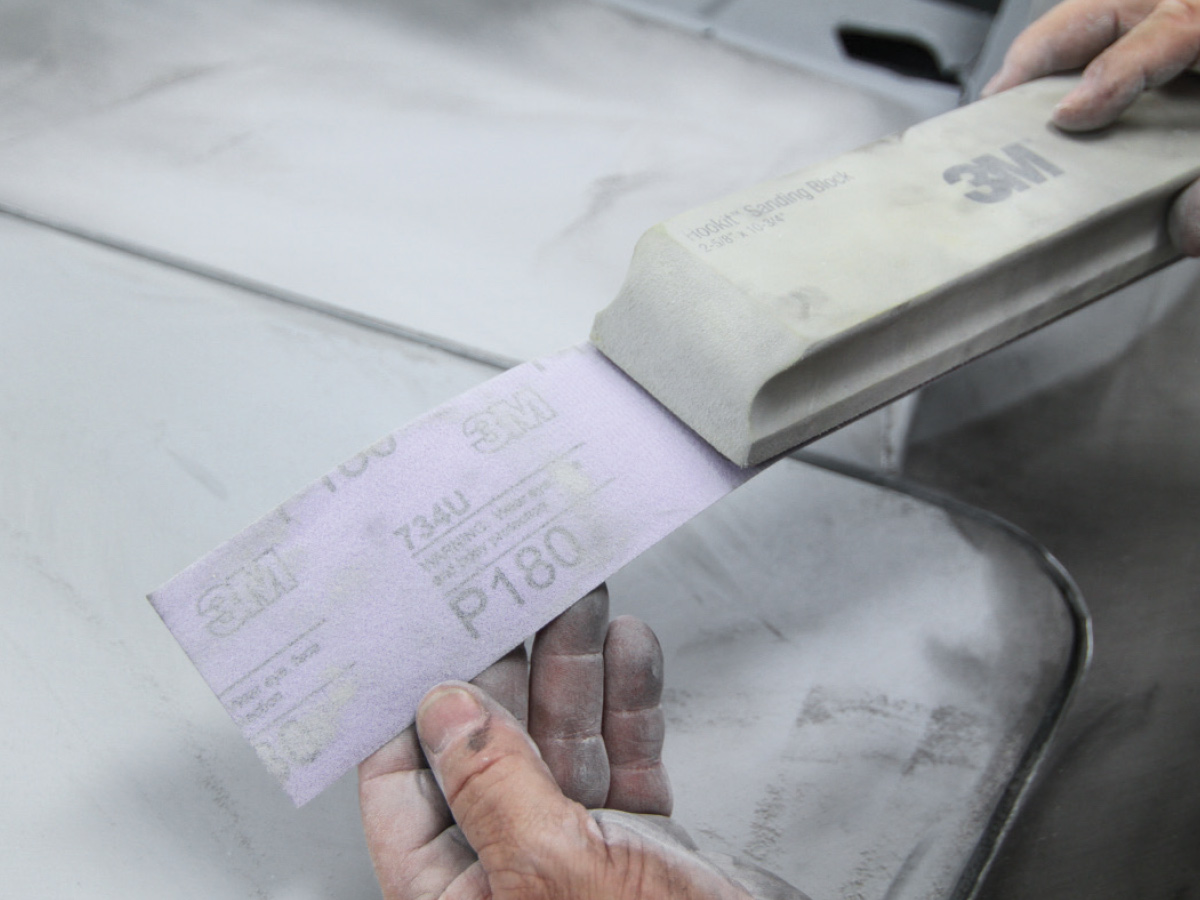
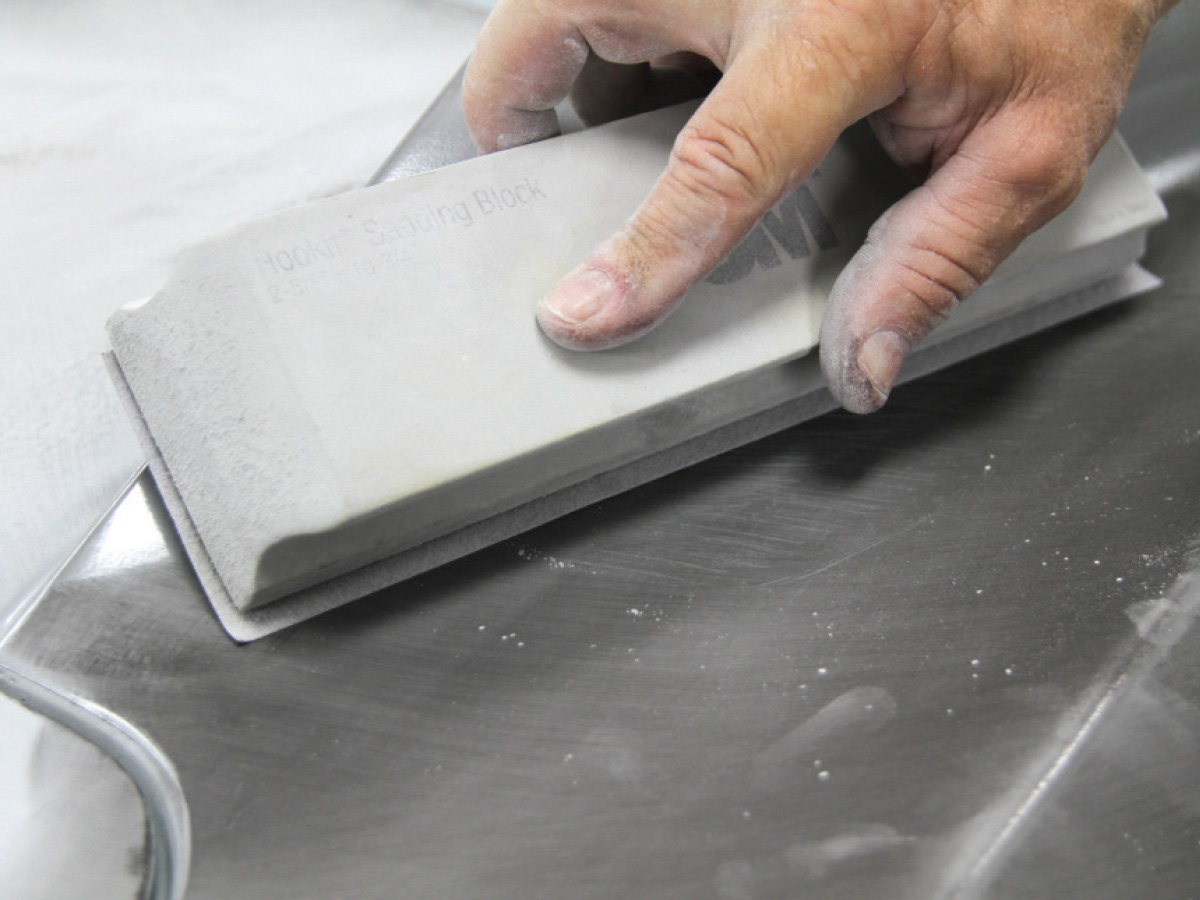
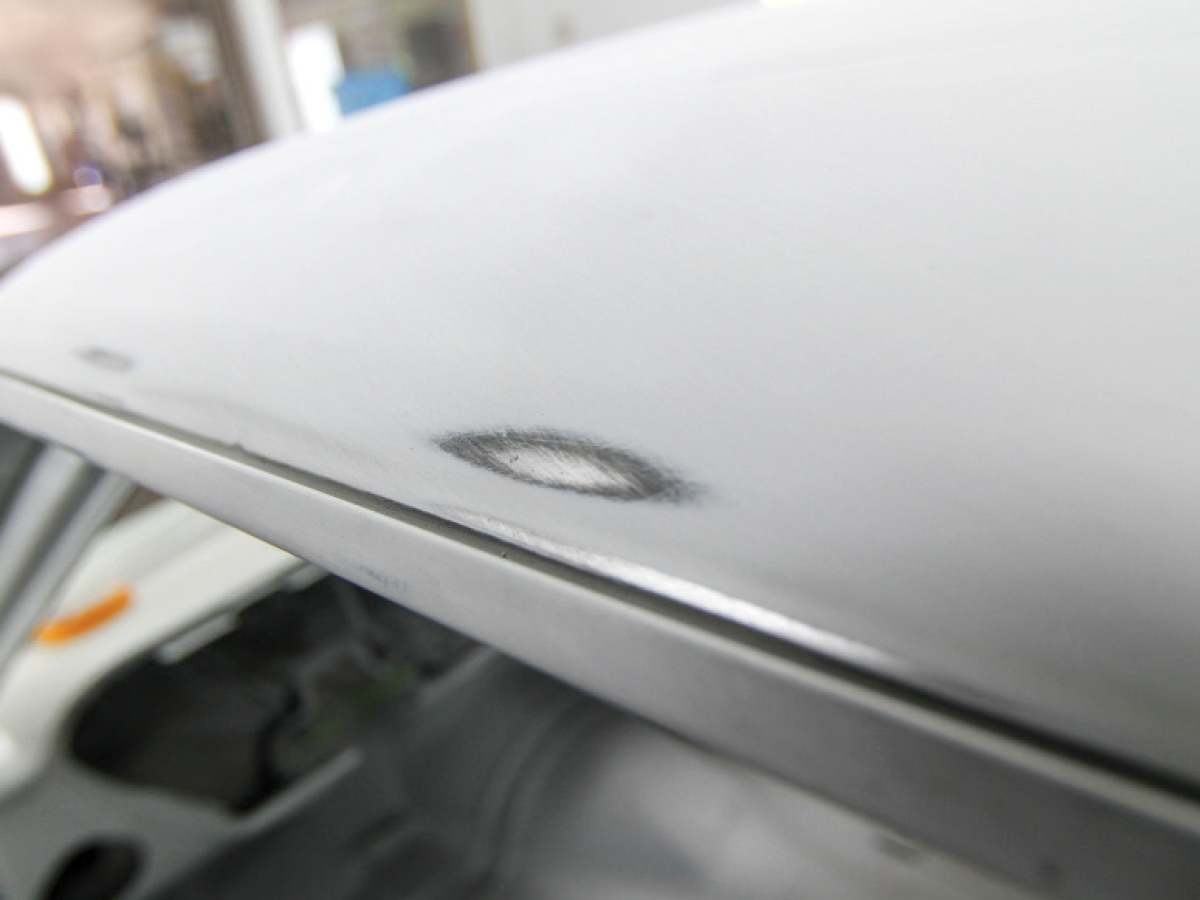
14. This close-up shot of the roof panel illustrates how the guide reveals not only high (brighter) and low (darker) areas, but the comparatively course pattern left by the 180-grit paper. It all reinforces the importance of continued blocking with 220-grit to smooth out the surface further.

16. One of Wing’s additional tips is offsetting the paper on the block slightly when following a curved contour, such as where the C-pillar sail panel blends with the quarter-panel on cars such as the ’67 Chevelle. It helps the paper more easily follow the natural contour of the sheetmetal, while retaining the pressure on the paper required to hit the surface.
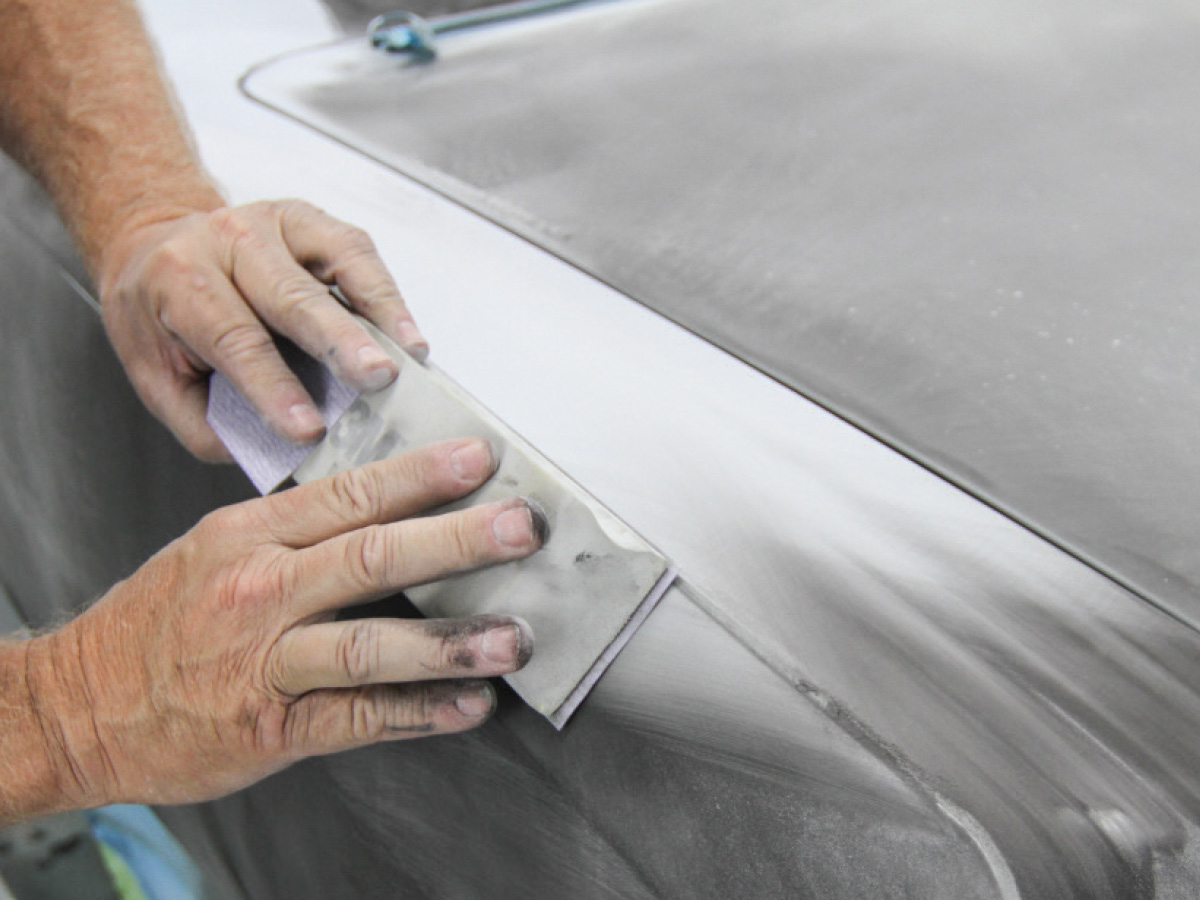

18. For softer body lines, which are even more susceptible to reshaping, applying masking tape along the leading edge of the line provides an excellent guide. You sand up to the tape and not over it.
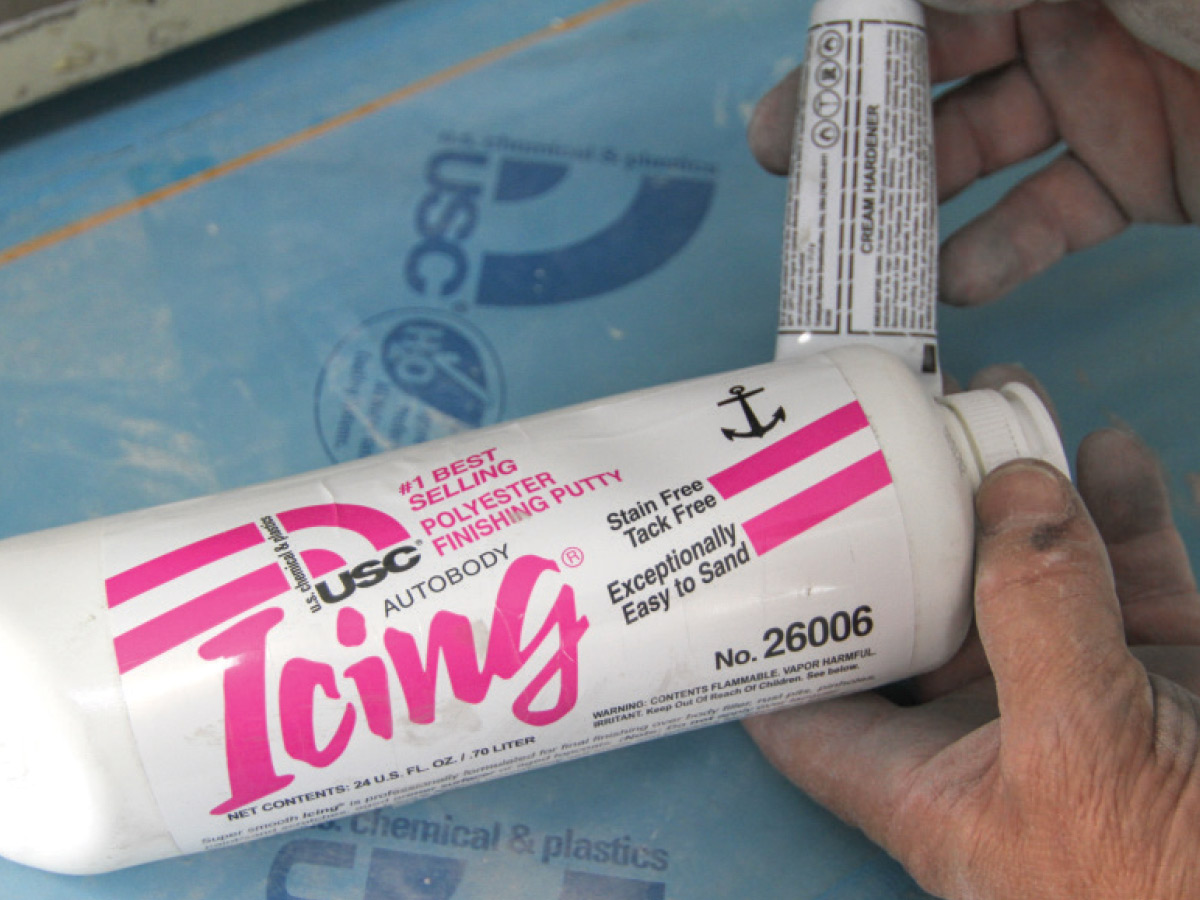
20. USC Icing polyester putty works very well for the minor filling projects, such as the one illustrated in the previous photo. It has a super-creamy, almost liquid-like consistency that makes it very easy to apply and spread. It goes on thinly and dries quickly, making relatively fast work of minor touch-ups.

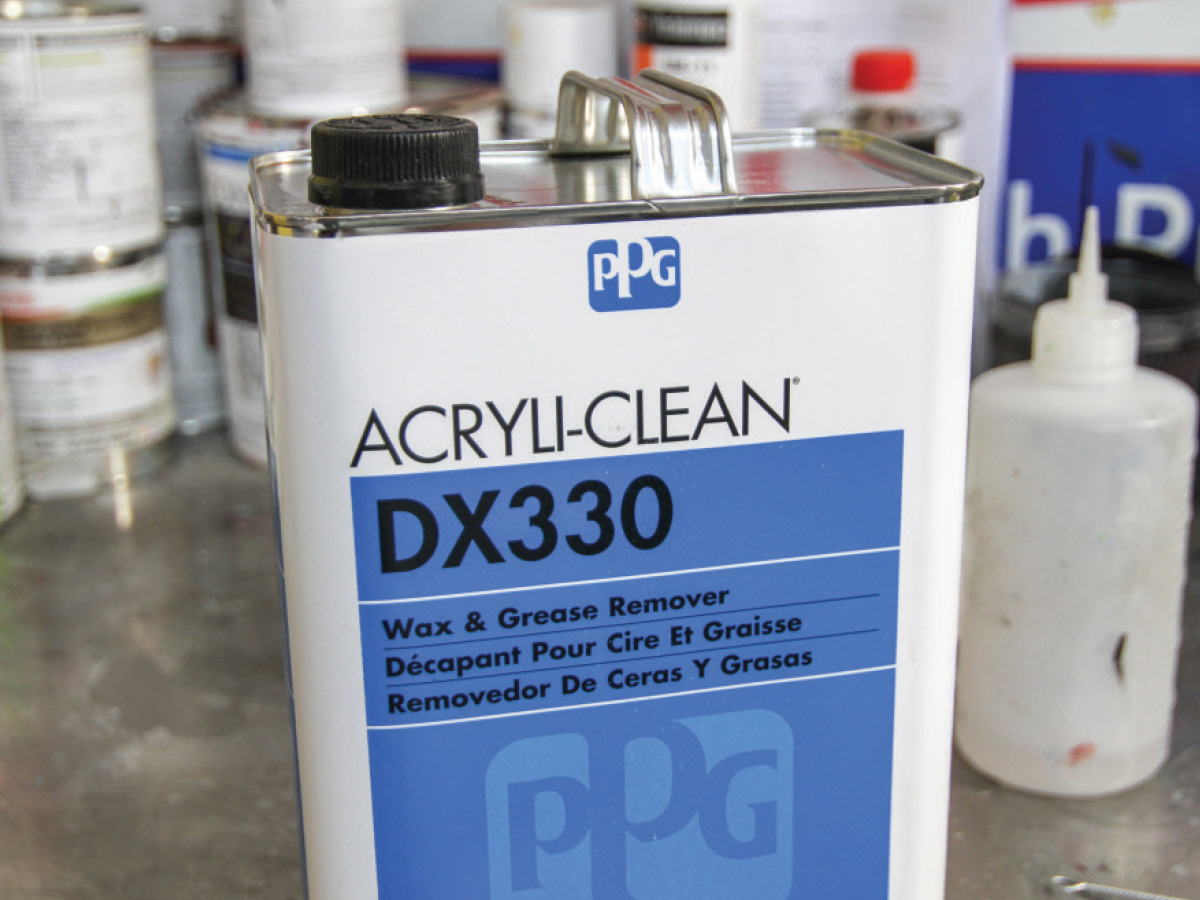
22. For this project, PPG Acryli-Clean DX330 was used for every stage of the paint prep process. The only caveat is that it needs to be wiped off before it dries.


26. After wet-sanding, the body will be sprayed again with a couple more layers of primer, reduced more than normal, at 2:1:1. That thins it out more, because there’s no need for a high build for sanding any longer–just a painting surface. Letting the primer cure sufficiently is imperative for a top-notch finish. Like the basecoat and clearcoats to be sprayed later, it will shrink, so it should cure for several days or even a week or two.

 SOURCE