Photography by The Author
here are certain skills that every car guy worth his 9/16-inch end wrench should know how to perform. Drilling holes in the proper place, cutting threads, and general fabrication skills are not difficult. High schools used to teach these lessons in metal shop, but not anymore. So this new generation of car guys will have to learn it on their own.
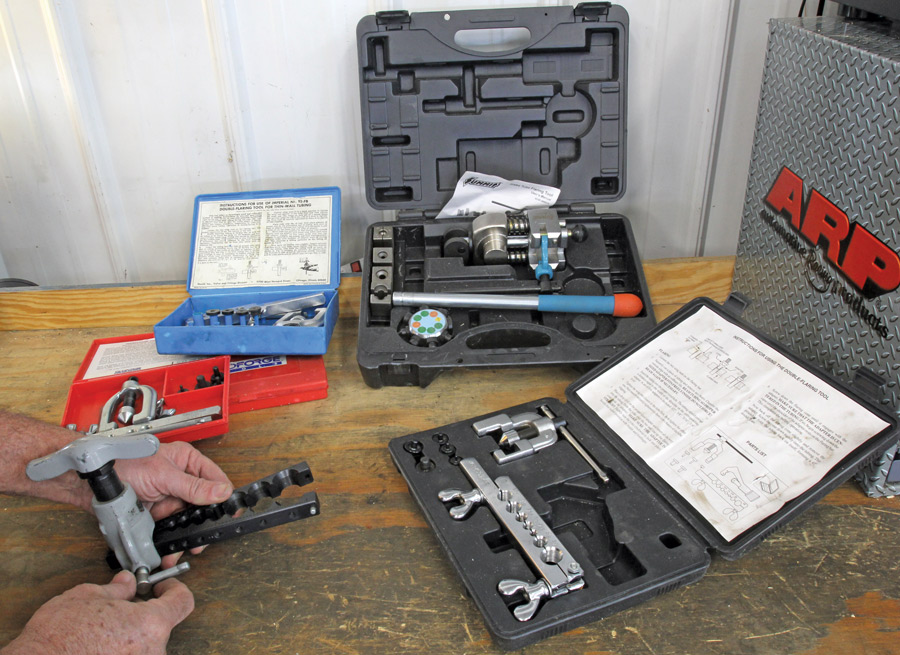
The skill we will concentrate on today is creating a leak-free tubing flare. There are actually several different angles that are used as well as metric bubble flares used on import cars. We’ll maintain our focus on the two most popular standards, the 45-degree flare and the AN 37-degree flare. These will require different tools, and we’ll cover that as well.
Most tools will accommodate several tubing sizes–the most common being 3/16-, 1/4-, 5/16-, 3/8-, and 1/2-inch tubing sizes. The less-expensive tools will also limit your flaring to mild steel tubing as the tool may not be strong enough to work with stainless steel tubing. As a point of reference, it’s best to make sure that if you will be using stainless tubing you only buy tubing that has been annealed. This is a heating process that softens the somewhat brittle stainless, making it easier to flare and bend. This is important because not all stainless steel tubing is annealed. If it doesn’t say it’s annealed, it probably isn’t.
We will run through the process of making a 45-degree flare on a 5/16-inch length of tubing. This is commonly used on automatic transmission cooler lines and it’s not unusual to have to make your own hard lines for the installation of a new transmission cooler.
We’ll run through the process in the step-by-step photos along with including some details that will help you create the best flare possible. You will likely spend more time preparing the tubing for a flare than making the flare itself. If the tubing is not cut straight or the outside diameter is not consistent or has sharp edges, the probability of making a successful flare is low.
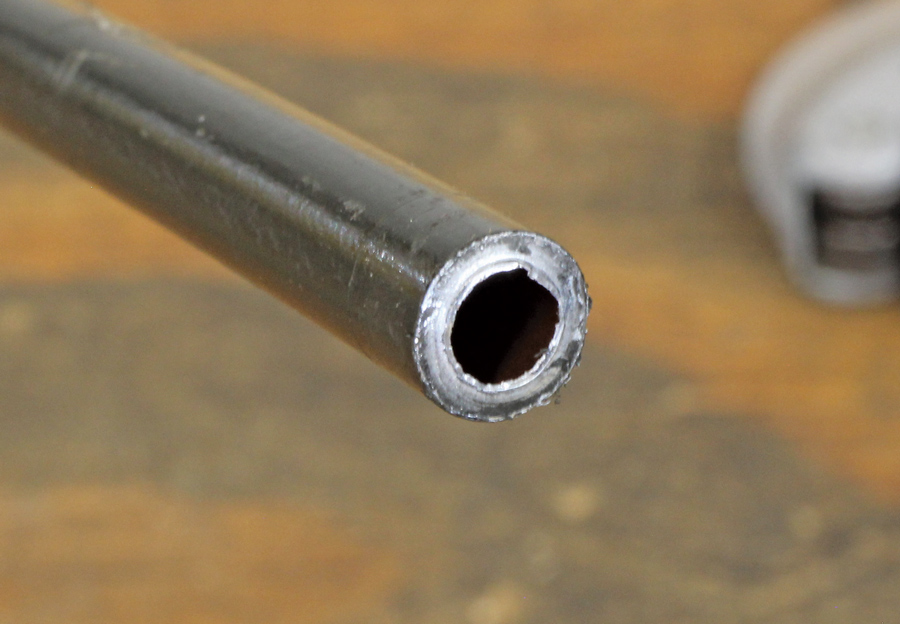
The most common way to shorten tubing is with a tubing cutter. Tubing can be cut with a hacksaw or cutoff wheel but will likely require more time to ensure the end of the tubing is cut perpendicular. A tubing cutter generally makes a very straight cut but will leave a small burr or sharp edge around the inside circumference of the tubing. This must be removed. Most tubing cutters include a small wedge-type tool that can be used to remove these burrs, but we’ve learned these can often be ineffective.
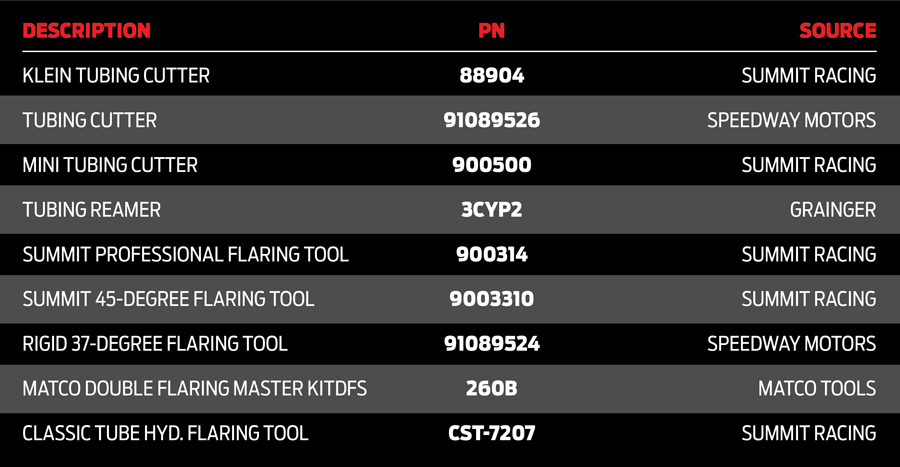
We found a handheld tubing reamer at a local Grainger store that works well for both mild steel and stainless tubing. There are also large round plastic deburring tools that will both clean up the inside and outside circumferences of the tubing, which is helpful.
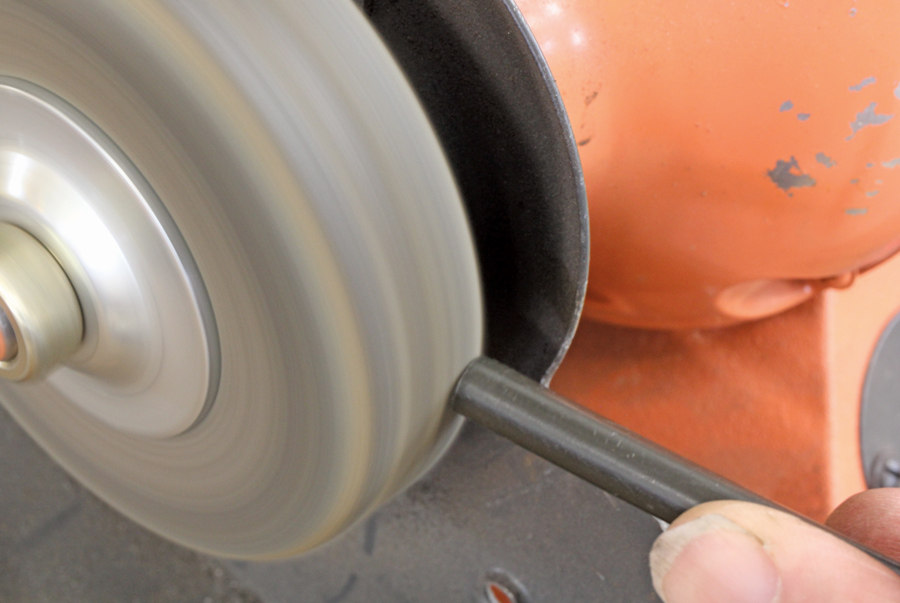
Once the tubing has been deburred, we’ve found that polishing the end of the tubing with a convolute wheel on a bench grinder also improves the chances of making a good seal. This allows you to place a small chamfer on the outside of the tubing.
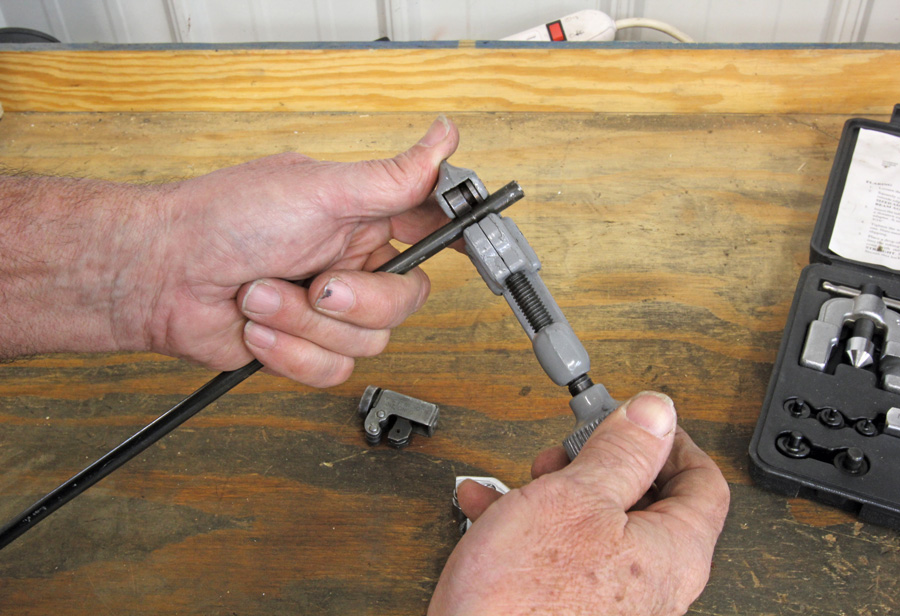
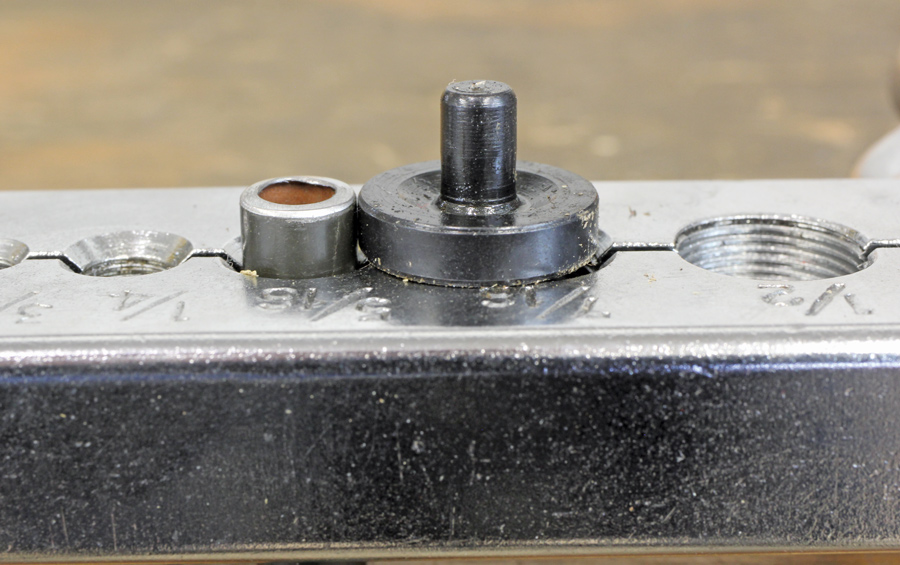
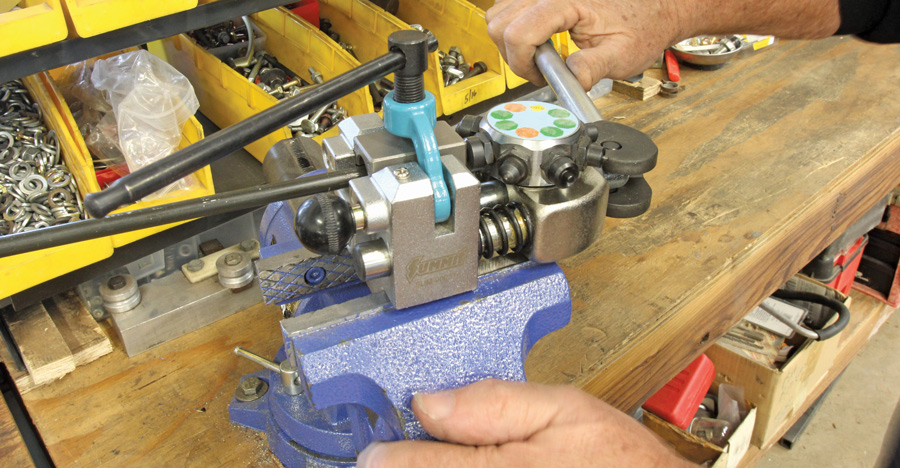
The next step is placing the tubing in the tool. This is an important step because the height of the tubing establishes the amount of material that is bent inward. Set the height of the tubing using the step on the flaring die to match the height and tighten the clamp around the tubing starting with the clamp closest to the tubing. Both clamps need to be tight to prevent the tubing from being pushed out of the holder.
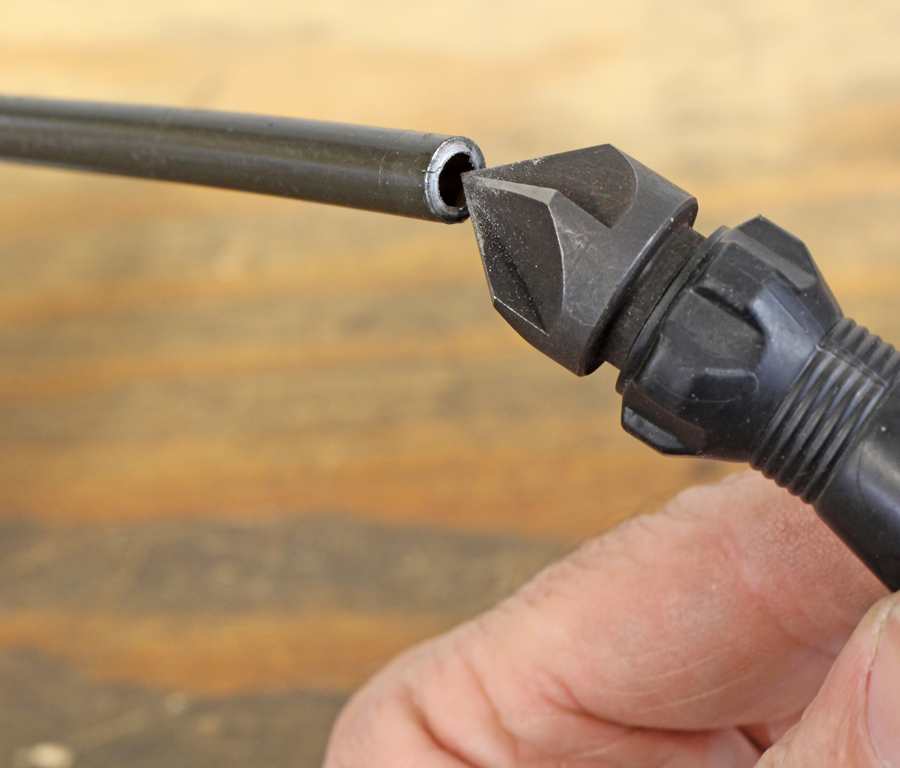
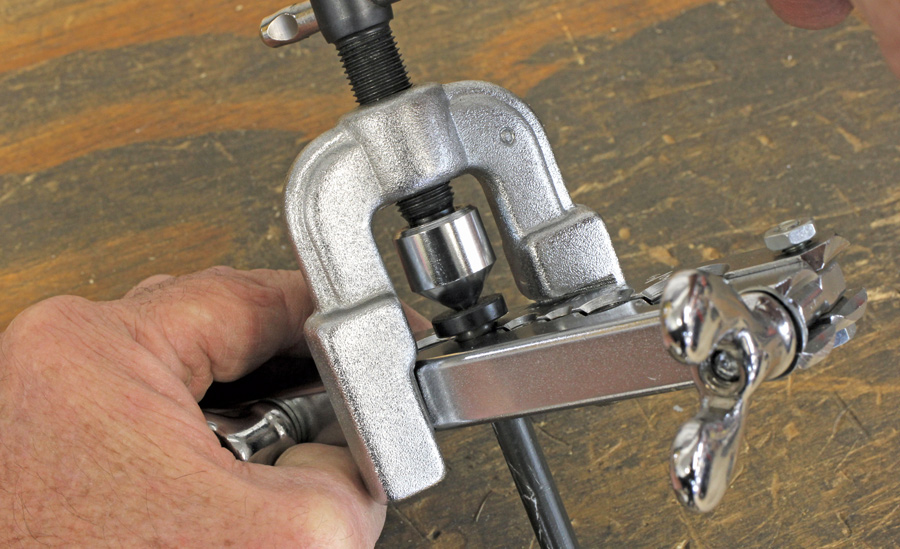
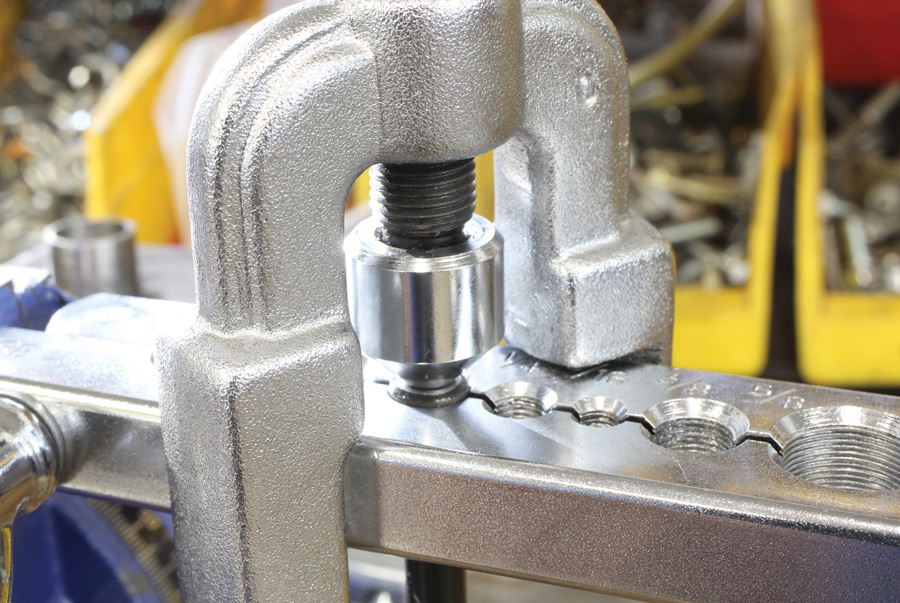
We like to place a small drop of oil on the die right before we put it into the tubing. This helps make the die last longer and offers lubrication to make the process easier to accomplish. The adapter bends the tubing inward slightly before it bottoms out. Once it bottoms, loosen the load, remove the die from the tubing, and then place the cone of the anvil directly into the tubing and complete the flaring process. This creates a double flare that will then seal properly.
Summit Racing also offers an interesting professional flaring tool that uses mandrel and steel dies with a handle with sufficient leverage that makes it quite easy to form 45-degree double flares. This is still a two-step process like the simpler flaring tools but accomplishes the process much more quickly. Plus, there are dies available separately for 37-degree AN flares.
If you are really into tubing work or are planning on doing this professionally, there are several companies out there selling a hydraulic flaring tool that uses the same dies as the Summit tool we just described but uses a hydraulic pump to do the work for you. We’ve used the Classic Tube tool and it’s both quick and easy. As with the Summit tool, this requires separate mandrels for 37-degree AN flares versus the normal 45-degree flares along with metric and even the GM quick-release–style tubing flares.
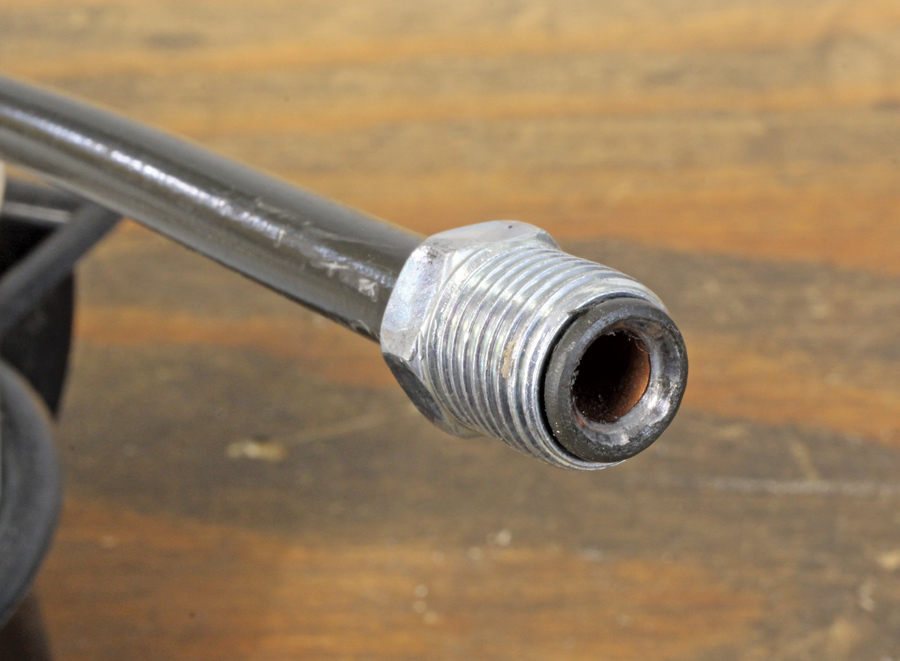
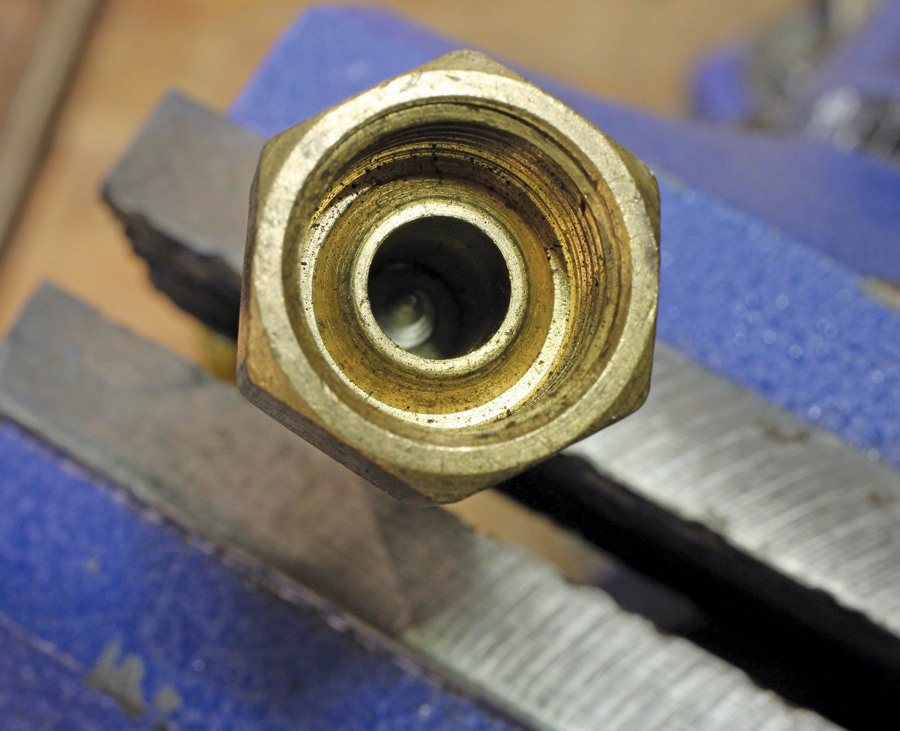
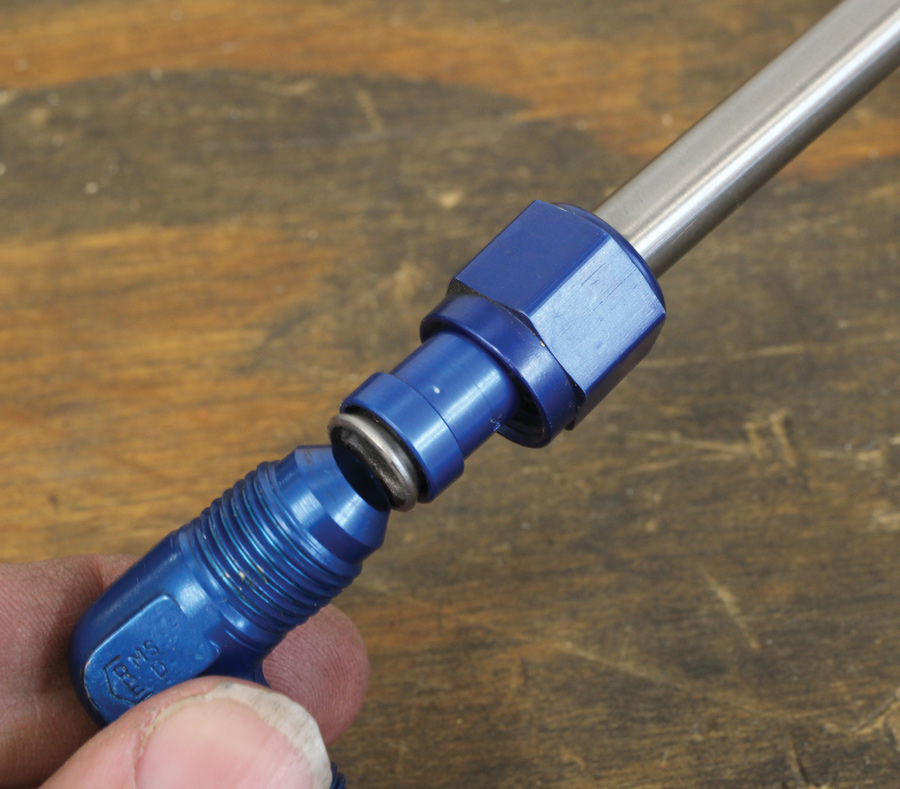
Up until now we’ve focused on the standard 45-degree double flare but in the hot rod world, much of the plumbing is accomplished with 37-degree AN fittings. These are finished as a single-flare operation, so from that standpoint, the AN process is slightly simpler. But this also requires a separate or specific tool to make this flare. The 45- and 37-degree flares are not interchangeable and while in an emergency you might be able to make a combination seal, it will likely damage one or both of the sealing surfaces.
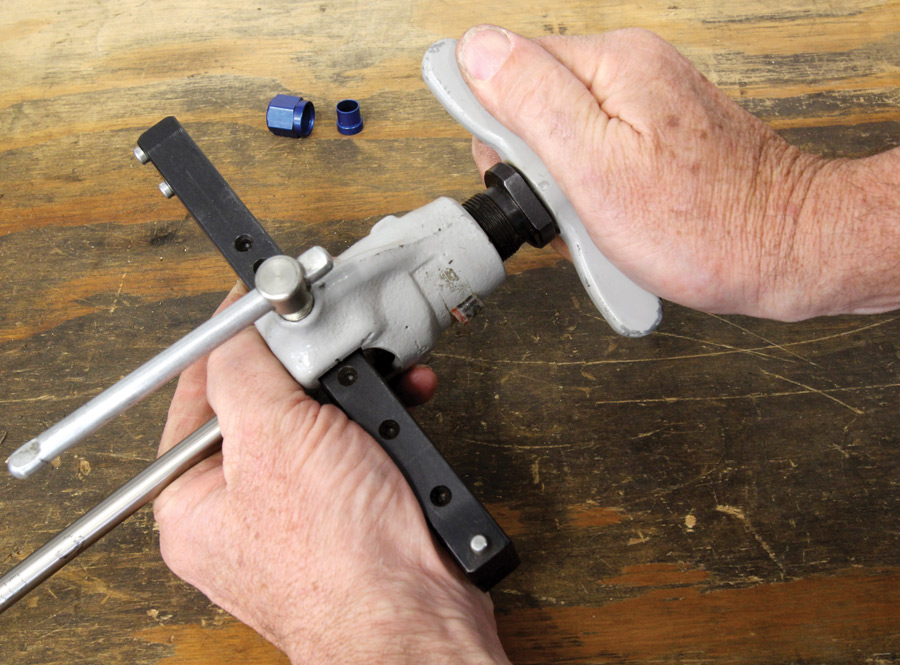
Many years ago we bought one of the Rigid AN flaring tools and it has since become a go-to tool because it is simple and easy to use. When using the annealed stainless tubing for AN flares, ensuring that the inside diameter of the tubing is properly radiused with no sharp edges is a critical part of the flaring procedure. AN female fittings for tubing use a tubing nut and sleeve placed over the tubing before making the flare. Make sure the flared portion of the tube nut faces the flare. Work slowly here and you will be rewarded with a professional-looking fitting that will seal every time you make the connection.
As you can see, there’s much more to the world of tubing and making automotive fluid connections. It still comes down to using quality tools and working carefully to ensure all the steps are completed properly. Nobody likes spending time making a flare only to discover it leaks when tightened. On the other hand, a properly produced flared tubing fitting could last almost the life of the car.