ACP department heading TECH
InTheGarageMedia.com
Vintage Air’s Latest Front Runner for LS and LT1 Engines
Accessory Solution Title Typography
BY Todd Ryden Photography by The Author
O

ne challenge that everyone faces when making the move to an LS or LT engine is the accessory drive situation. Whether you’re installing a new-out-of-the-box engine or scoured the junkyard for a donor, the accessories will come into play soon.

If your donor engine came with brackets and accessories, chances are you’ll be hard pressed to make everything fit in your classic Chevy. Depending on your project, interference from the A/C compressor or power steering pump with framerails are nearly imminent—not to mention, the stock components were never designed with aesthetics in mind. Those are just a few of the reasons we turned to Vintage Air (VA) for an all-encompassing solution to our accessory drive needs on our LS1.

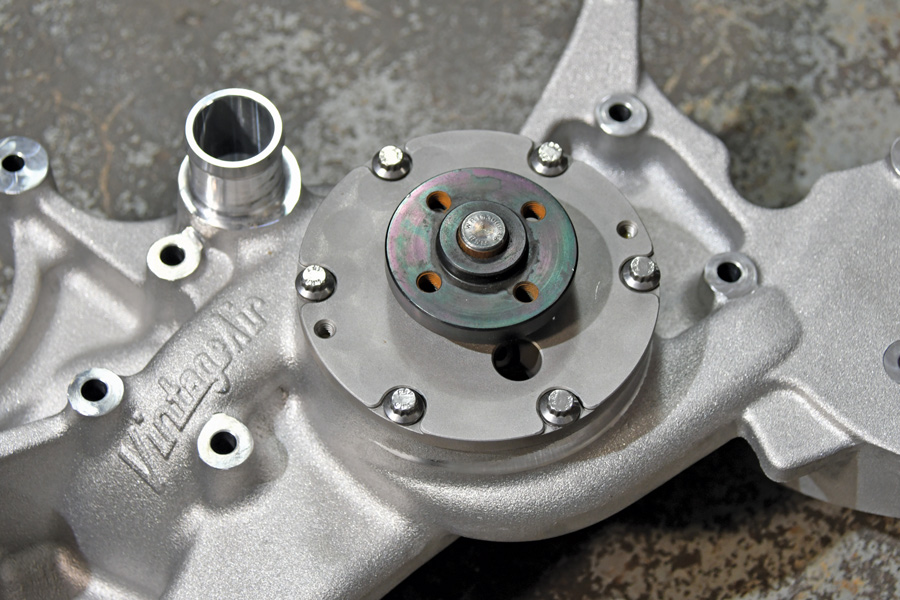
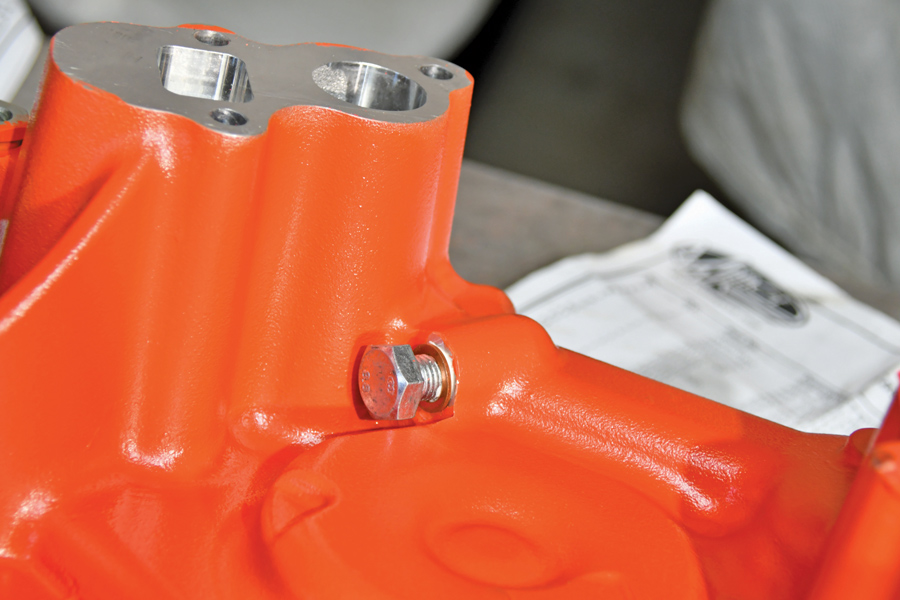
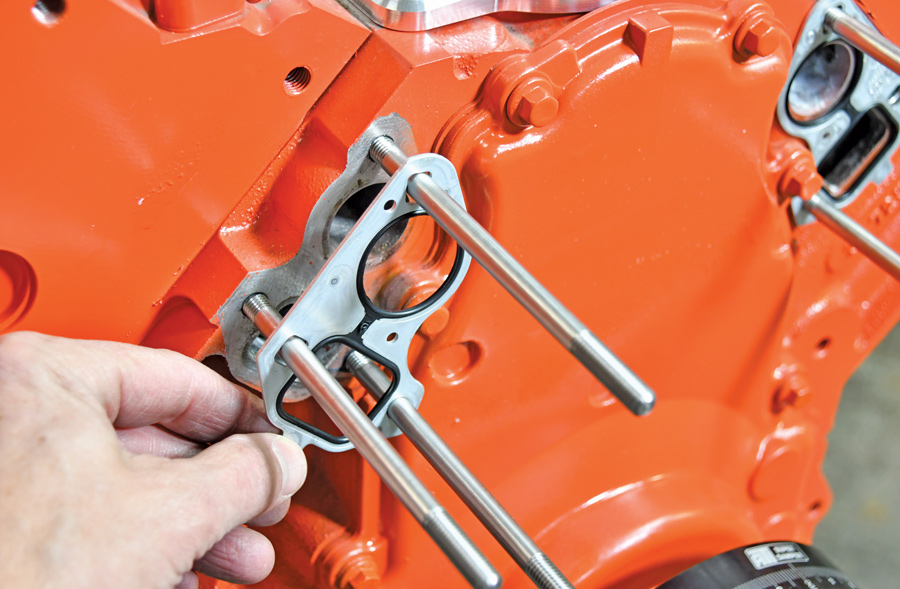
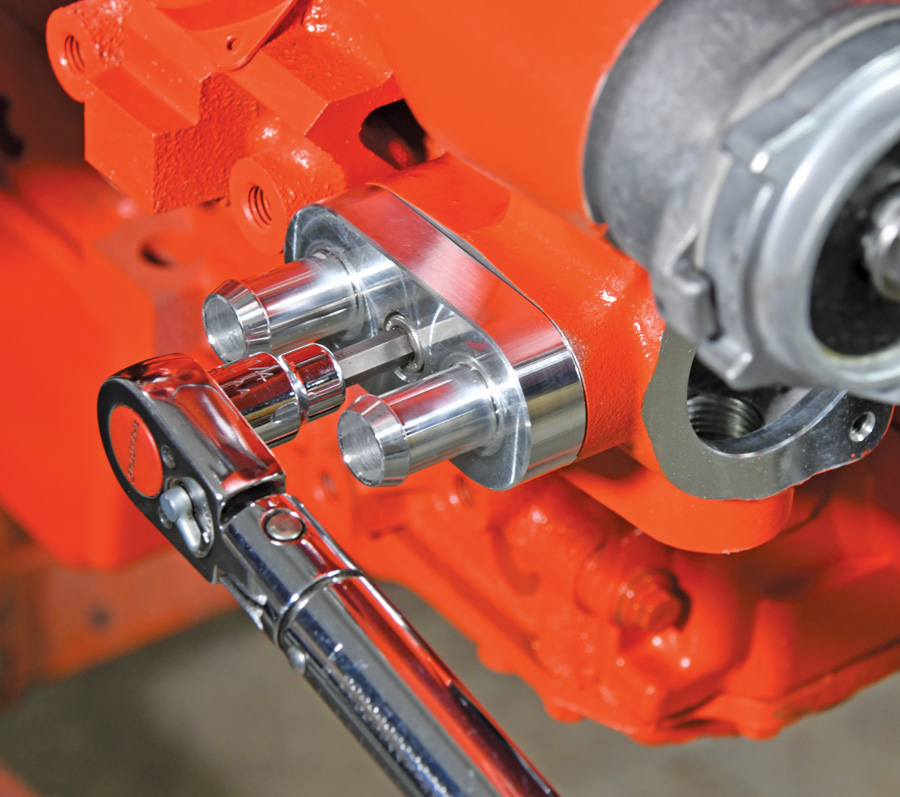
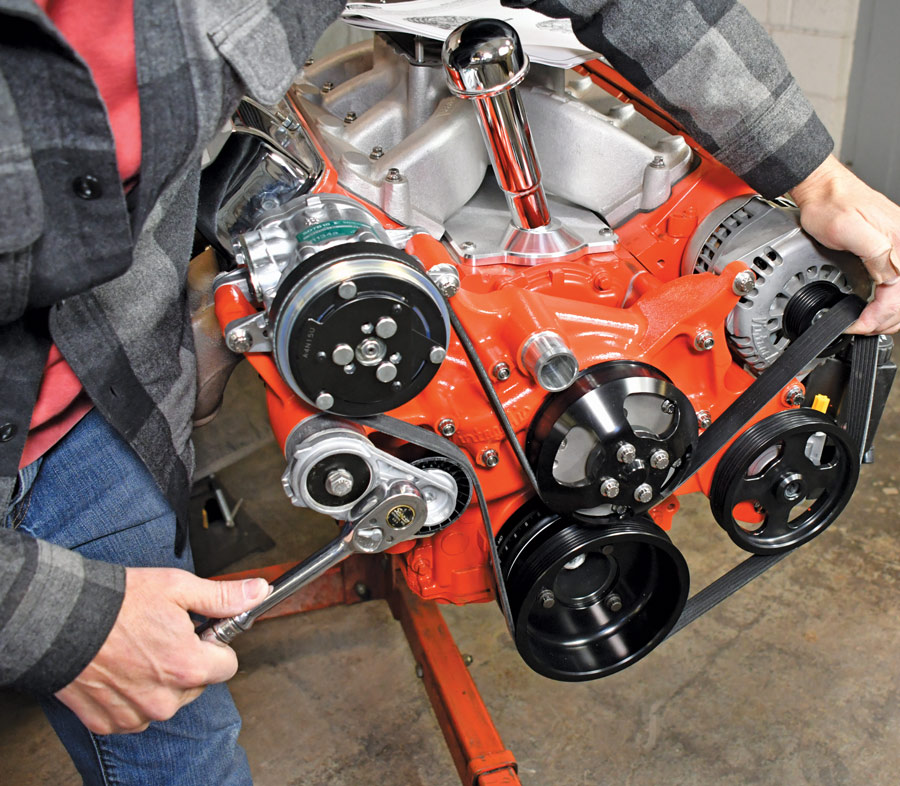
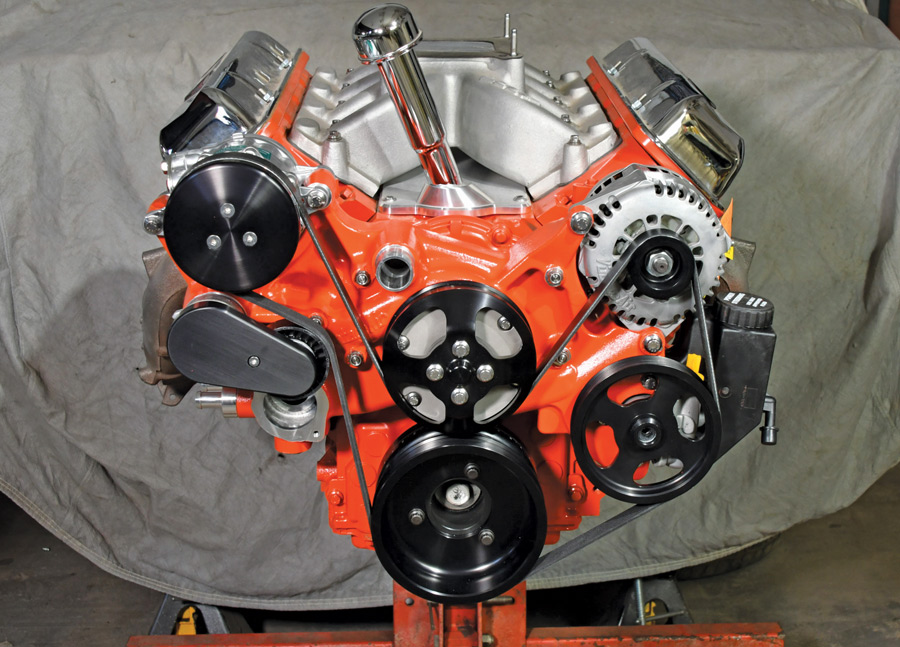
We were familiar with VA’s original Front Runner serpentine system that is centered around a precision billet machine bracket assembly, but their latest offering for LS/LT engines is completely different. All of the accessories, including the power steering pump, alternator, and compressor, mount to a unique cast-aluminum water pump assembly. This assembly has the mounting bosses for each accessory, the heater hose outlets, thermostat, and a cartridge-style water pump.

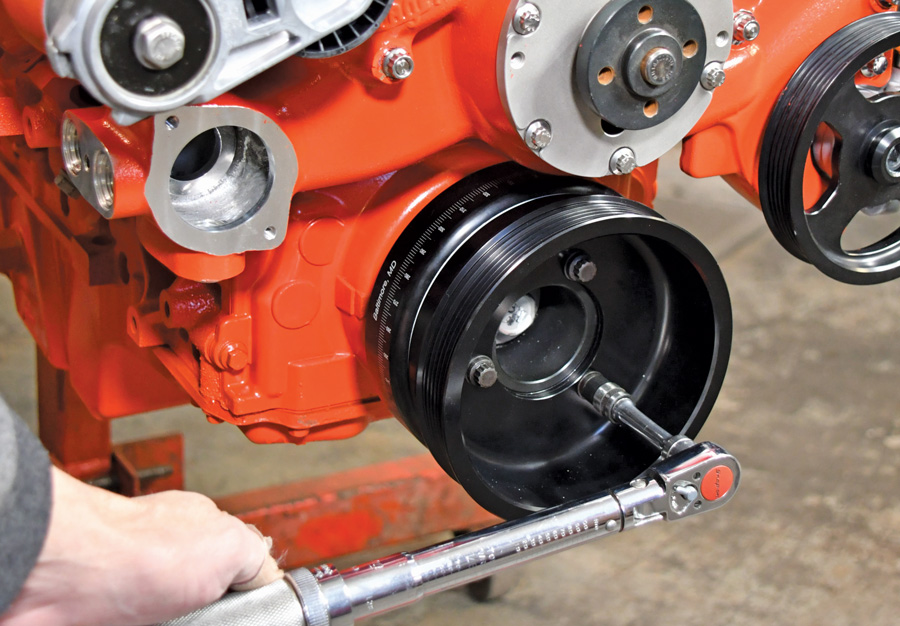
The result is a compact assembly that fits the accessories down and in toward the engine, plus provides increased clearance in front for the radiator and electric fans. One of the big differences with this new system is that VA incorporates a replaceable cartridge-style water pump, similar to the design of the LT engine family. (The OEM design has an offset pump that uses a stamped steel pulley.) VA centered the water pump location to improve the accessory layout and designed their own pump with ceramic seals and a ball bearing–supported shaft. Plus, it accepts a bolt-on billet pulley.

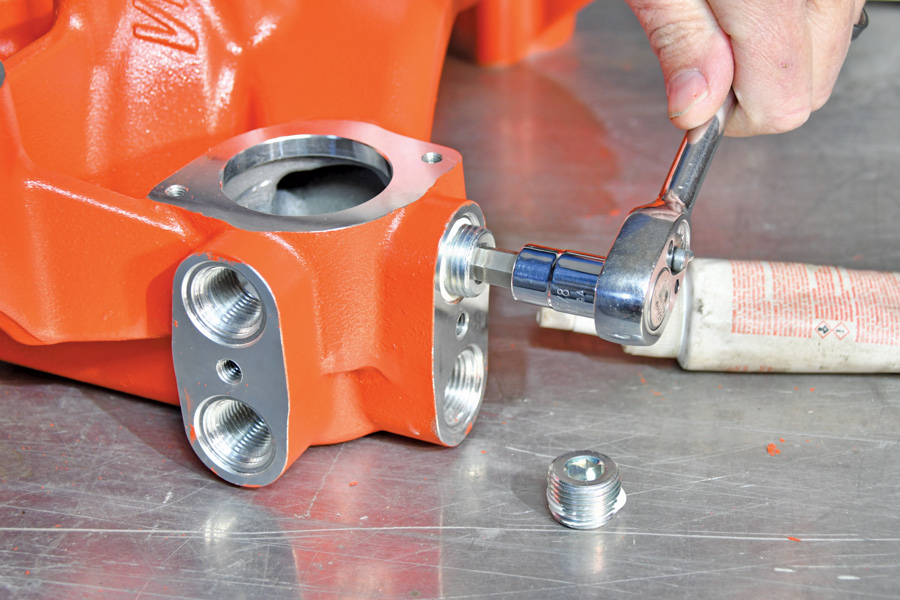
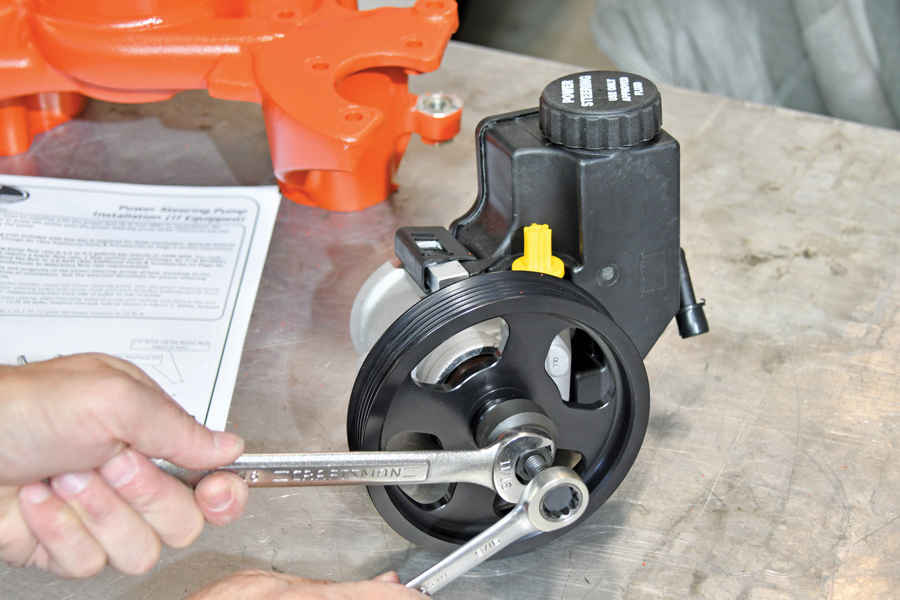
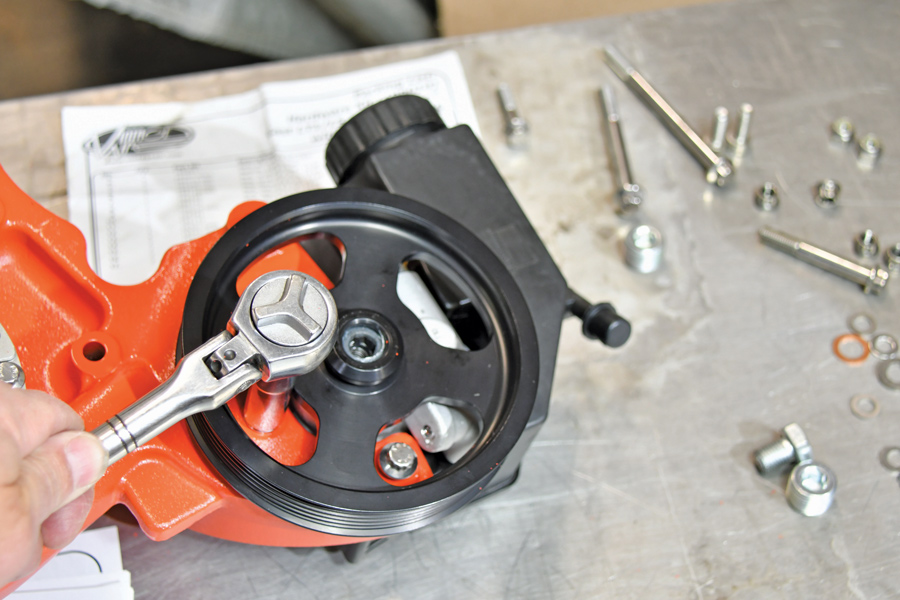
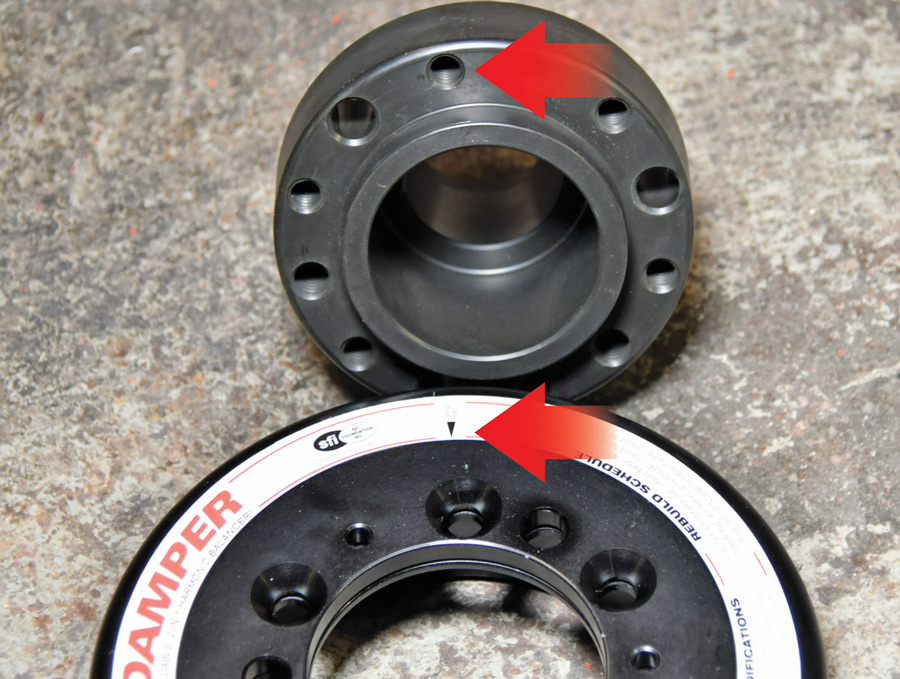
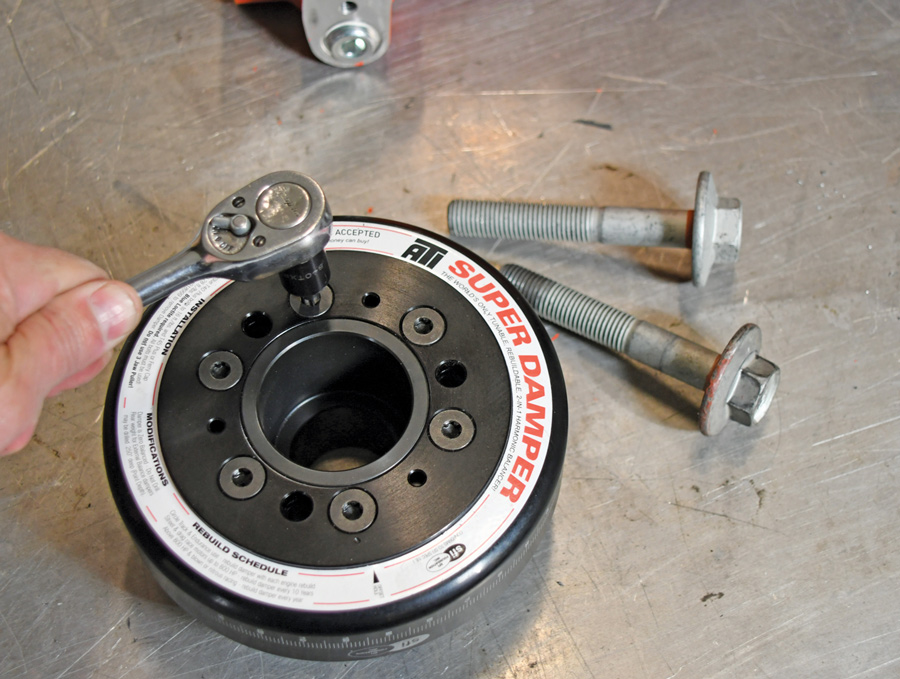
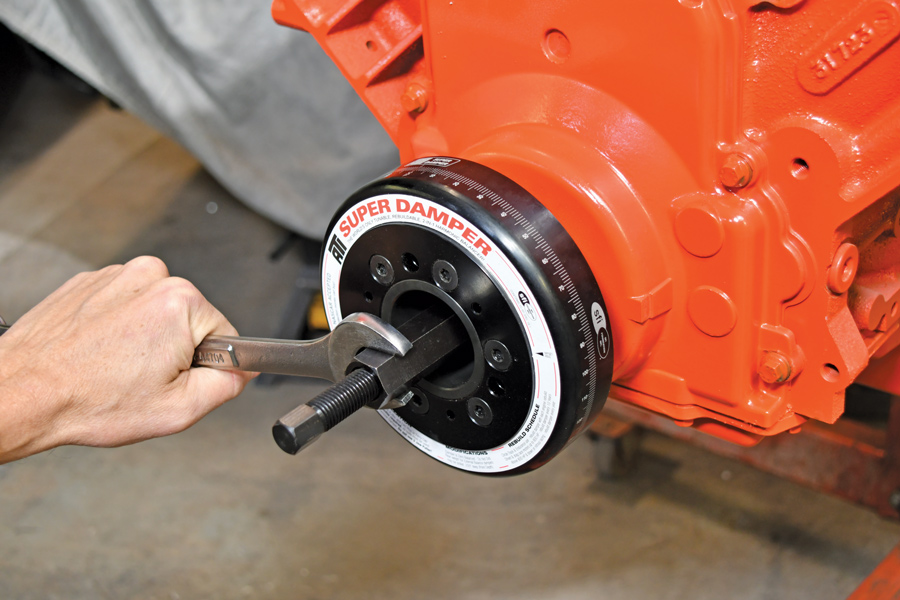
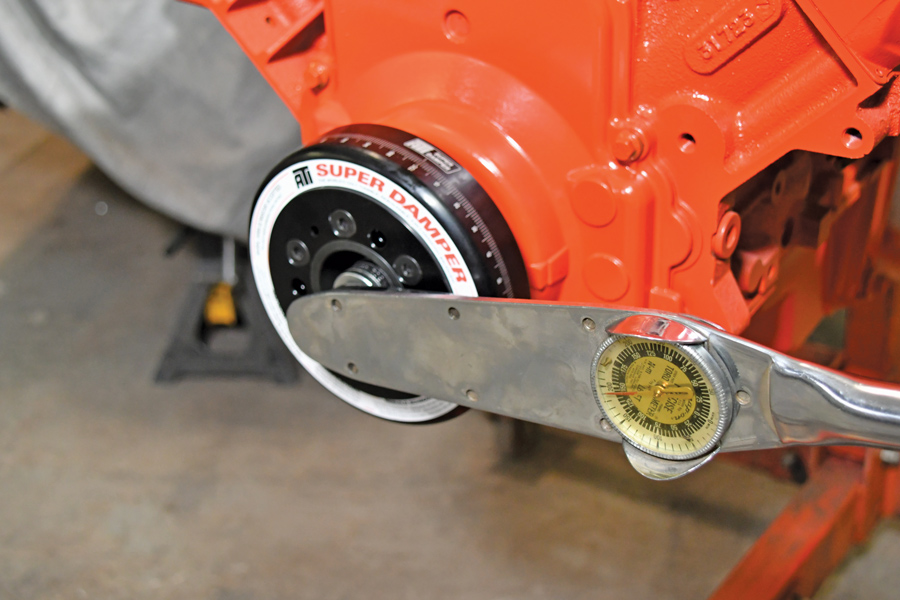
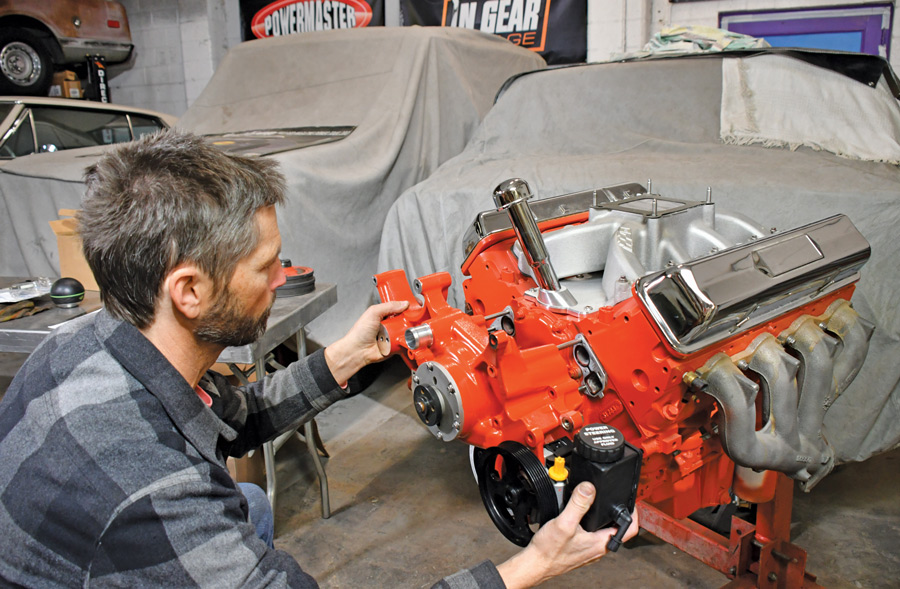
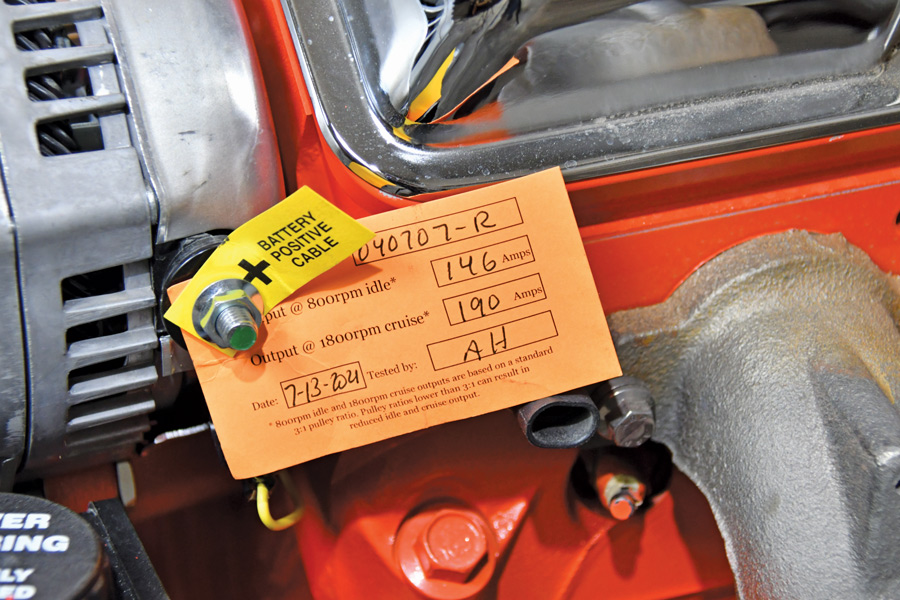
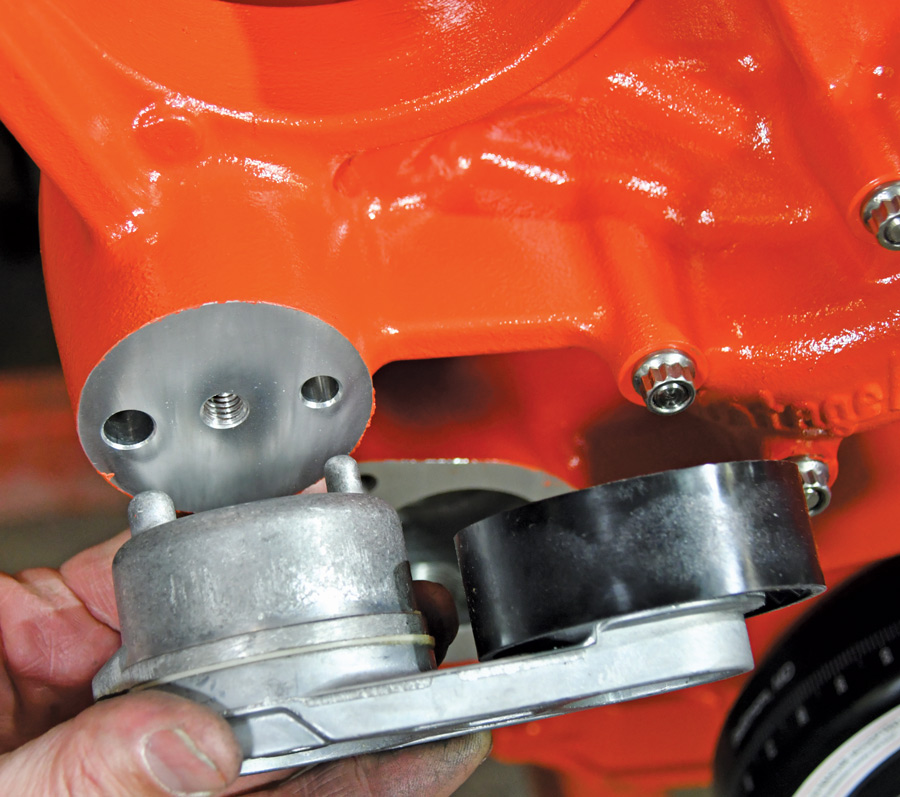
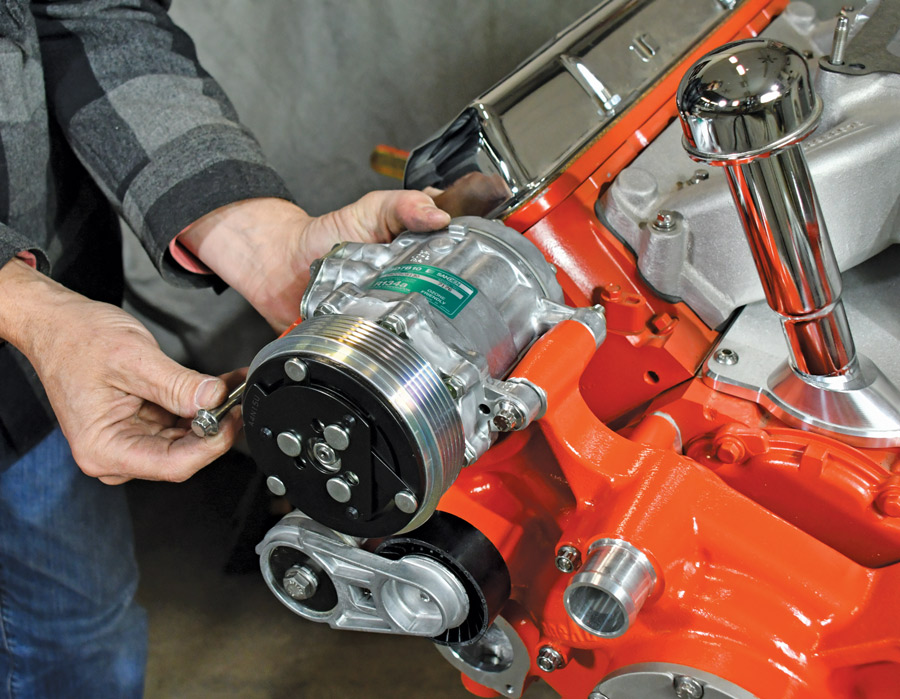
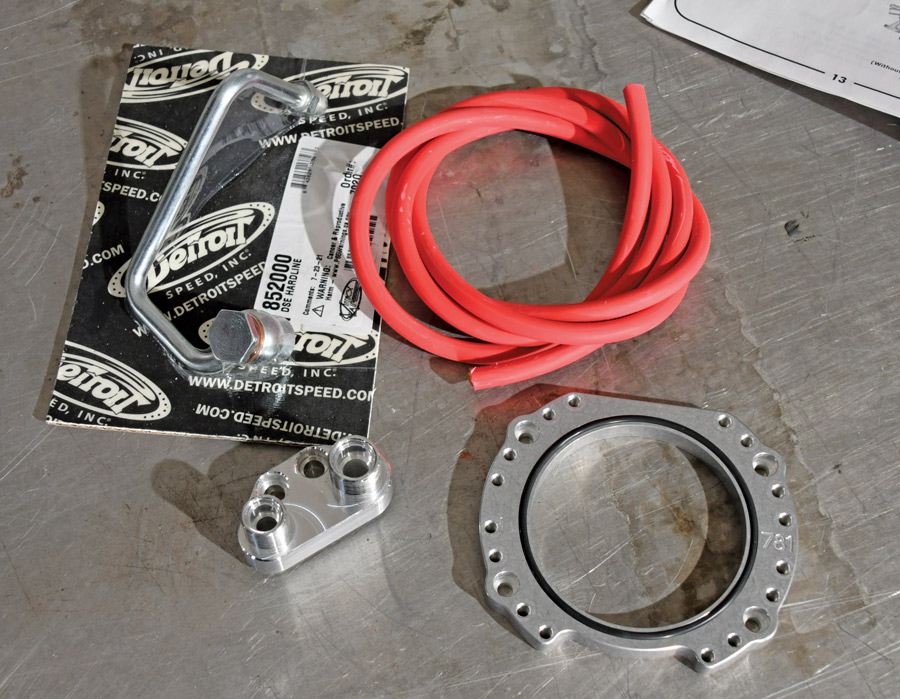
The kit comes with everything, including a new Vintage Air compressor, power steering pump with attached reservoir, 170-amp high-output alternator, and an ATI balancer. An OEM-style tensioner and belt are supplied along with stainless steel ARP hardware (be sure to have a set of 12 point sockets on hand). To finish any A/C or P/S plumbing, VA offers a number of fitting adapters and hose kits/accessories.

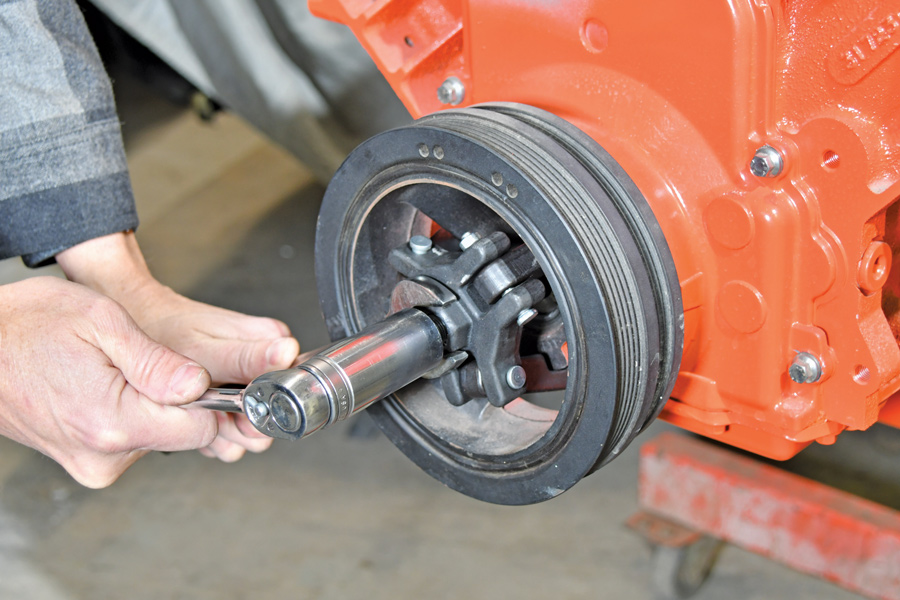
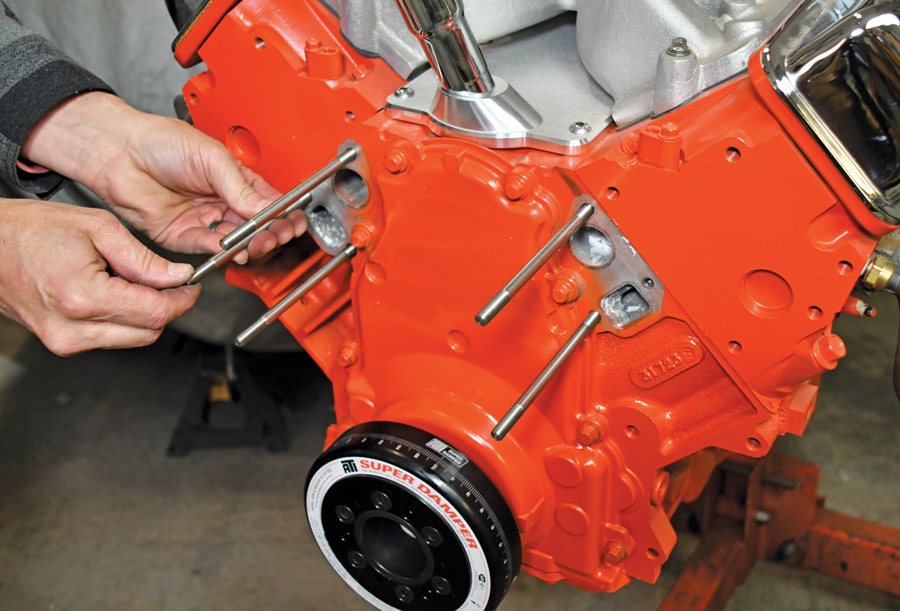
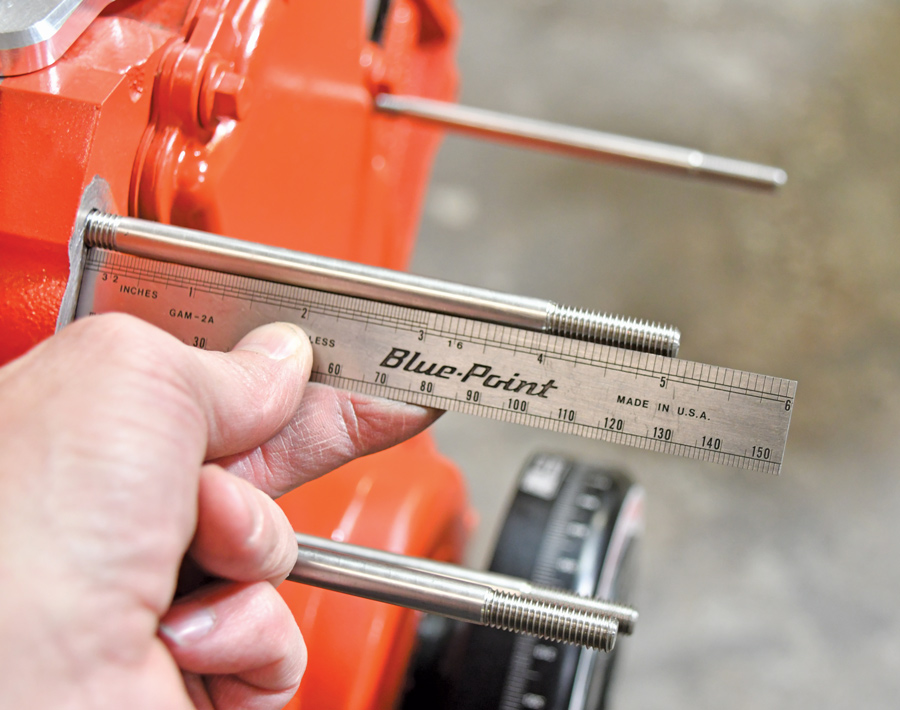
The installation on our LS1 engine was straightforward, though you’ll need a P/S pulley installer as well as the special tools to remove/install the new balancer. The fit of the system is precise and compact so there will be no chassis interference or issues for our Nova, and the system delivers the quality craftsmanship you expect from VA, that cool company down in San Antonio.

Vintage Air (VA) designed their water pump around a modern LT1 cartridge-style pump with a few refinements, including a ball bearing–supported shaft and ceramic seals. They also centered the pump on the engine for improved accessory placement and made it to accept a bolt-on billet pulley.
1. Vintage Air (VA) designed their water pump around a modern LT1 cartridge-style pump with a few refinements, including a ball bearing–supported shaft and ceramic seals. They also centered the pump on the engine for improved accessory placement and made it to accept a bolt-on billet pulley.
Below the LS2-style thermostat flange are two sets of heater hose outlets; one that exits straight down, the other at 90 degrees toward the passenger side. A cool billet hose outlet piece is supplied along with the two plugs, but you’ll need to pick up an LS2-style thermostat and water neck.
2. Below the LS2-style thermostat flange are two sets of heater hose outlets; one that exits straight down, the other at 90 degrees toward the passenger side. A cool billet hose outlet piece is supplied along with the two plugs, but you’ll need to pick up an LS2-style thermostat and water neck.
We rented a power steering pump pulley installation tool and wrenched the new billet pulley onto the Detroit Speed–sourced power steering pump.
3. We rented a power steering pump pulley installation tool and wrenched the new billet pulley onto the Detroit Speed–sourced power steering pump.
The pump assembly bolted to the water pump perfectly with the ARP hardware supplied. Be sure to have 12-point sockets and a tube of antiseize to use with the stainless fasteners.
4. The pump assembly bolted to the water pump perfectly with the ARP hardware supplied. Be sure to have 12-point sockets and a tube of antiseize to use with the stainless fasteners.
Do not forget to install the supplied plug or an LT1-style temp sensor to the inlet on the back of the pump before installation.
5. Do not forget to install the supplied plug or an LT1-style temp sensor to the inlet on the back of the pump before installation.
After renting the tools for other projects, we finally bit the bullet and purchased our own balancer pulley and installation tool to get the job done right. Remember, the retaining bolt is a one-time-use-only bolt, though it will be used for seating the new ATI balancer.
6. After renting the tools for other projects, we finally bit the bullet and purchased our own balancer pulley and installation tool to get the job done right. Remember, the retaining bolt is a one-time-use-only bolt, though it will be used for seating the new ATI balancer.
Arrows pointing at alignment holes
We sourced the 40-plus Torx socket from our local Snap-on dealer.
7-8. The ATI Super Balancer needs to be assembled before installation. Note the small index mark at the 11:00 position next to a bolthole. This should align with the hole with the arrow on the balancer ring. One important note about the Torx bolts supplied from ATI: they are size 40-plus (using a 40 will ruin the head and be impossible to remove). We sourced the 40-plus Torx socket from our local Snap-on dealer.
Using our spiffy new installation tool, the balancer was put in place.
9. Using our spiffy new installation tool, the balancer was put in place.
Next, we used the original balancer bolt to seat the assembly. With blue thread locker on the new bolt, we tightened it to 37 lb-ft followed by 140 degrees more rotation to achieve the correct torque-to-yield specification.
10. Next, we used the original balancer bolt to seat the assembly. With blue thread locker on the new bolt, we tightened it to 37 lb-ft followed by 140 degrees more rotation to achieve the correct torque-to-yield specification.
The water pump assembly installs over these five studs, which screw right into the block.
11. The water pump assembly installs over these five studs, which screw right into the block.
We used antiseize on the threads and installed them until they poked out of the block the required 5.08 inches.
12. We used antiseize on the threads and installed them until they poked out of the block the required 5.08 inches.
With the block and pump surfaces clean, we installed the supplied gaskets and slid the water pump assembly in place.
13. With the block and pump surfaces clean, we installed the supplied gaskets and slid the water pump assembly in place.
New 12-point nuts were installed along with one bolt and torqued to 22 lb-ft.
14. New 12-point nuts were installed along with one bolt and torqued to 22 lb-ft.
VA includes an all-new high-output alternator that basically falls in place in the driver side top mount of the assembly.
15. VA includes an all-new high-output alternator that basically falls in place in the driver side top mount of the assembly.
The one-wire alternator is tested prior to shipping and was marked with 146 amps at 800 rpm with 190 amps at 1,800! That will certainly keep everything charged on our application.
16. The one-wire alternator is tested prior to shipping and was marked with 146 amps at 800 rpm with 190 amps at 1,800! That will certainly keep everything charged on our application.
The idler pulley installs in only one direction thanks to the different-size cast dowls. The single bolt was torqued to 21 lb-ft.
17. The idler pulley installs in only one direction thanks to the different-size cast dowls. The single bolt was torqued to 21 lb-ft.
We circled back to the heater outlets and installed the supplied trick hose outlet that is sealed with O-rings.
18. We circled back to the heater outlets and installed the supplied trick hose outlet that is sealed with O-rings.
Like the alternator, the new Sanden compressor is held in place by two long bolts with Nyloc nuts for a secure fit.
19. Like the alternator, the new Sanden compressor is held in place by two long bolts with Nyloc nuts for a secure fit.
The design team really thought of everything as the kit is supplied with a heavy-duty charge wire and terminals for the alternator, a compressor fitting block, a power steering hardline for the pressure side, and an adapter that provides the ability to clock the throttle body, if needed.
20. The design team really thought of everything as the kit is supplied with a heavy-duty charge wire and terminals for the alternator, a compressor fitting block, a power steering hardline for the pressure side, and an adapter that provides the ability to clock the throttle body, if needed.
The water pump pulley and balancer pulley were installed and torqued to spec.
21. The water pump pulley and balancer pulley were installed and torqued to spec.
The final step was to worm the new six-rib belt around the pulleys then stand back and admire a job well done (to VA).
22. The final step was to worm the new six-rib belt around the pulleys then stand back and admire a job well done (to VA).
The system is packaged low and tight with plenty of clearance and should provide ample space for a cooling fan setup on the radiator.
23.The system is packaged low and tight with plenty of clearance and should provide ample space for a cooling fan setup on the radiator.
Vintage Air
(800) 733-5206
vintageair.com